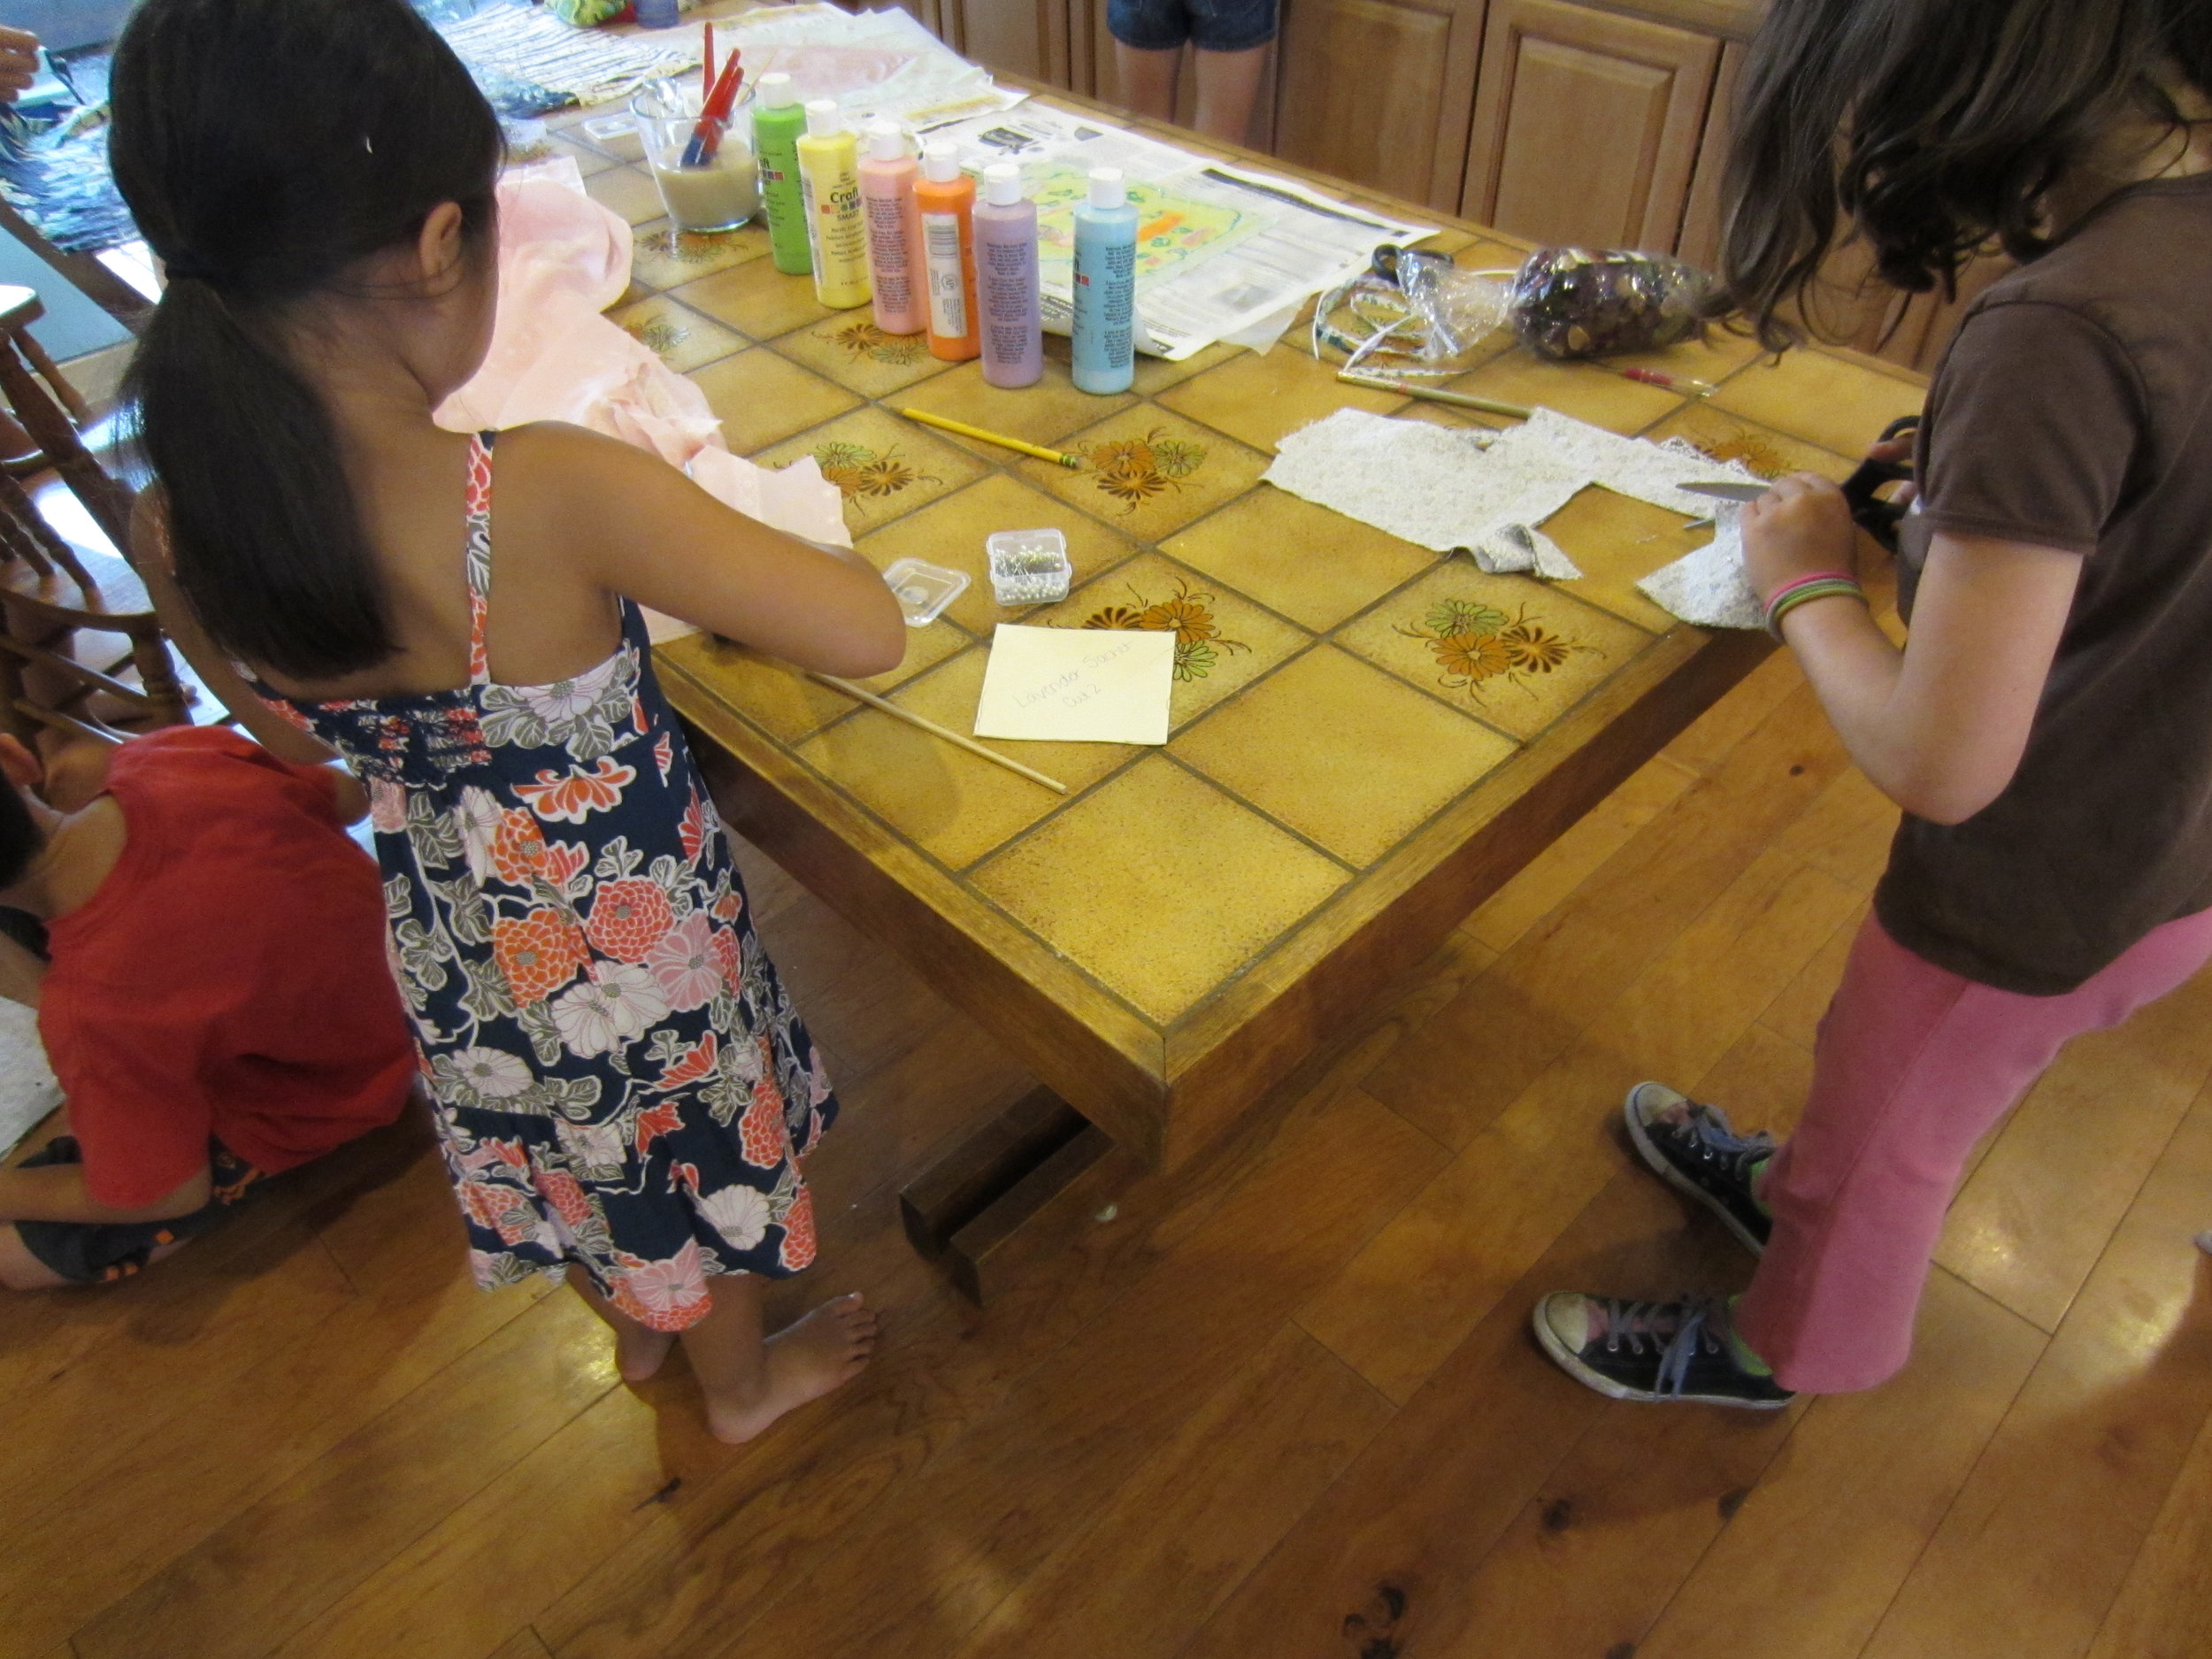
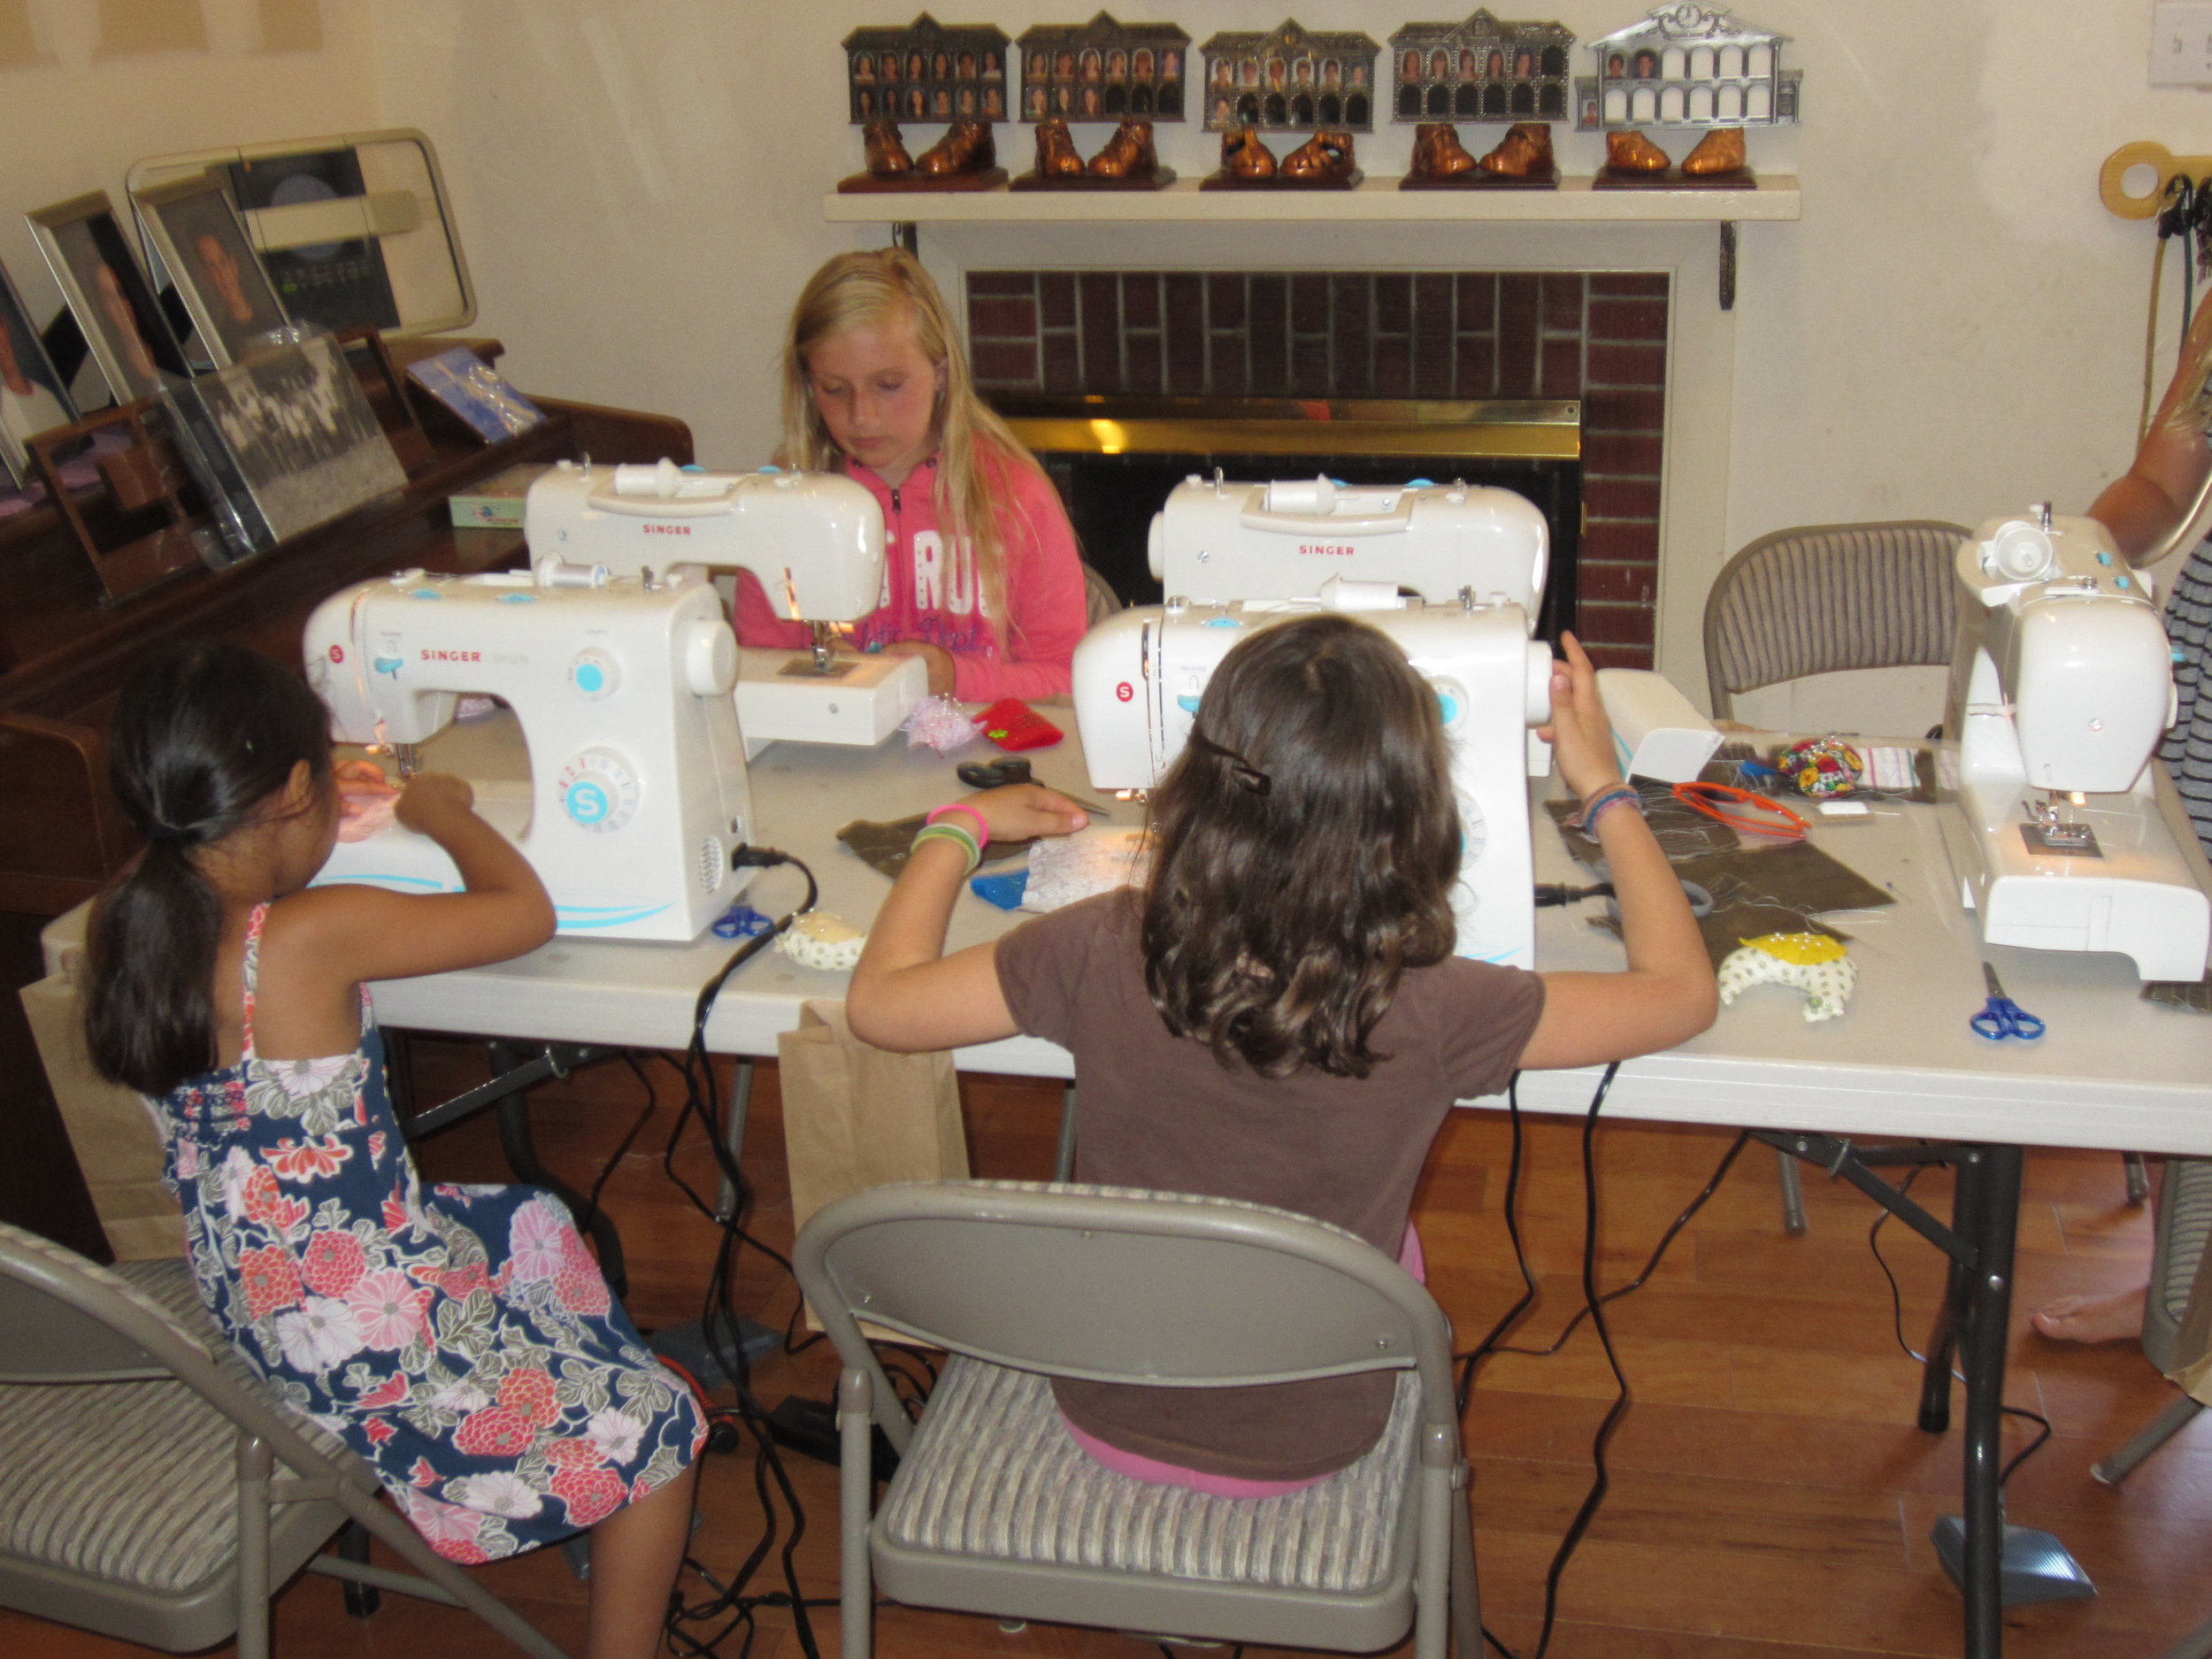
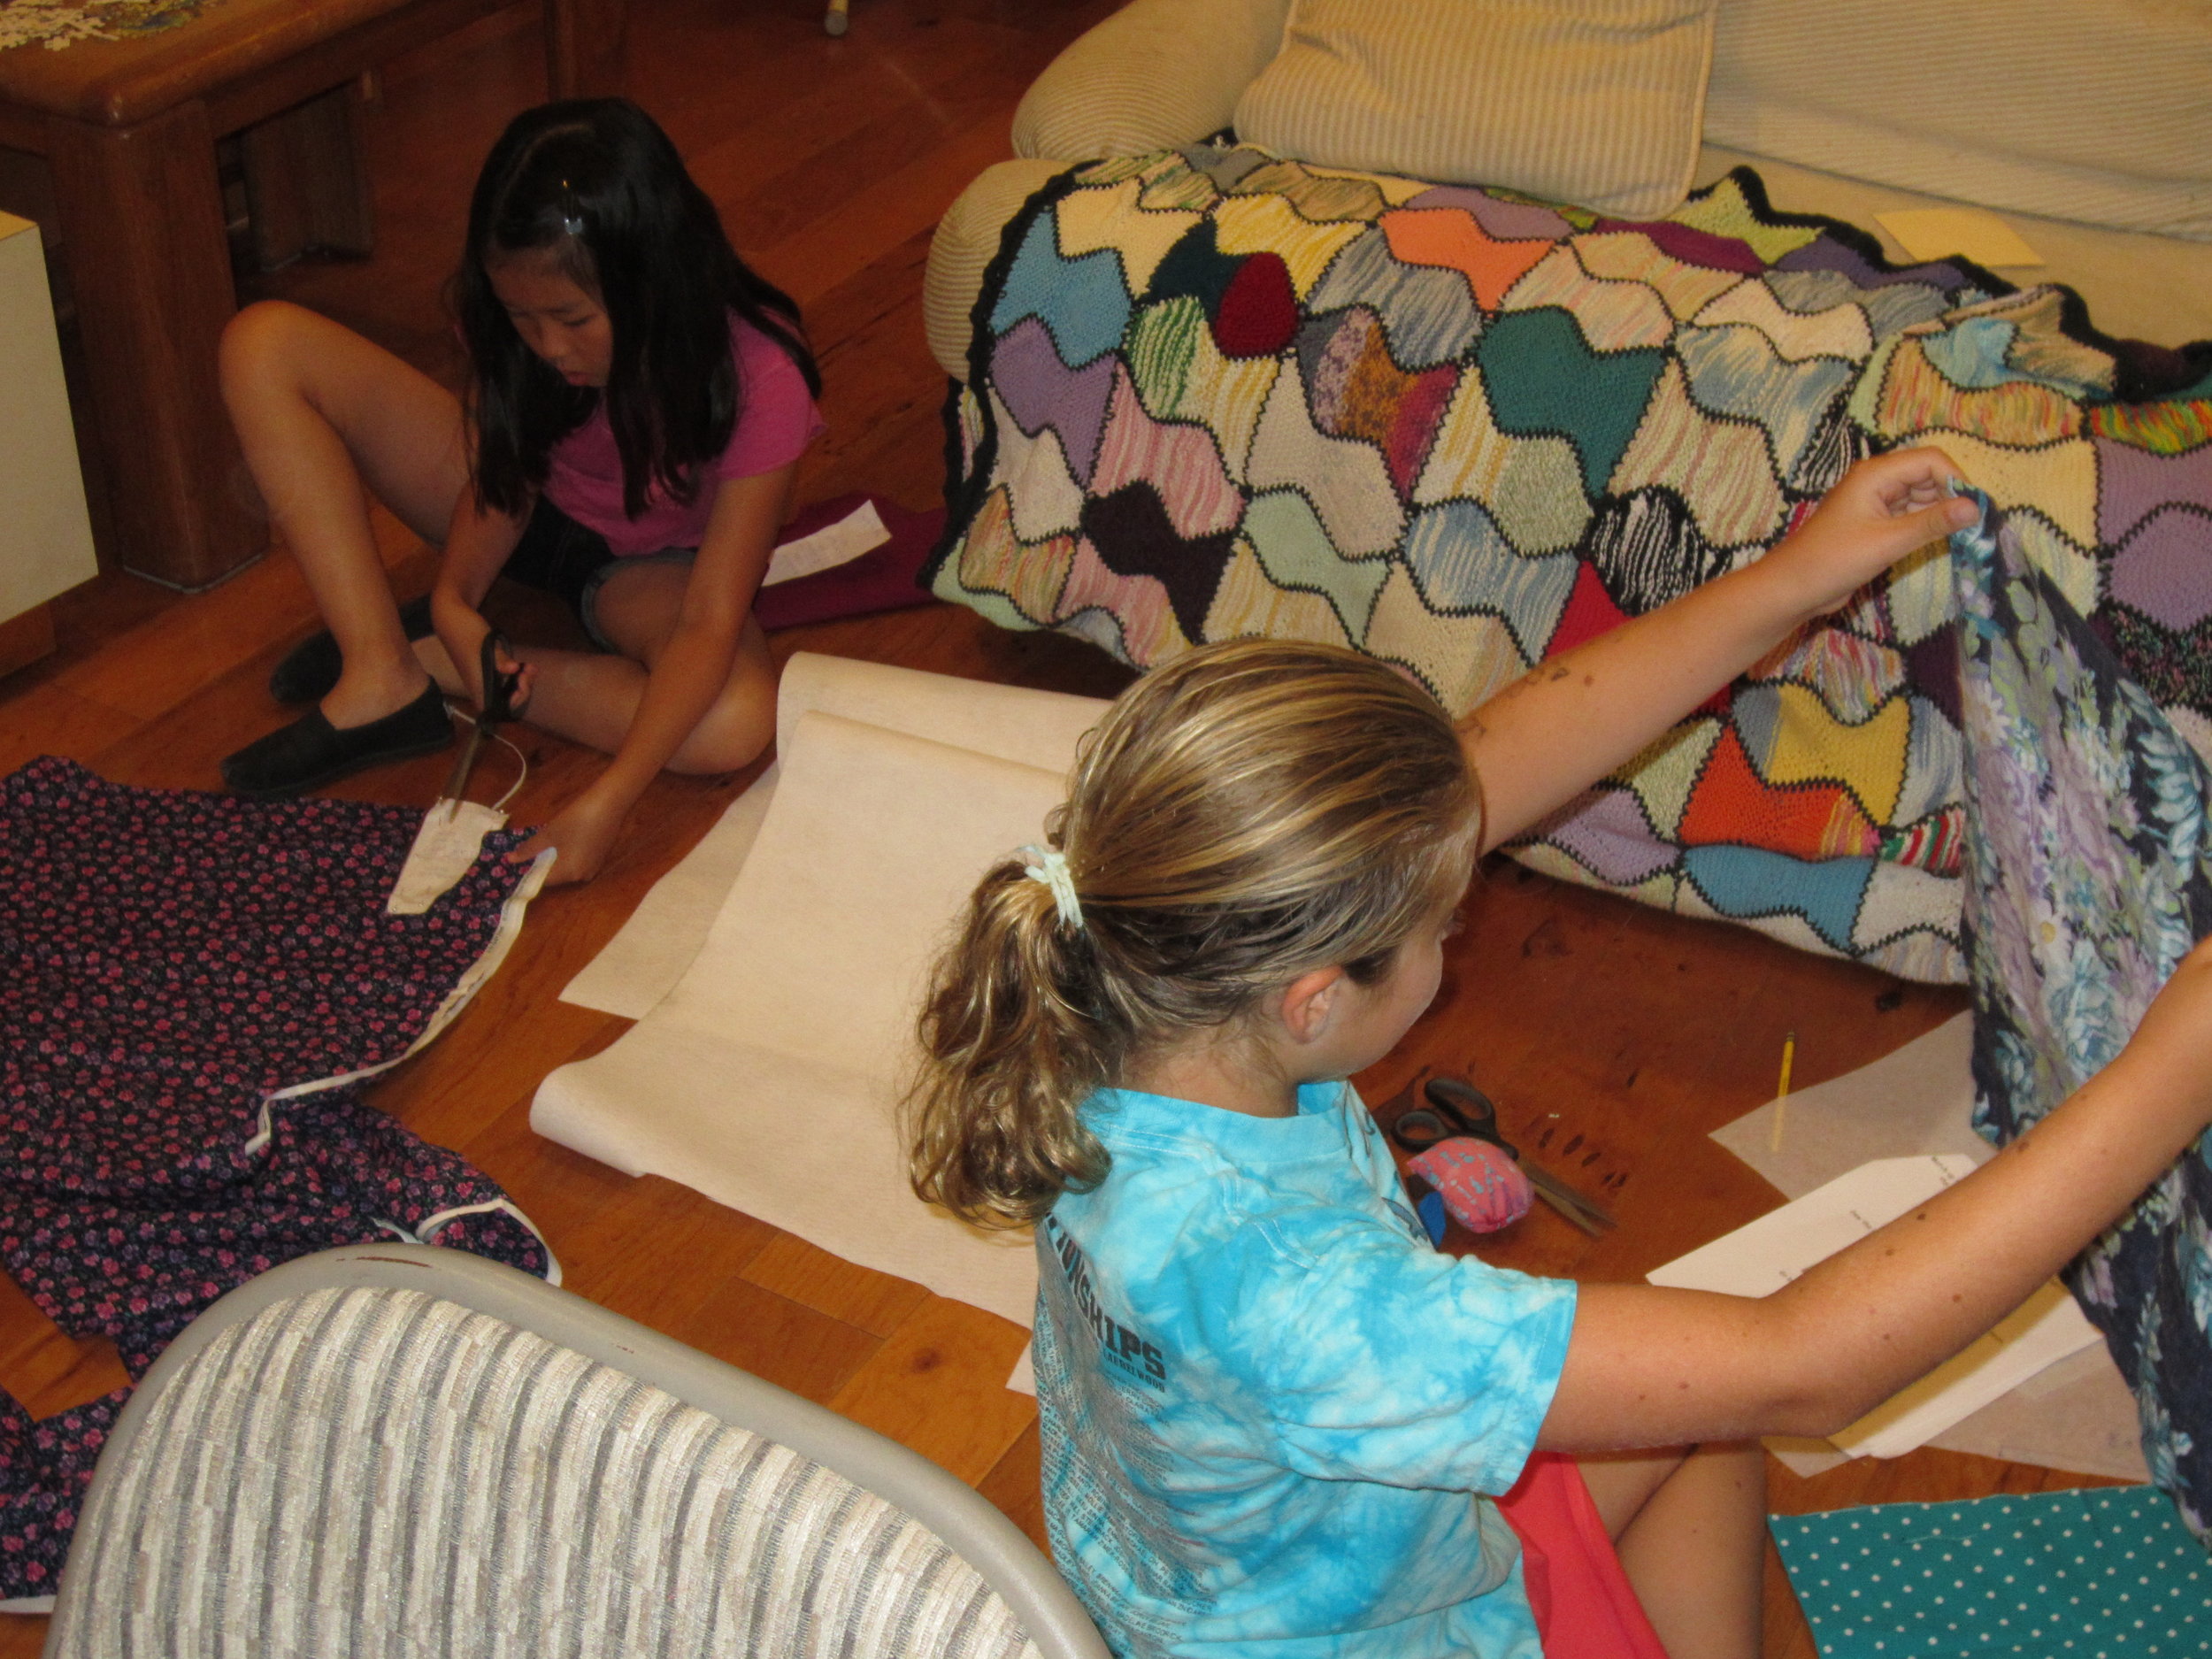
Day Four of Sewing Camp

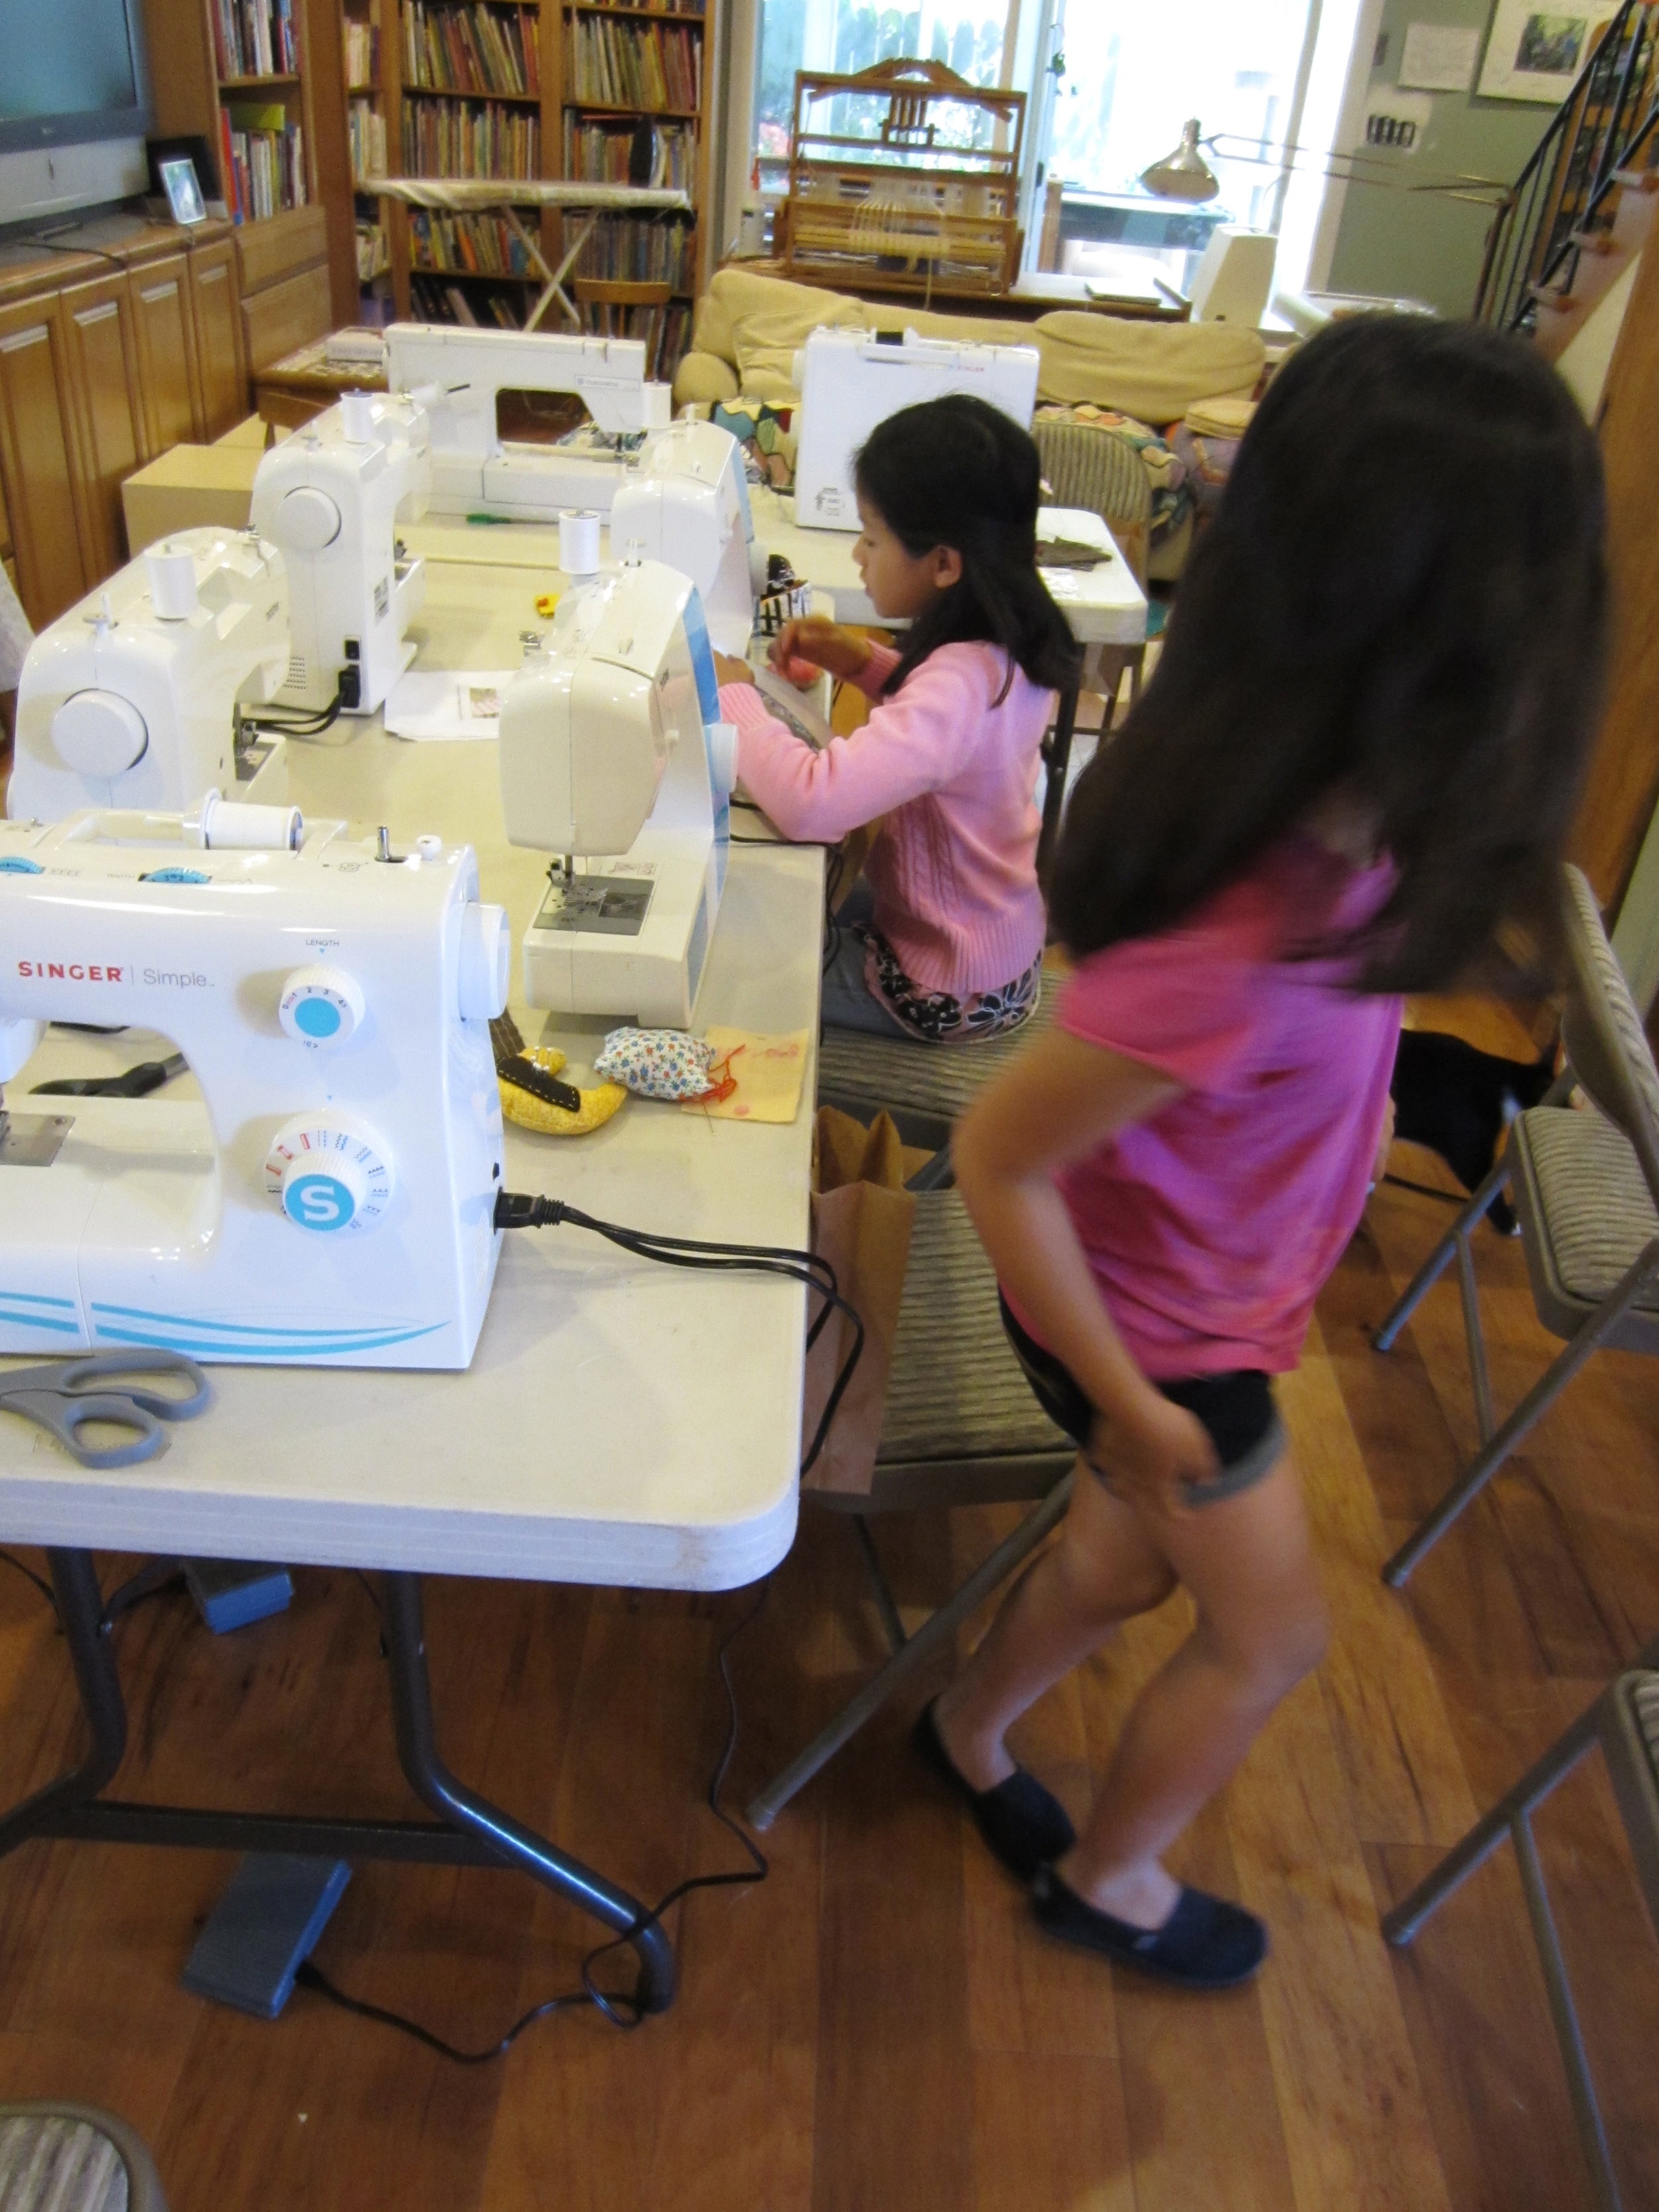
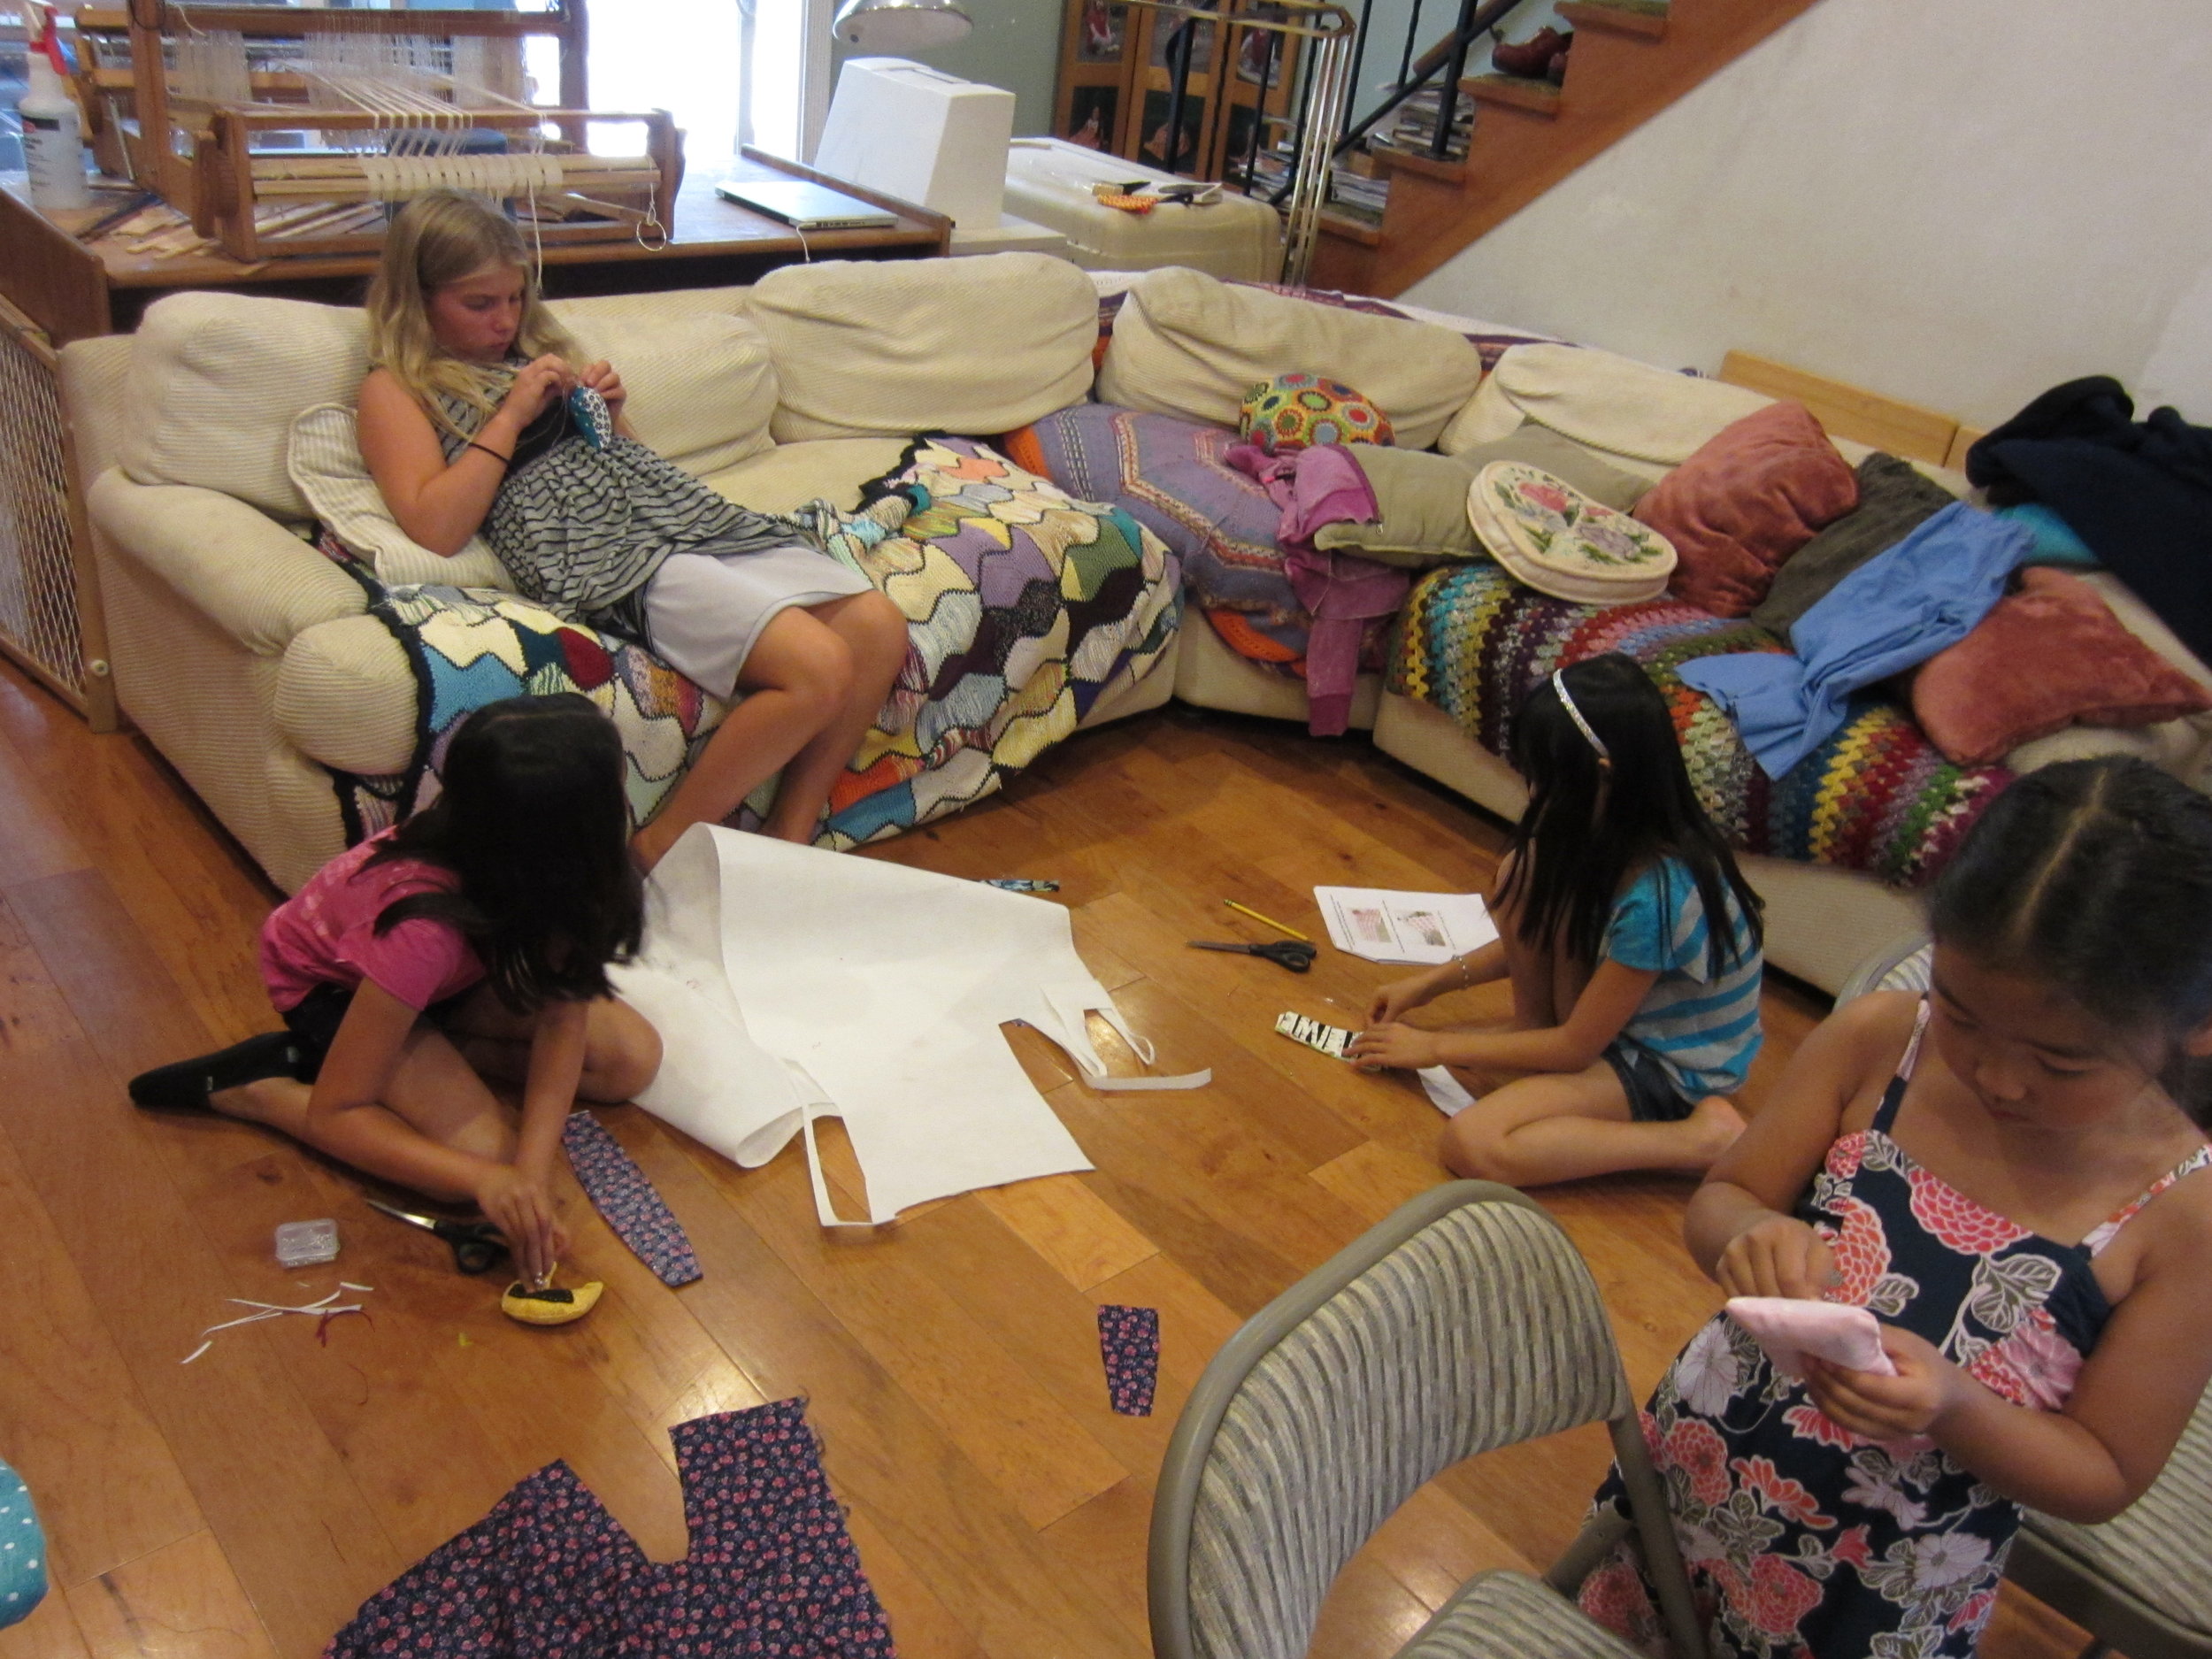
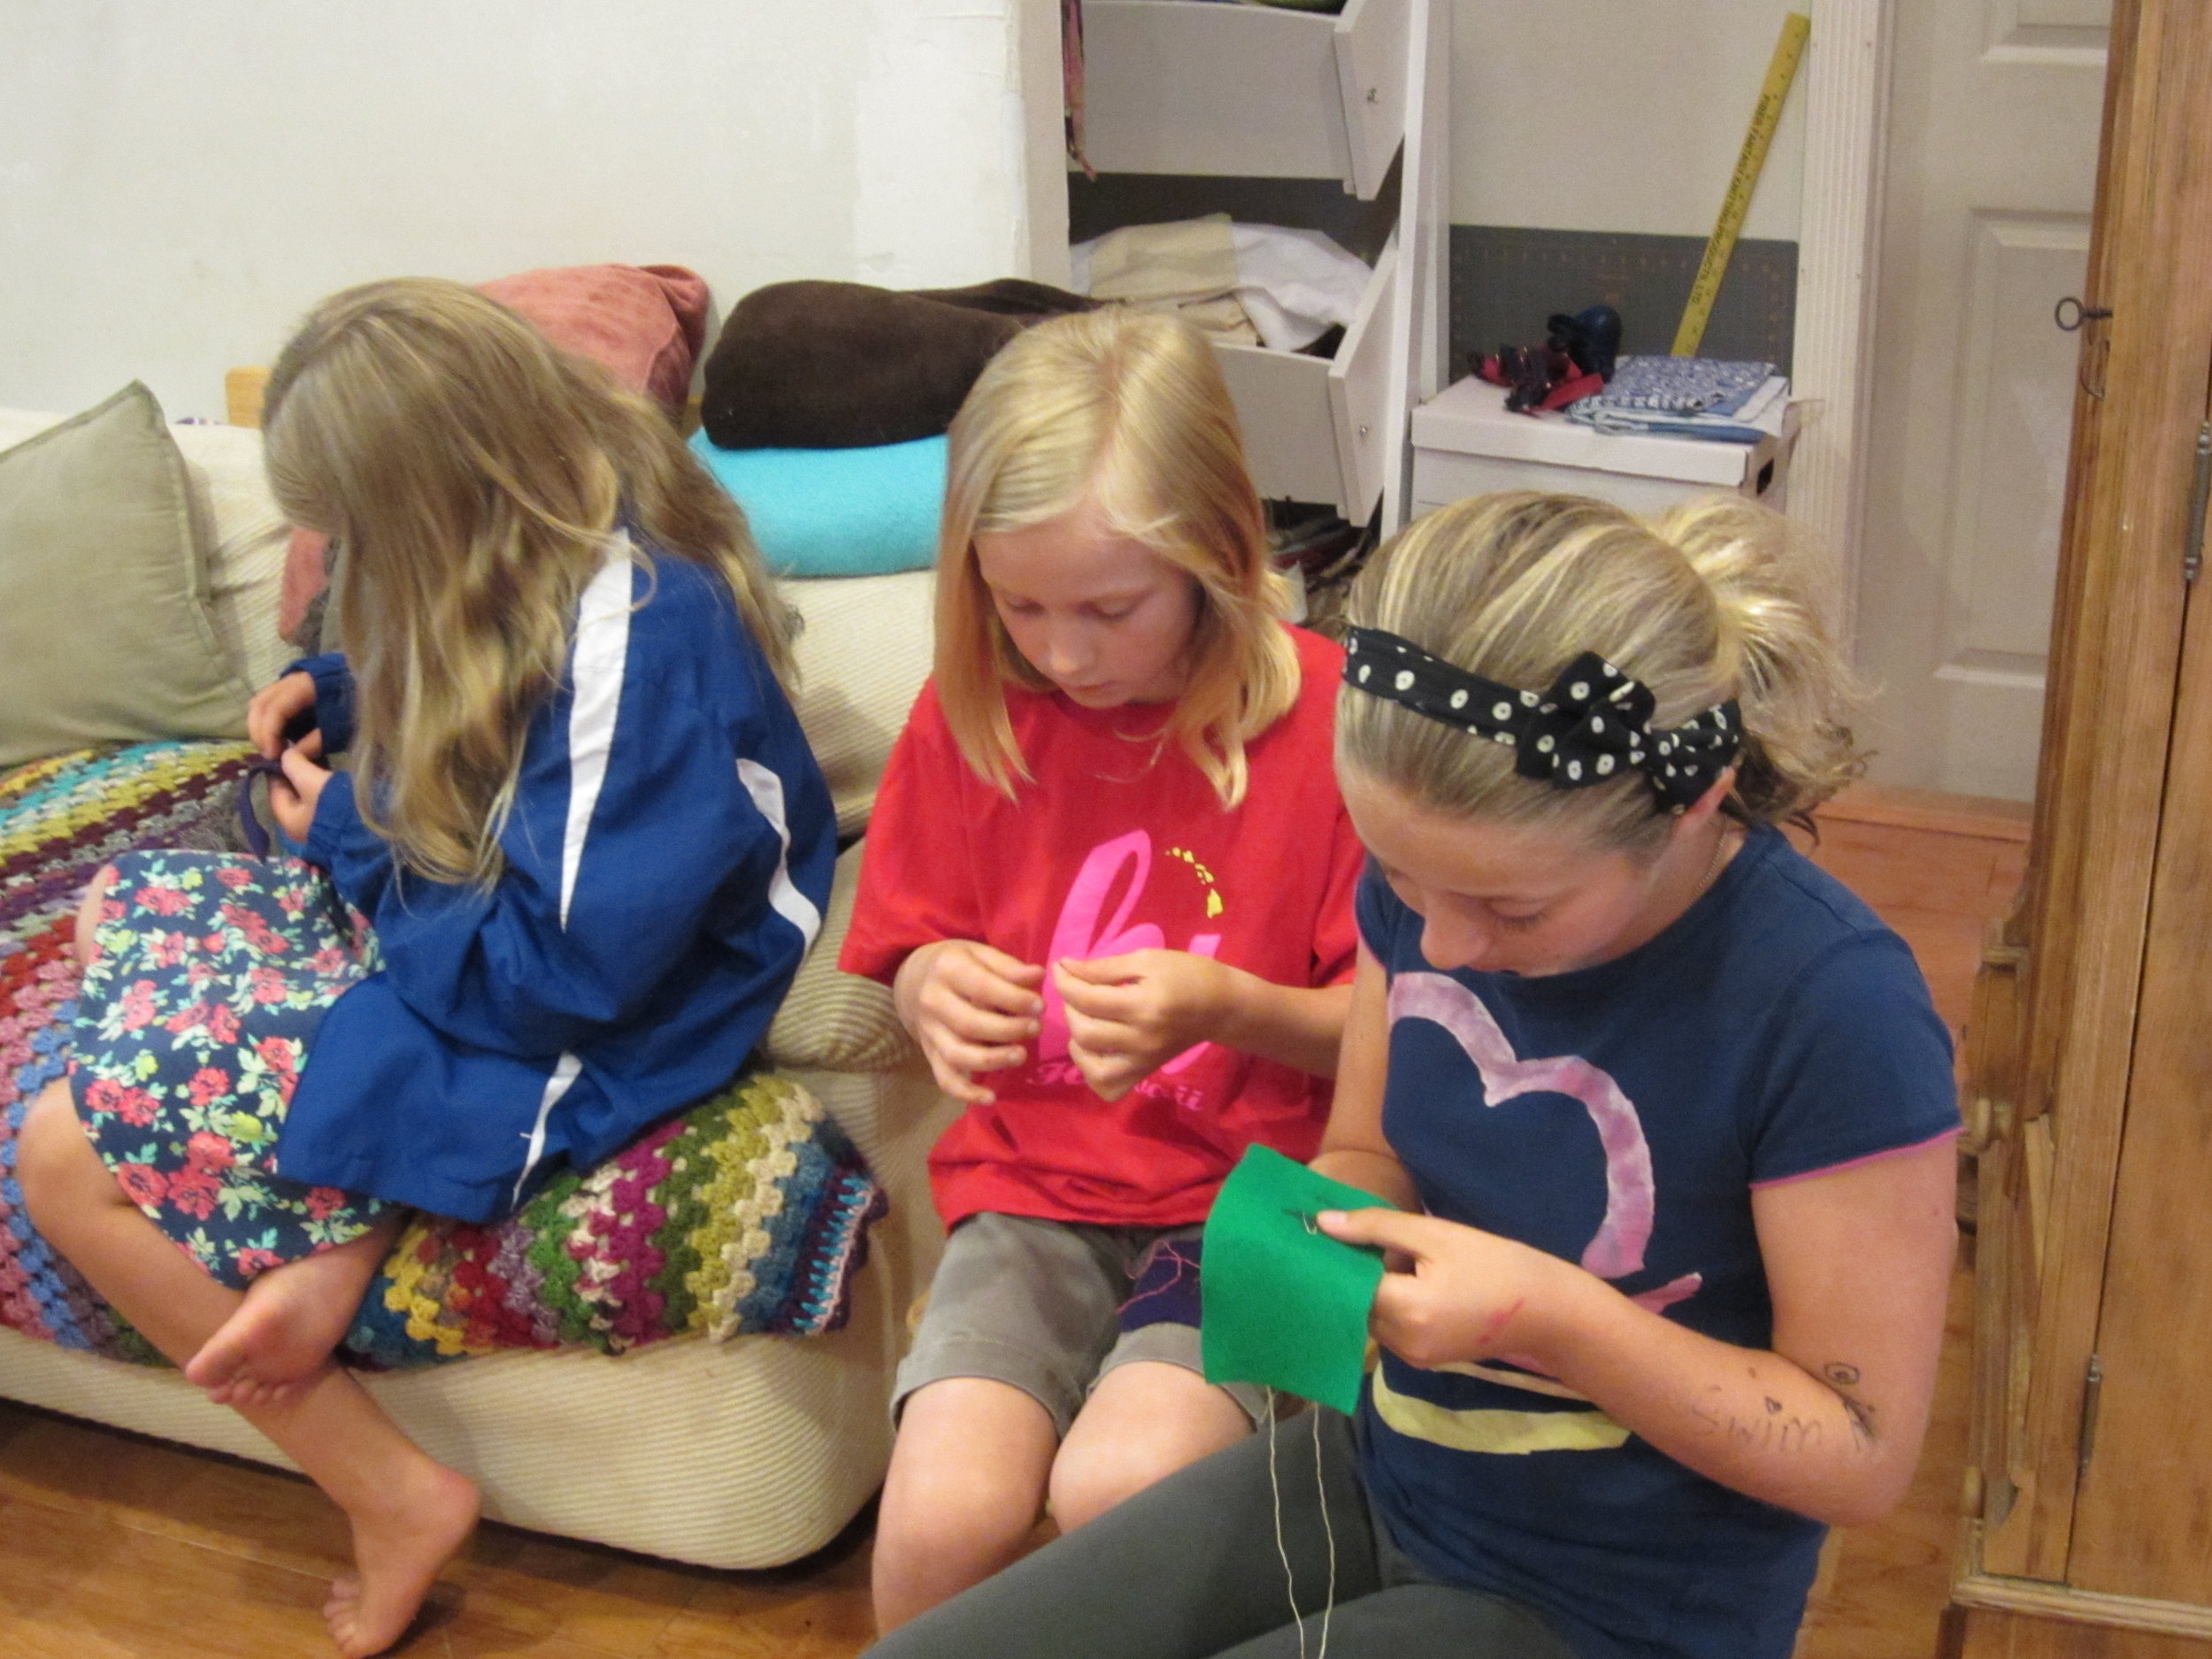
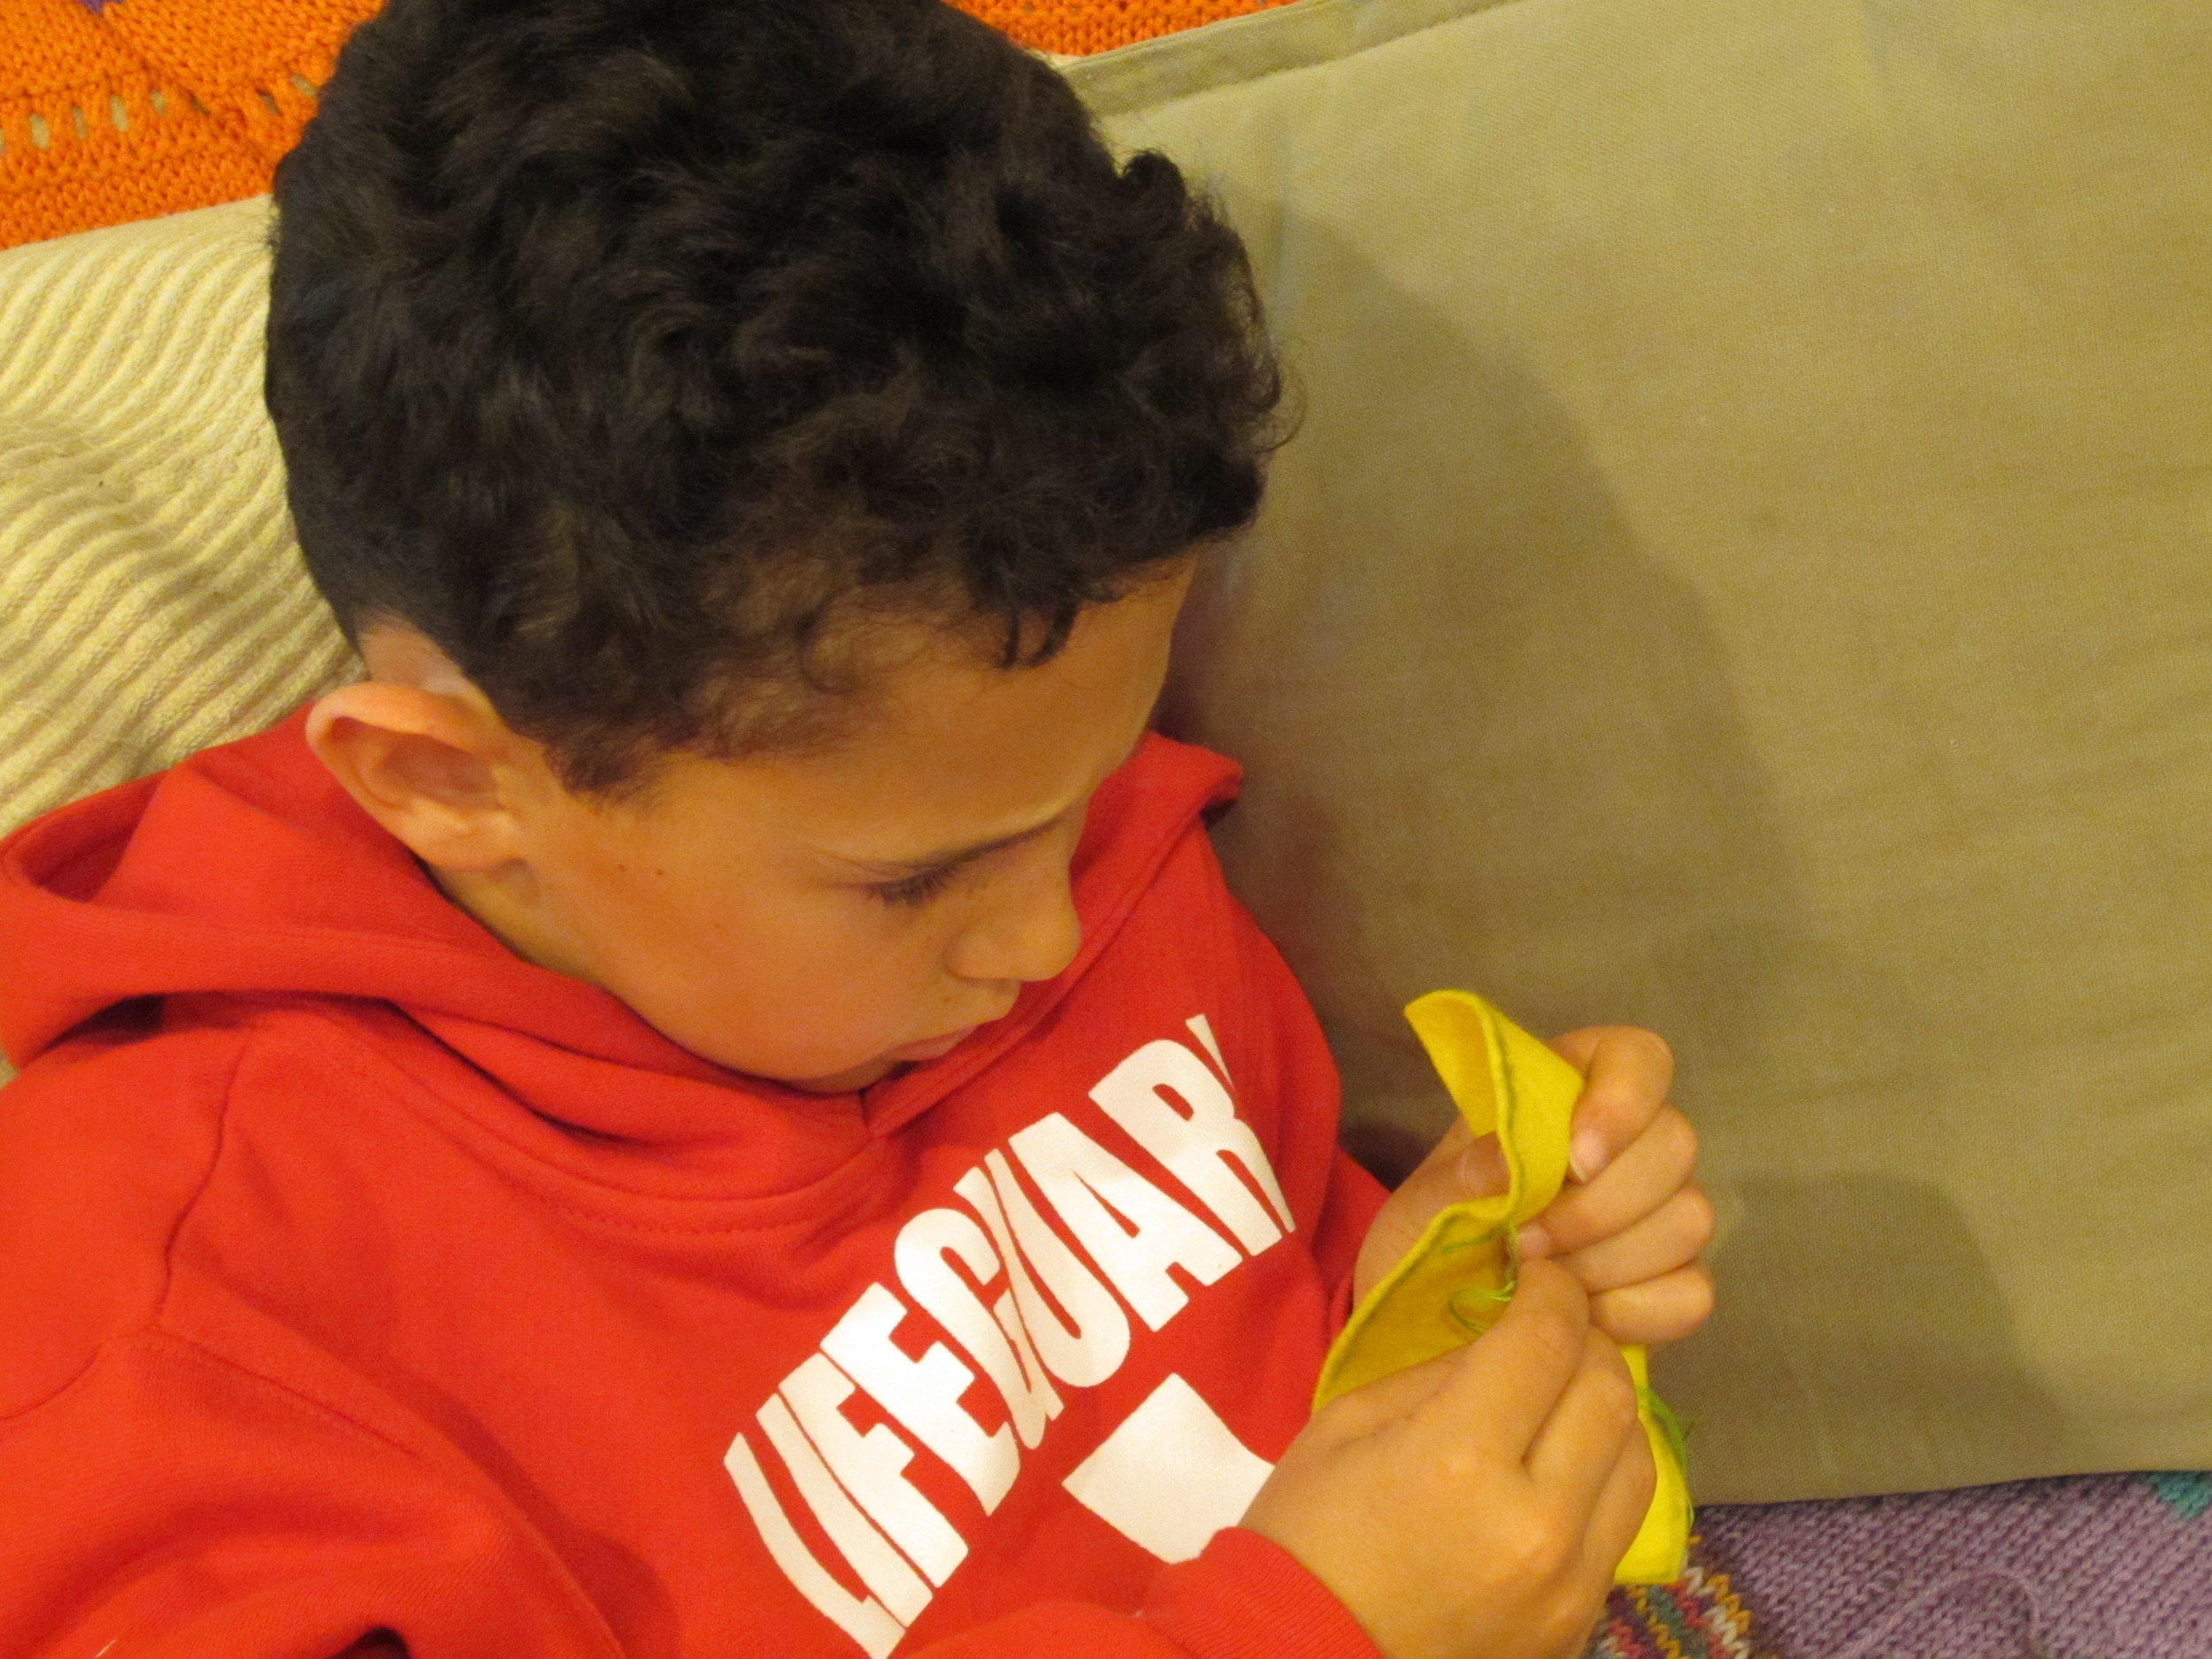
The kids are really going now.  They know how the machines work, they know how the iron works, and they know how to finish things off by hand.
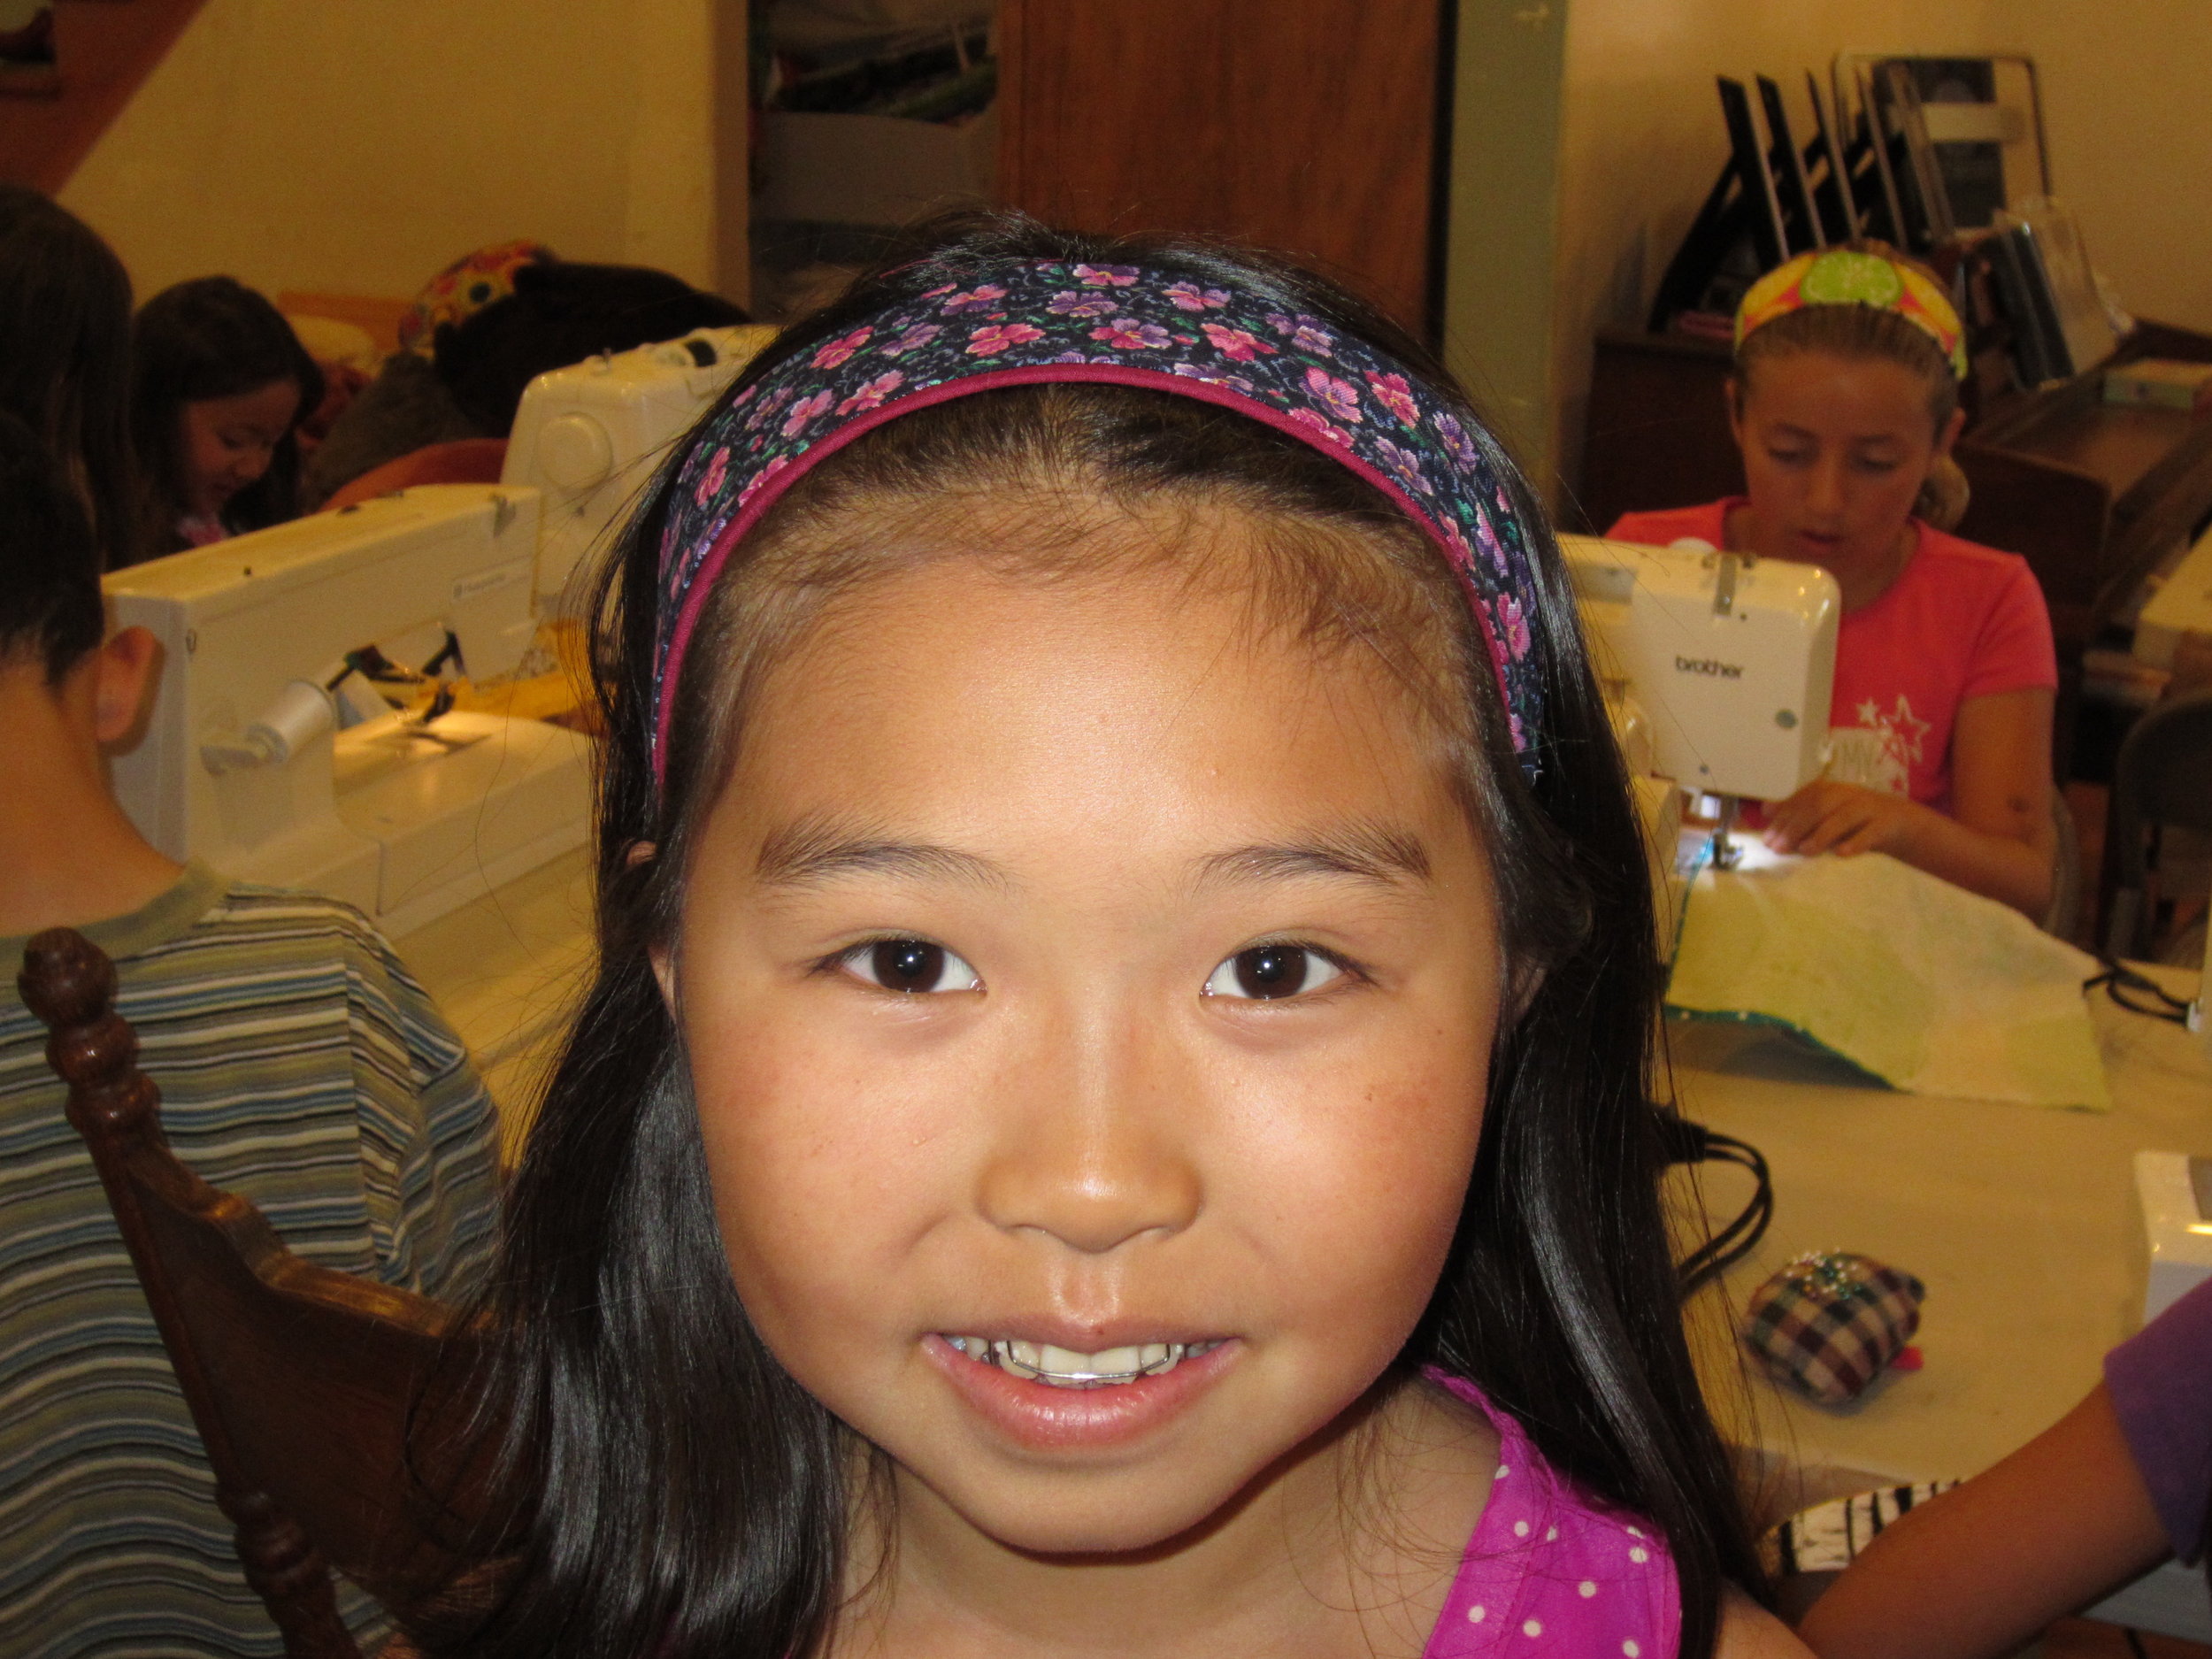
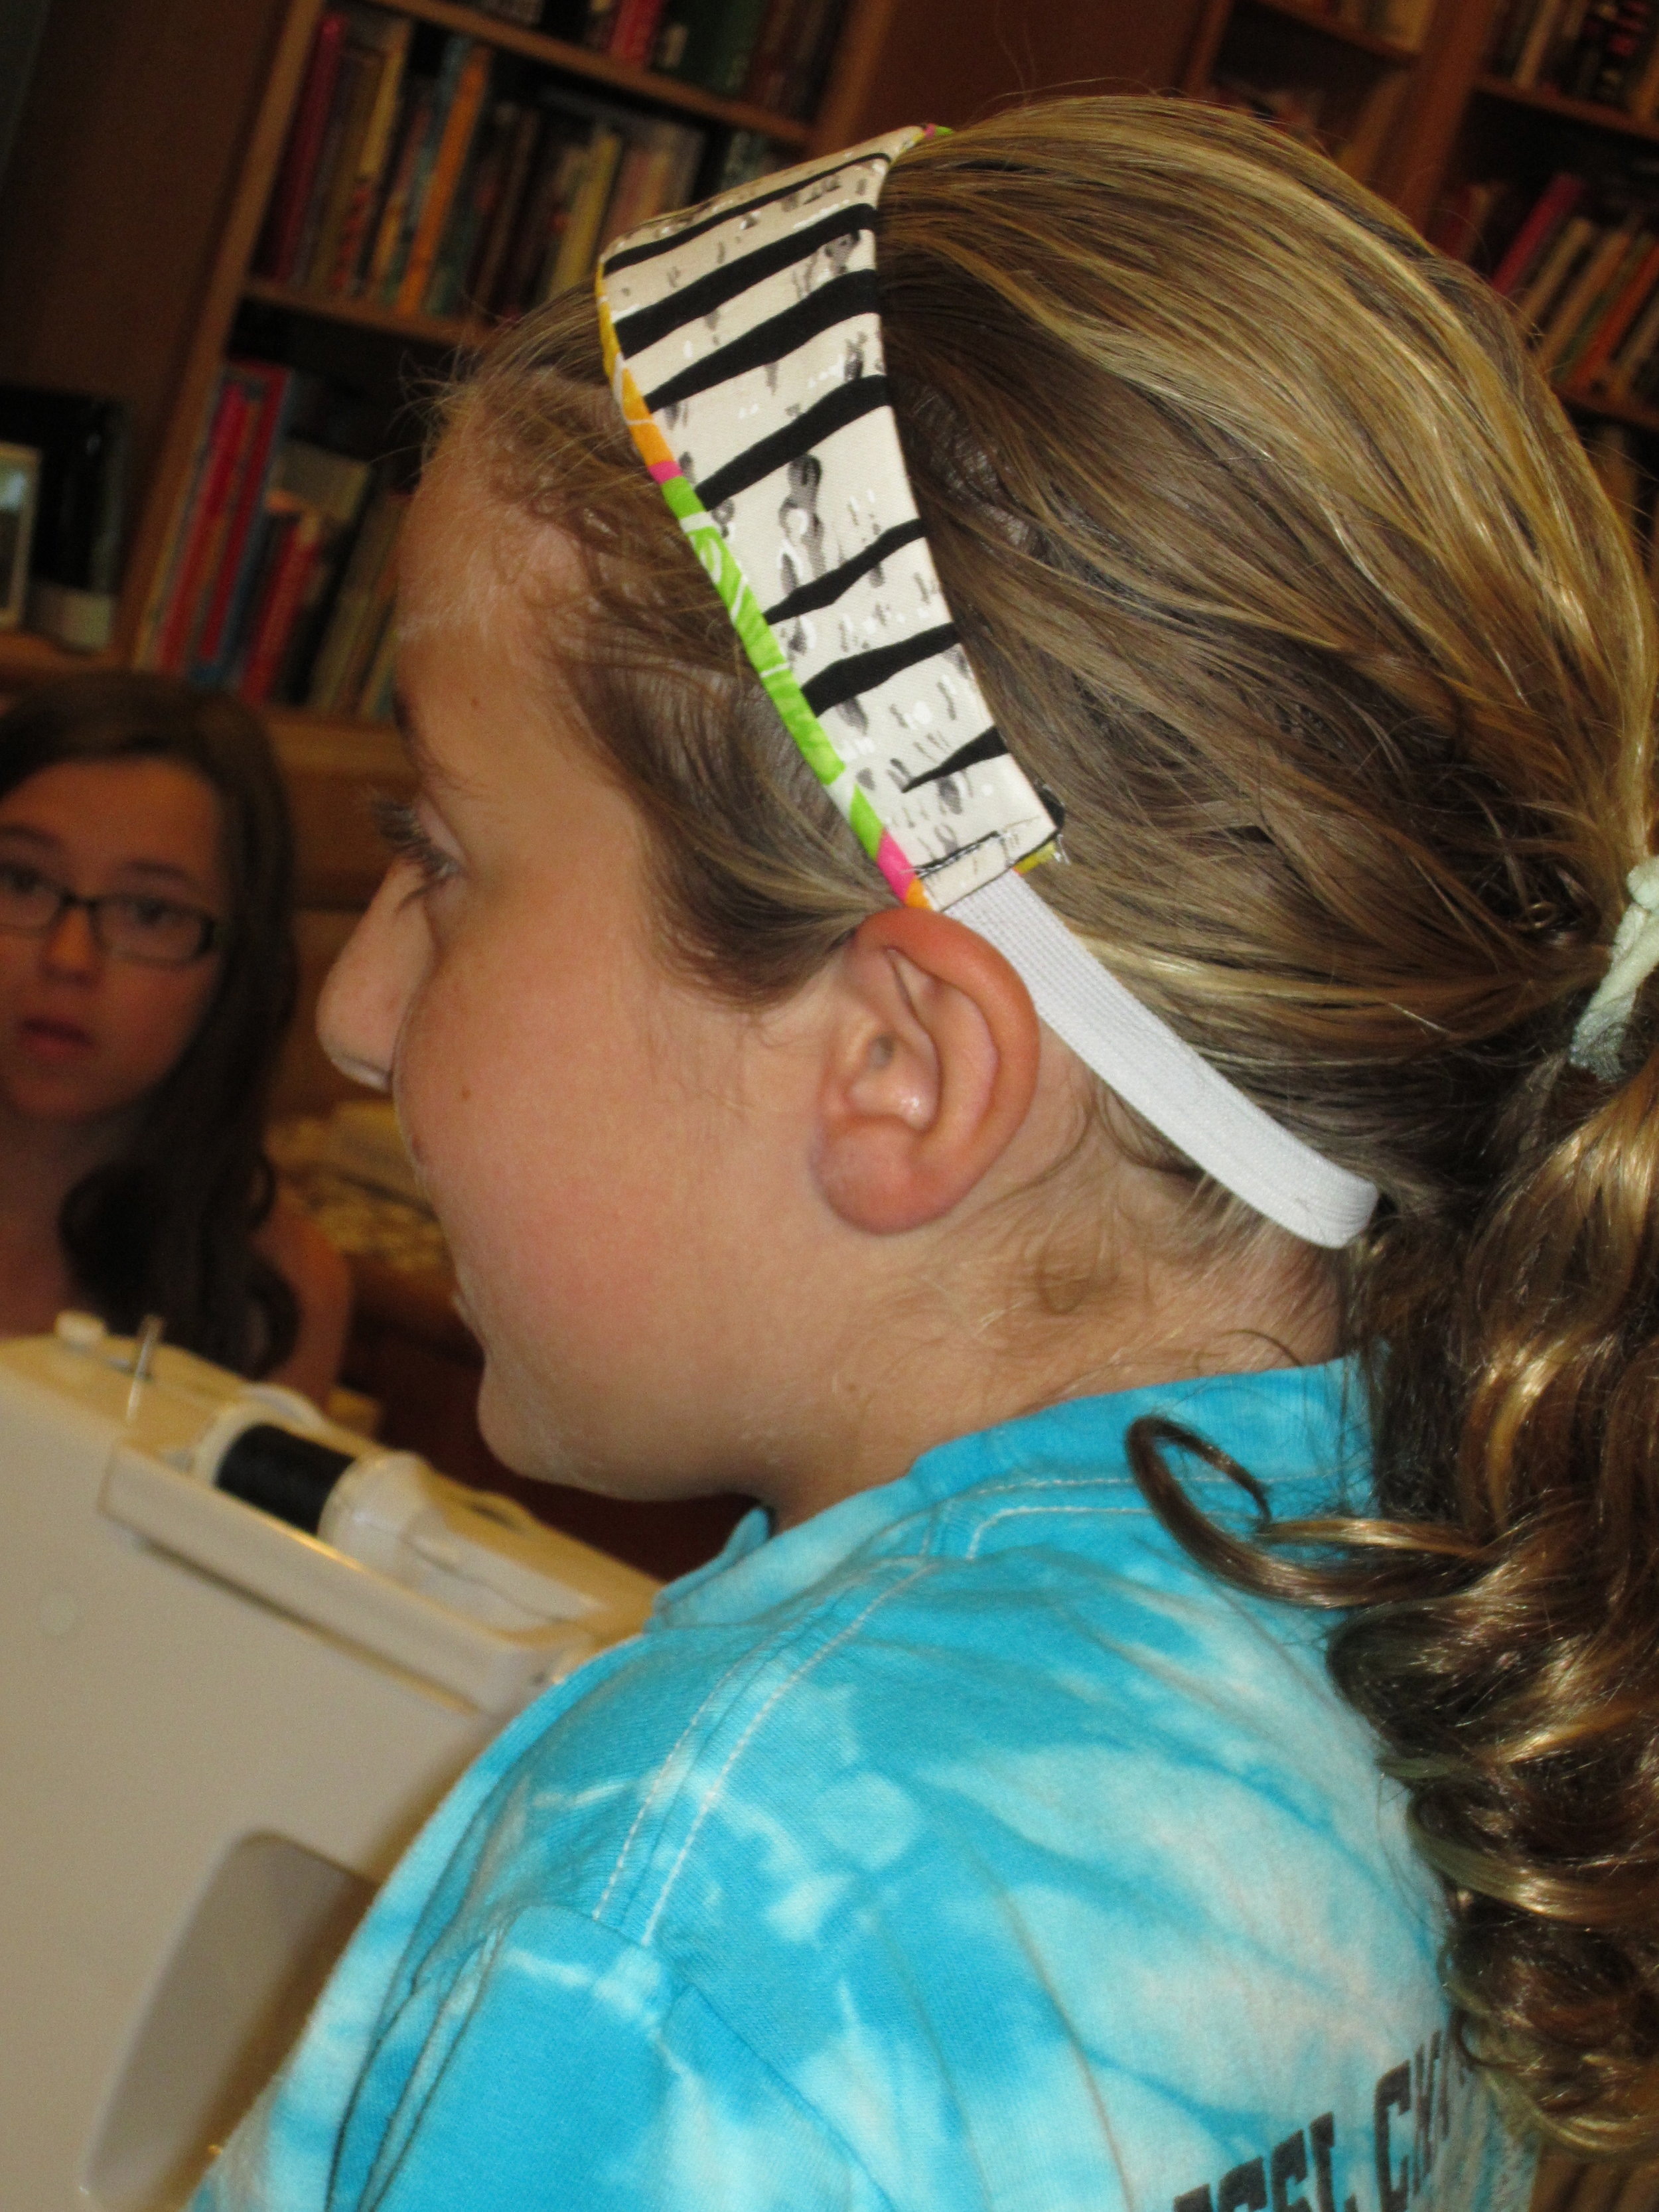
IMG_3665More headbands!  These are great projects because they are somewhat simple, but yet the kids  get to work with stabilizer, turning a fabric tube and inserting elastic.  
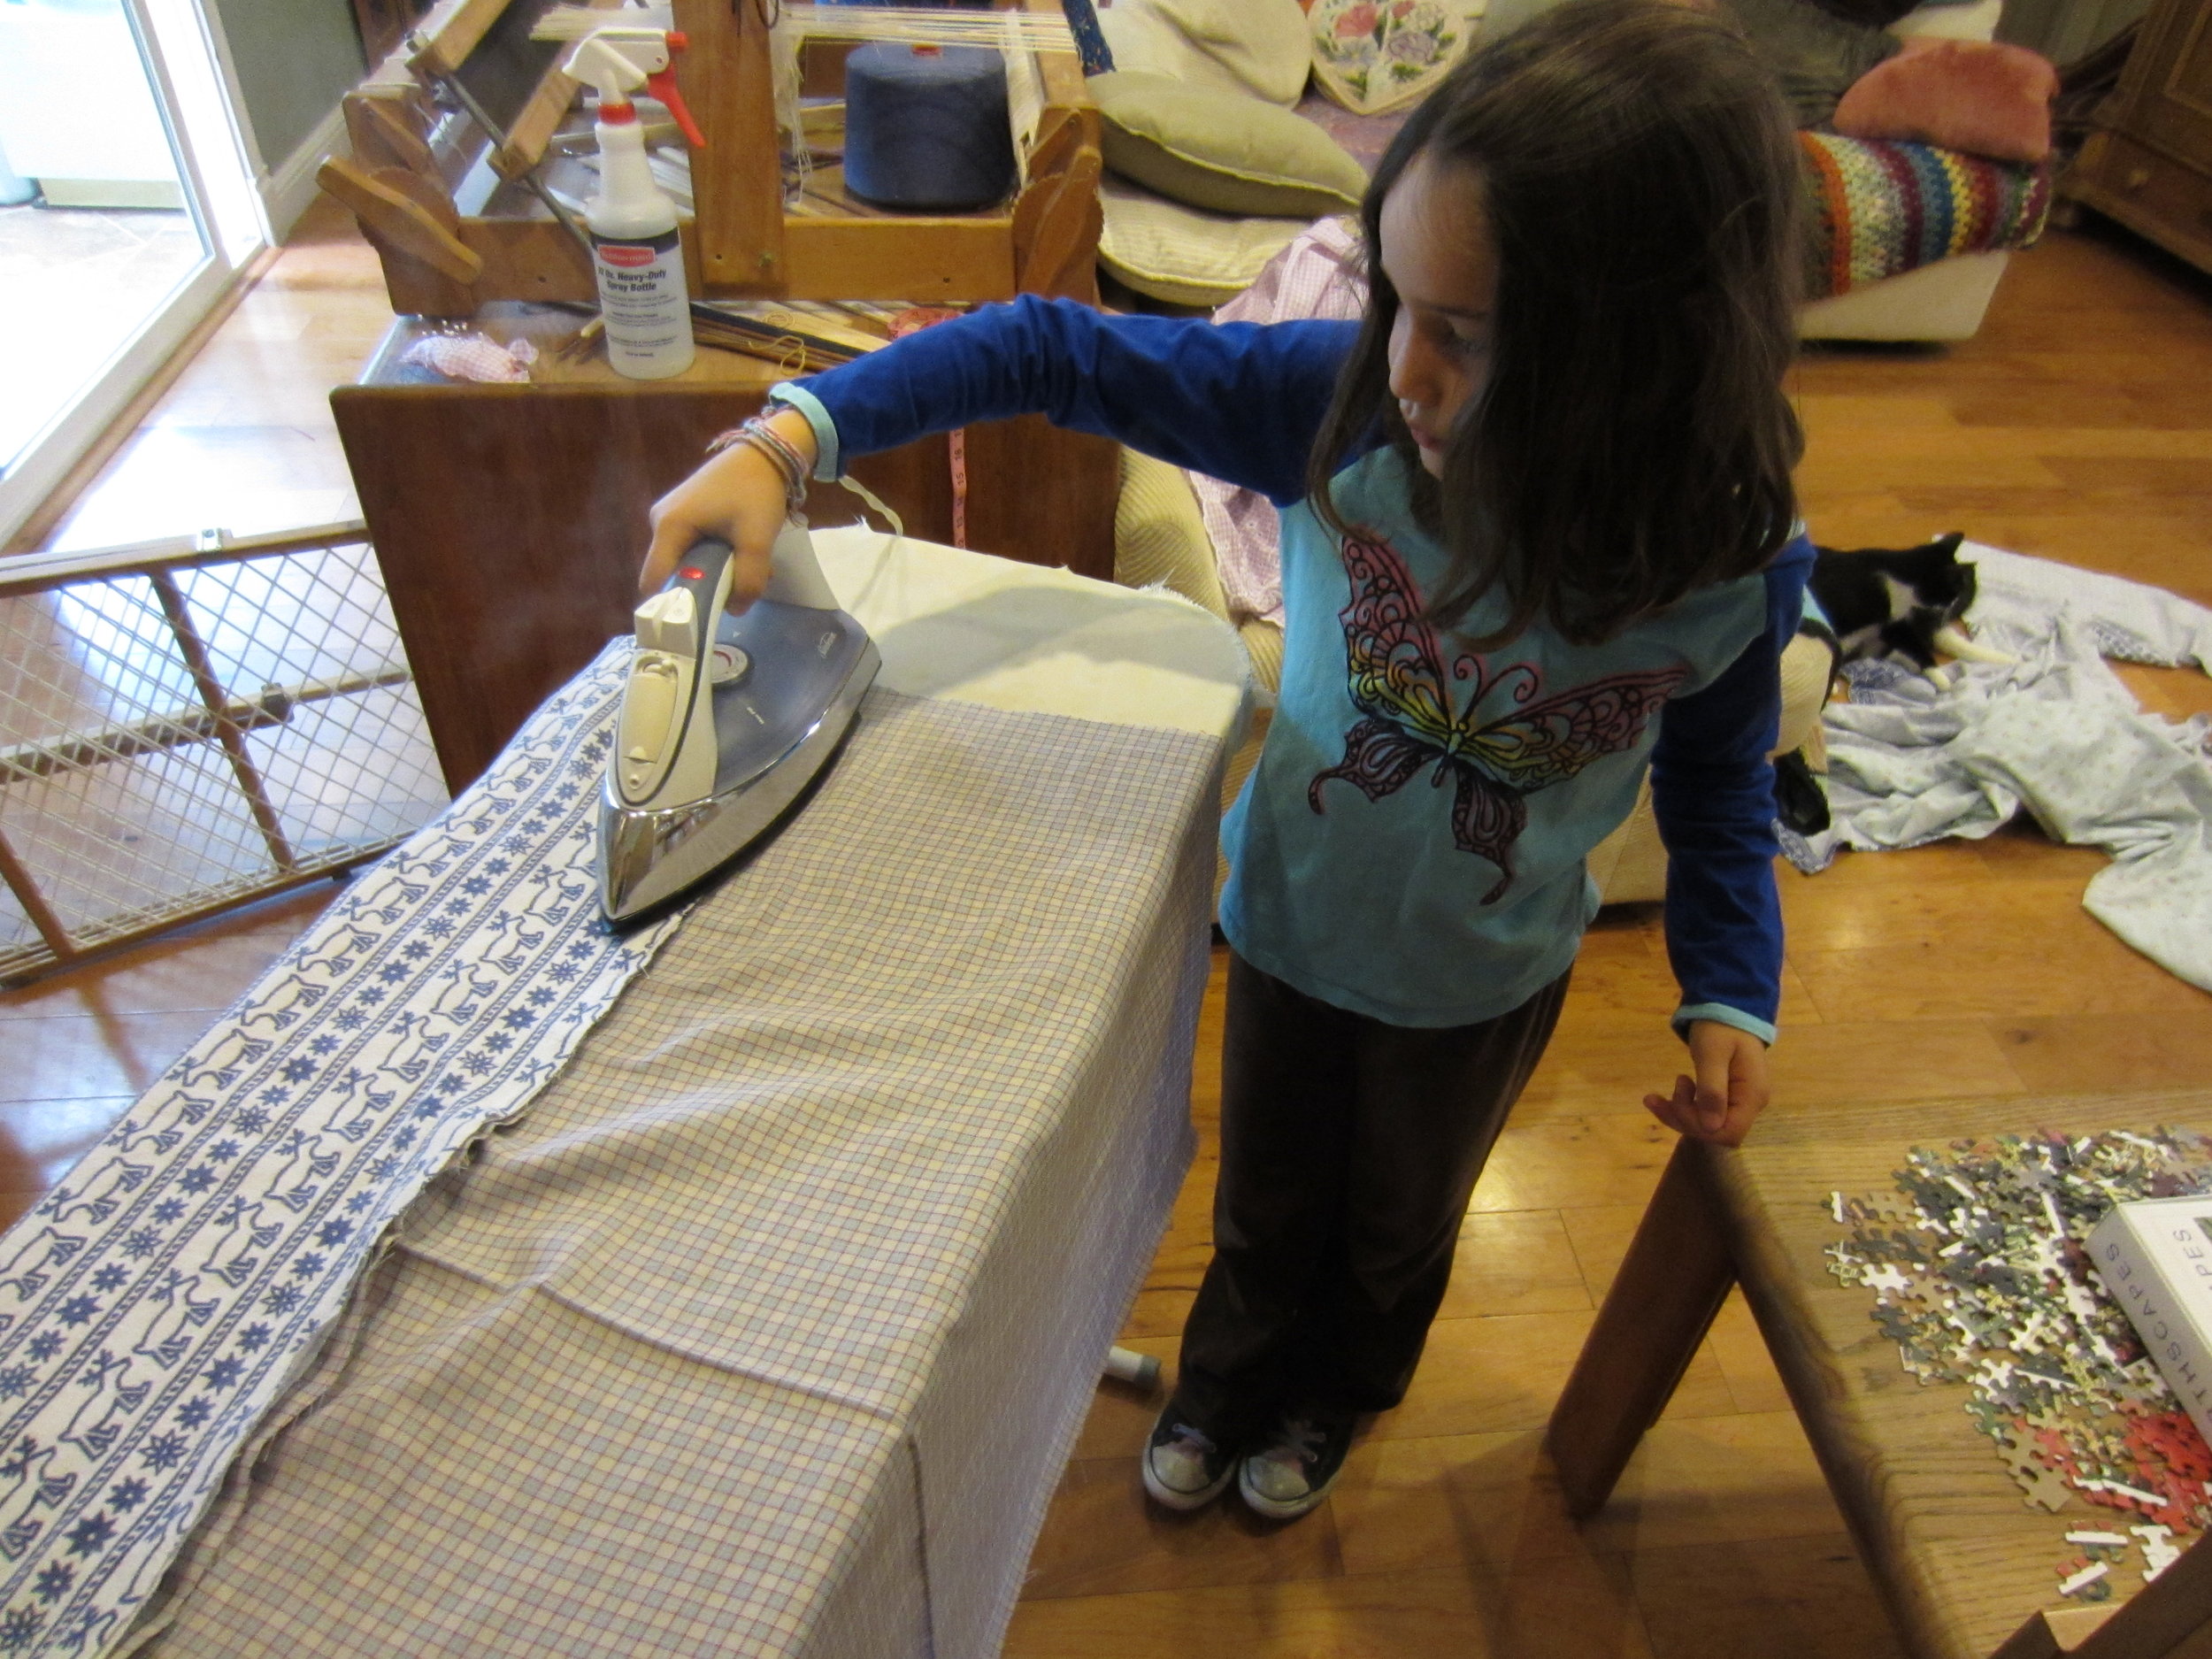
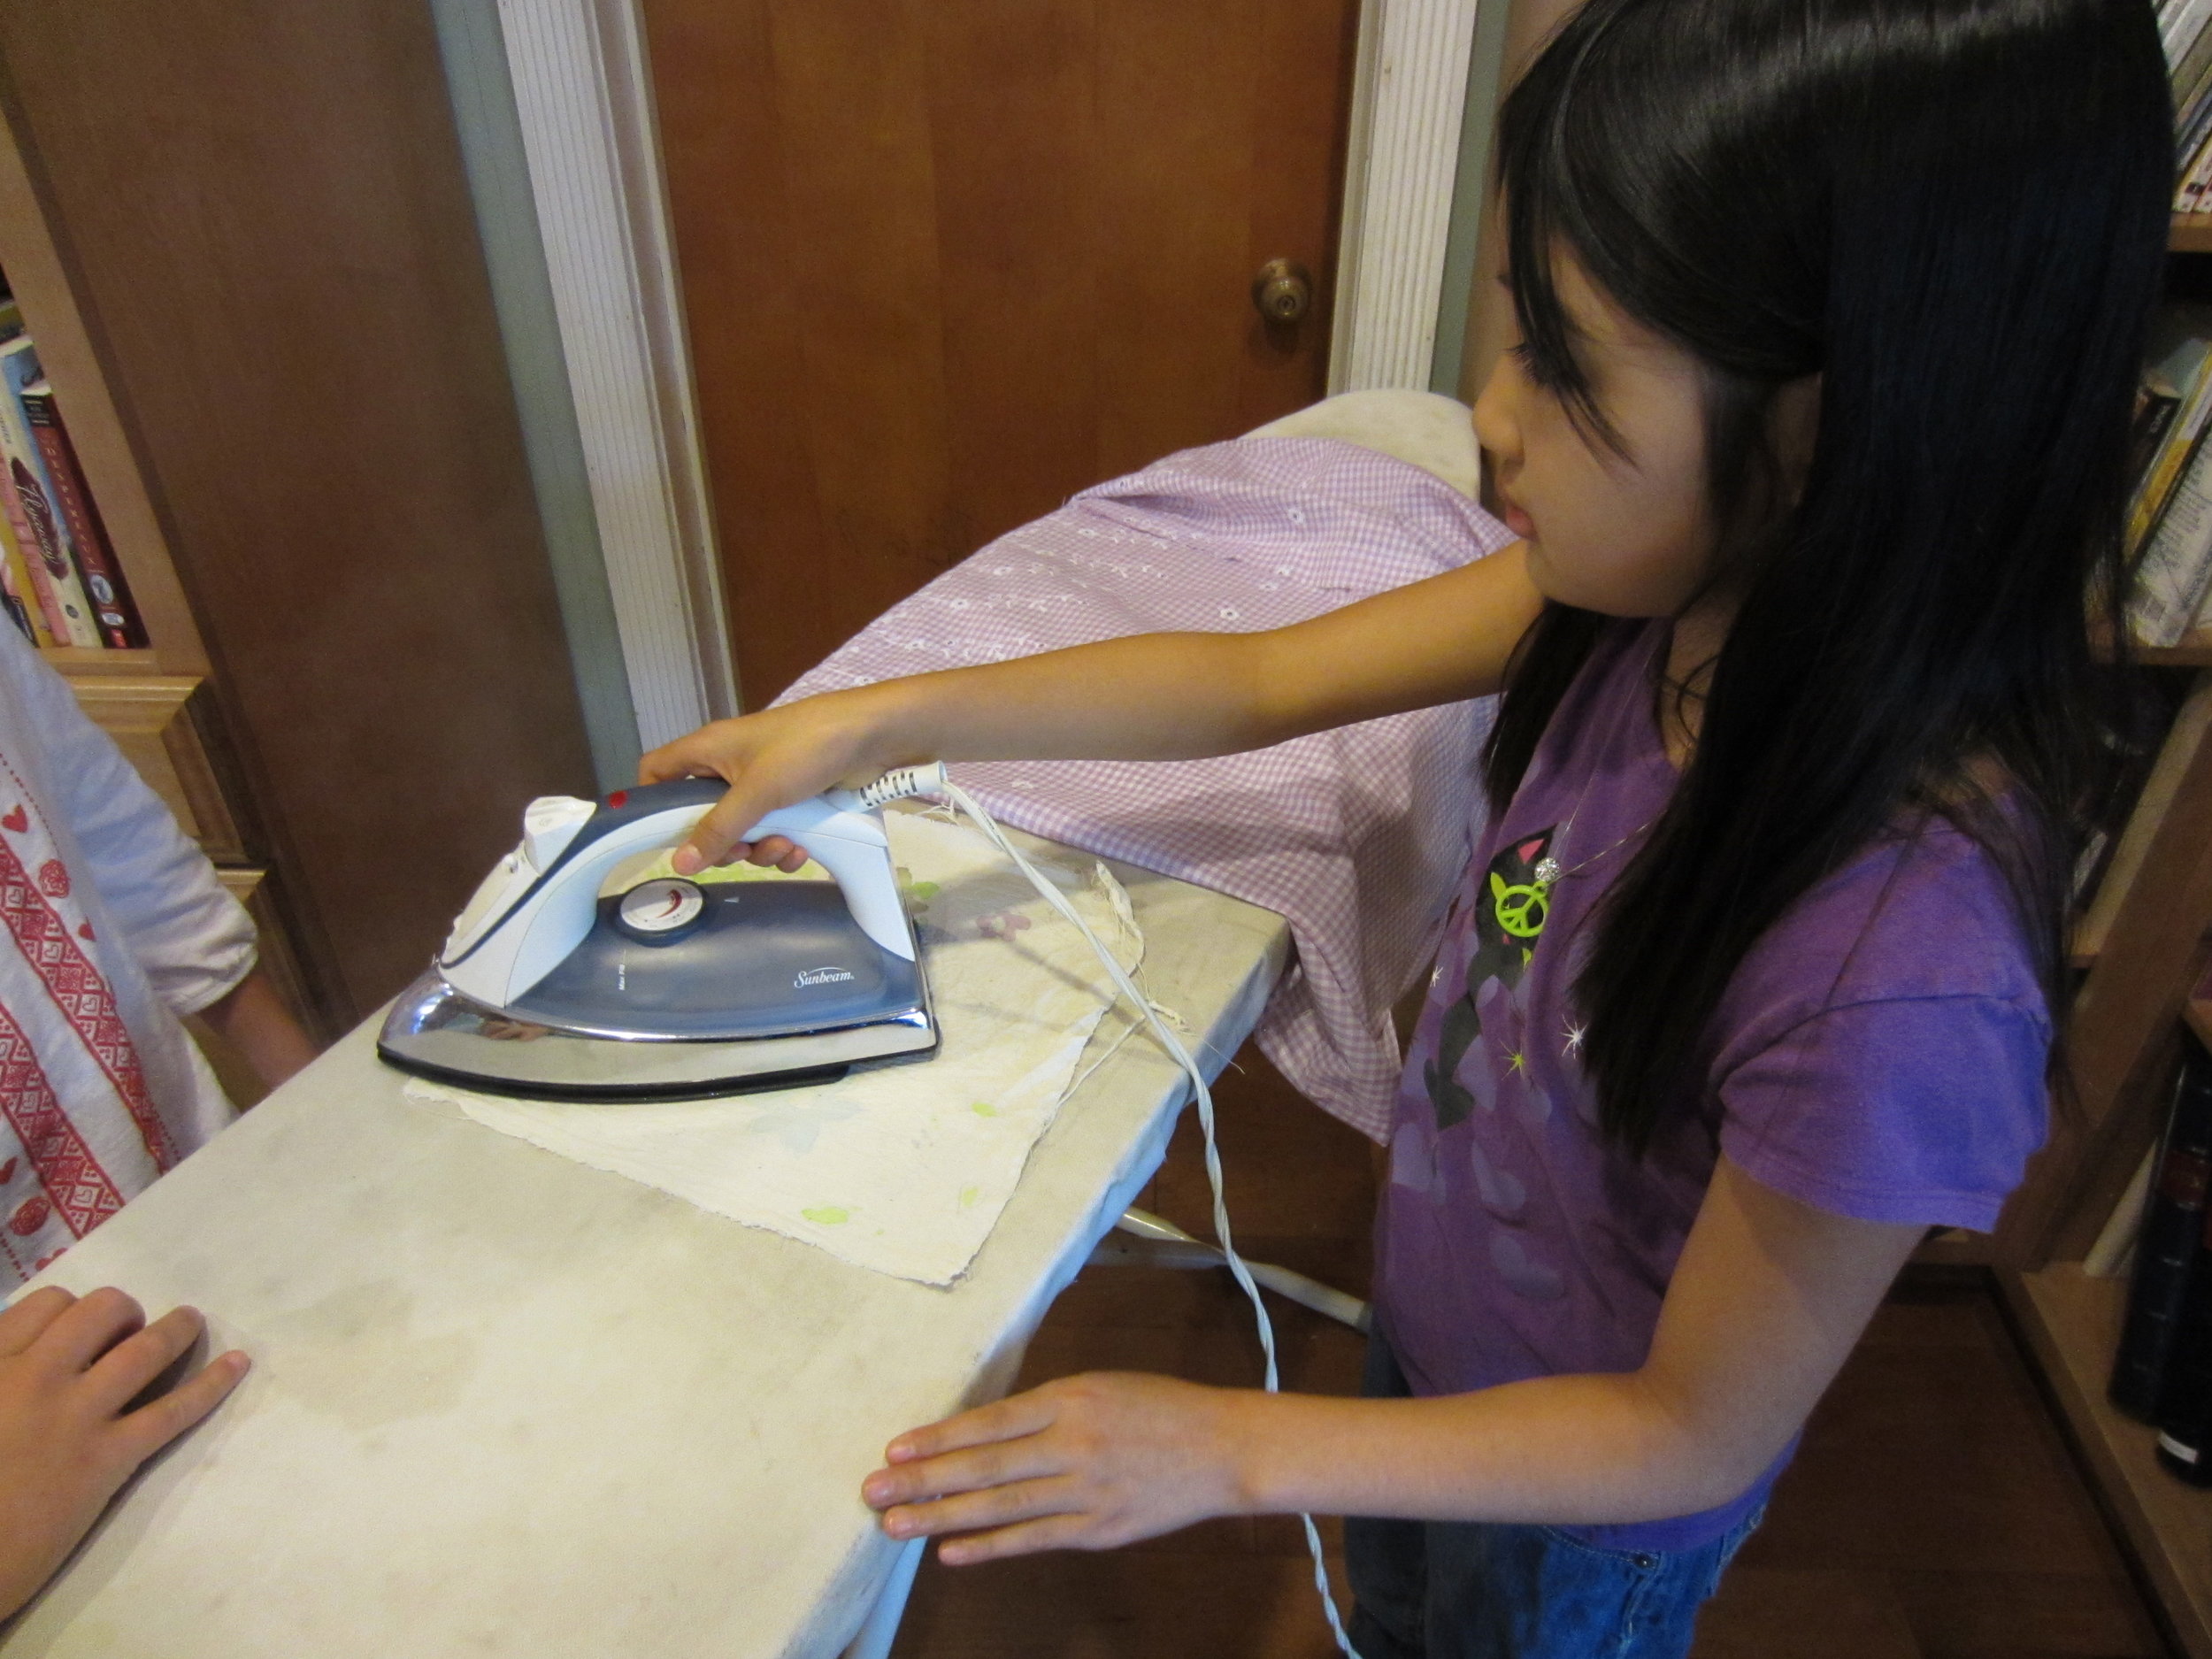
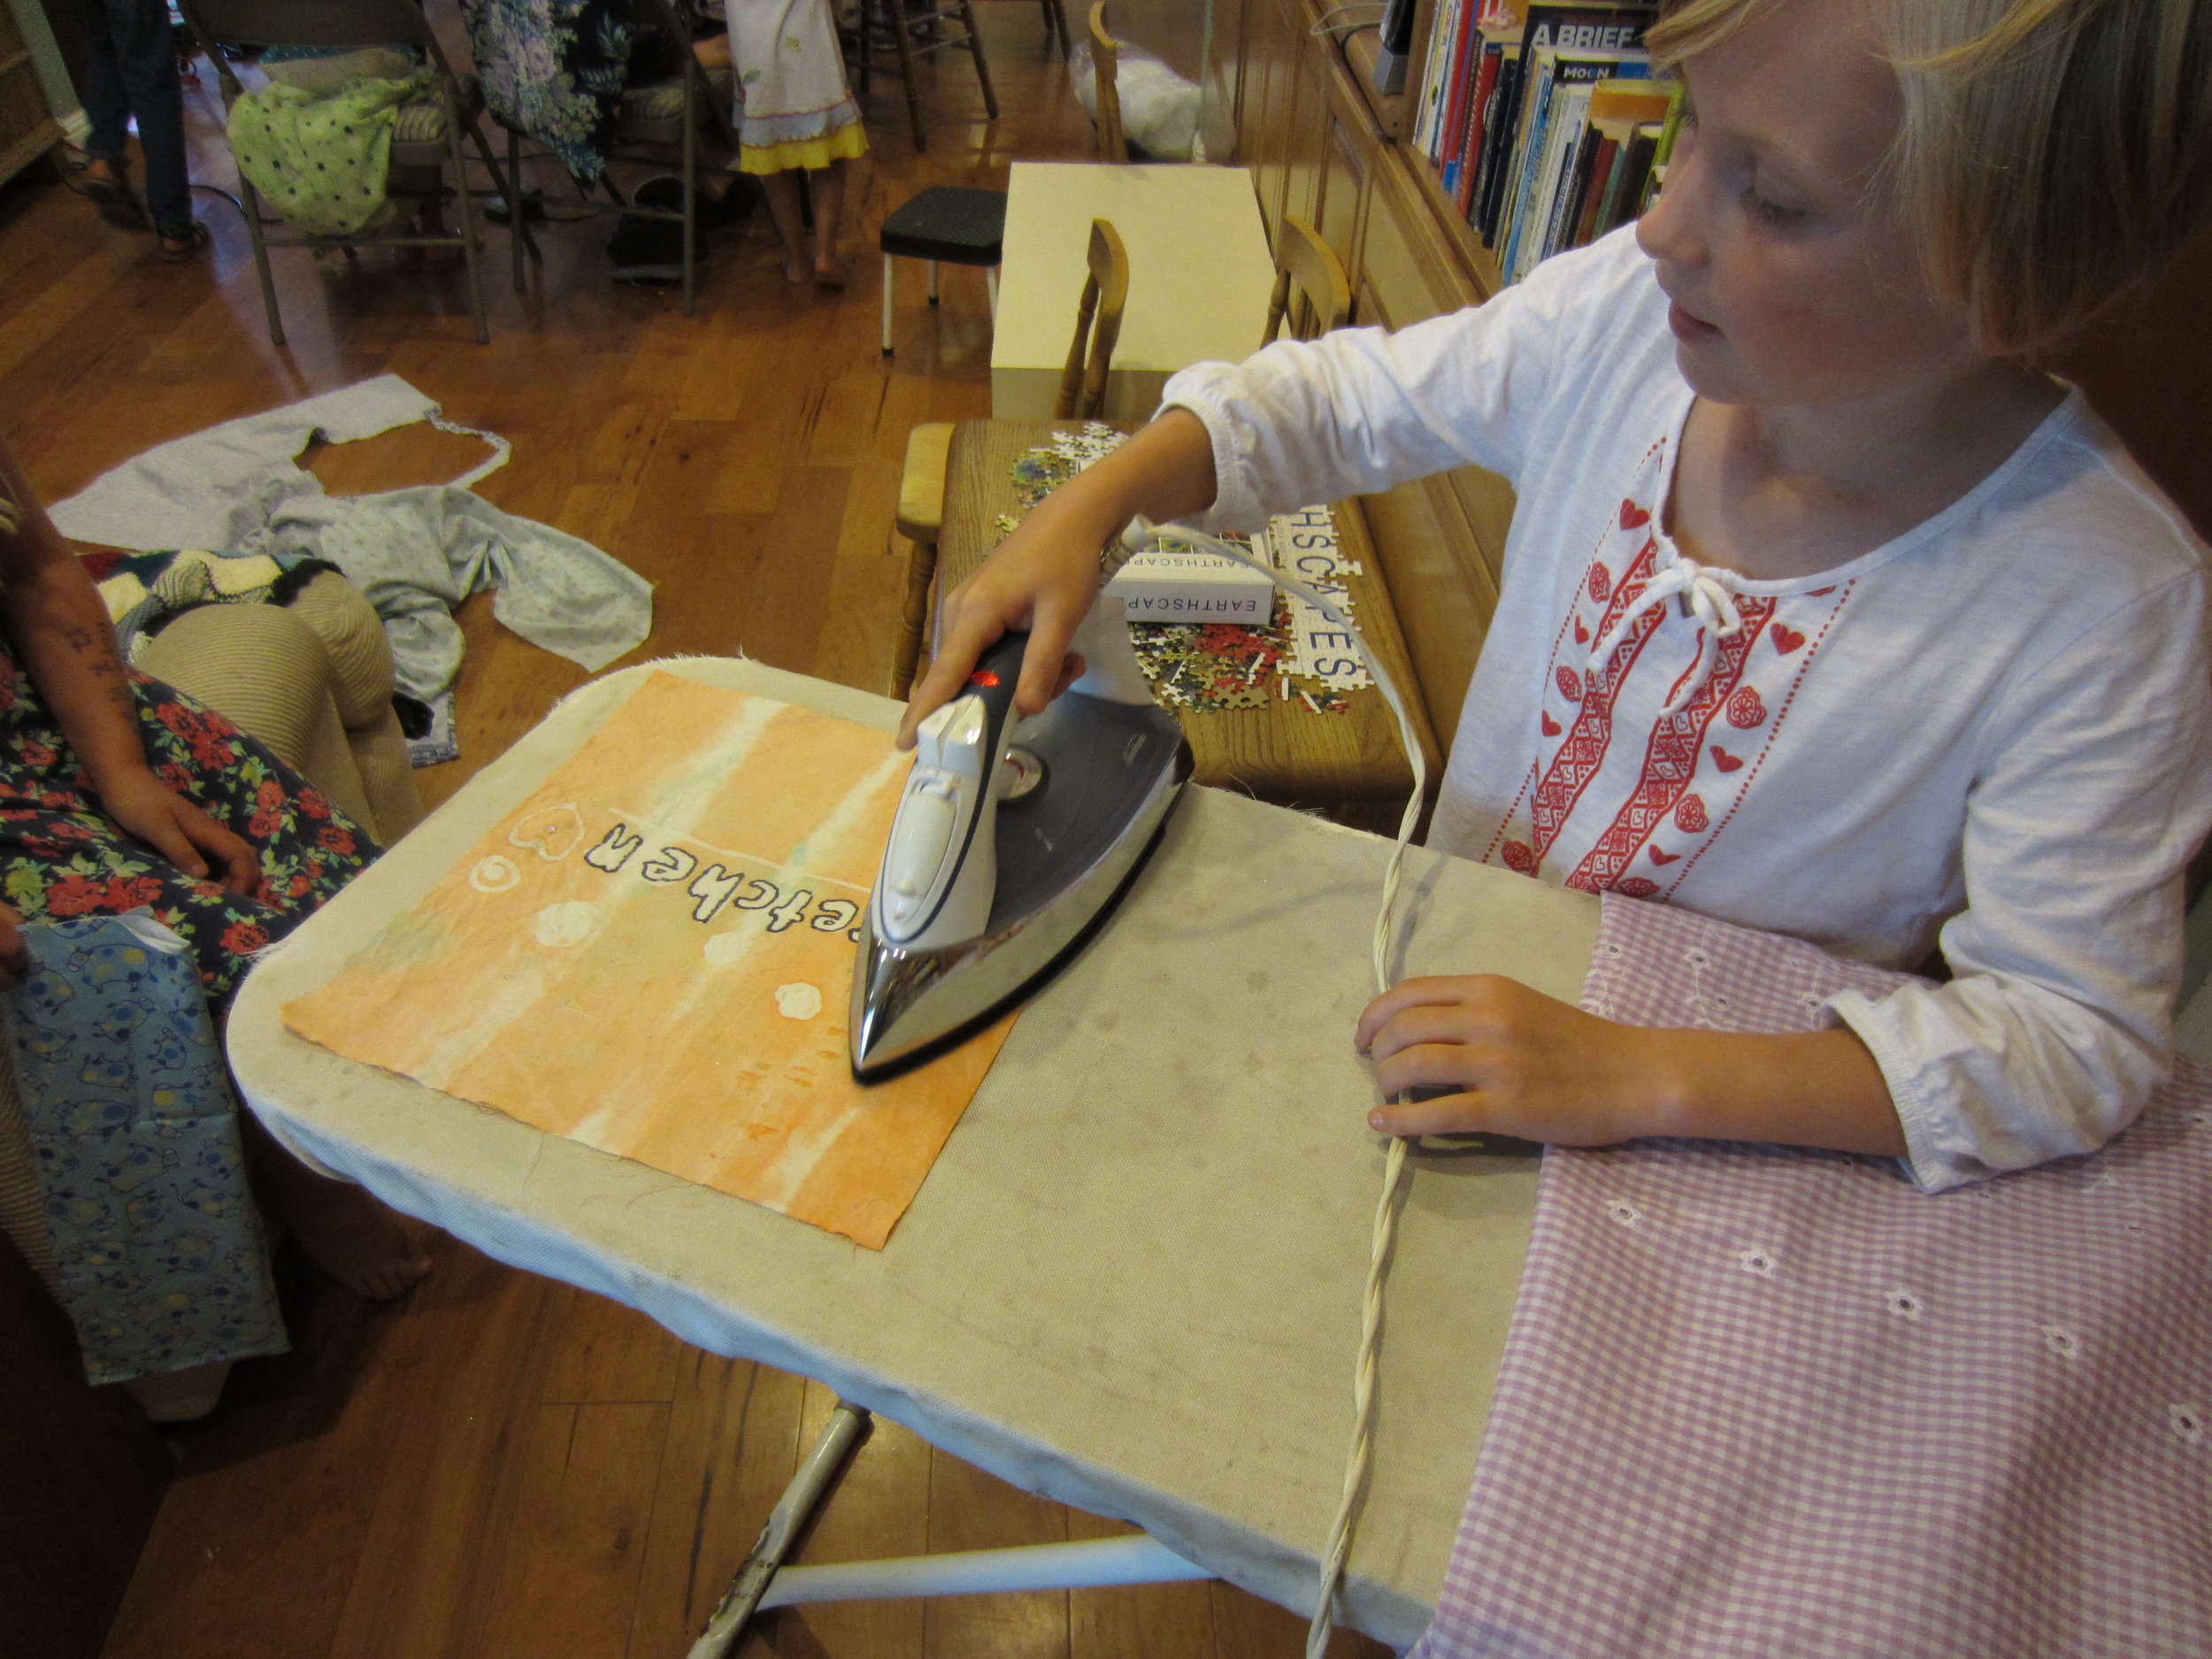
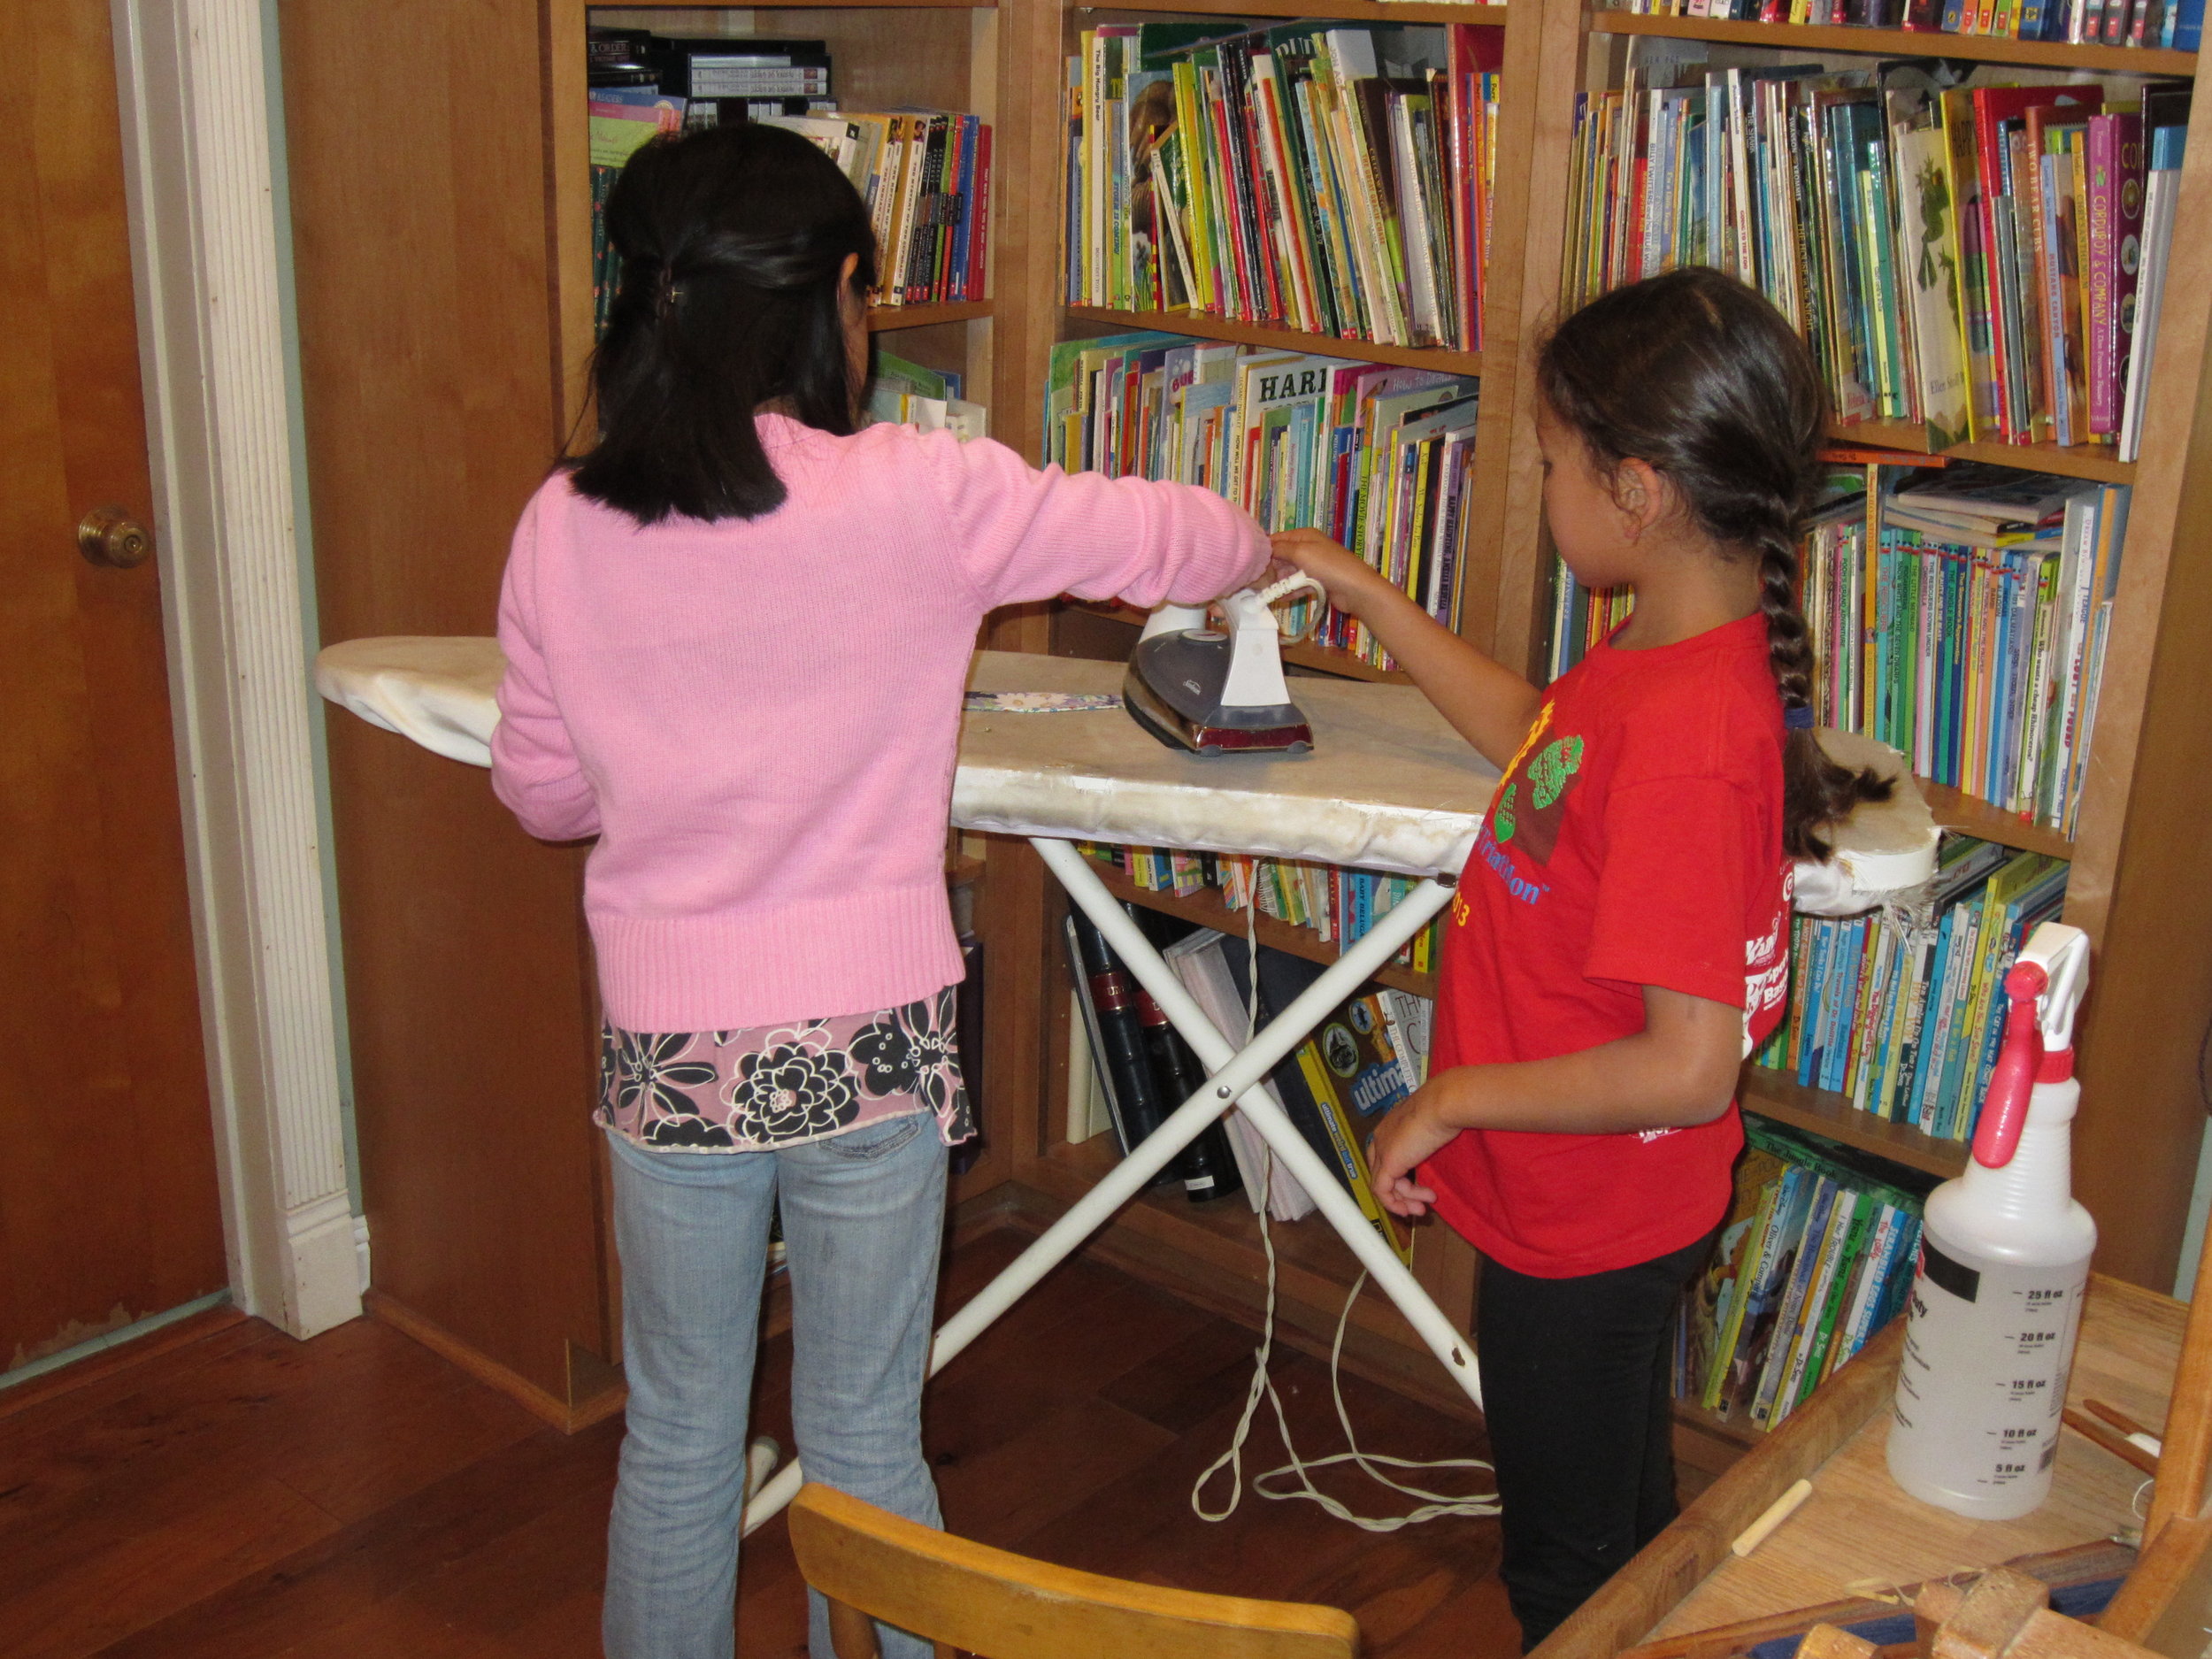
IMG_3666Ironing...

IMG_3667Ironing...

IMG_3671And more ironing!  All the kids ironed today.  This camper is almost done with her pillow case.
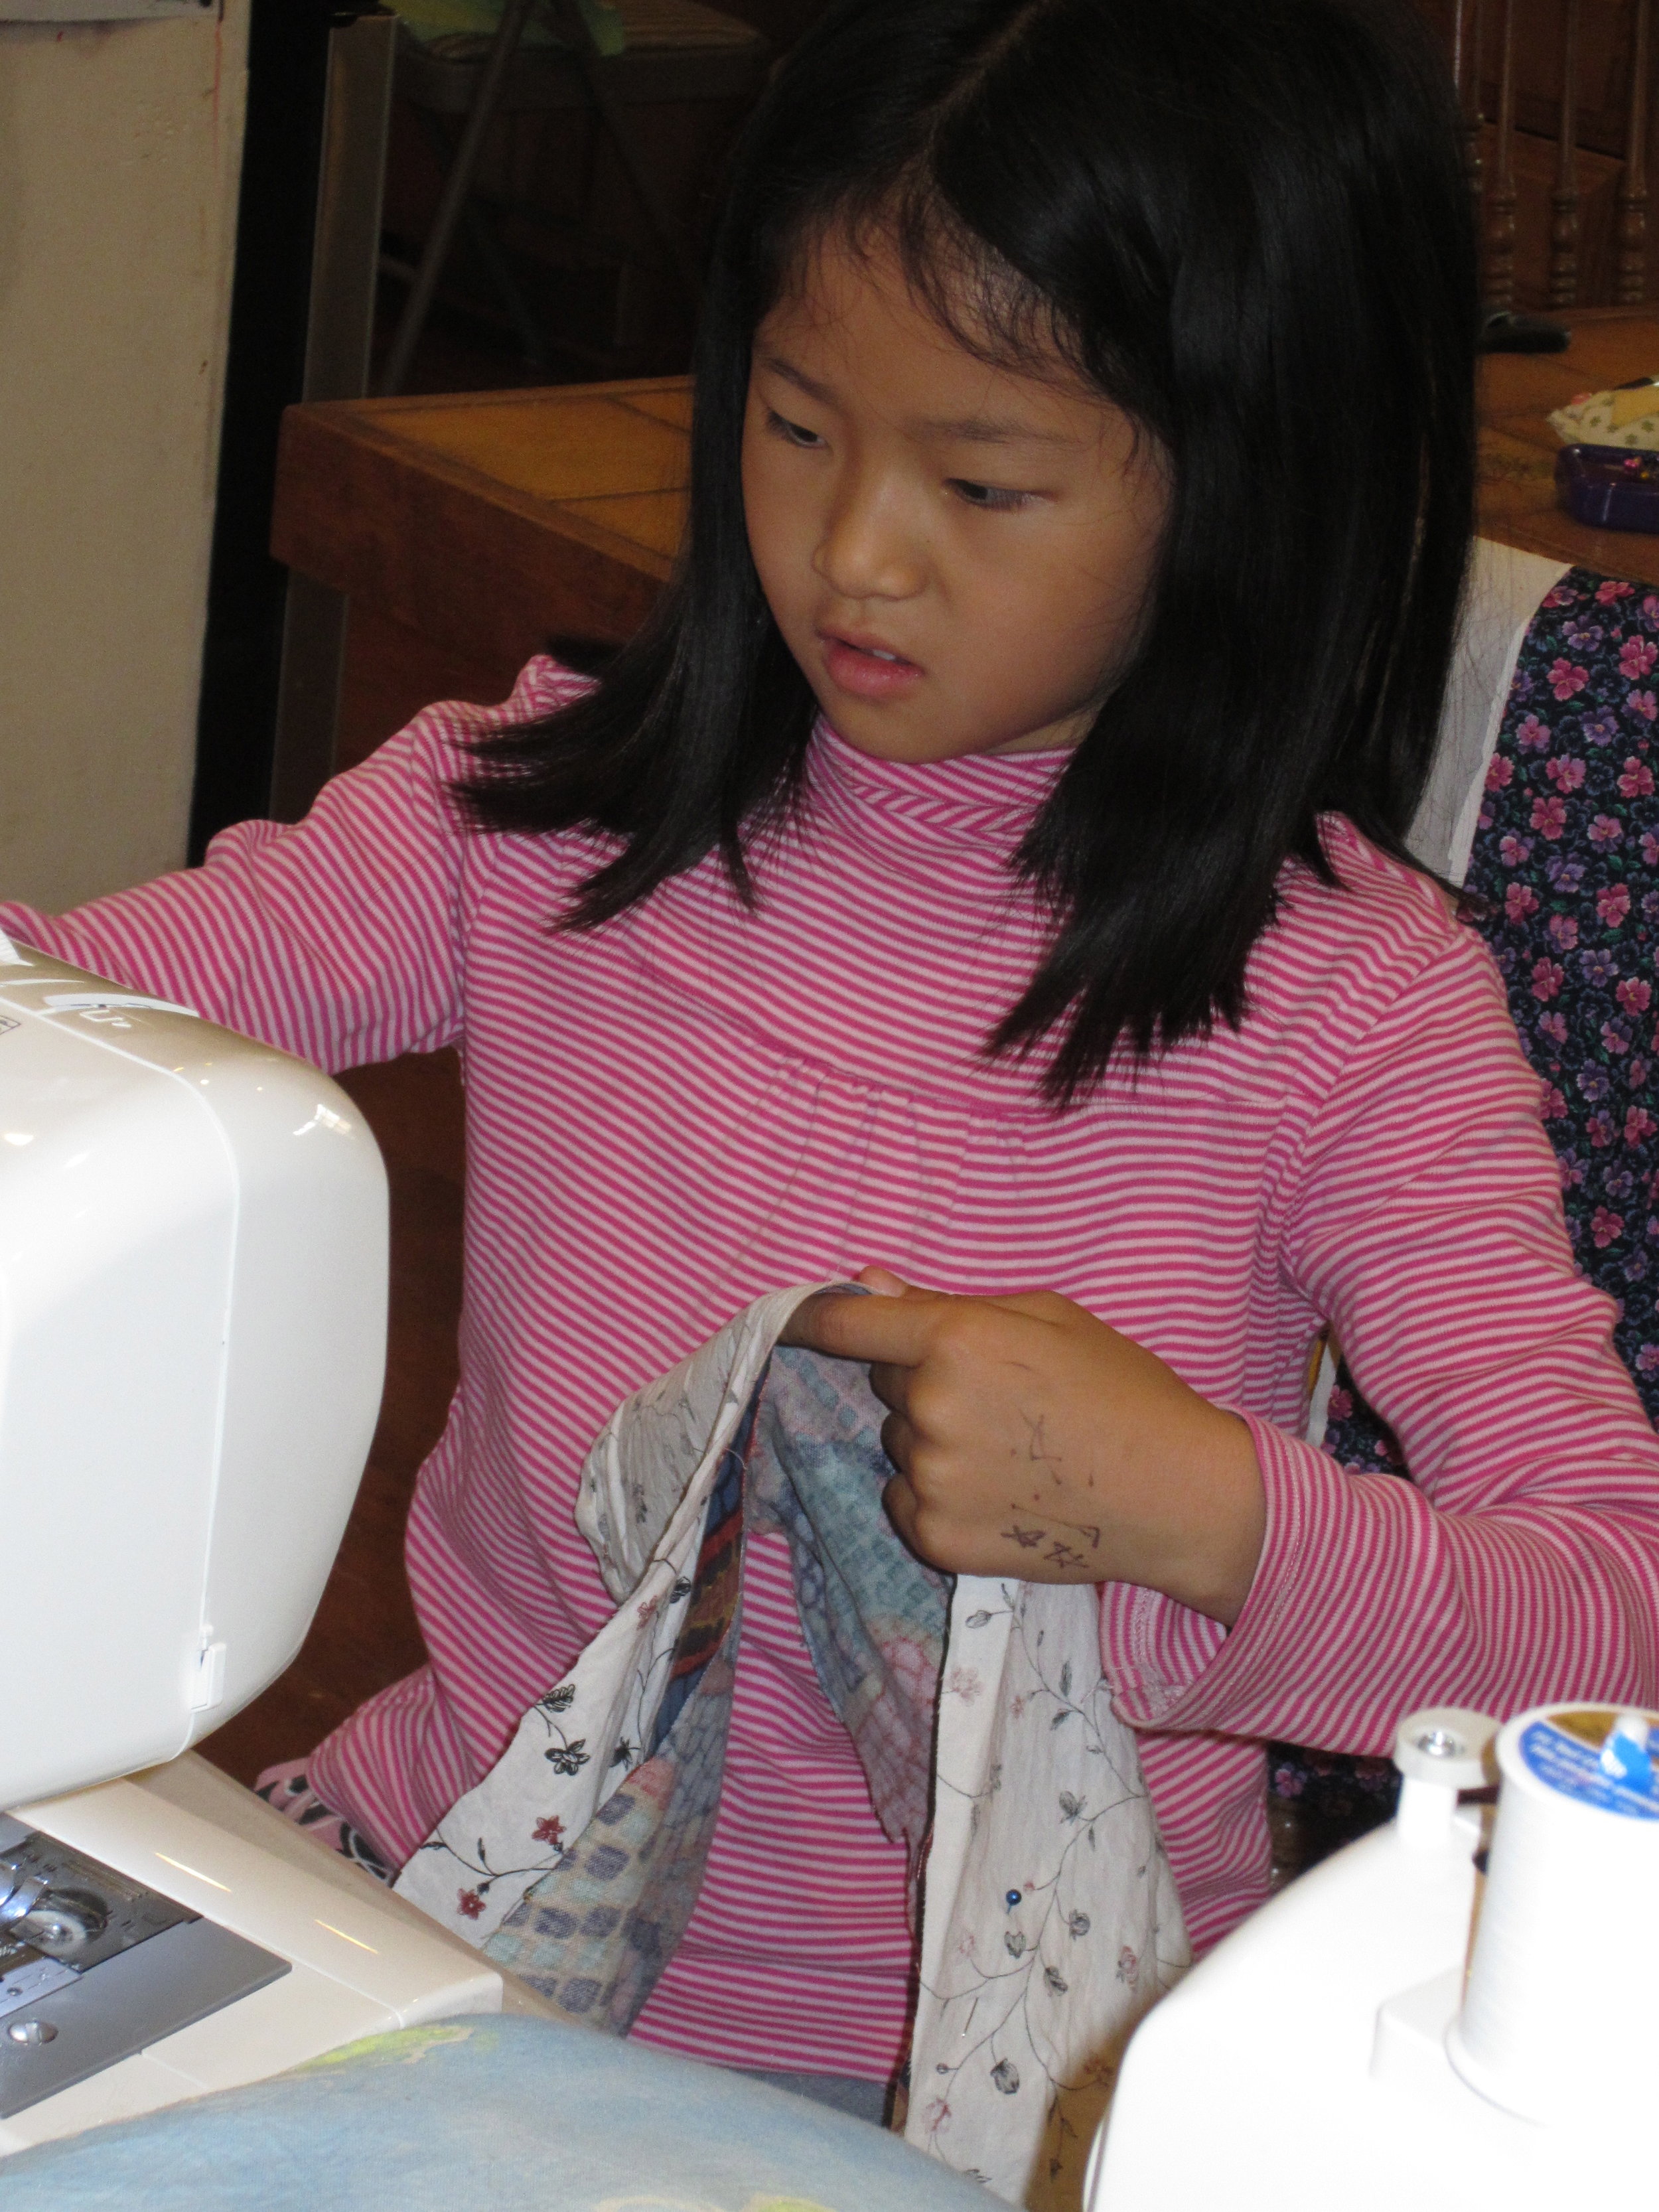
IMG_3668Almost done!

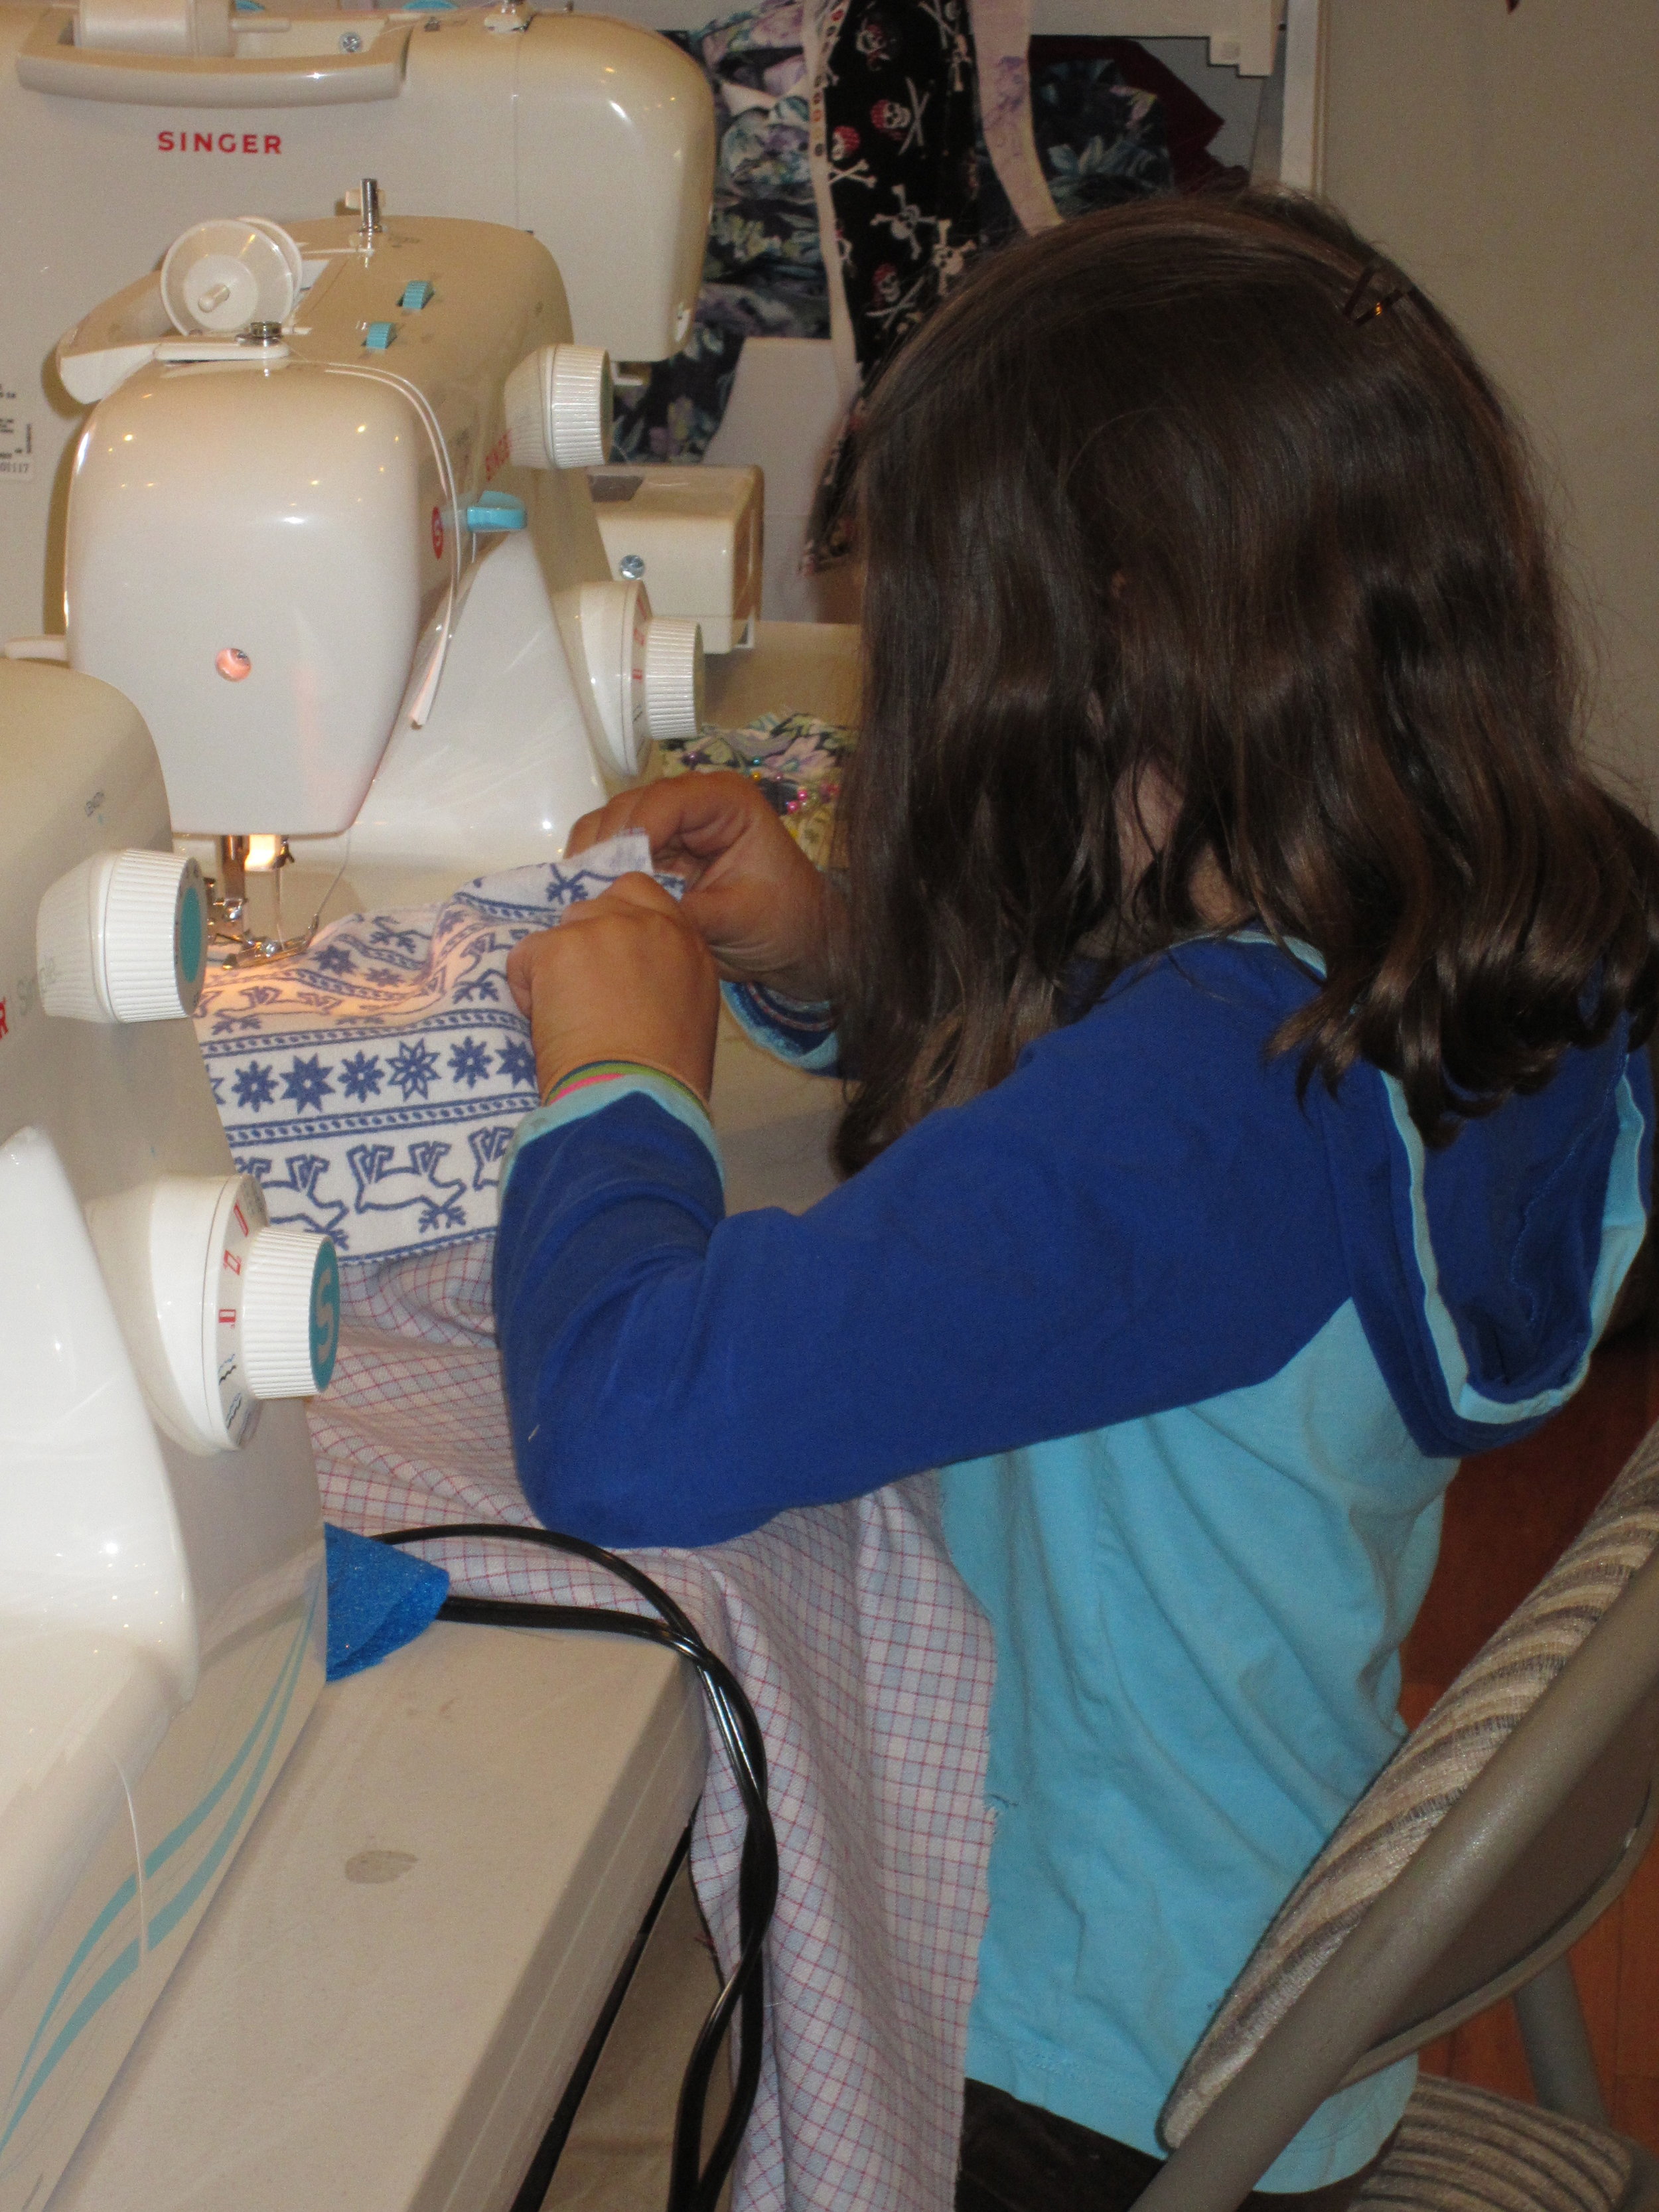
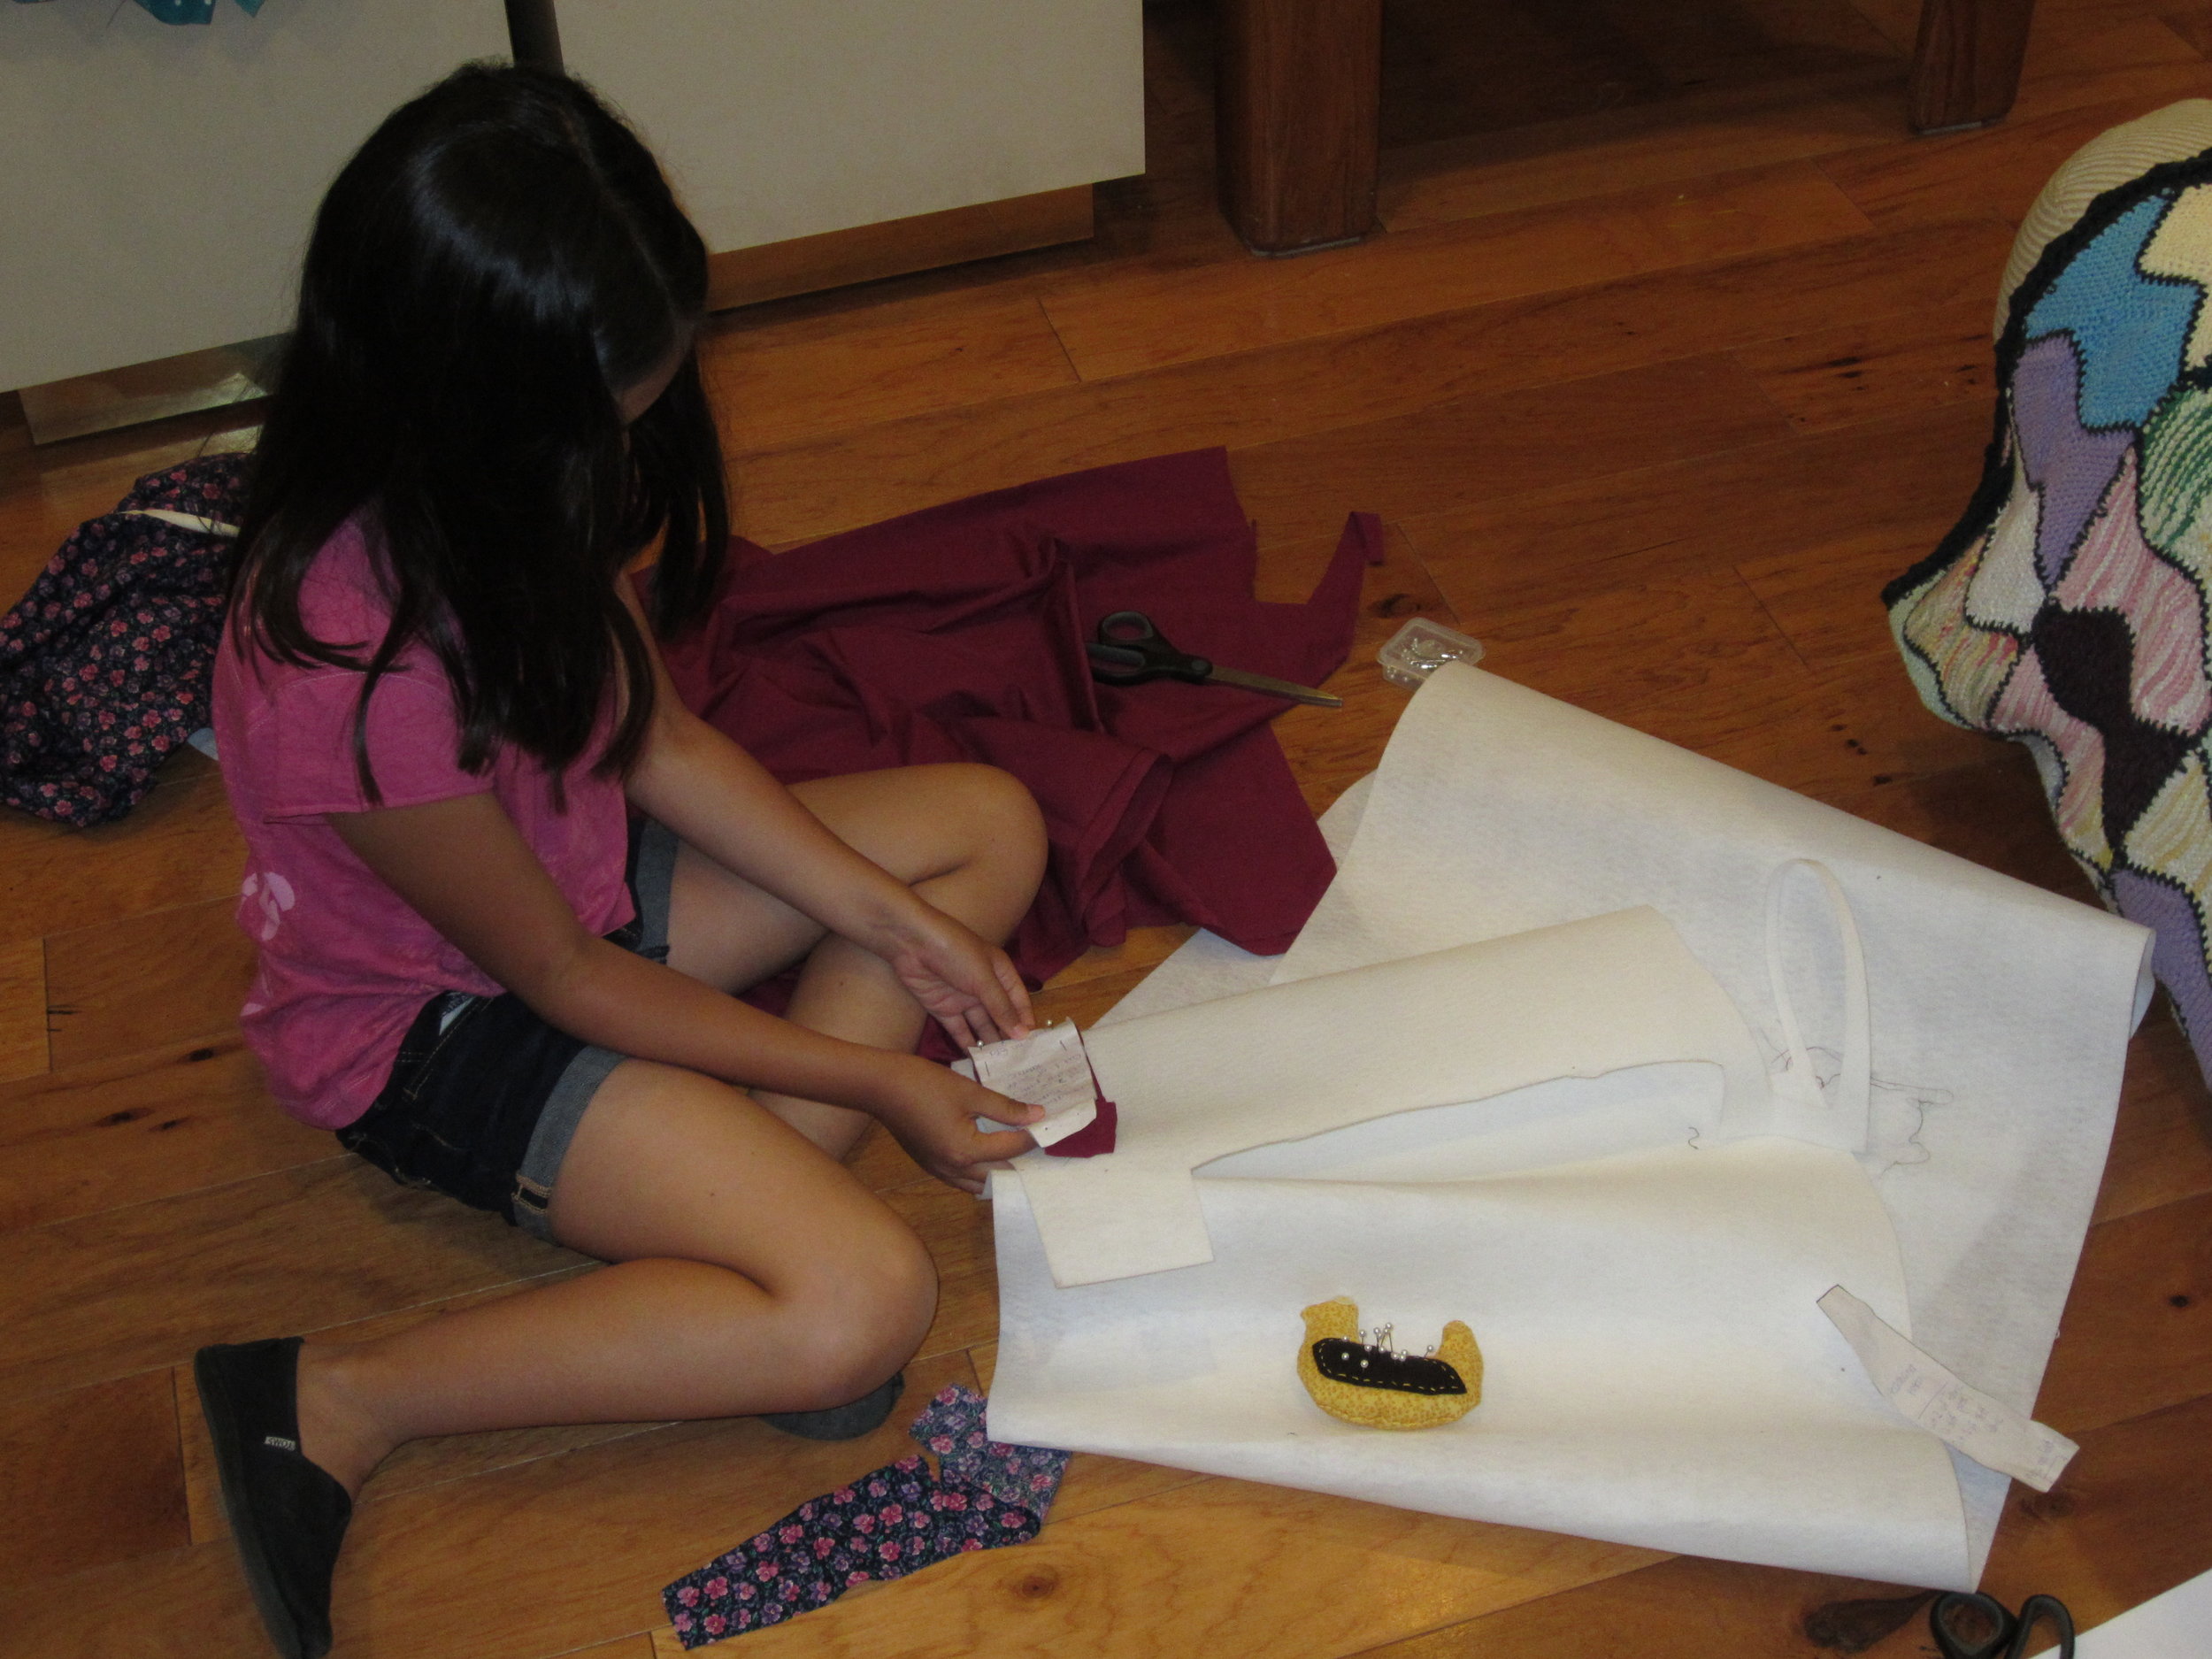
IMG_3669This camper has made so many different things.  Here she is making a tiered skirt.  She made great progress and now only has the waistband and hem to finish.  Piece of cake for her!

IMG_3670After each seam is sewn, ironing is needed to make everything nice and neat.
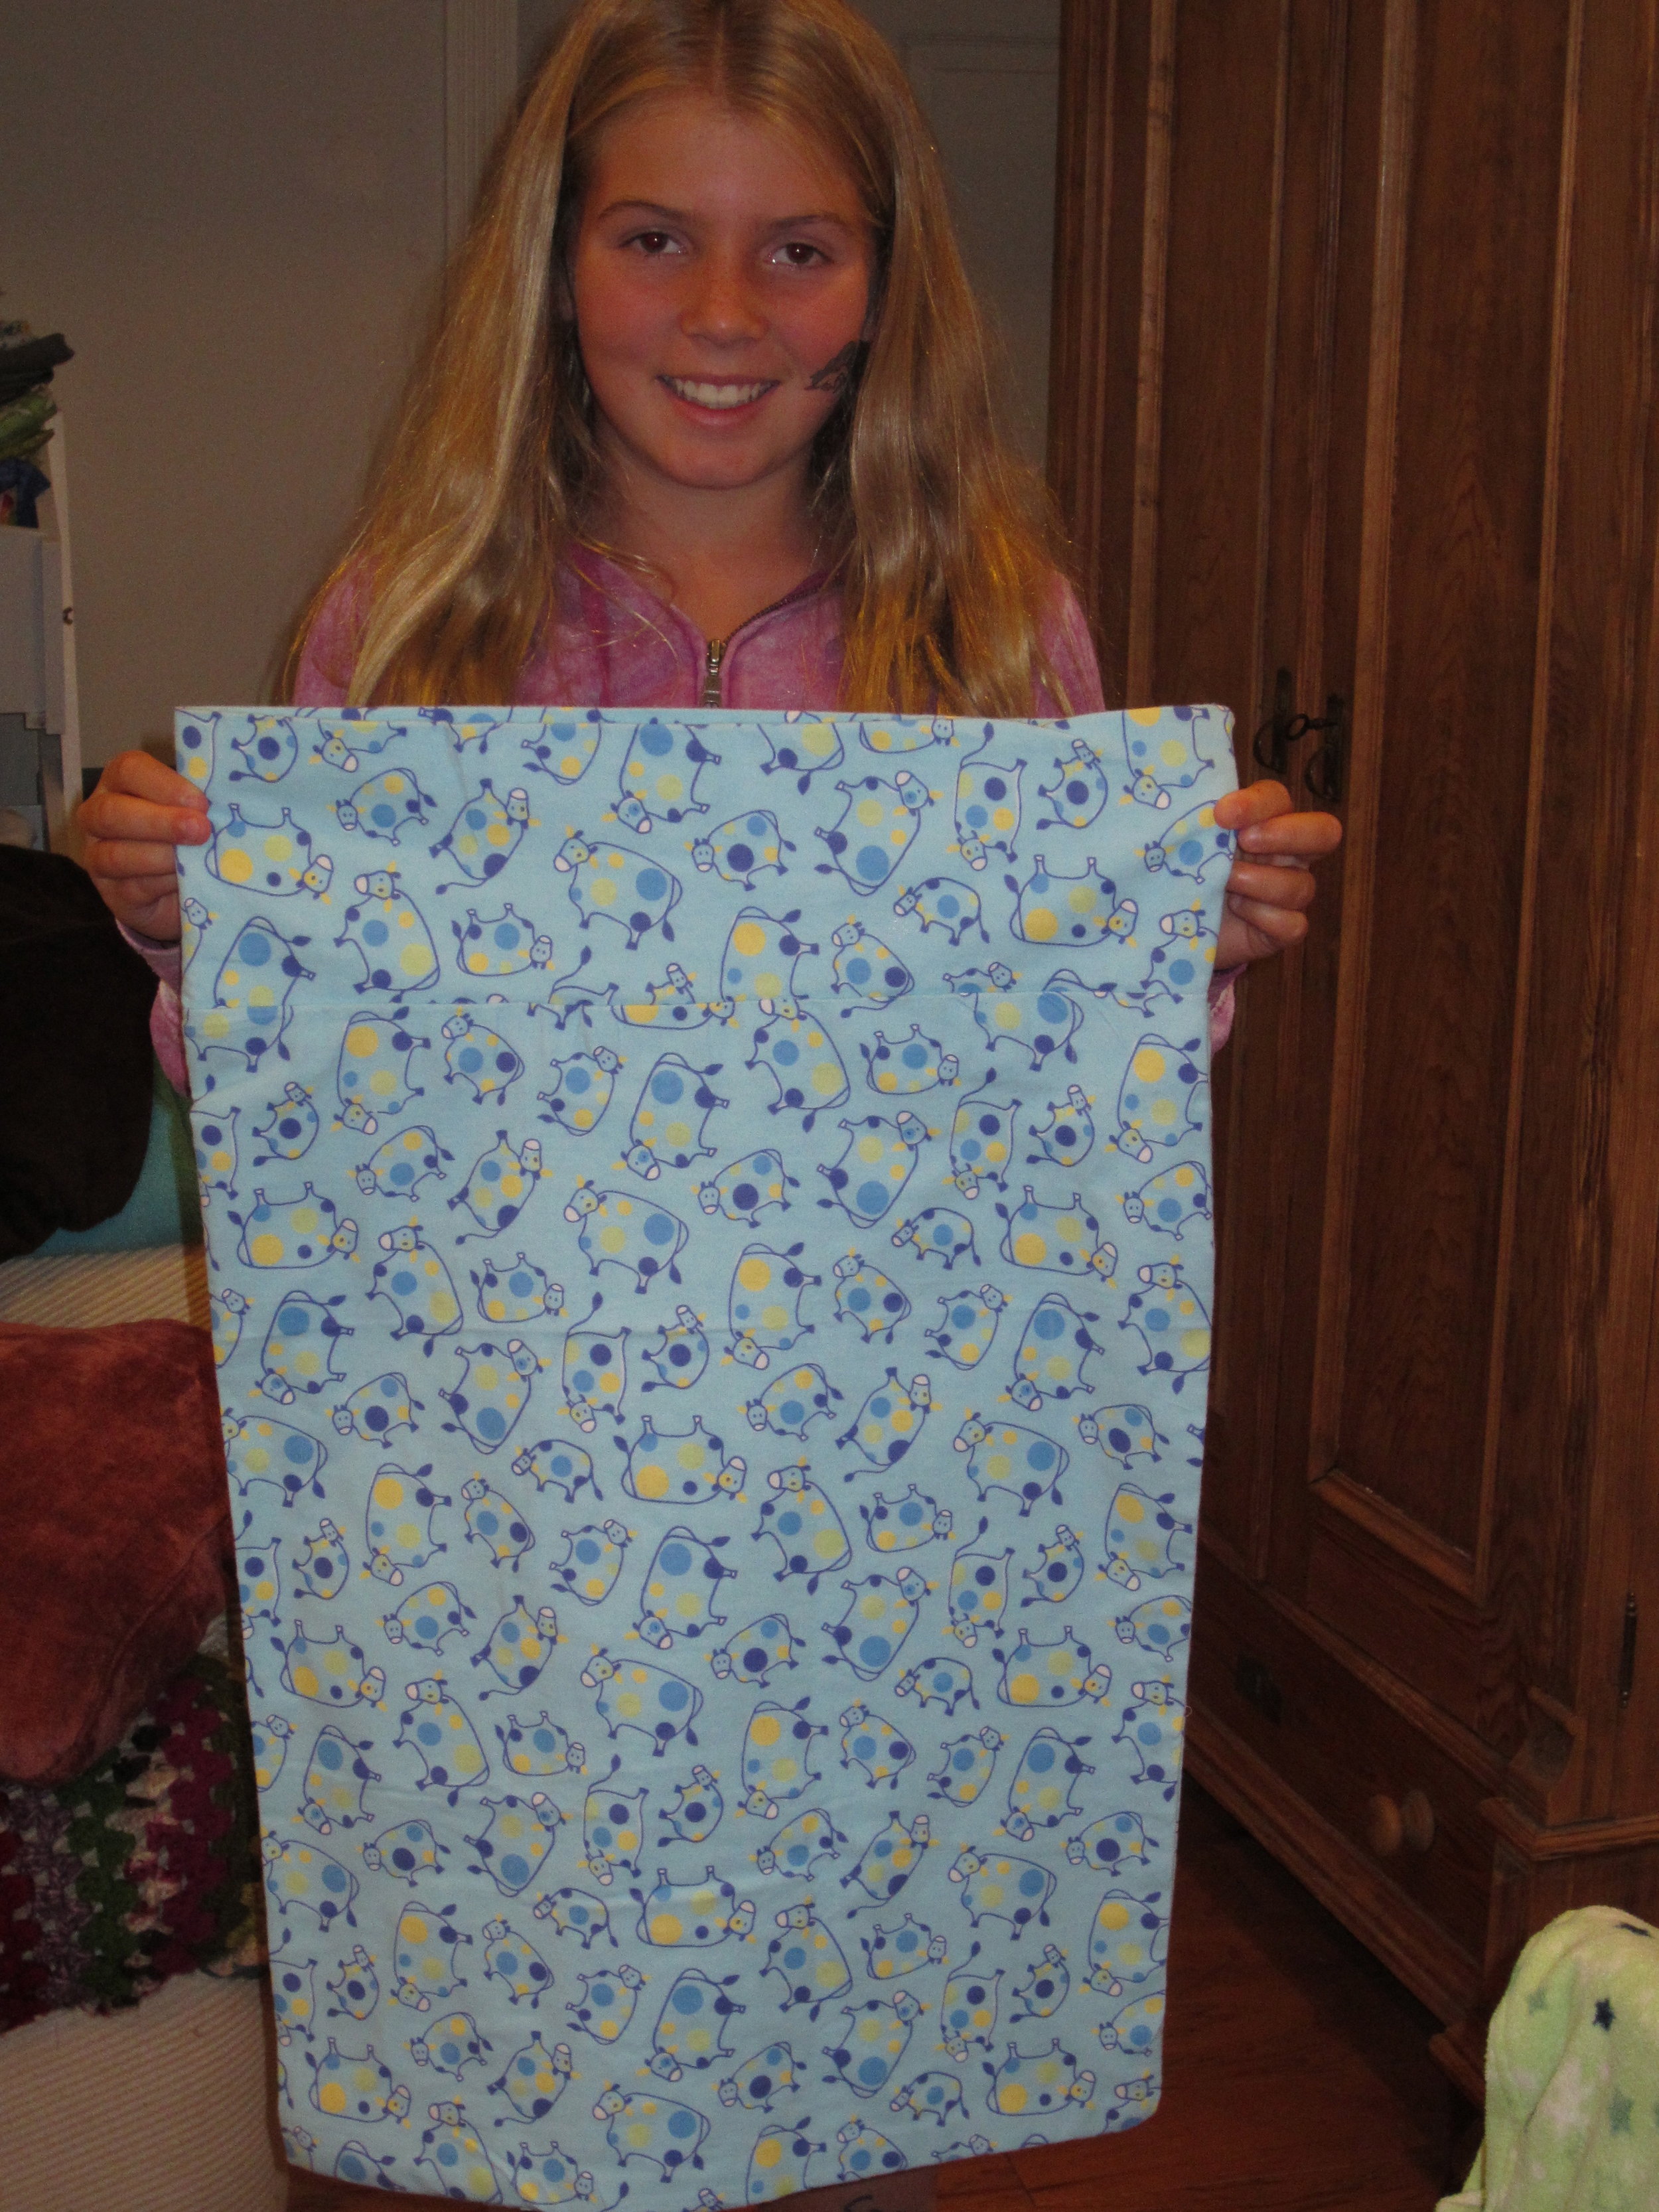
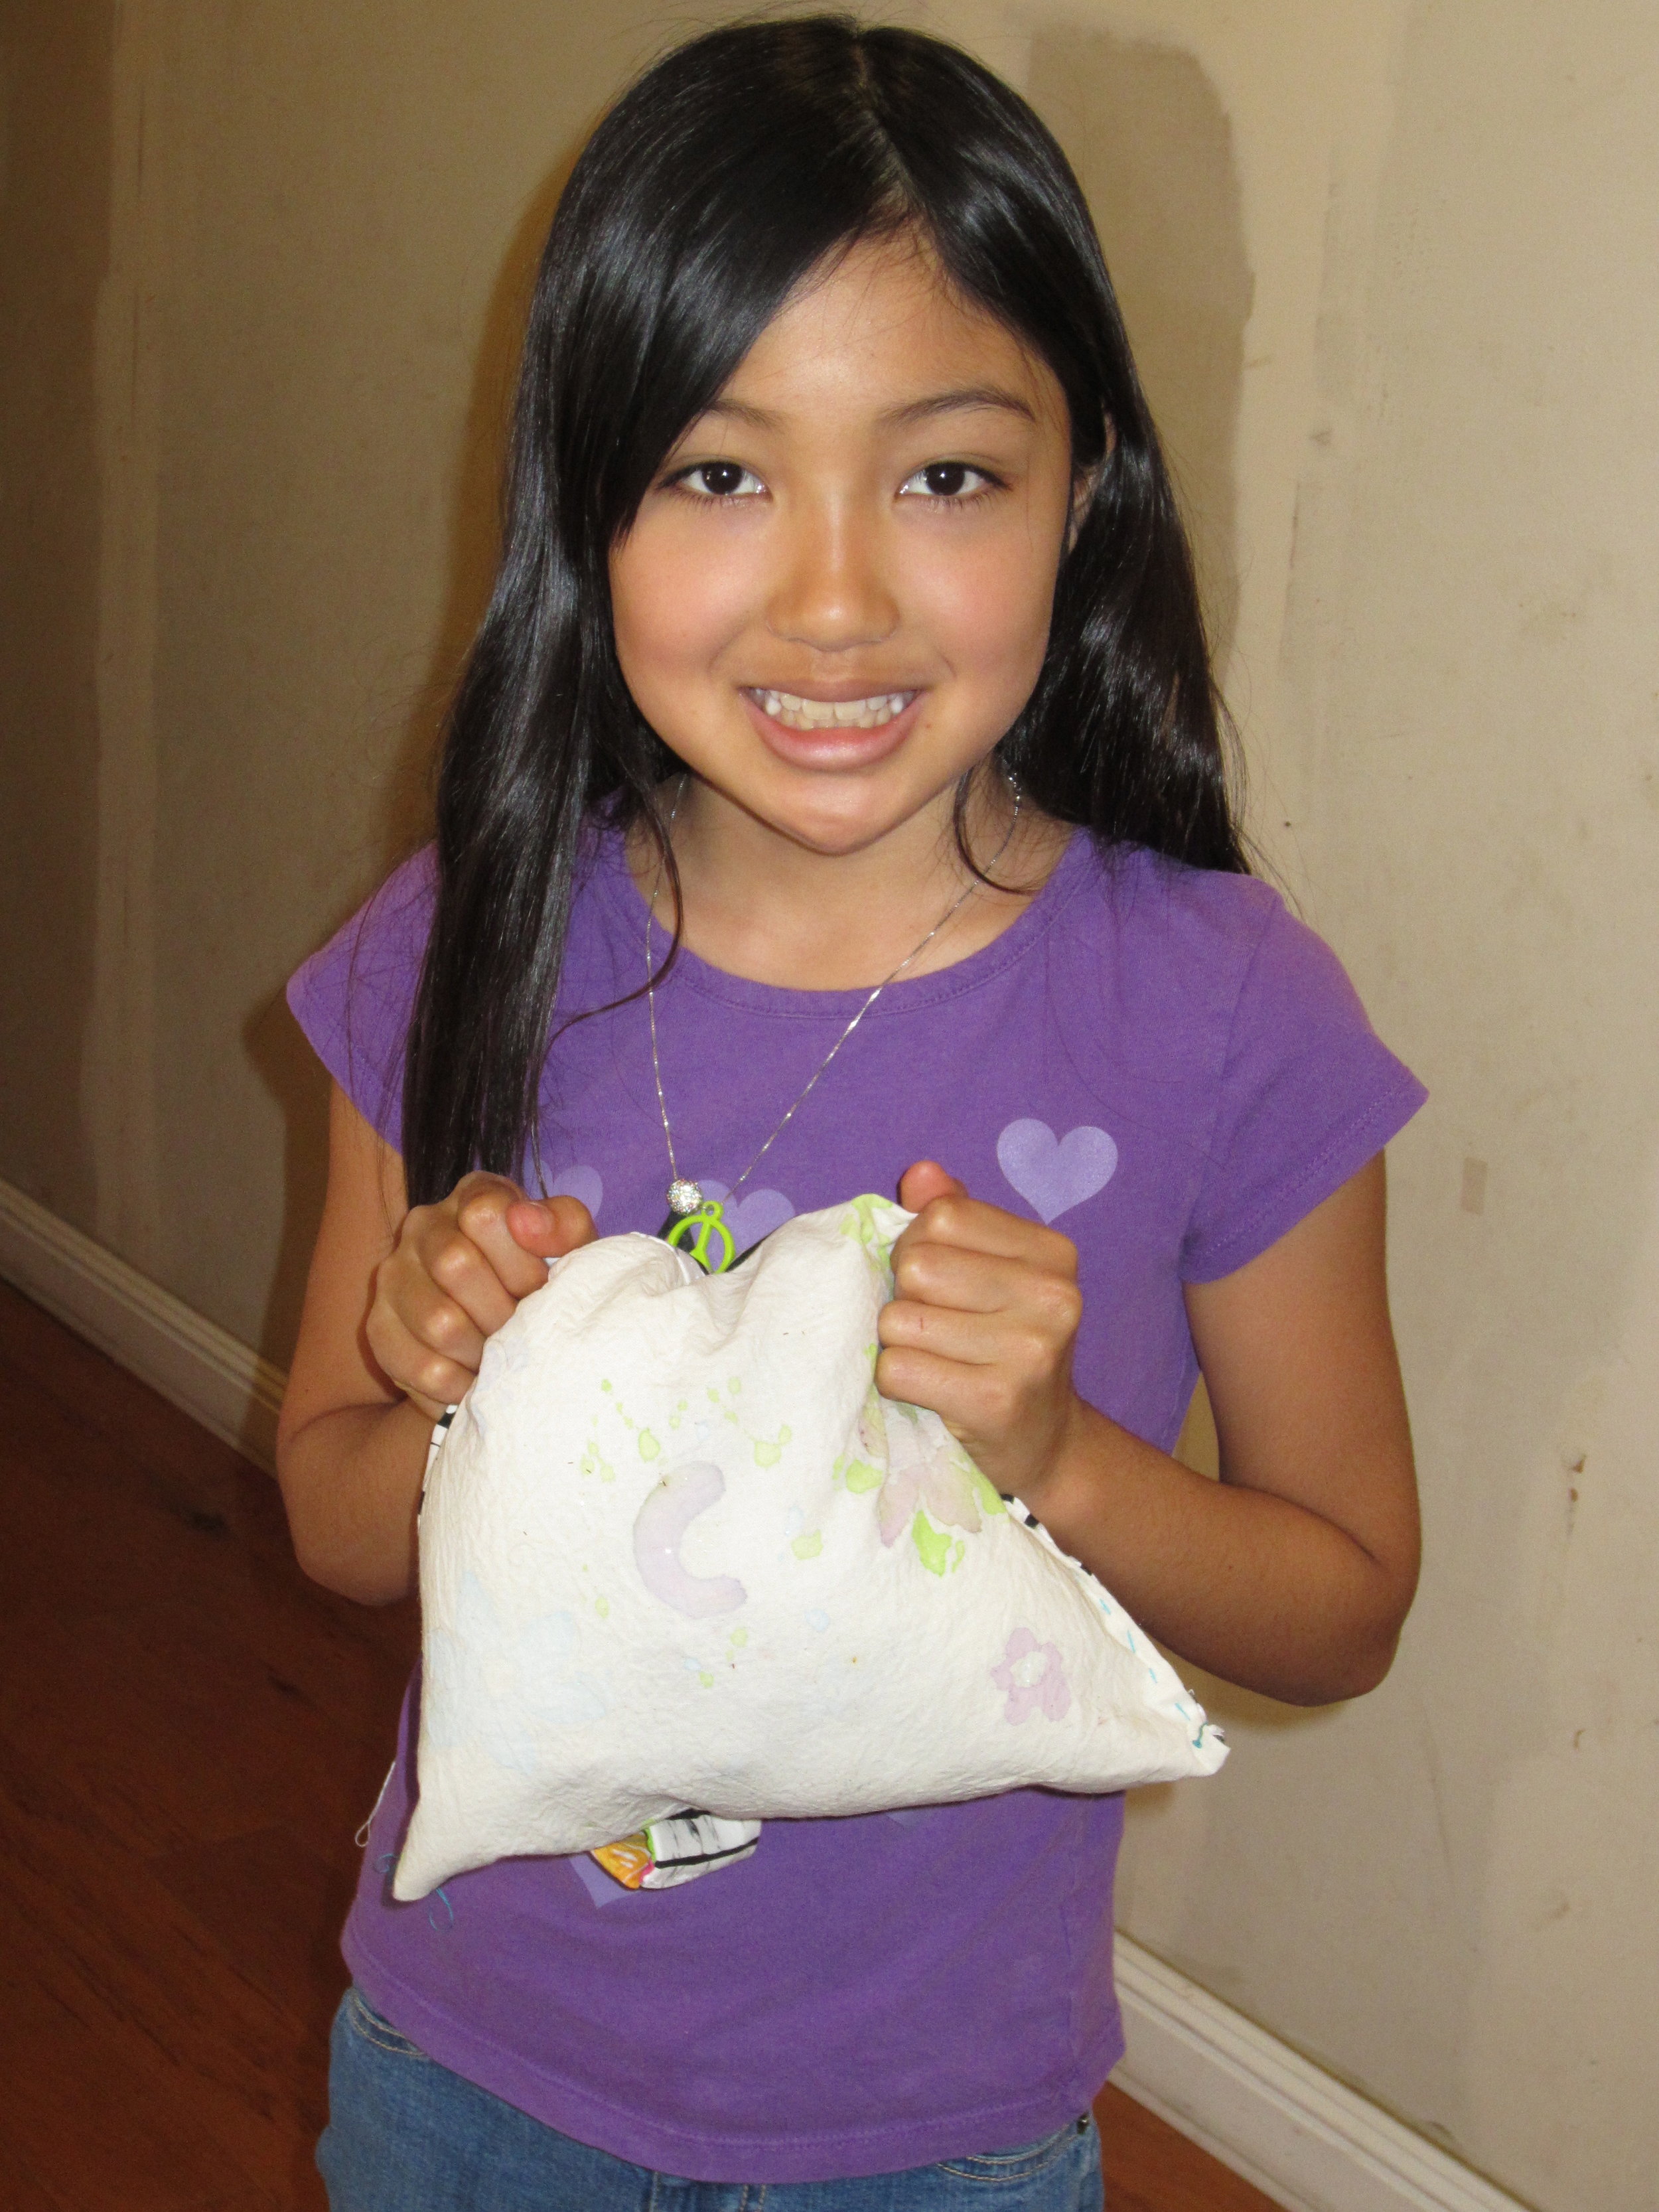
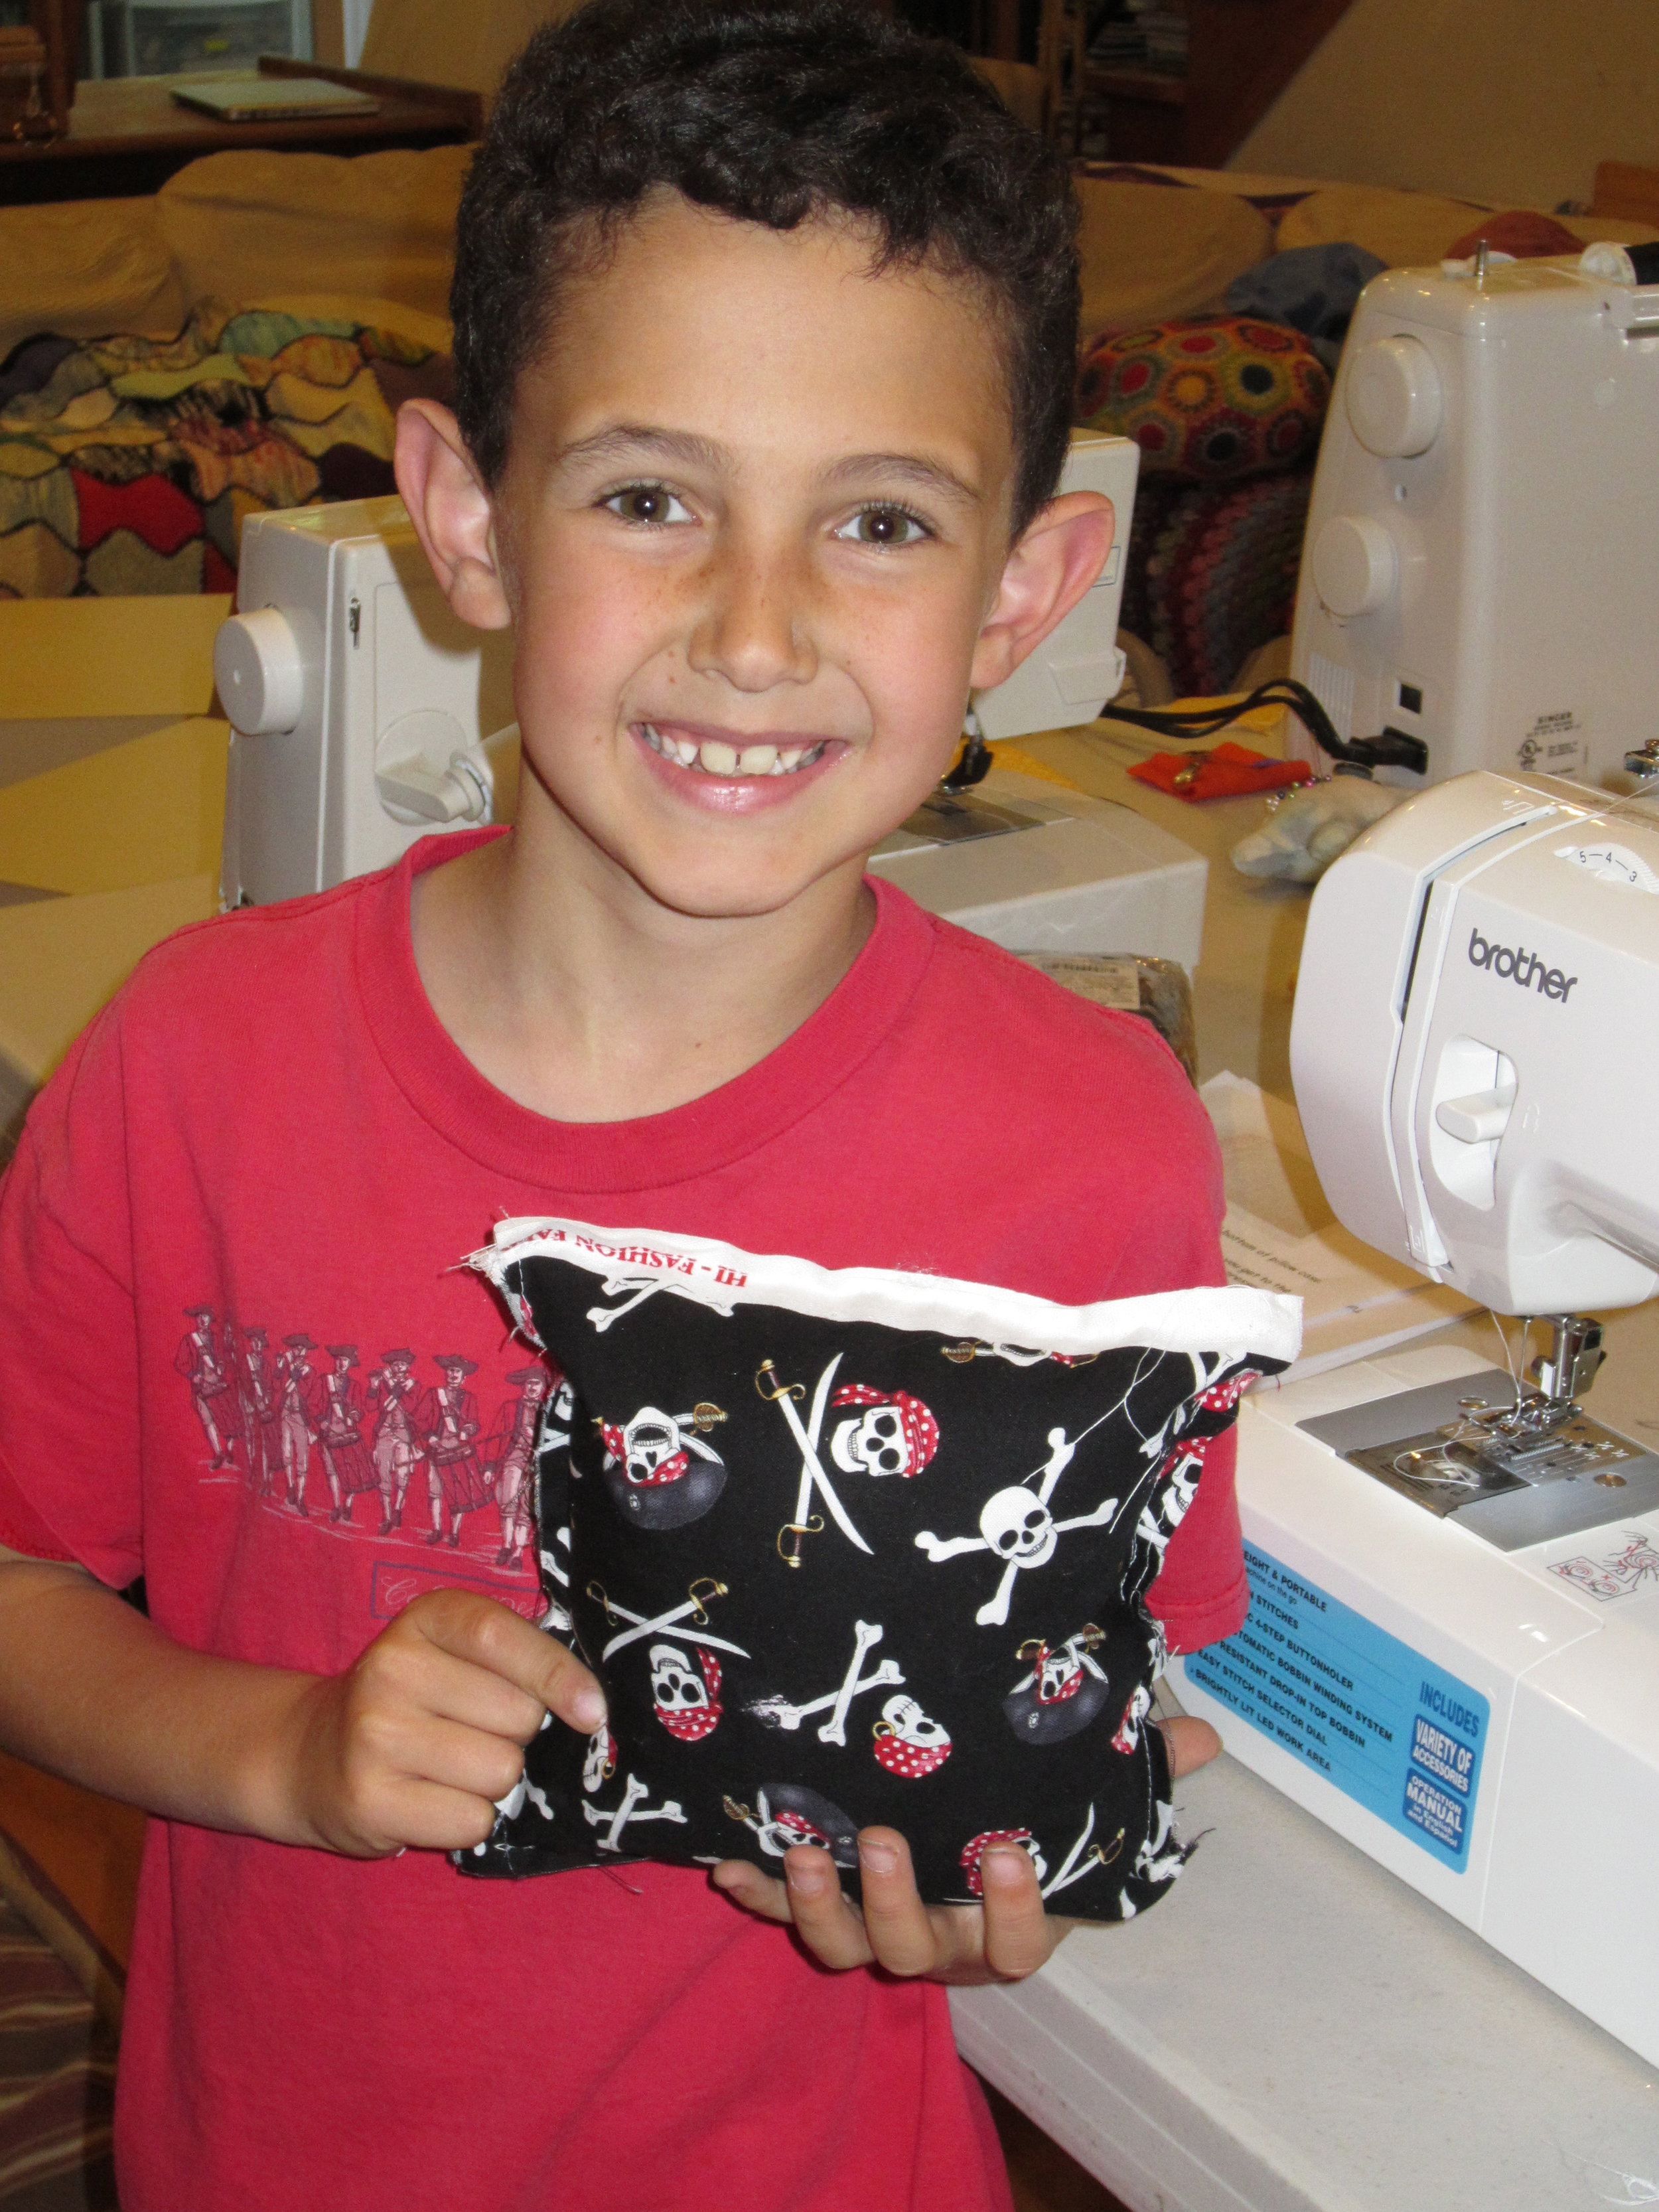
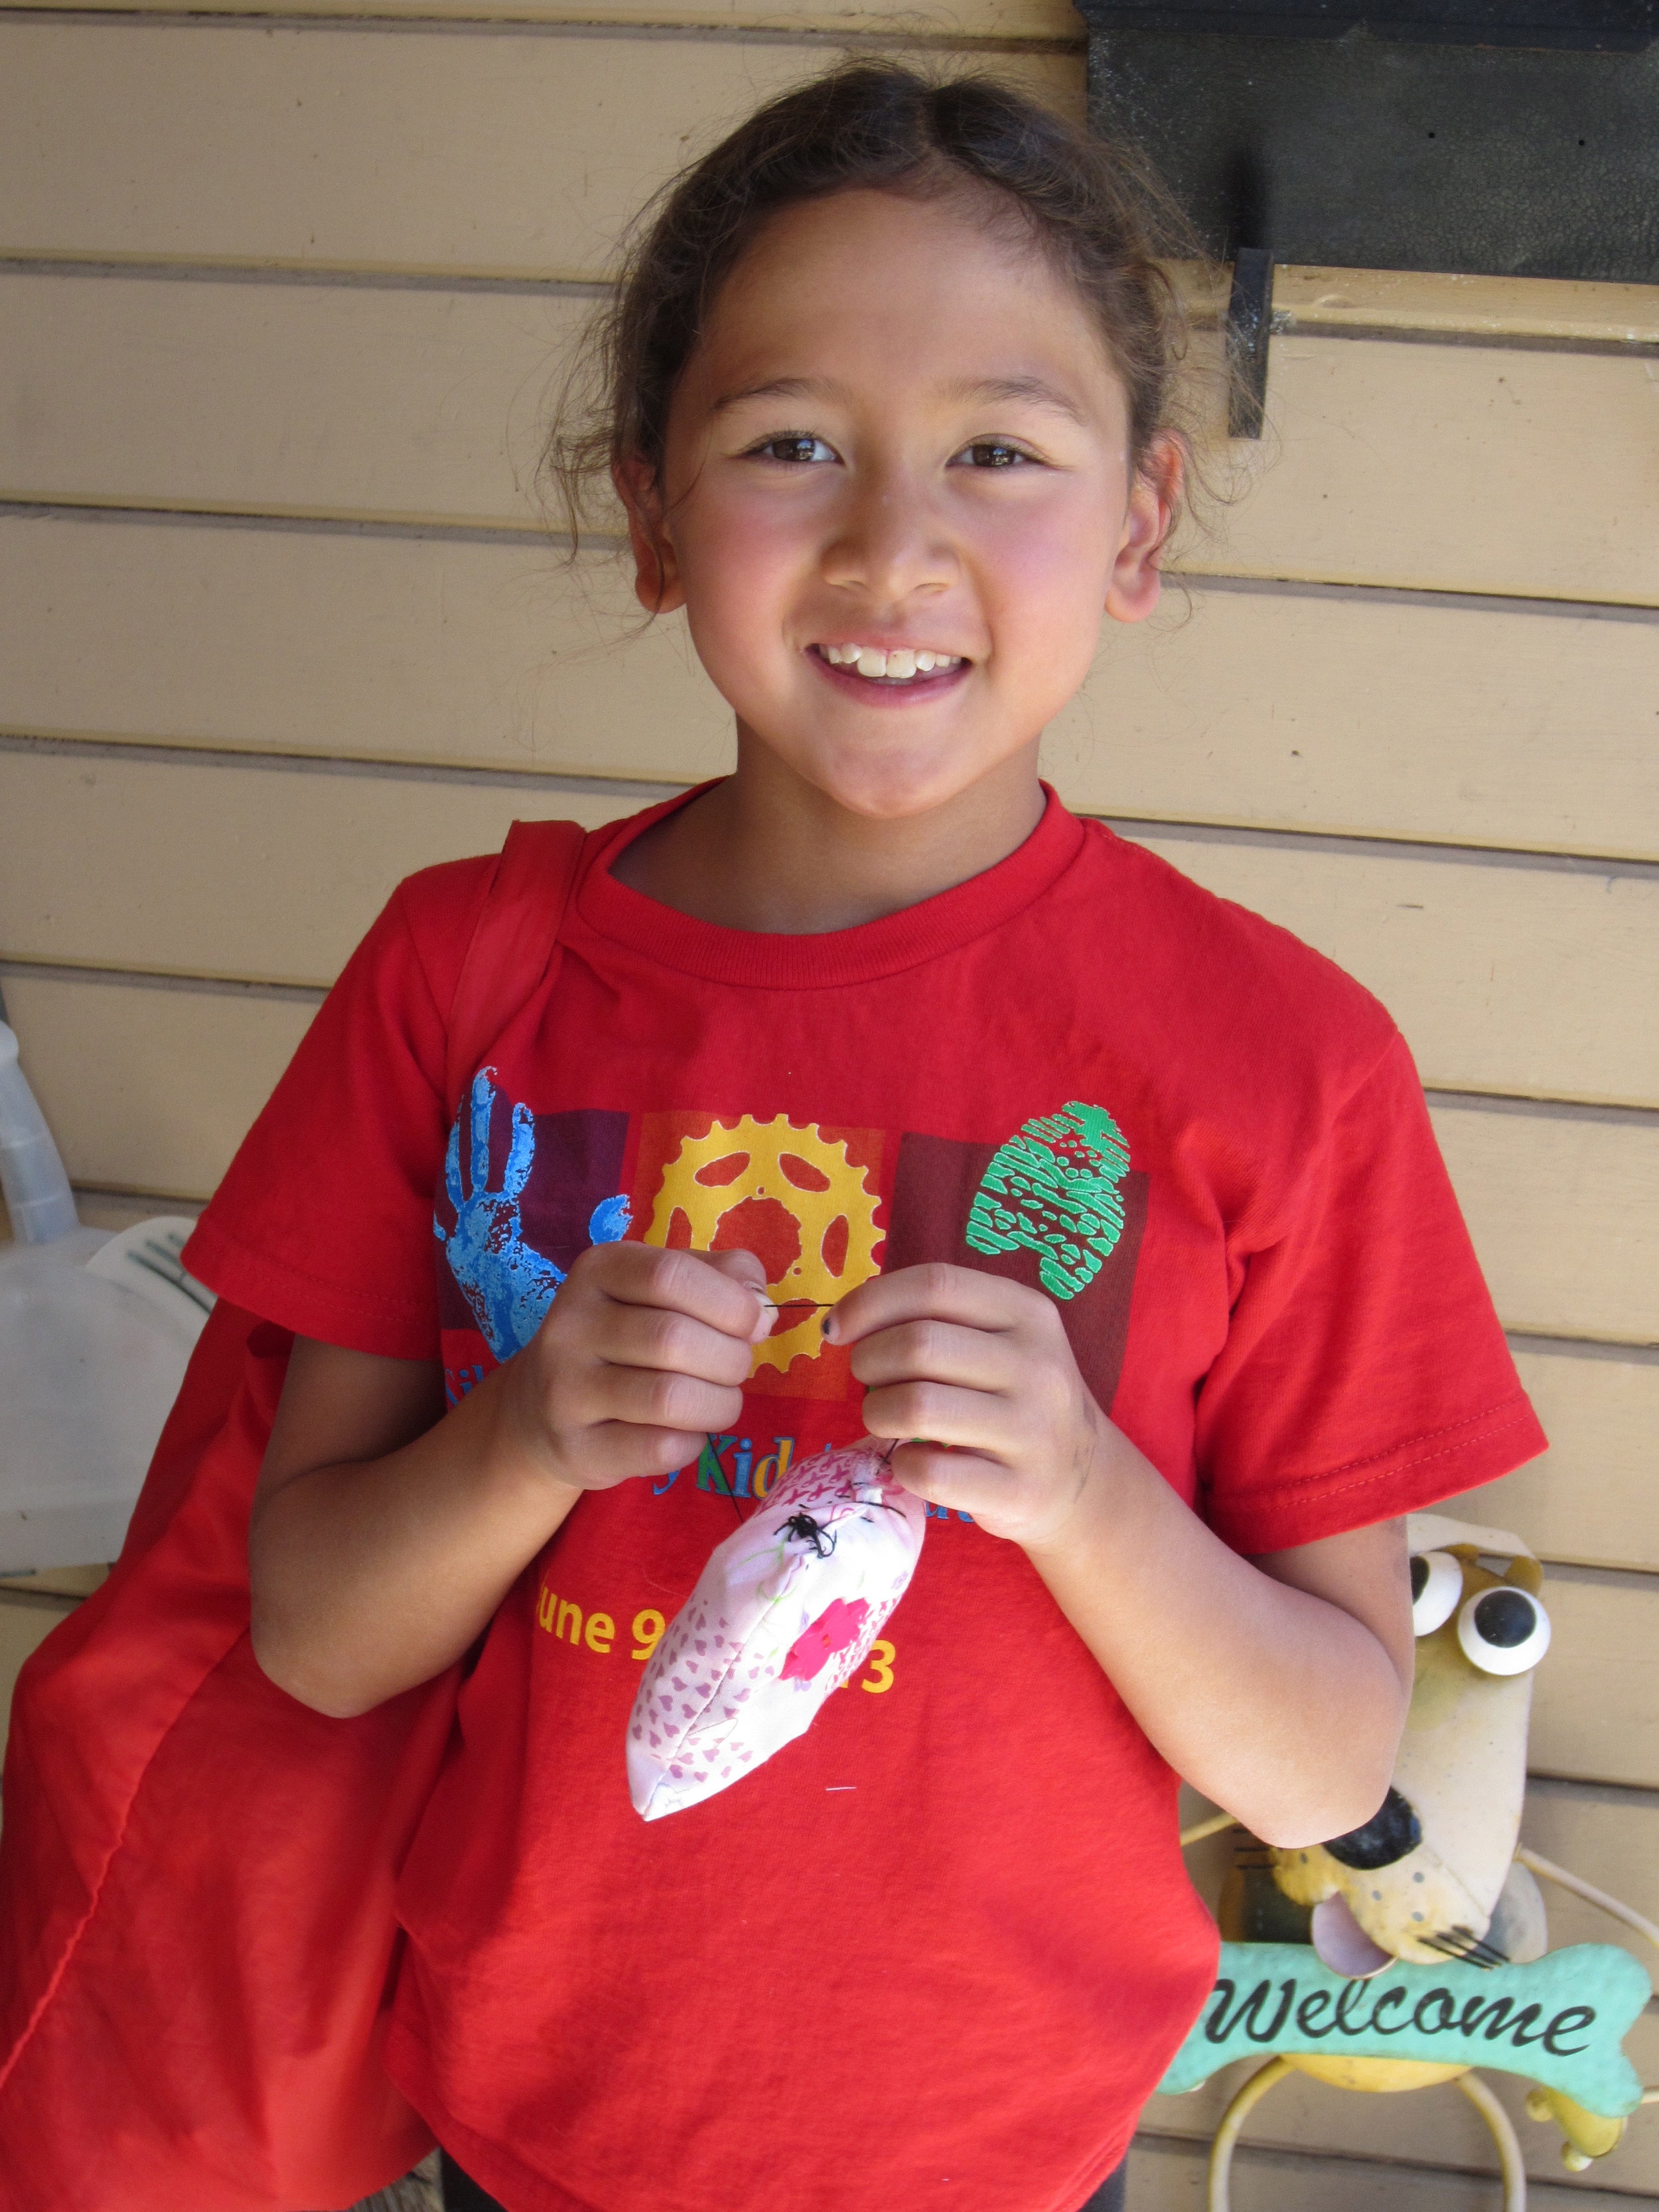
IMG_3672Finished pillow case.  I can't believe how excited they are about these pillow cases!

IMG_3673Look at all that loot!  Once these campers figured everything out, there was no stopping them.

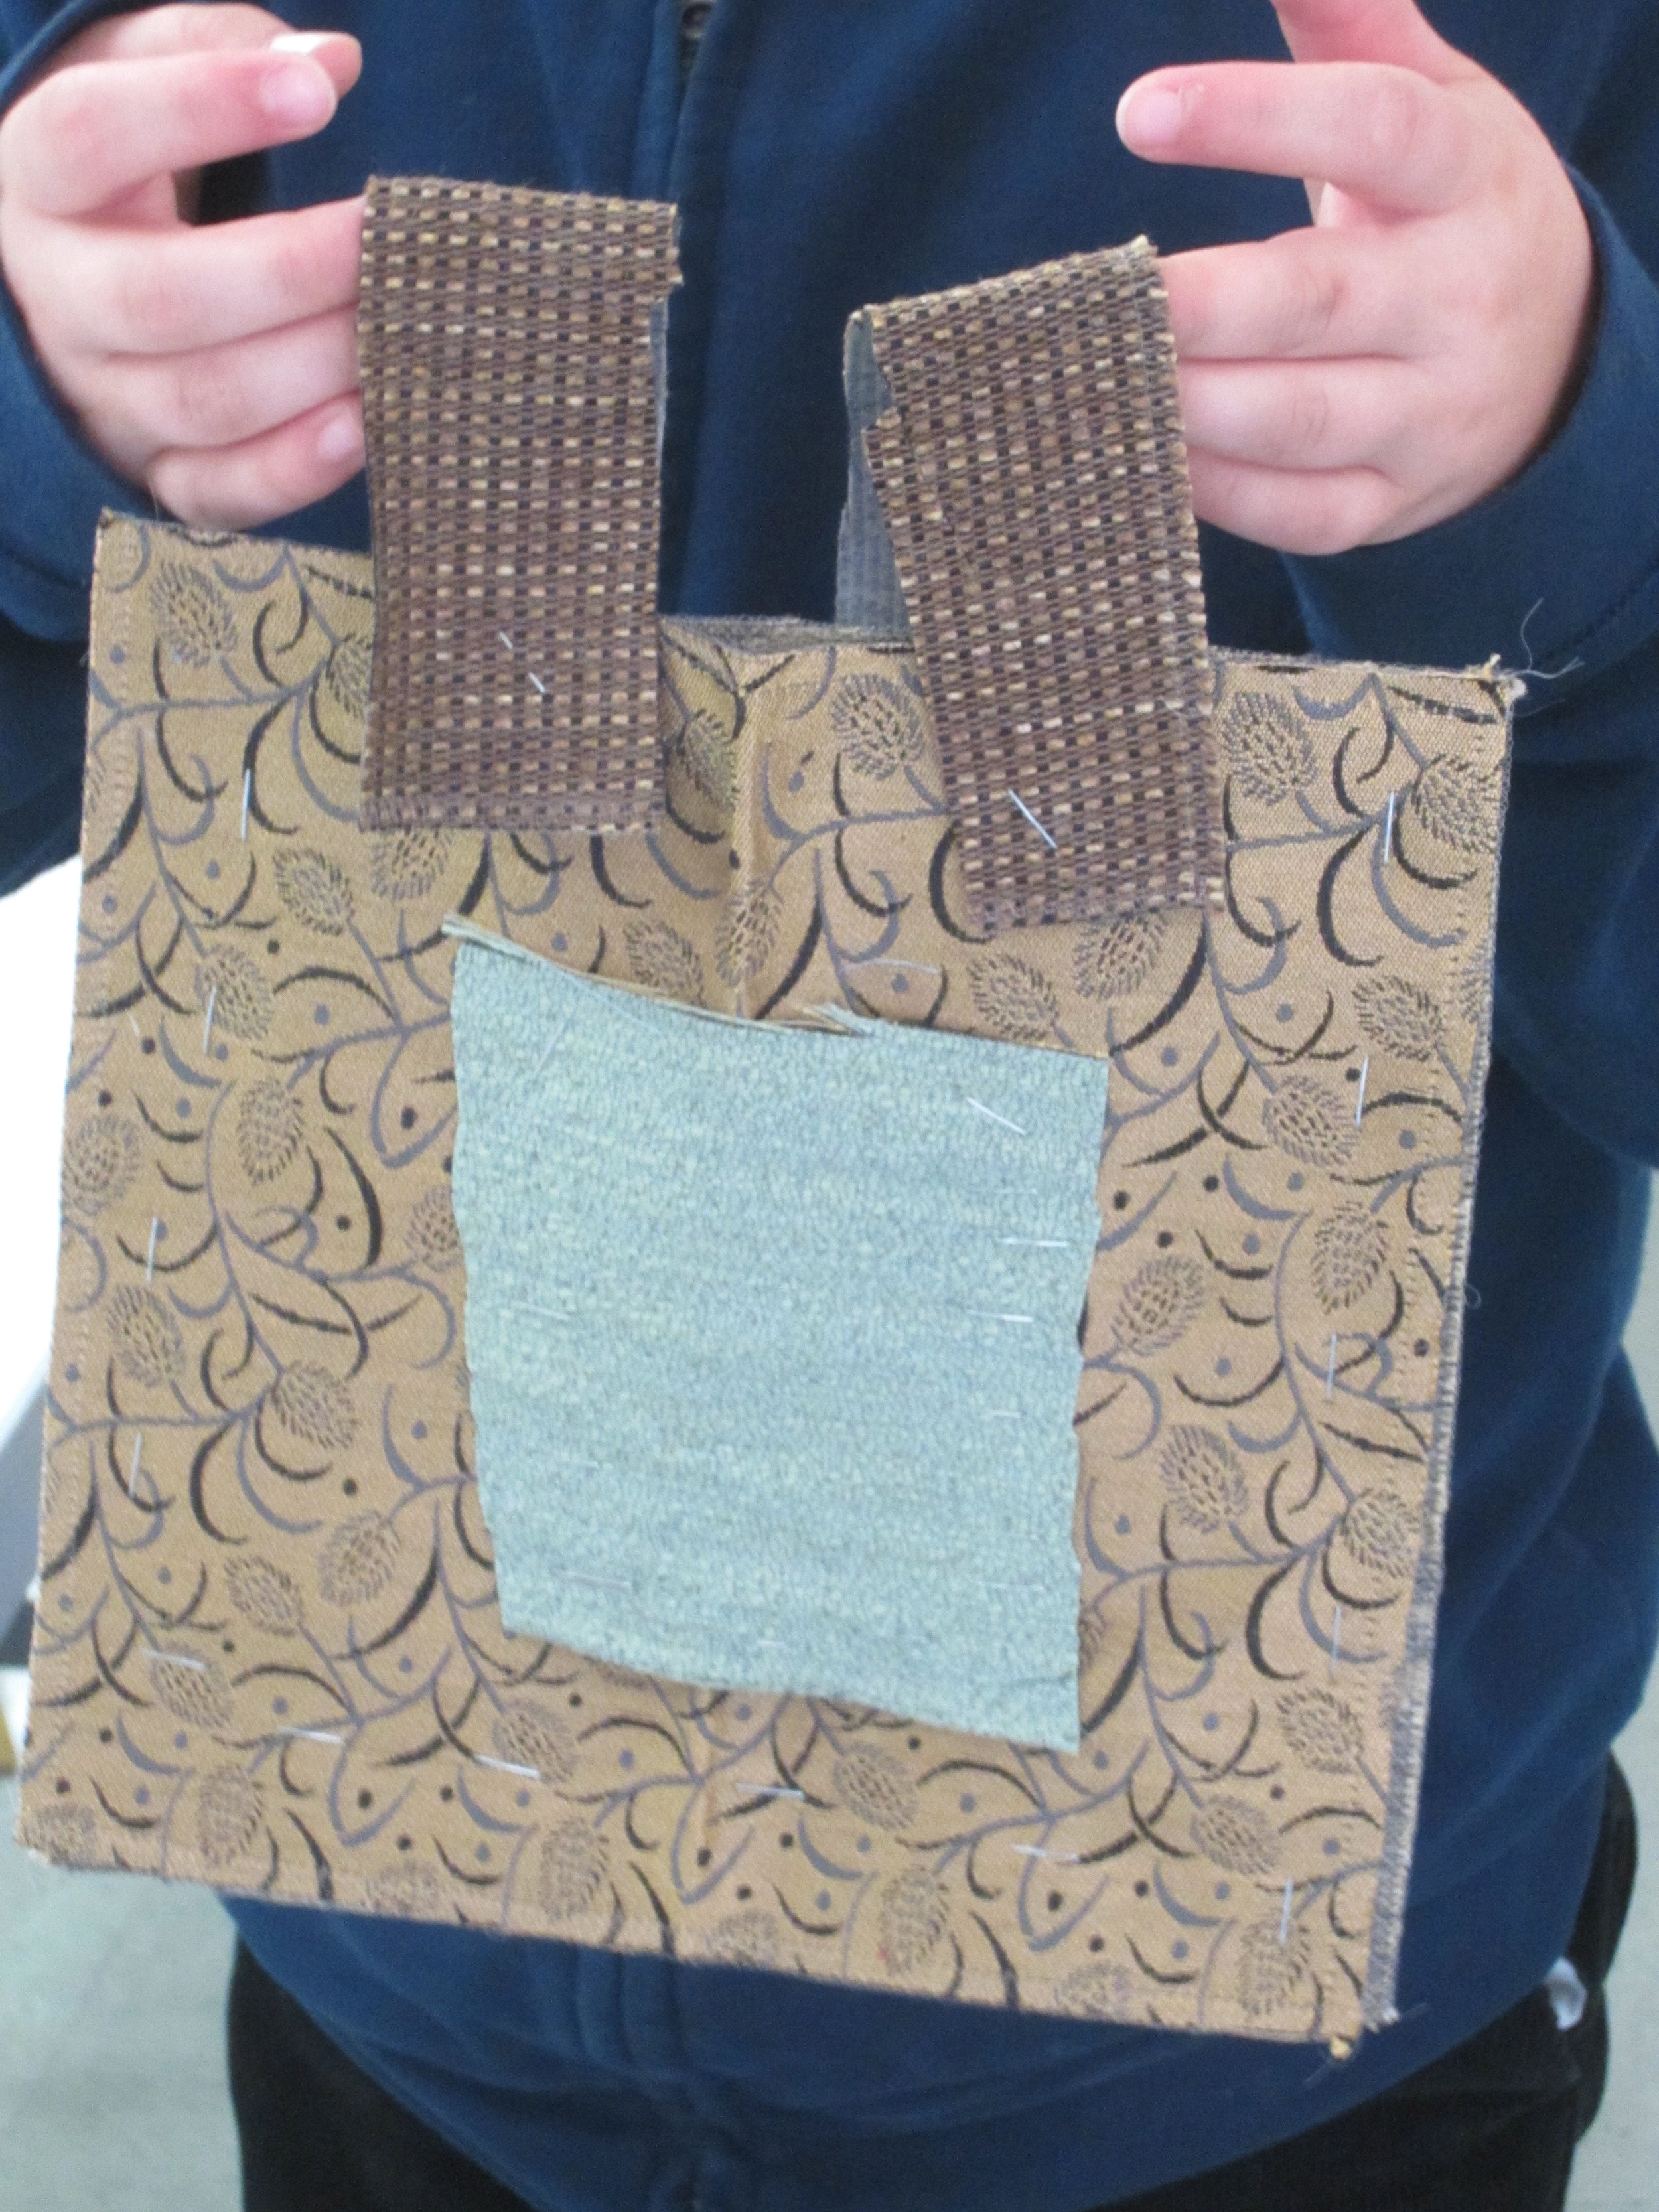
IMG_3676A fabulous bag completely designed by this 2nd grade camper.  She came to camp this morning with an idea, created a pattern, and made her bag.  Truly an example of how your only limitation is your imagination!

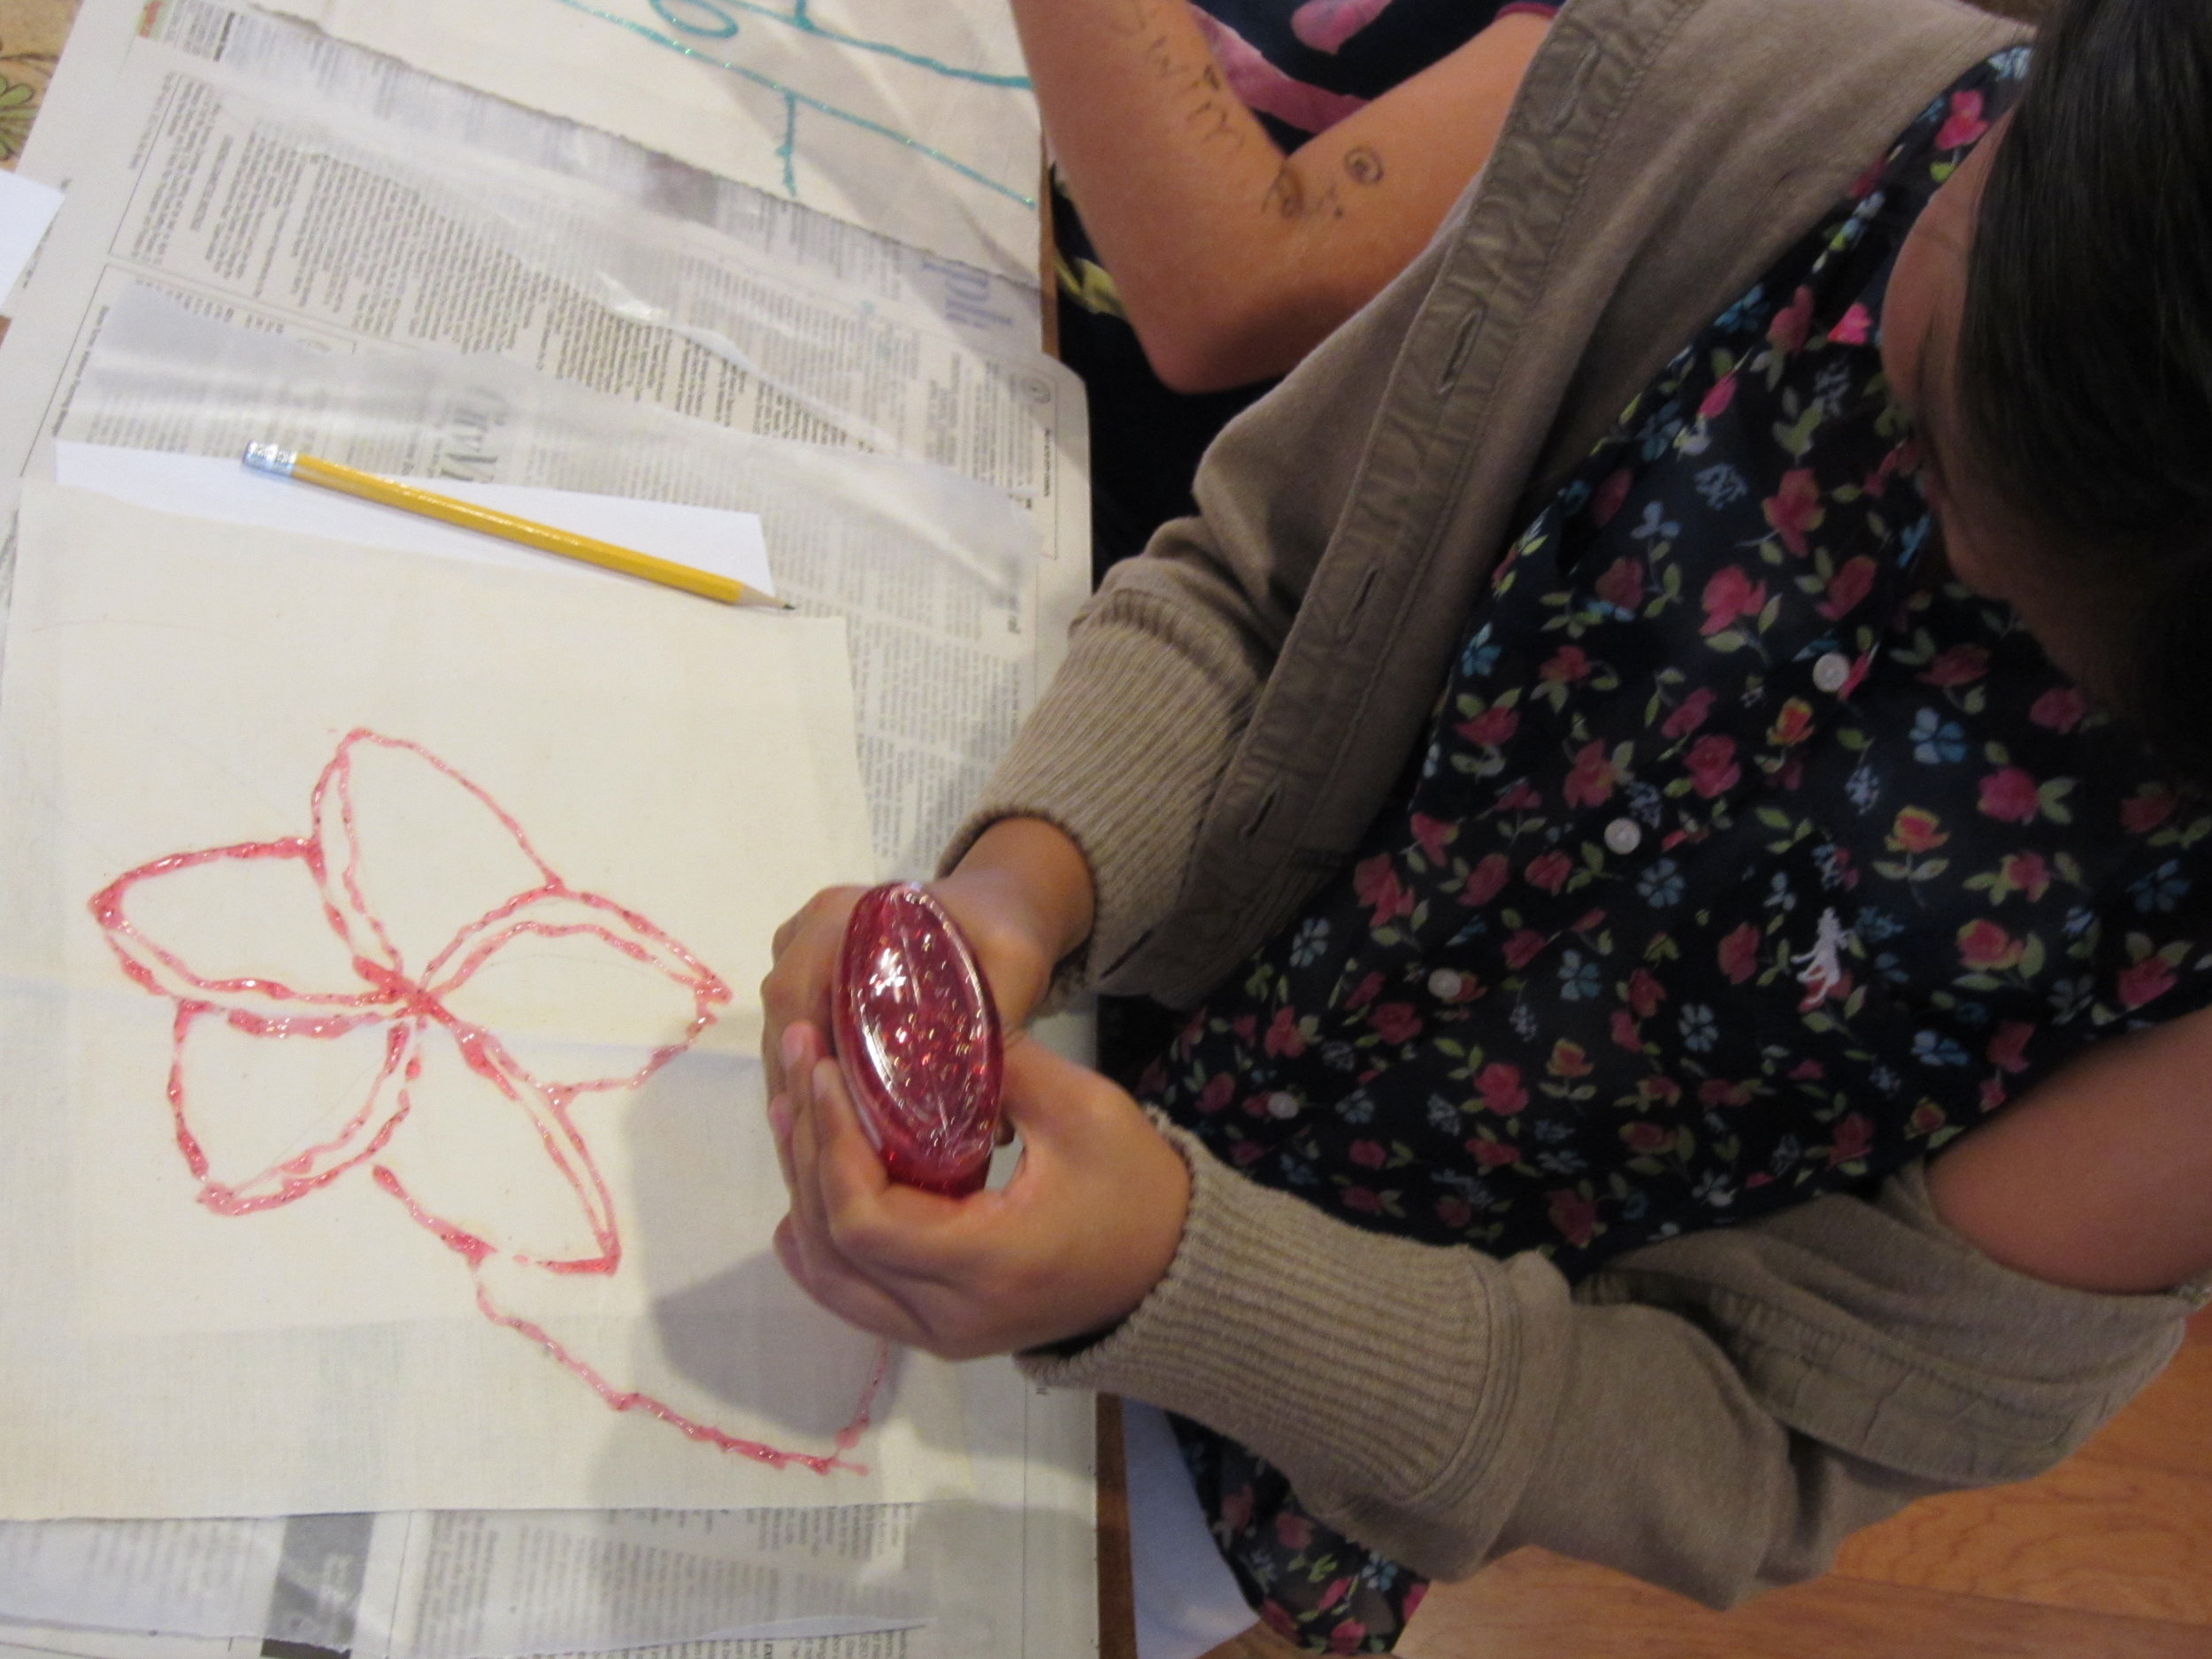
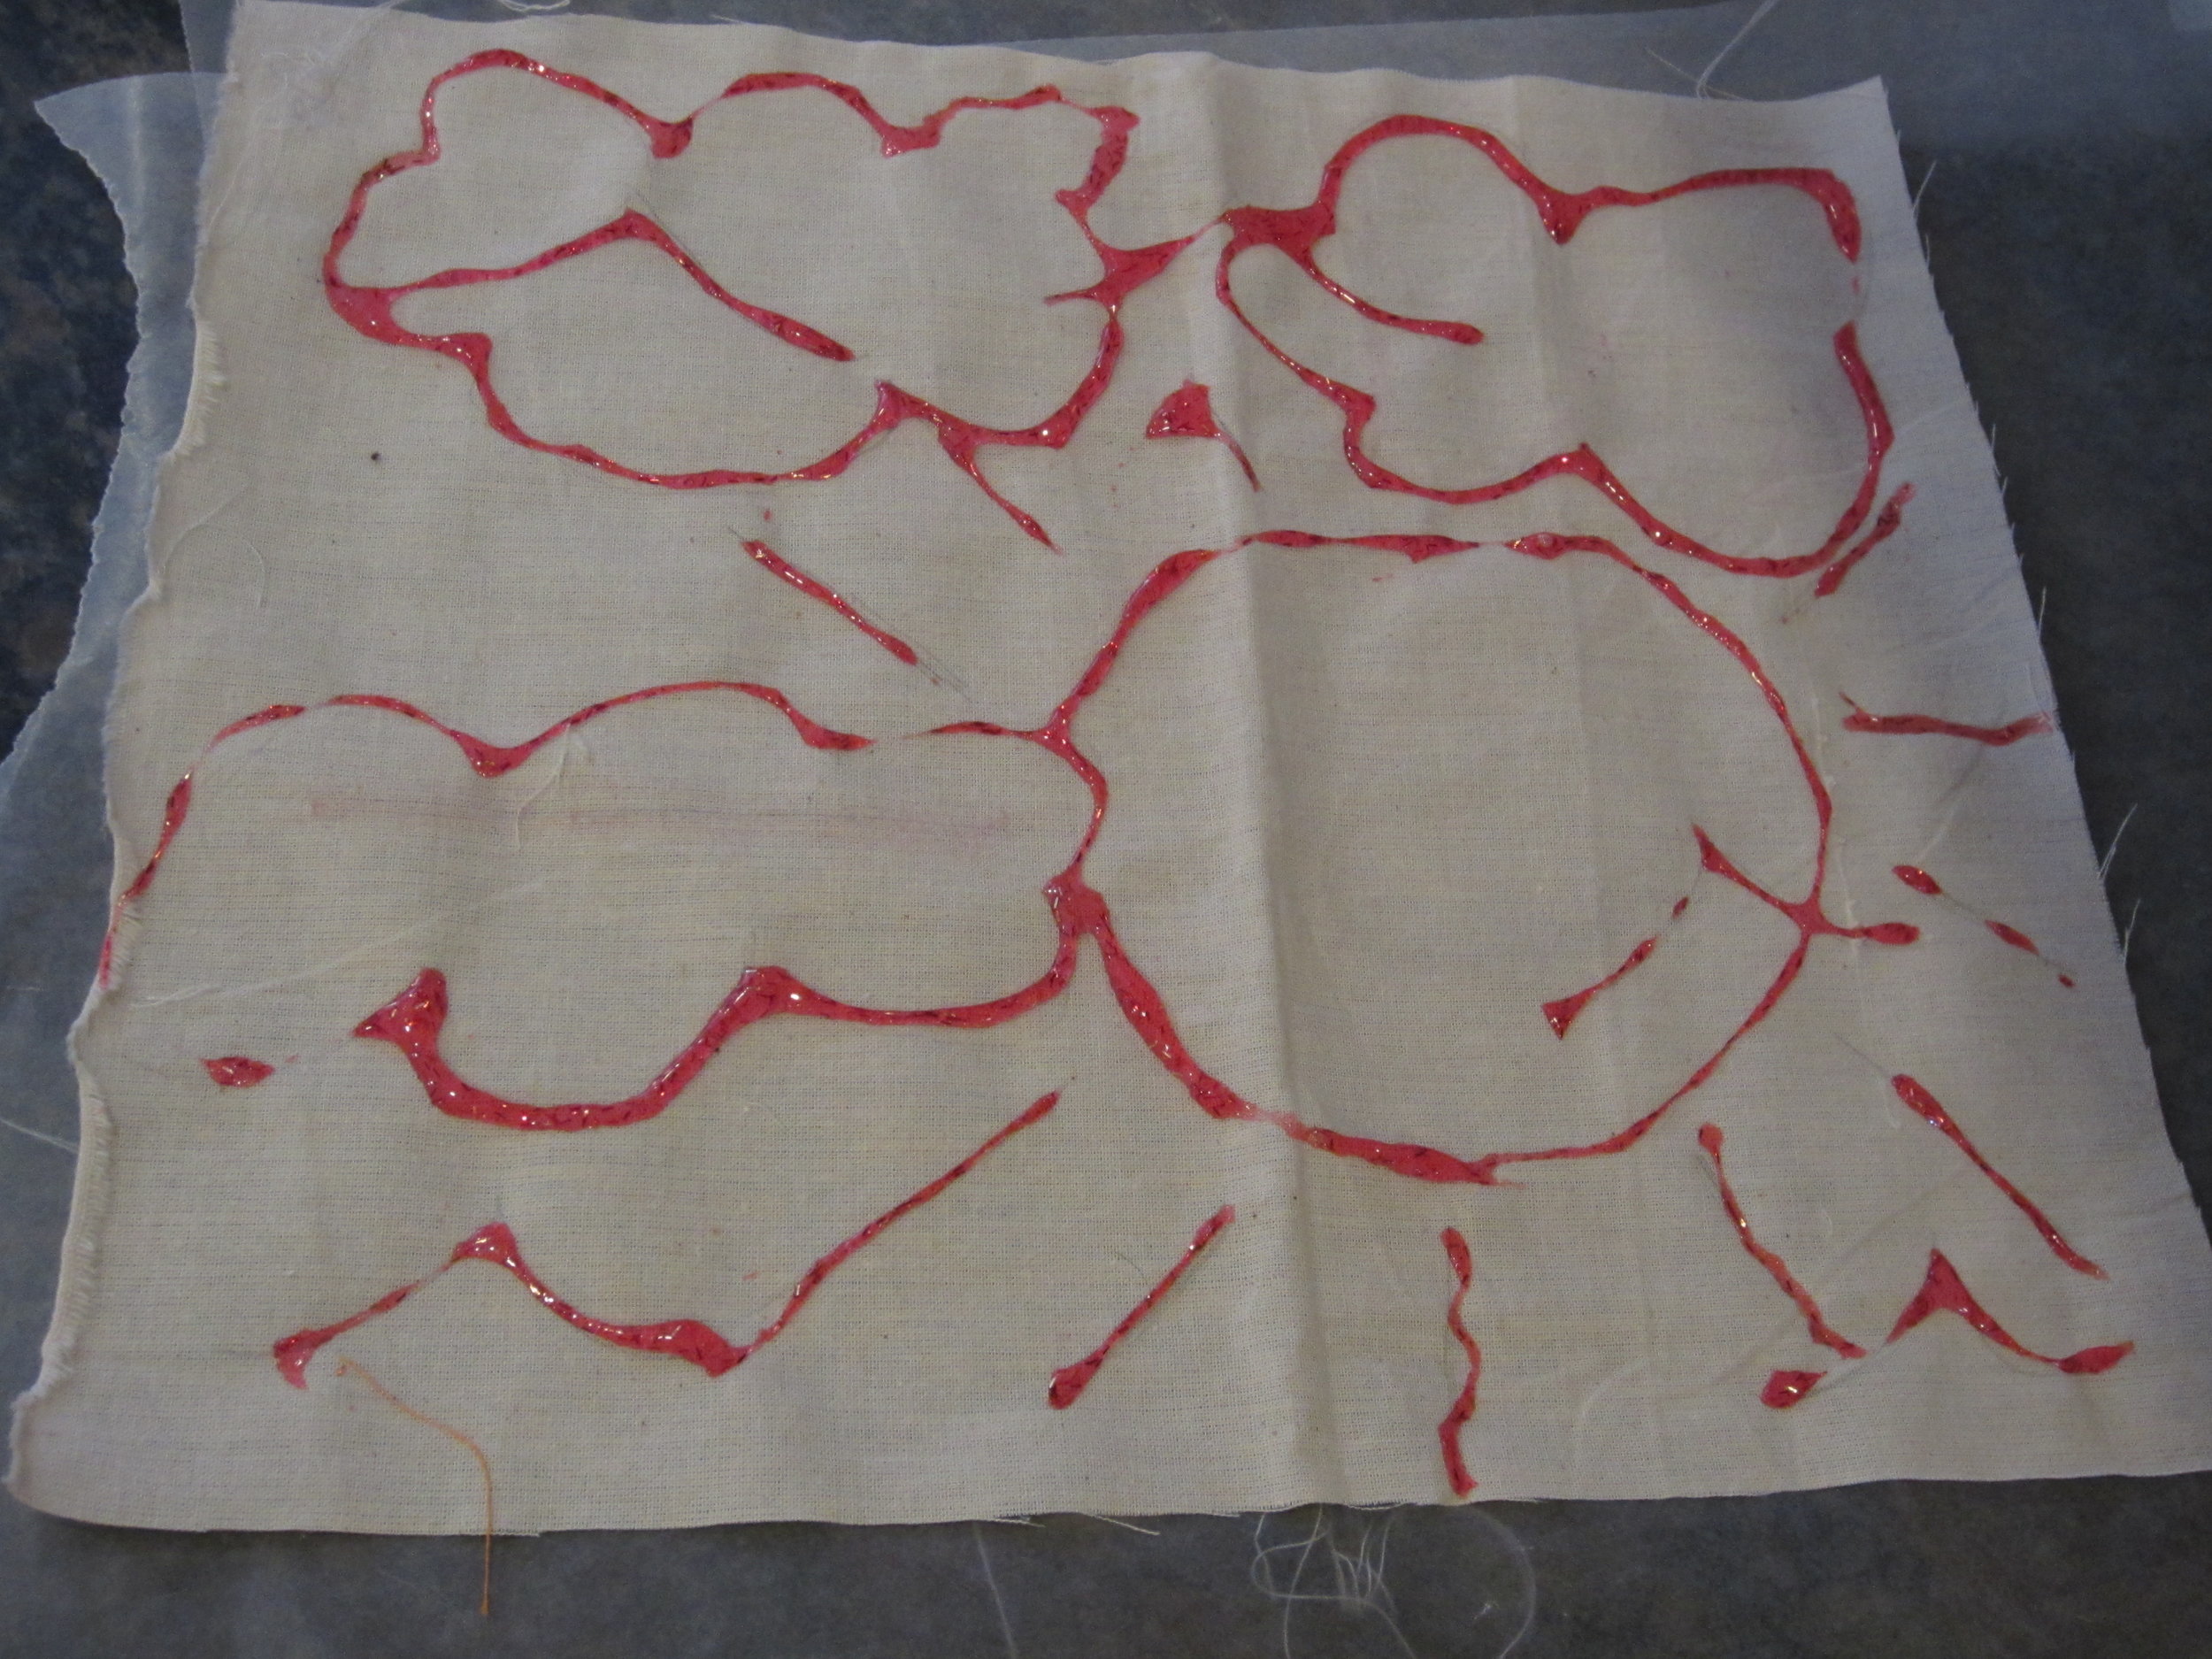
IMG_3677Batik pillow!

IMG_3678More Batik pillows.  These were so fun to create!

IMG_3679Even my own kids got in on the fun.

IMG_3656

IMG_3659

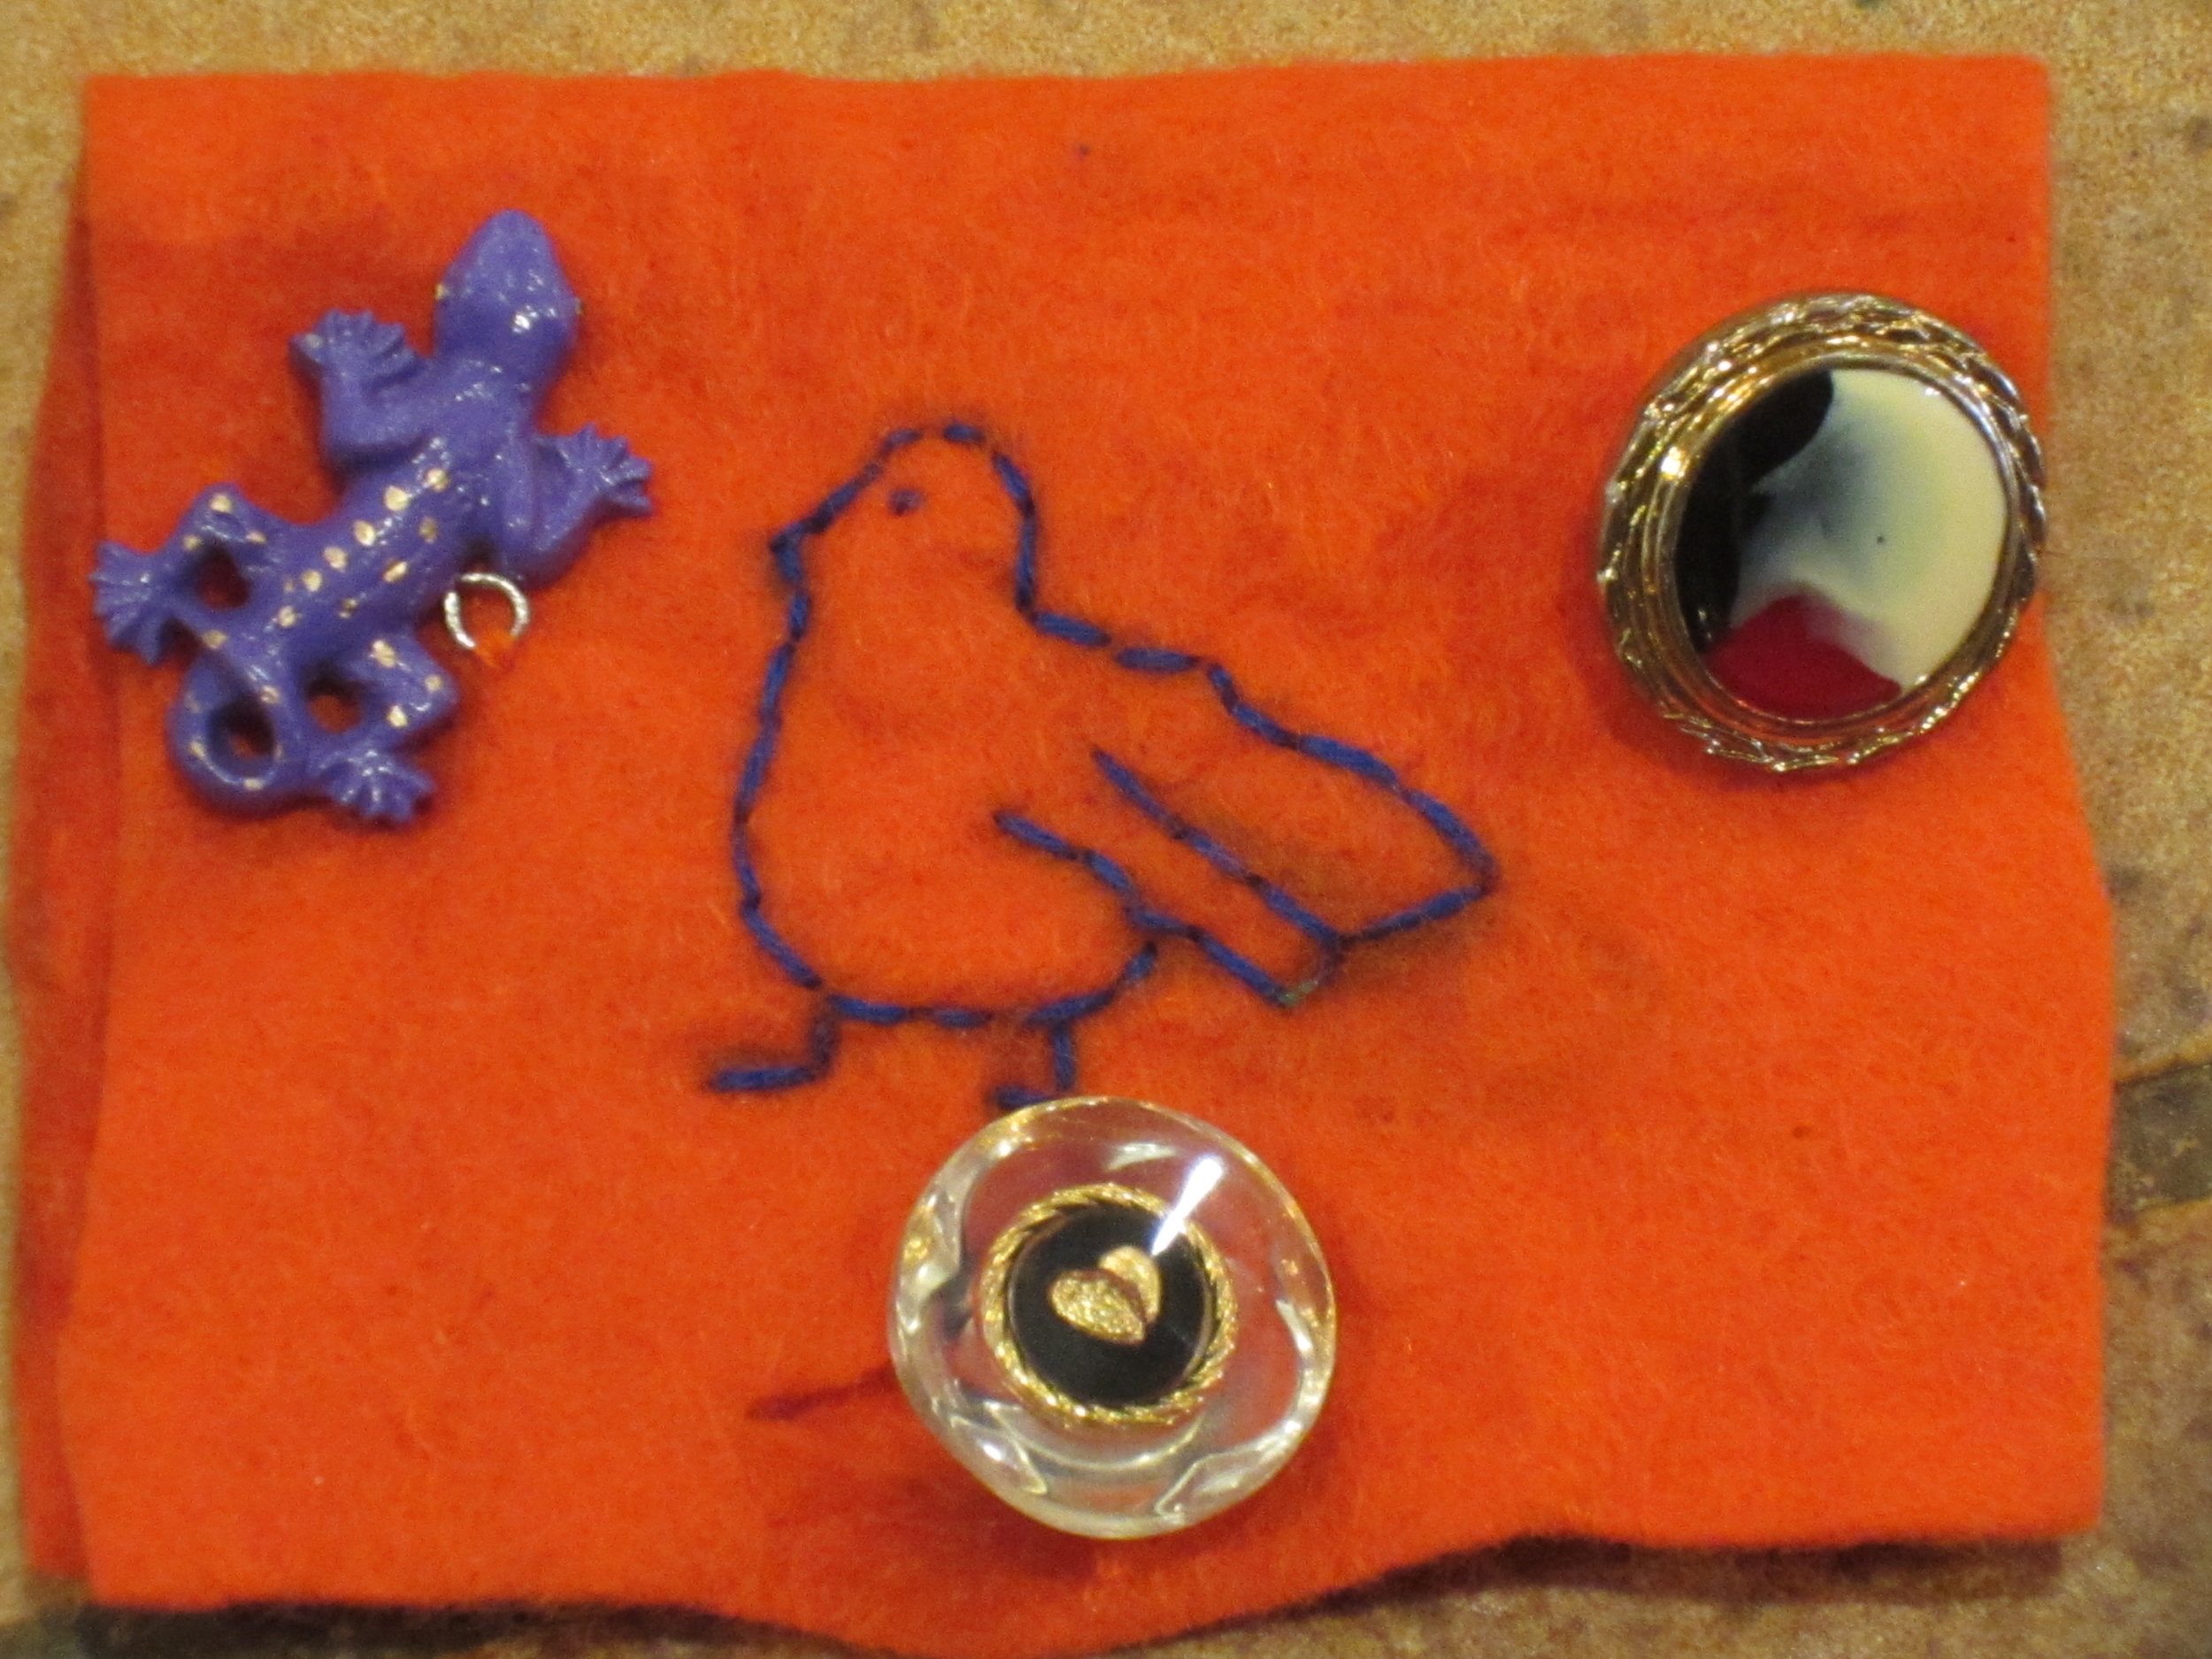
IMG_3660I love the embroidery on this one!

Let's see what new things are created tomorrow!

Awesome students!

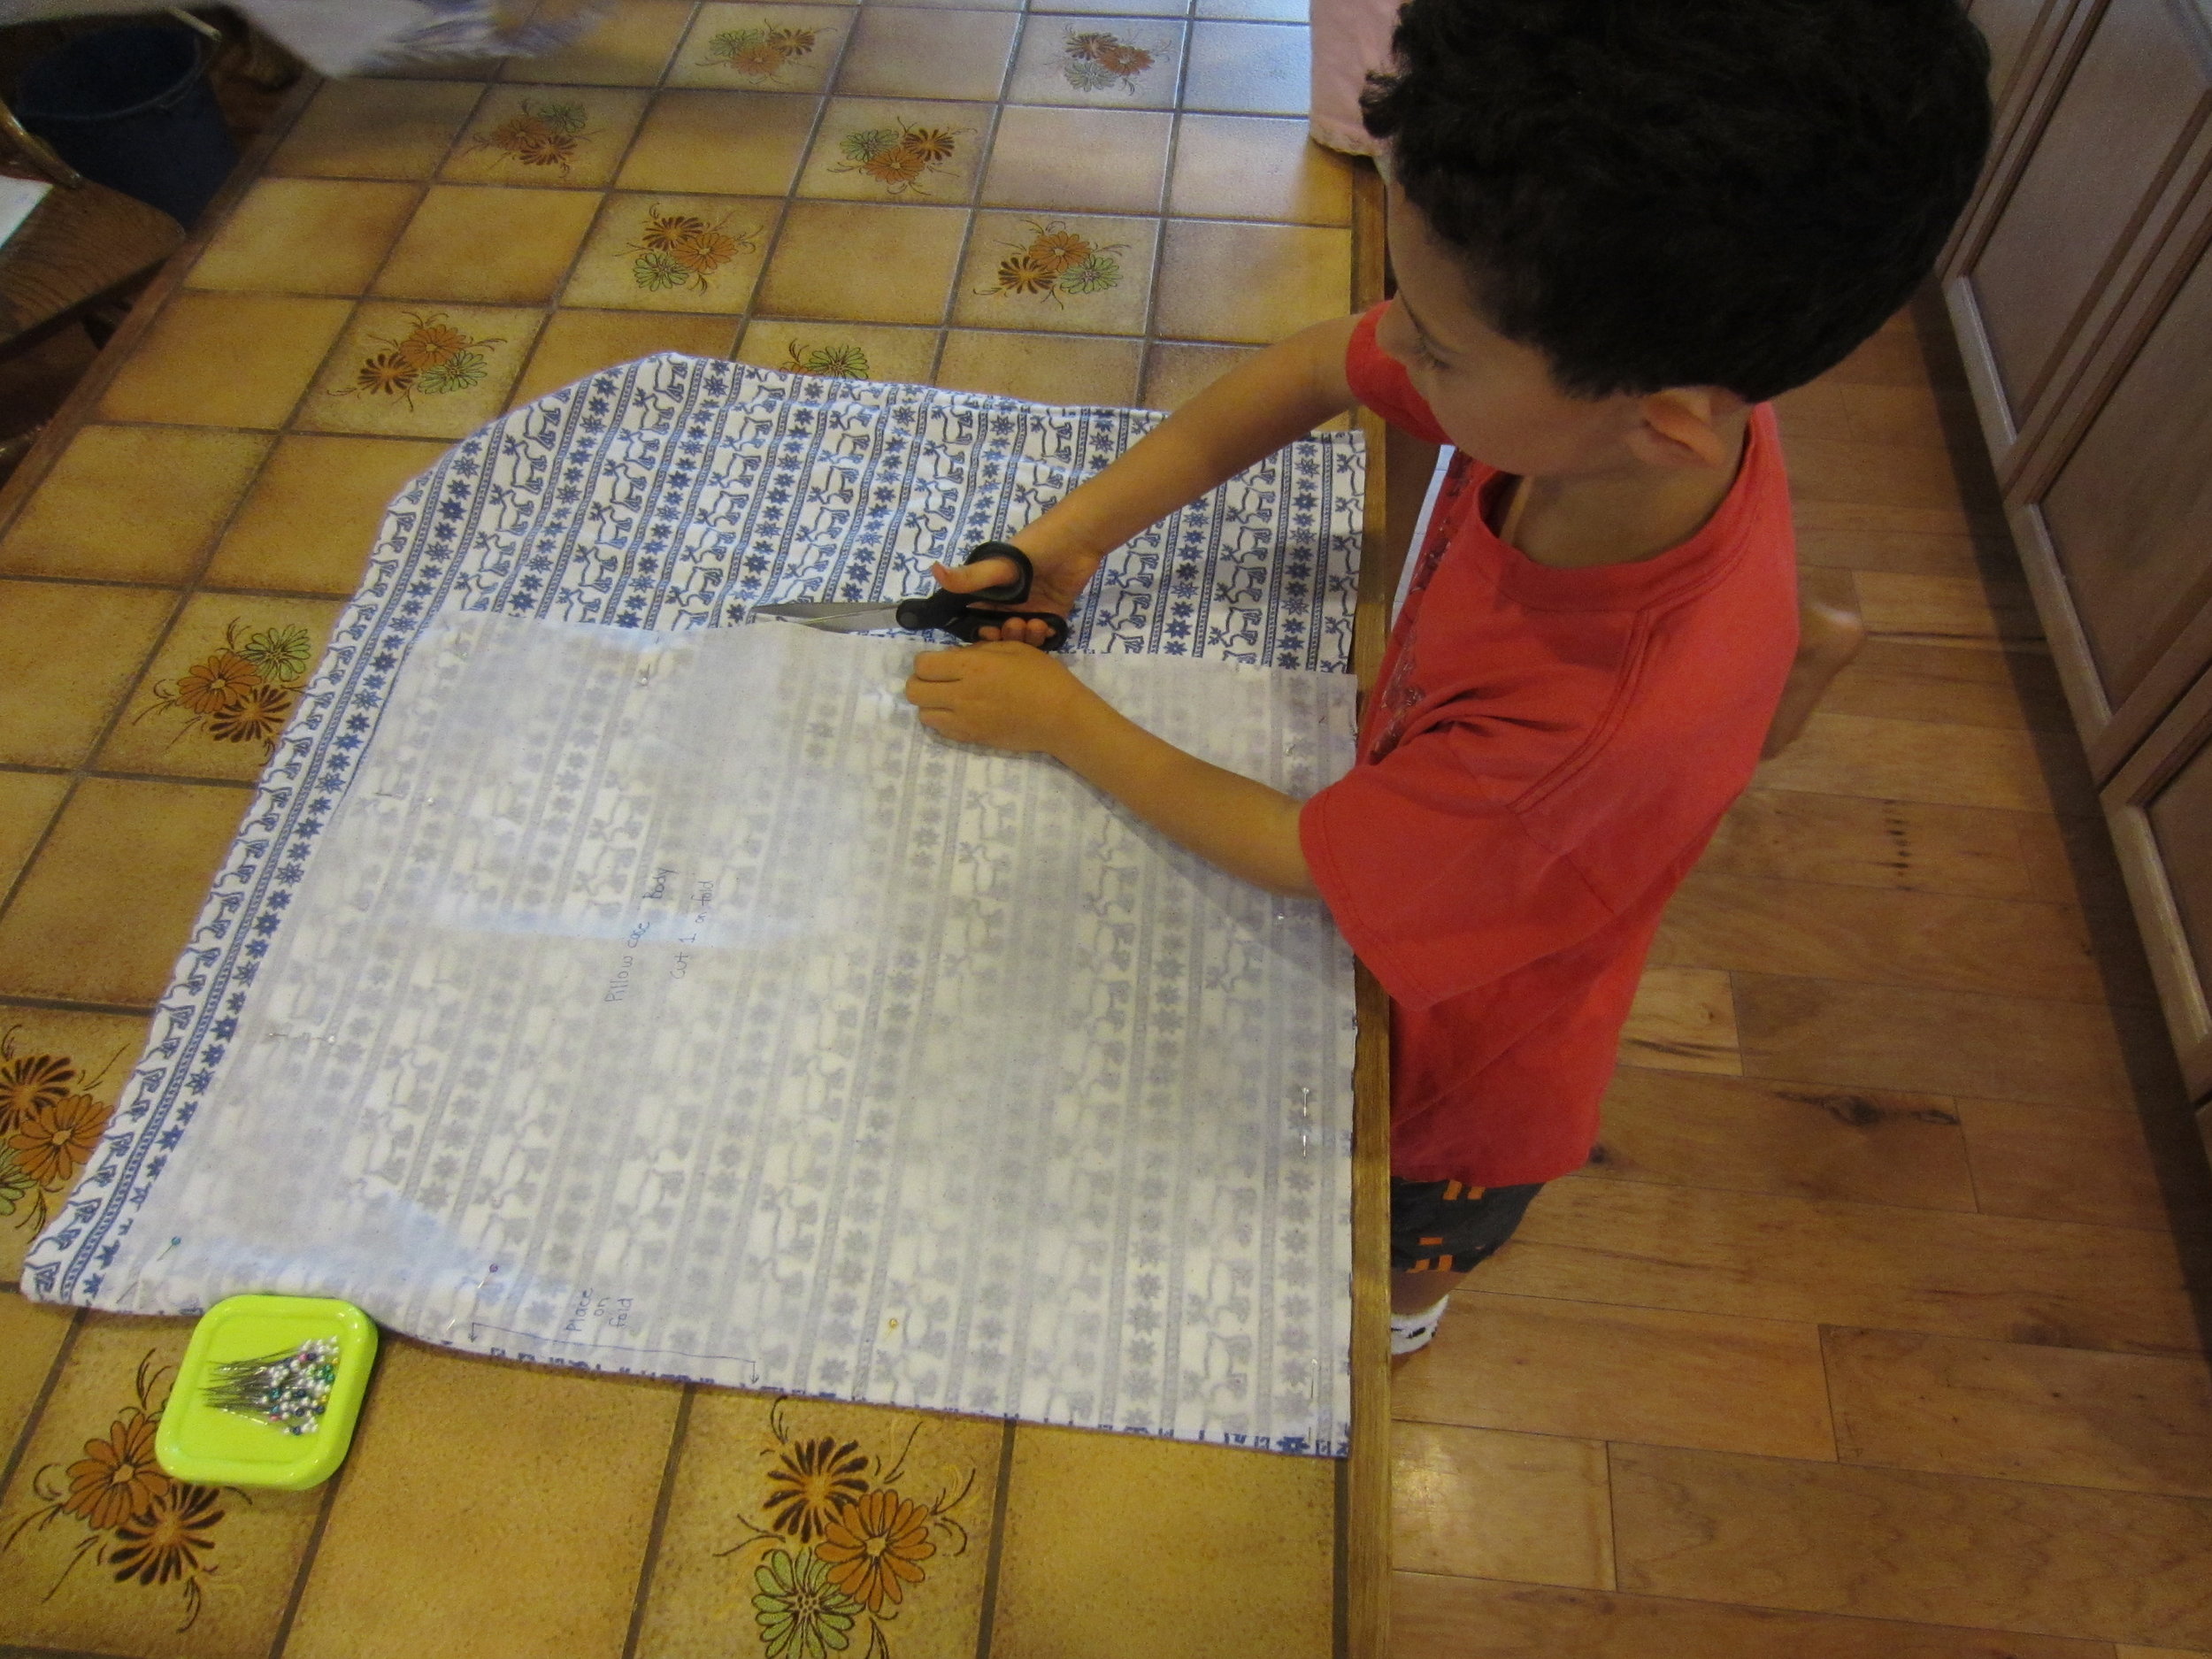
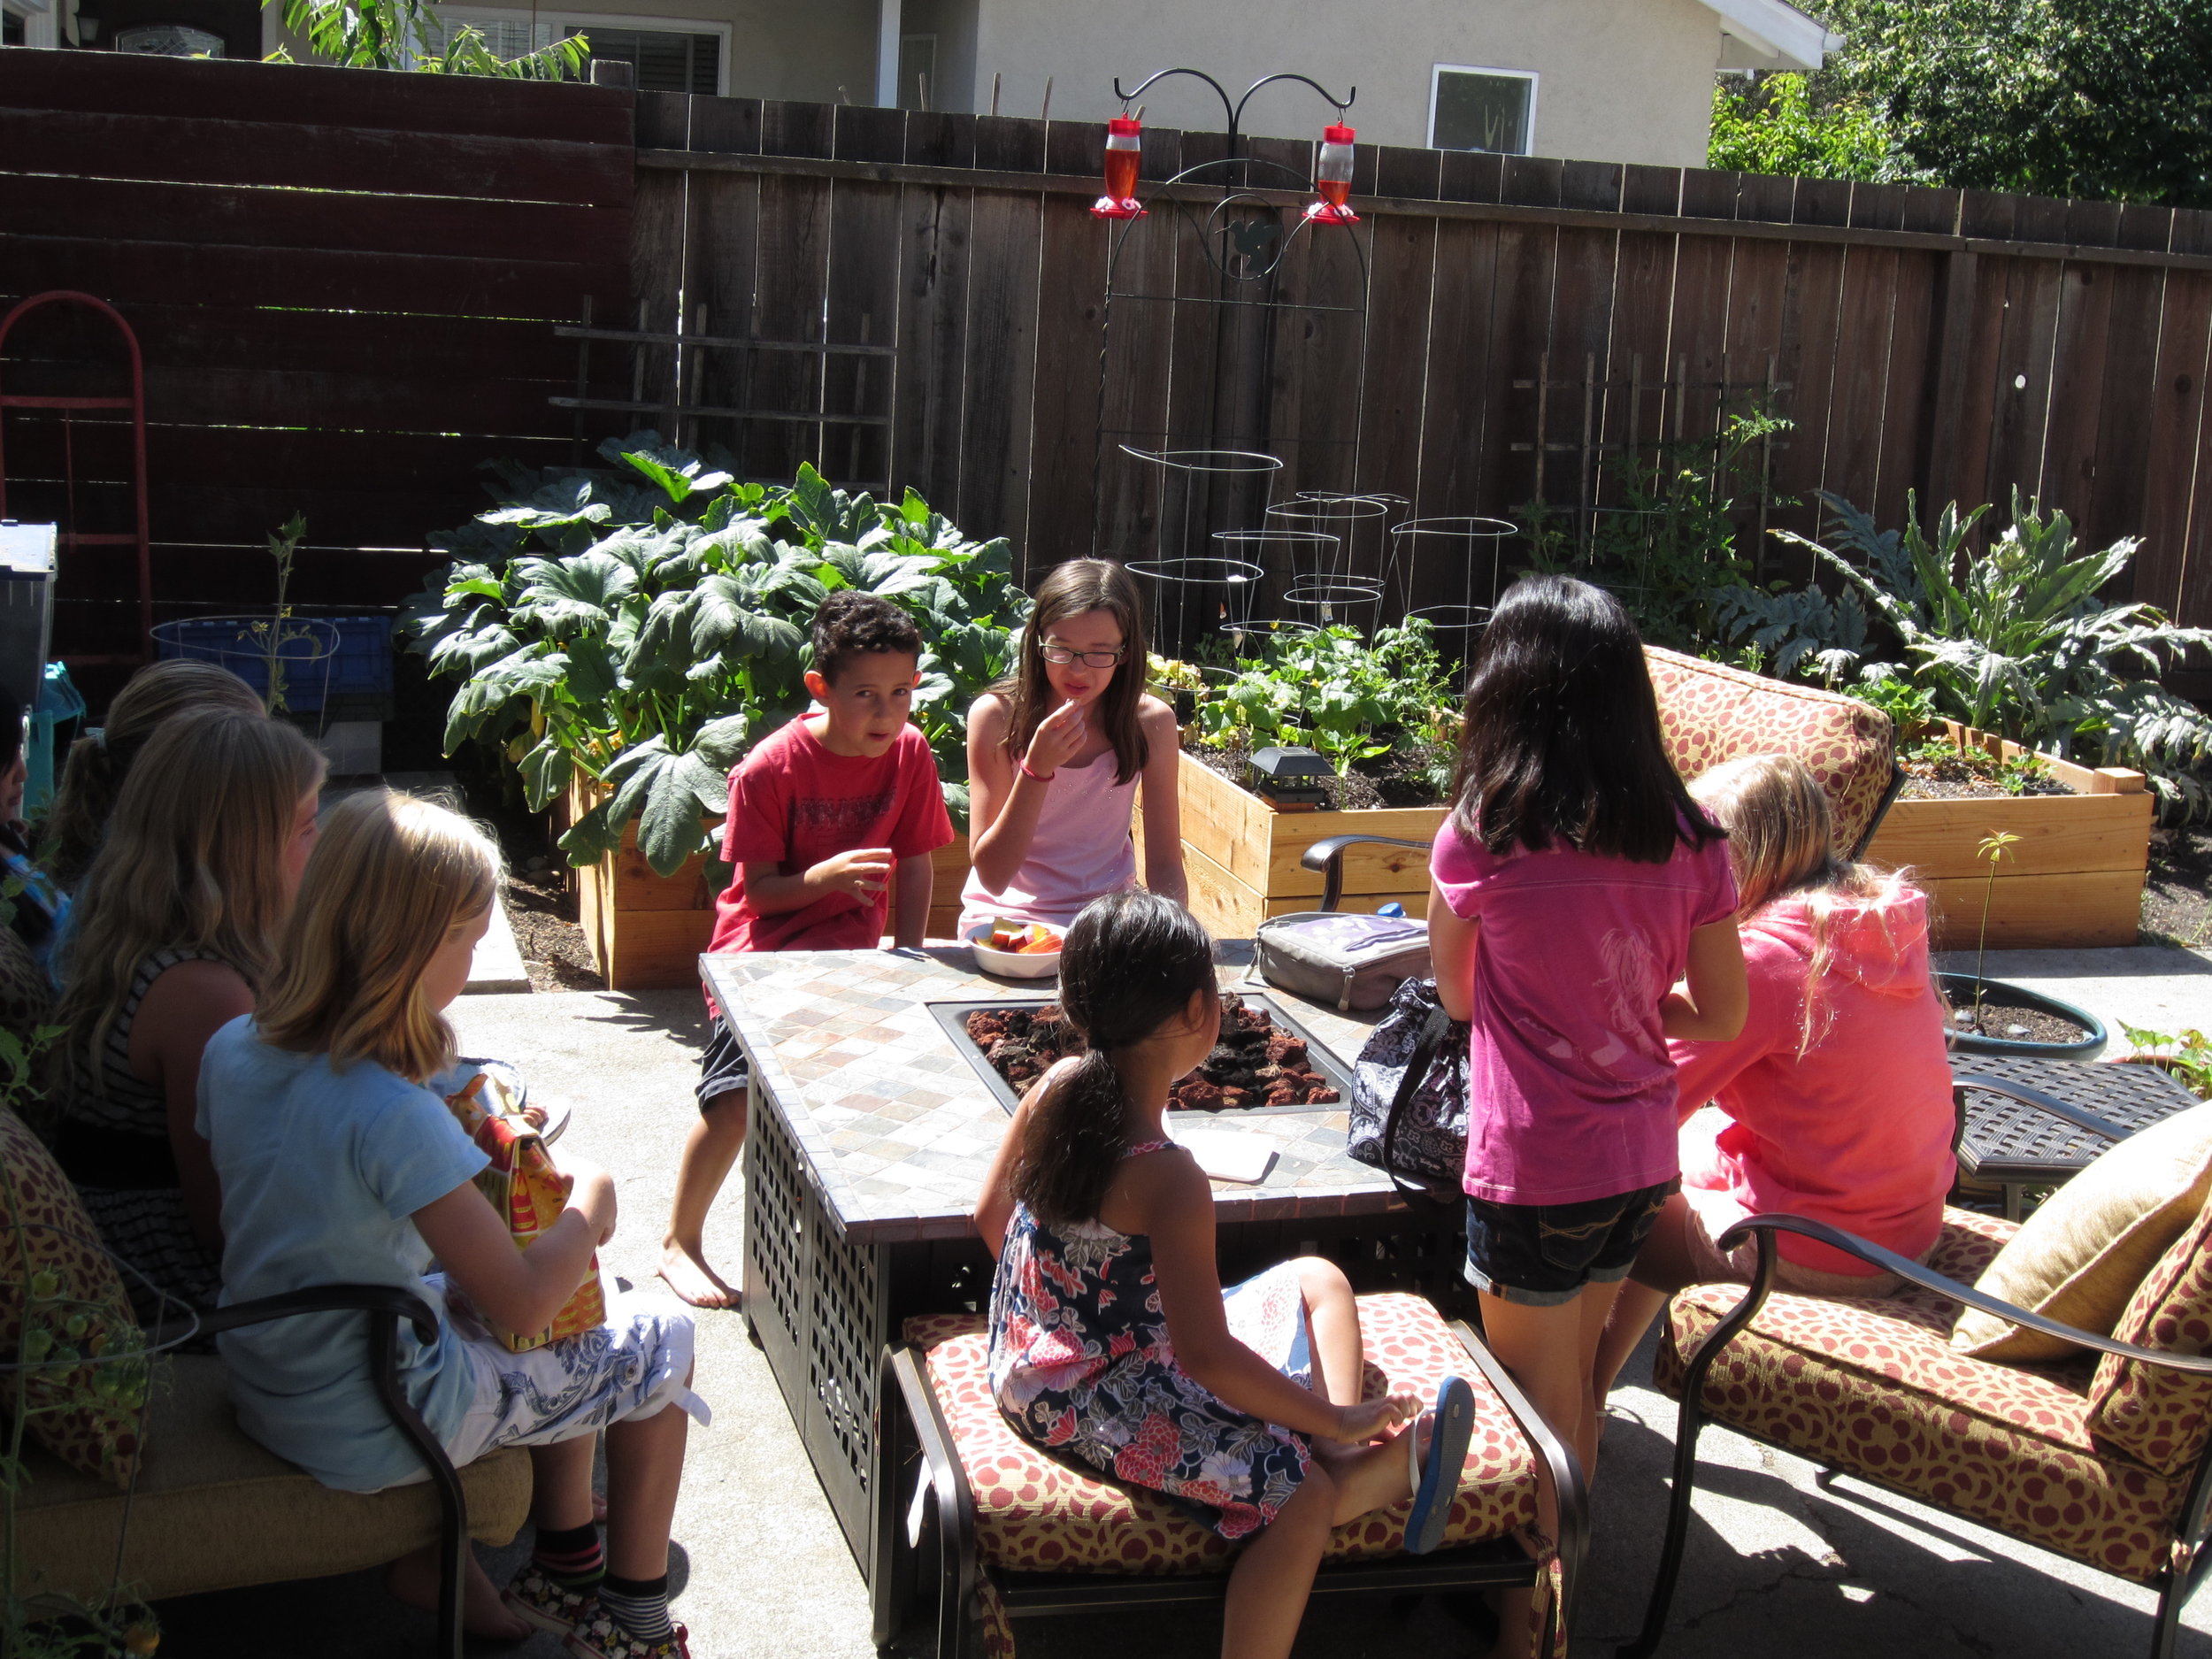
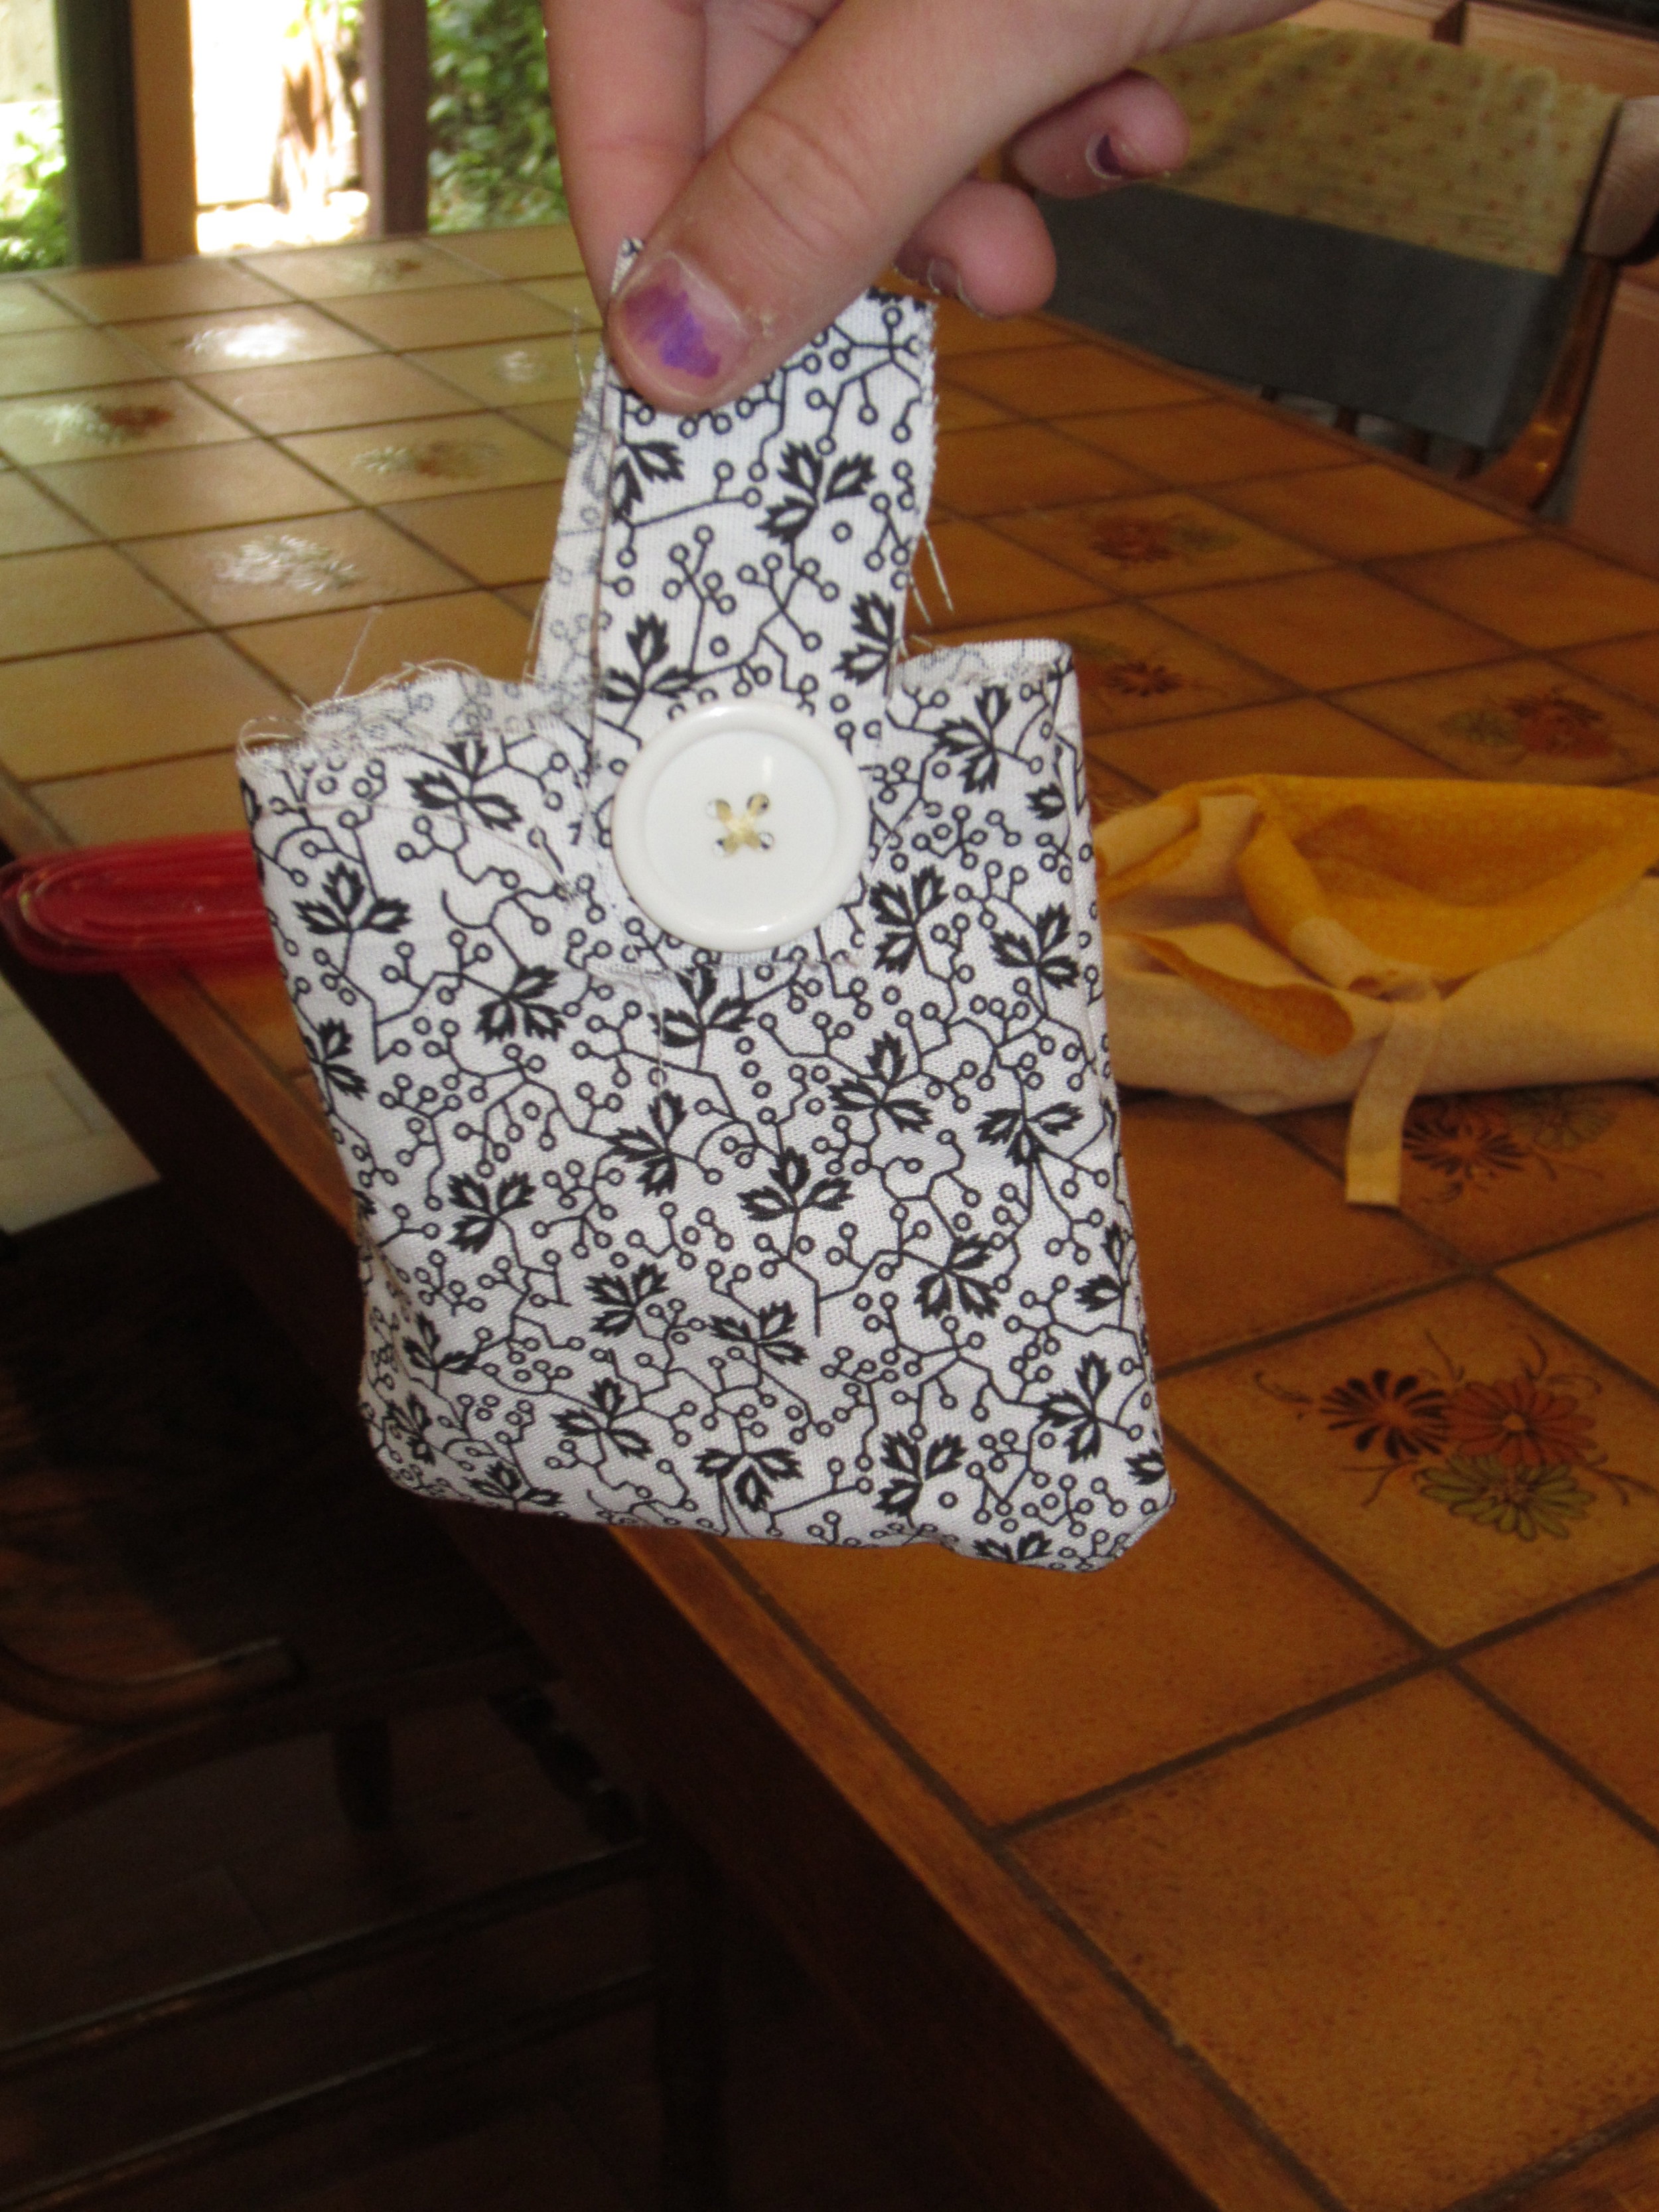
Today started bright and early with the cutting of fabric for pillow cases.ImageThe kids get to pick their own fabric and learn how to use a pattern.ImageThey get so excited when they find that "perfect" fabric for their project.ImageThese kids come and get right to work.ImageEach day we take a mid-morning break.  The kids love to have their snack and sit and chat.ImageHere we are finishing up our batik squares of fabric.  Tomorrow we will be sewing them into pillows.ImageThese two girls are putting the finishing touches on their batiks.  Their designs look great!ImageOne of our youngest students learning how to control her machine.  She did so wonderfully!ImageThese two were so excited to finally start their first machine sewn projects.  Here they have picked out their fabric for a sachet each and are learning to use a pattern, put right sides together and how to pin appropriately.ImageOf course, using an iron is a must!!  It's also a life long skill :o)IMG_3627 Working, working, working...IMG_3628 Everyone was very busy creating.IMG_3629 The student in the foreground finished a reversible headband and is shown here working on cutting out fabric for a pillow case.  The student in the background finished up her sachet and is now working on a reversible headband.IMG_3630She finished her pillow case!!IMG_3631 IMG_3632Cutting stabilizer for a headband.IMG_3633Another finished pillowcase!  Look at that happy face :o)IMG_3635Working and chatting - the best way to create.IMG_3636Putting the finishing touches on her sachet.IMG_3641Look at that proud face!  She finished her headband!IMG_3642Another finished sachet.IMG_3643This student finished her sachet and started a headband.IMG_3644She finished her sachet and is bringing it home to hang in her room.IMG_3645She is so happy!!  She sewed this on the machine all by herself, closed the opening used to stuff it and then sewed on the button.  The only assistance needed was help to tie one knot.  Impressive!IMG_3646Another finished headband.IMG_3647A bag created from imagination.IMG_3648Another free form bag!IMG_3649Love that creativity!As you can see, all these students are so amazing!!  Only a few days sewing and look what they can create - such fast learners with such great imaginations :o)  I can't wait to see what tomorrow will hold.

Today was great!

Today was even better than yesterday, if you can believe that!  Most of the students finished their pincushions and started sewing on the machines.

Image


It was so fun to see the fabrics and embellishments that were chosen.


Image


I found it interesting that chickens were the most popular, followed closely by apples.  I had expected the bear to be the most popular.  


Image

This chicken was made by an incoming 2nd grader. 

Image


One student couldn't make it yesterday, but worked very hard today to make her needle book (pictured above, isn't is so cute?!), her pincushion and by the end of camp today, she was ready to make a lavender sachet on the sewing machine.

Image


Then we worked on our batik squares.  They used paint with water mixed in to create a wash to color in their designs.  Again, it was so interesting to see what every student decided to do.

Image


Image


Image


One student decided to do some splatter paint on hers.

Image


And others followed suit - this gave such a cute added element to their fabric squares.

Image


I put all the squares outside to dry more quickly and here they all are - such a creative group of kids!!

Image


Then onto the most exciting part of camp so far for these kids - using the machines!  They couldn't wait!

Image


First, I had them practice on precut squares of fabric to get used to the machines and figure out how to control both the speed of the machine and the direction of the fabrics.  In no time at all, they had mastered this part.

Image


Almost all the students worked on the machines today - tomorrow the last two will be up and running.  I know they are chomping at the bit to get started.

Image


Tracing the pattern for a lavender sachet.

Image


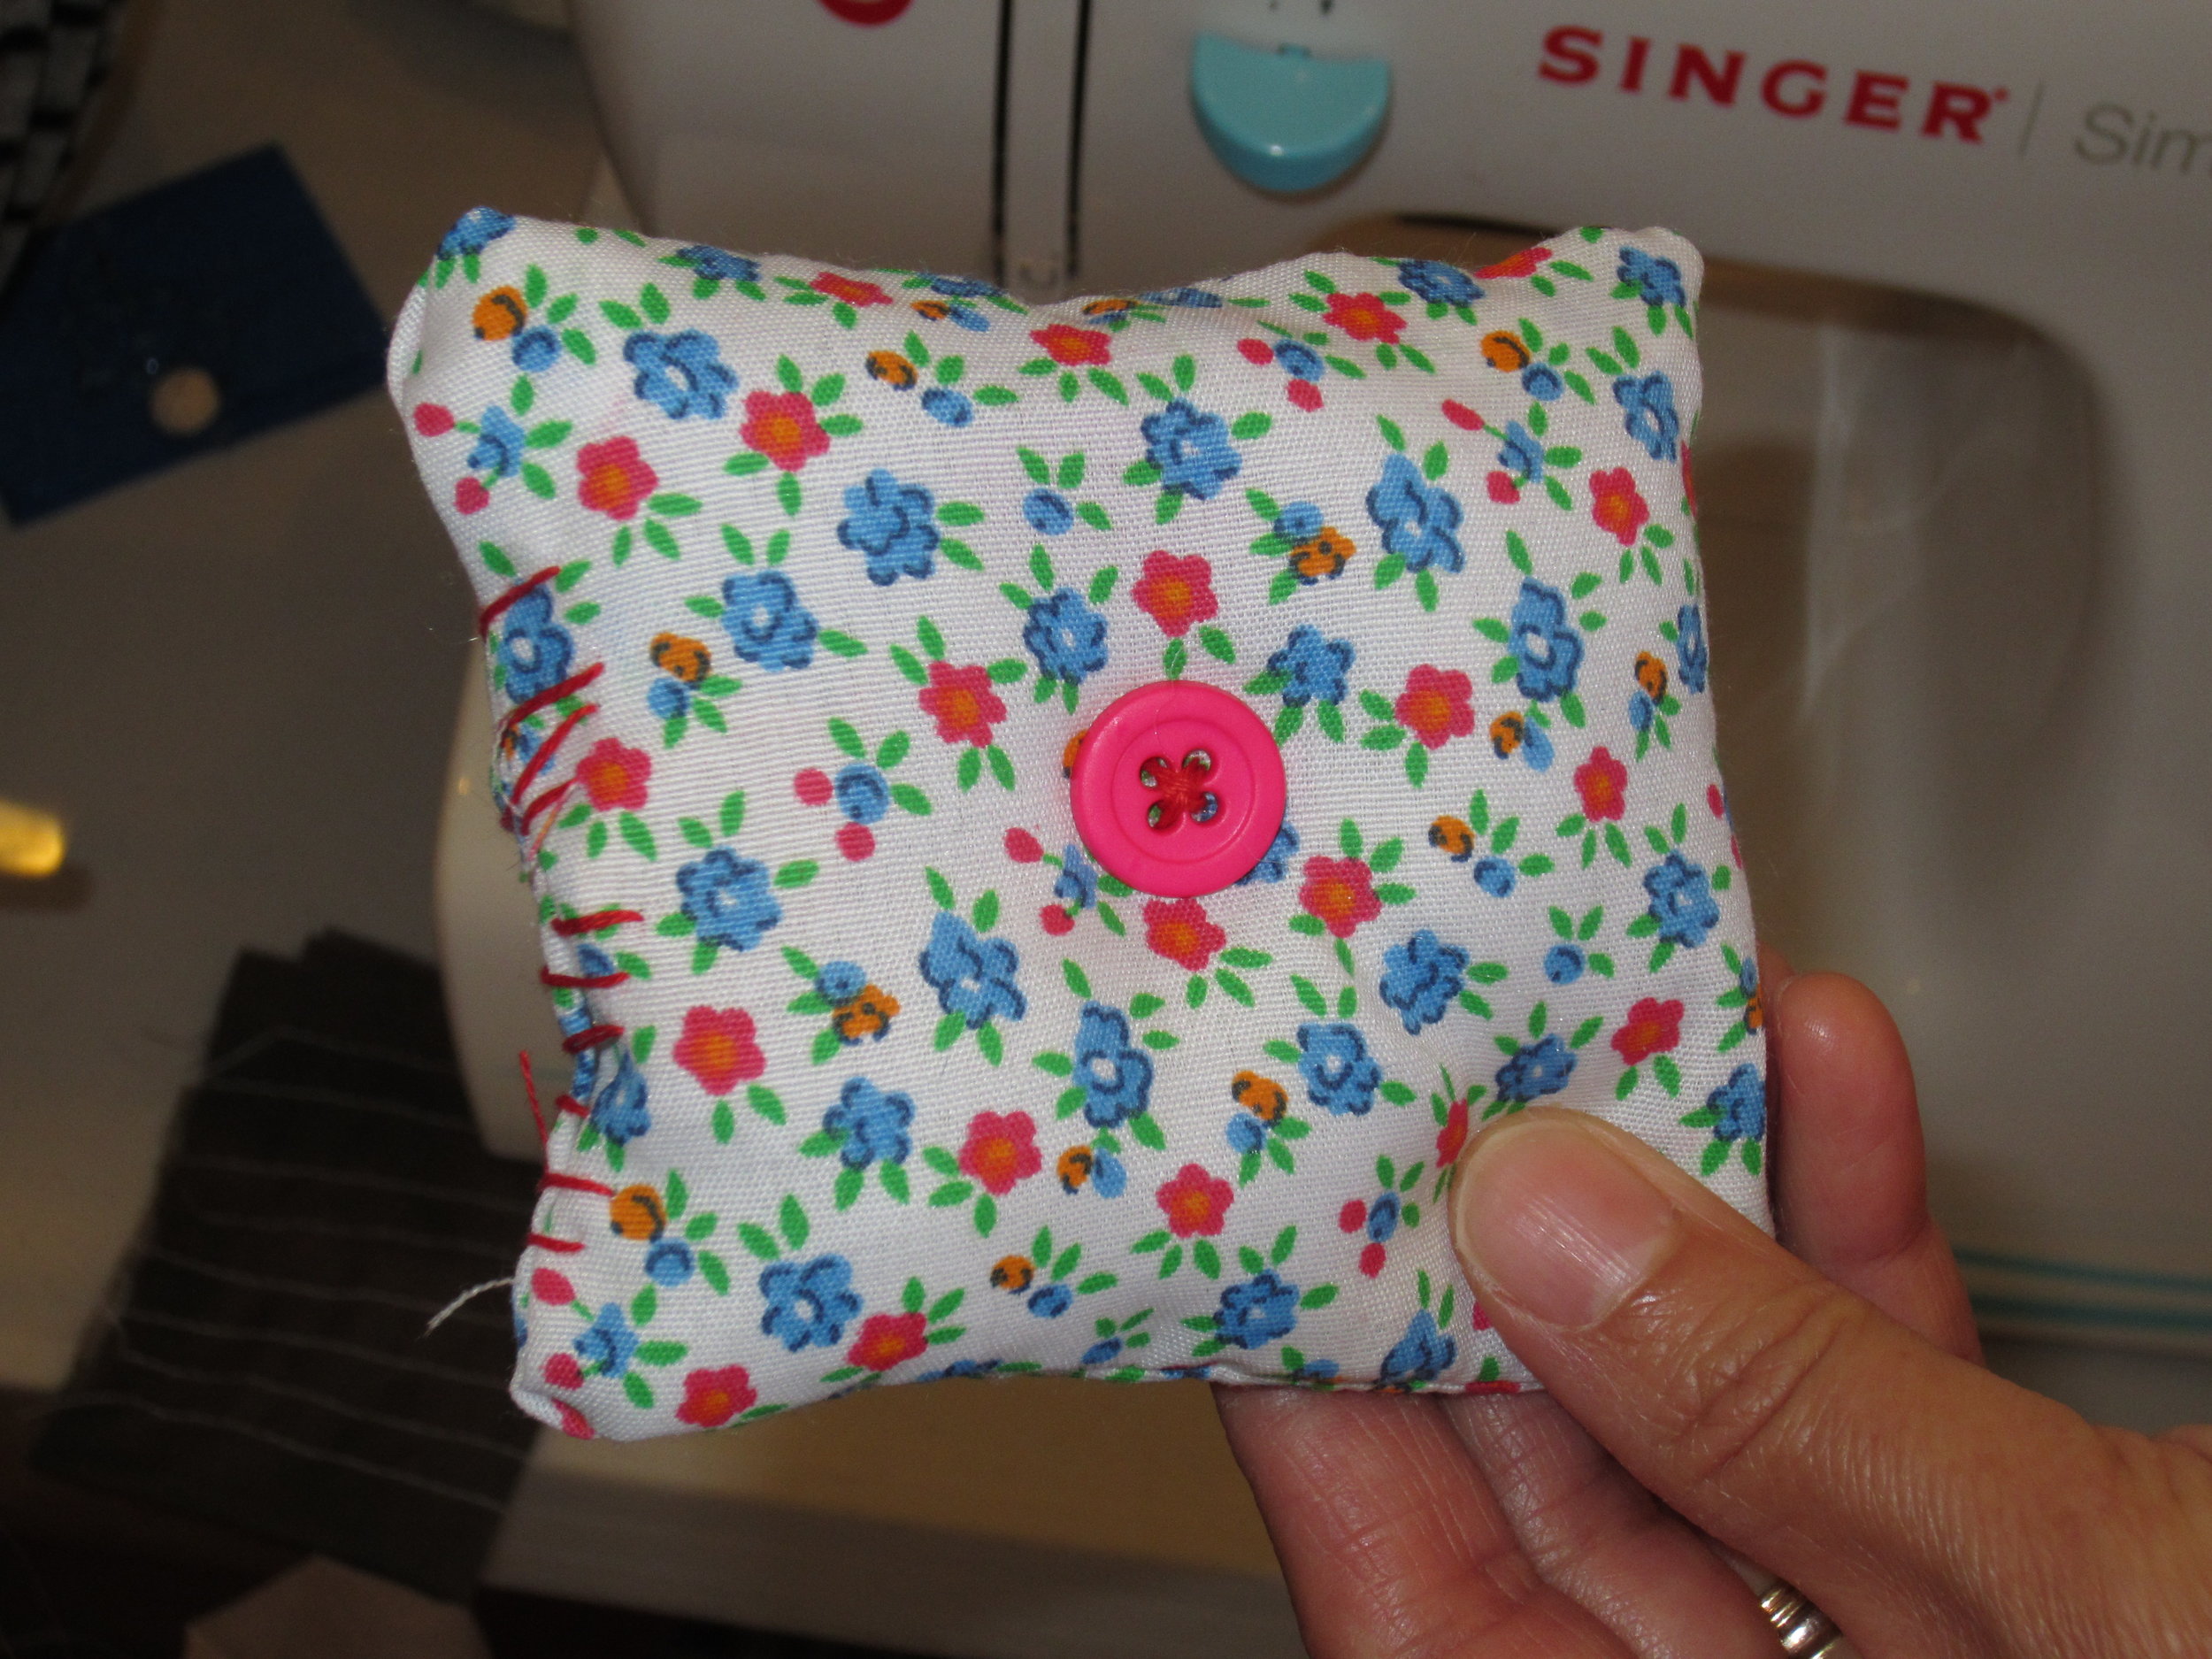
Here are some of the finished sachets.  We didn't use lavender, we used rose and berry scented potpourri and they smell so nice!

Image


Each sachet combined machine sewing with hand sewing.  The students had to keep a straight line sewing up the seams on this sachet as well as know how to turn corners.  After the sachet was sewn with a small opening left to turn and stuff, they needed to use their new found hand sewing skills to close the sachet and add a button for embellishment.  While this looks like a simple project, many different skills are needed.

Image


This is a reversible headband that one of my students started.  She will definitely be able to finish this tomorrow and then will start something else.


These kids are totally amazing!!  I am so impressed by what they are able to do after just two days!!  See you all tomorrow!

Fabulous First Day of Sewing Camp

WHEW!!  What a morning we had!  It was truly fabulous.   The students were incredibly enthusiastic and excited to learn.IMG_3564First, we learned how to trace and cut a pattern to make a Needle Book.  Gotta have a place for those needles!!  Then, the students drew designs on the front of their needle books to personalize them.

IMG_3565
That's when the    real fun began.  The students took thread and needle and made those designs really "pop".  Don't you just love how they are all gathered around out on the front patio sewing?!
IMG_3566
Incoming 2nd grader sewing her design onto her needle book.
IMG_3567
I love when the kids gather together to sew and chat.  They were also helping each other whenever they could.
IMG_3568
Incoming 3rd grader working on his needle book.  Look at that concentration!!
IMG_3569
It wasn't all sewing today - we started on some glue batik fabric squares that will eventually (by the end of this week) be turned into pillows.
IMG_3570
After the design of their choice was drawn onto the fabric square, they used a thick glue to cover all the outlines.  Stay tuned for the update on their next step tomorrow ;o)
IMG_3579
All the designs were so lovely and unique!
IMG_3572
Each needle book was also unique...
IMG_3573
This guy is a lego fanatic -  he wanted to and probably will at a later date, add the other 6 lego buttons that he found in the button box to this needle book.
IMG_3575
Love the button choice for this one!
IMG_3576
Everyone finished their needle book!!
IMG_3577
Next up - pincushions!!  Every seamstress needs a pincushion and the cuter, the better!  These seemingly simple projects help the students become proficient in threading their needles, tying knots (they all learned quilter's knots), and keeping consistent tension and stitch length.  All these skills are so very important to polished finished projects.  We also briefly touched on what a seam ripper is and that truly great sewers are very good friends with their seam rippers :o)
IMG_3574
The first finished pin cushion.  This student did not want to use any of the patterns that were provided and instead drew his own shape and proceeded to sew it together.
IMG_3580
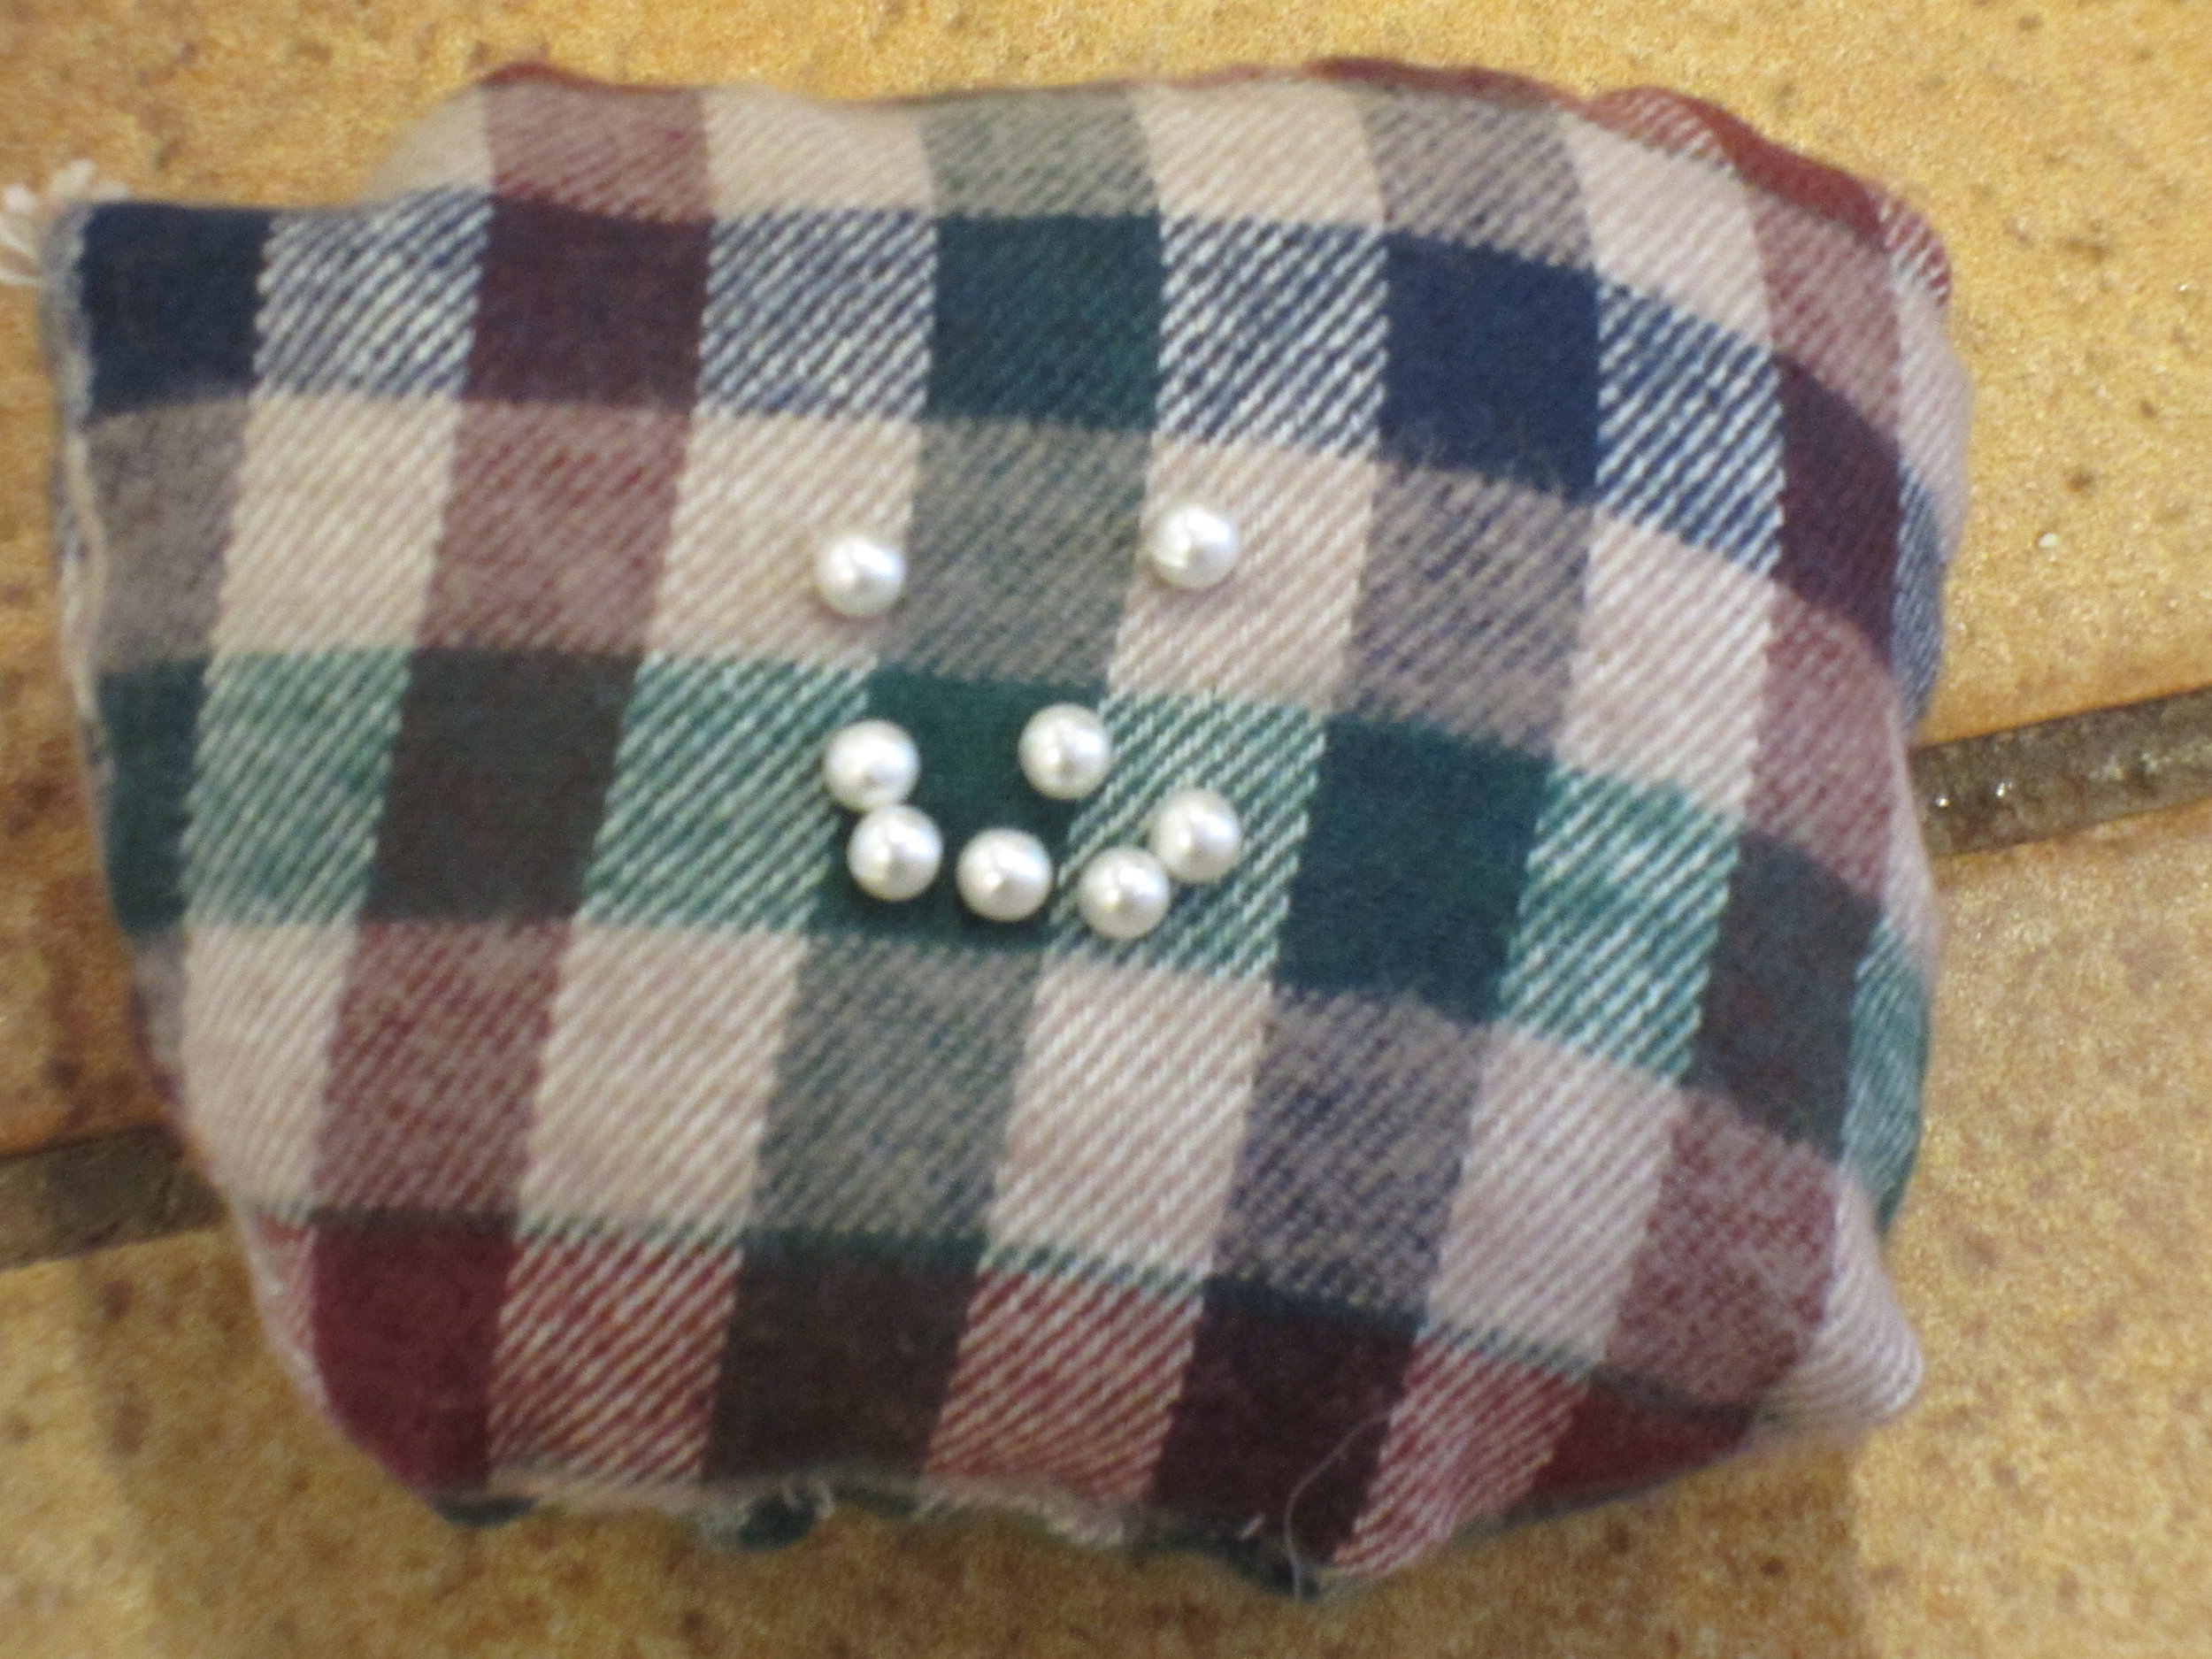
And last, but definitely not least, Zombie Bear!!  This pincushion was made by an incoming 6th grader with a serious sense of humor!  She decided NOT to sew up the head nice and neat and then promptly decided to let a little of the stuffing come out as hair (or brains, depending on who you ask in this household!).  She loves it and I love how creative she is!
Ready for Sewing Camp!!!

I can't wait until tomorrow!  Tomorrow is the first day of Sewing Camp!  I have all the sewing machines at the ready...
Image

They all have been completely threaded and tested and should be good to go for my enthusiastic students. 

Image

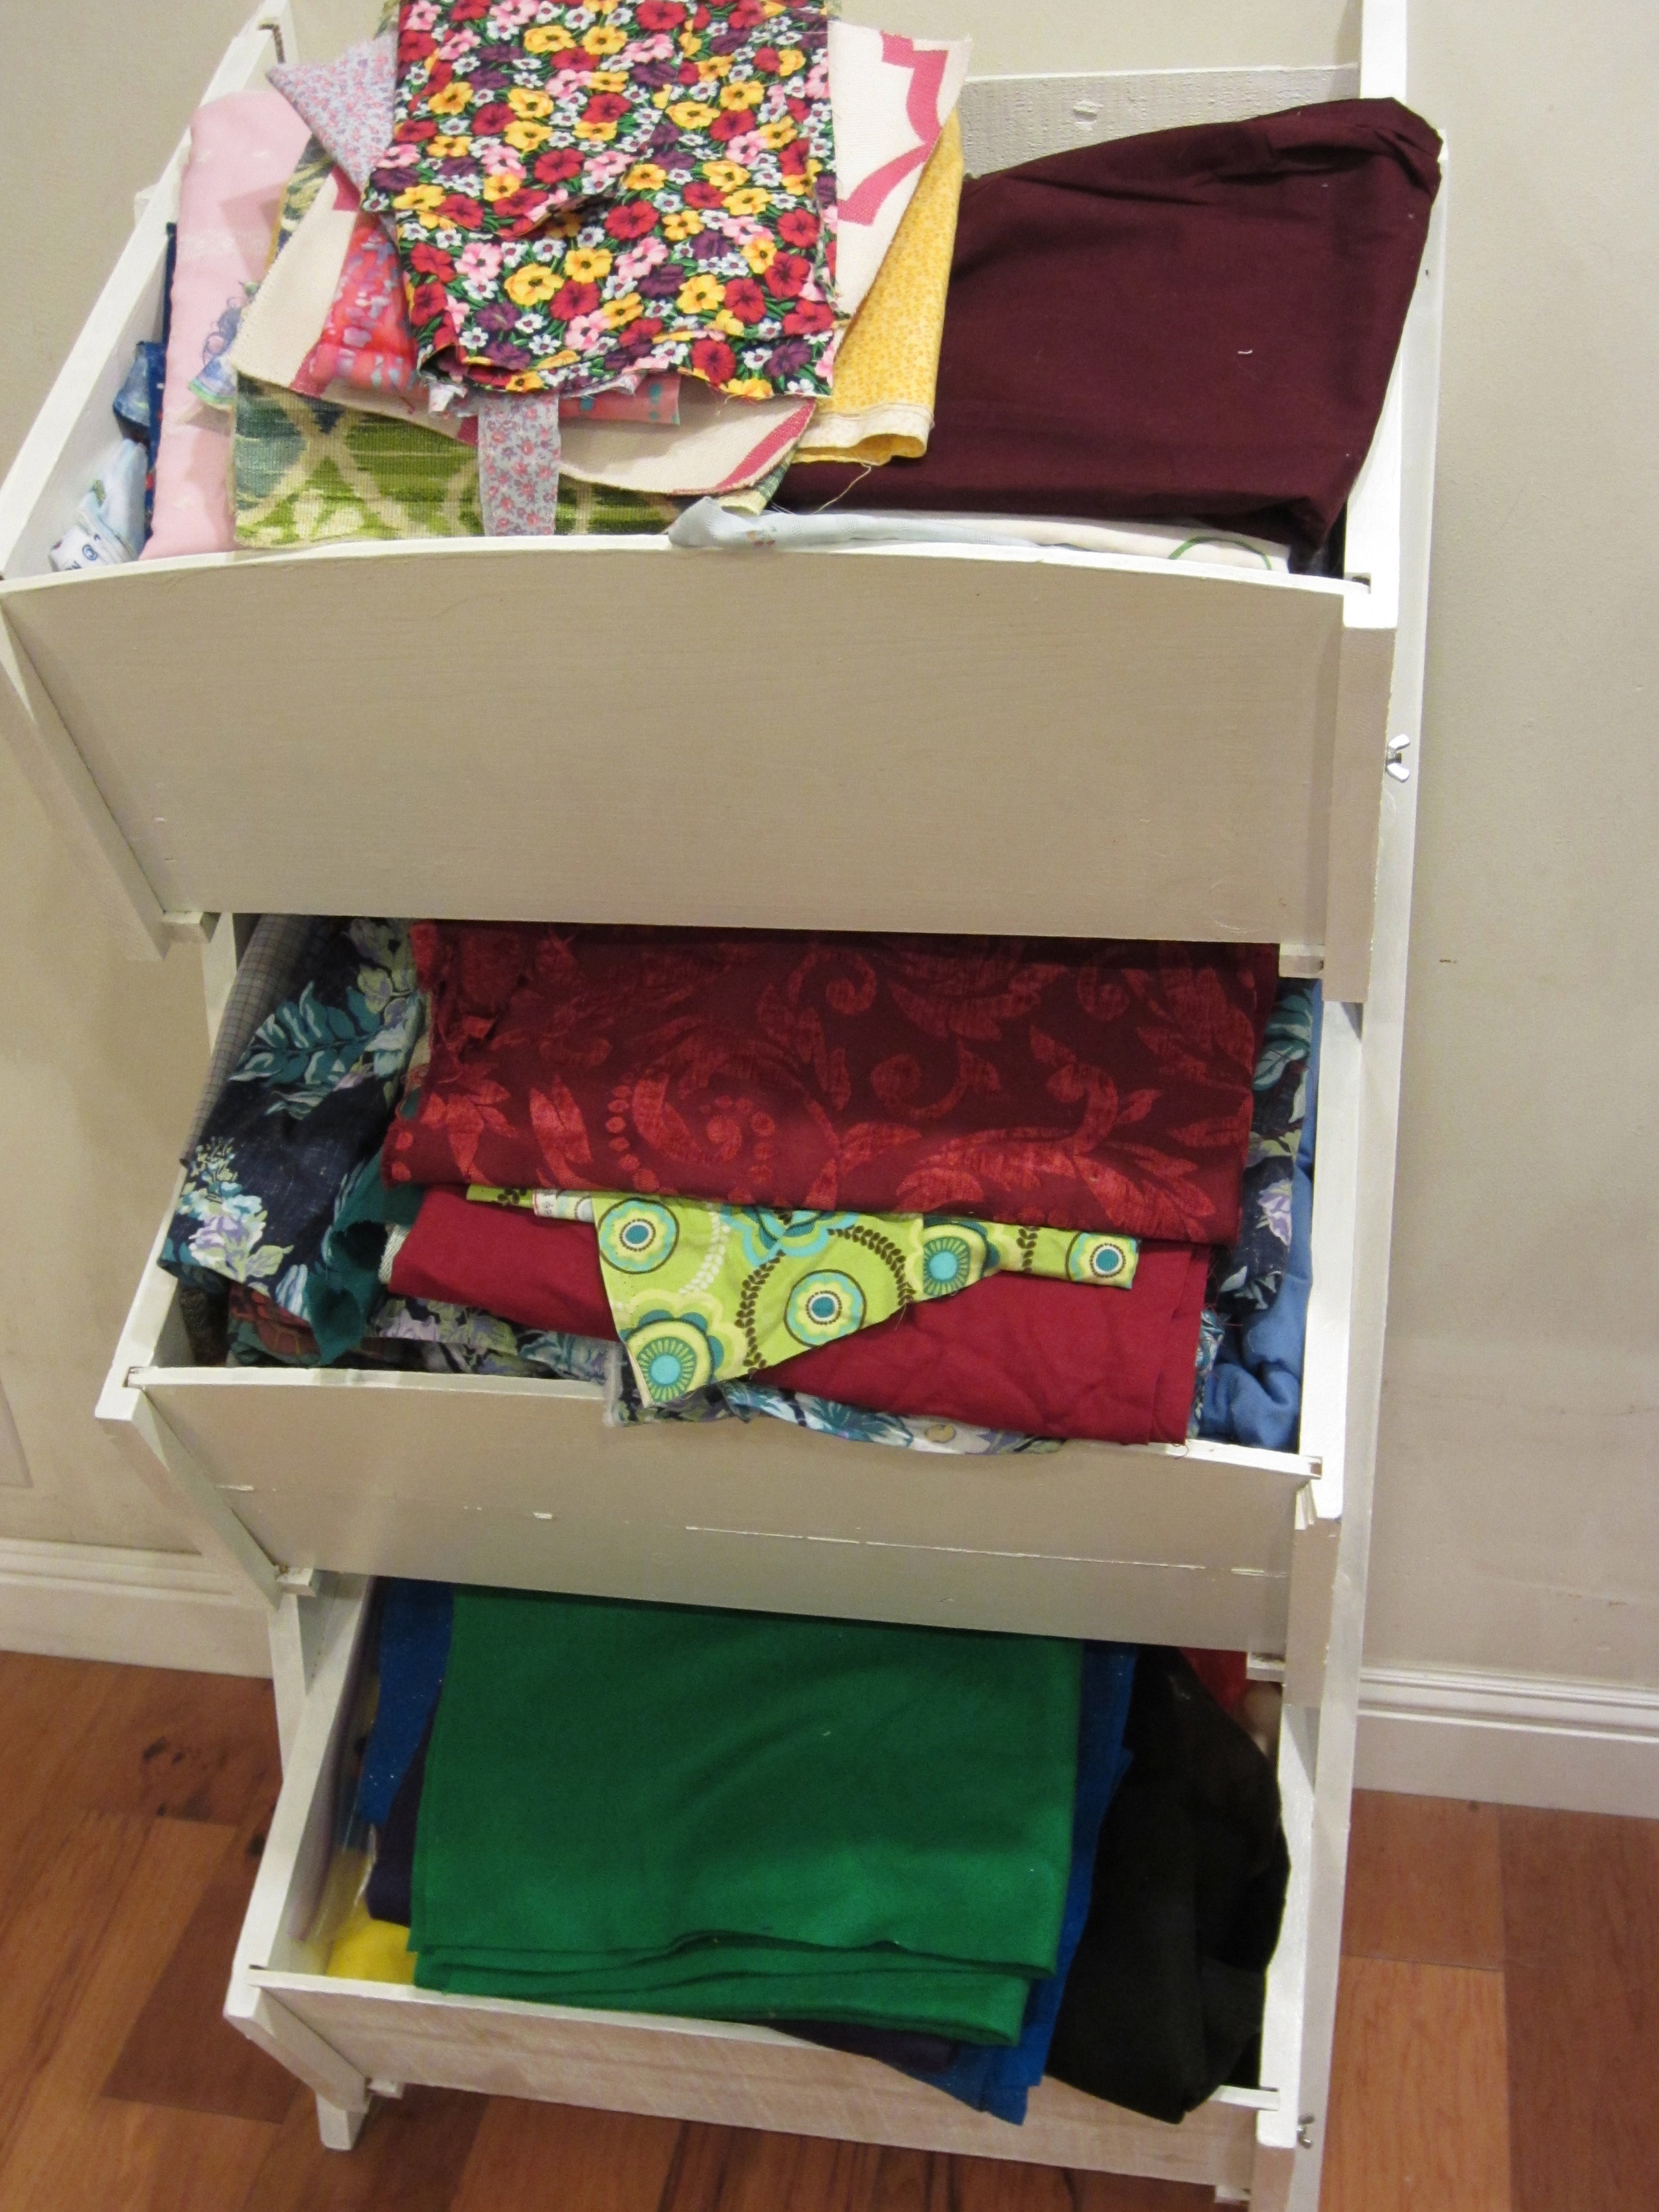
Lots and lots of fabulous fabrics to create with!  I love how these display bins allow the students to see and choose whatever suits their fancy!

Image

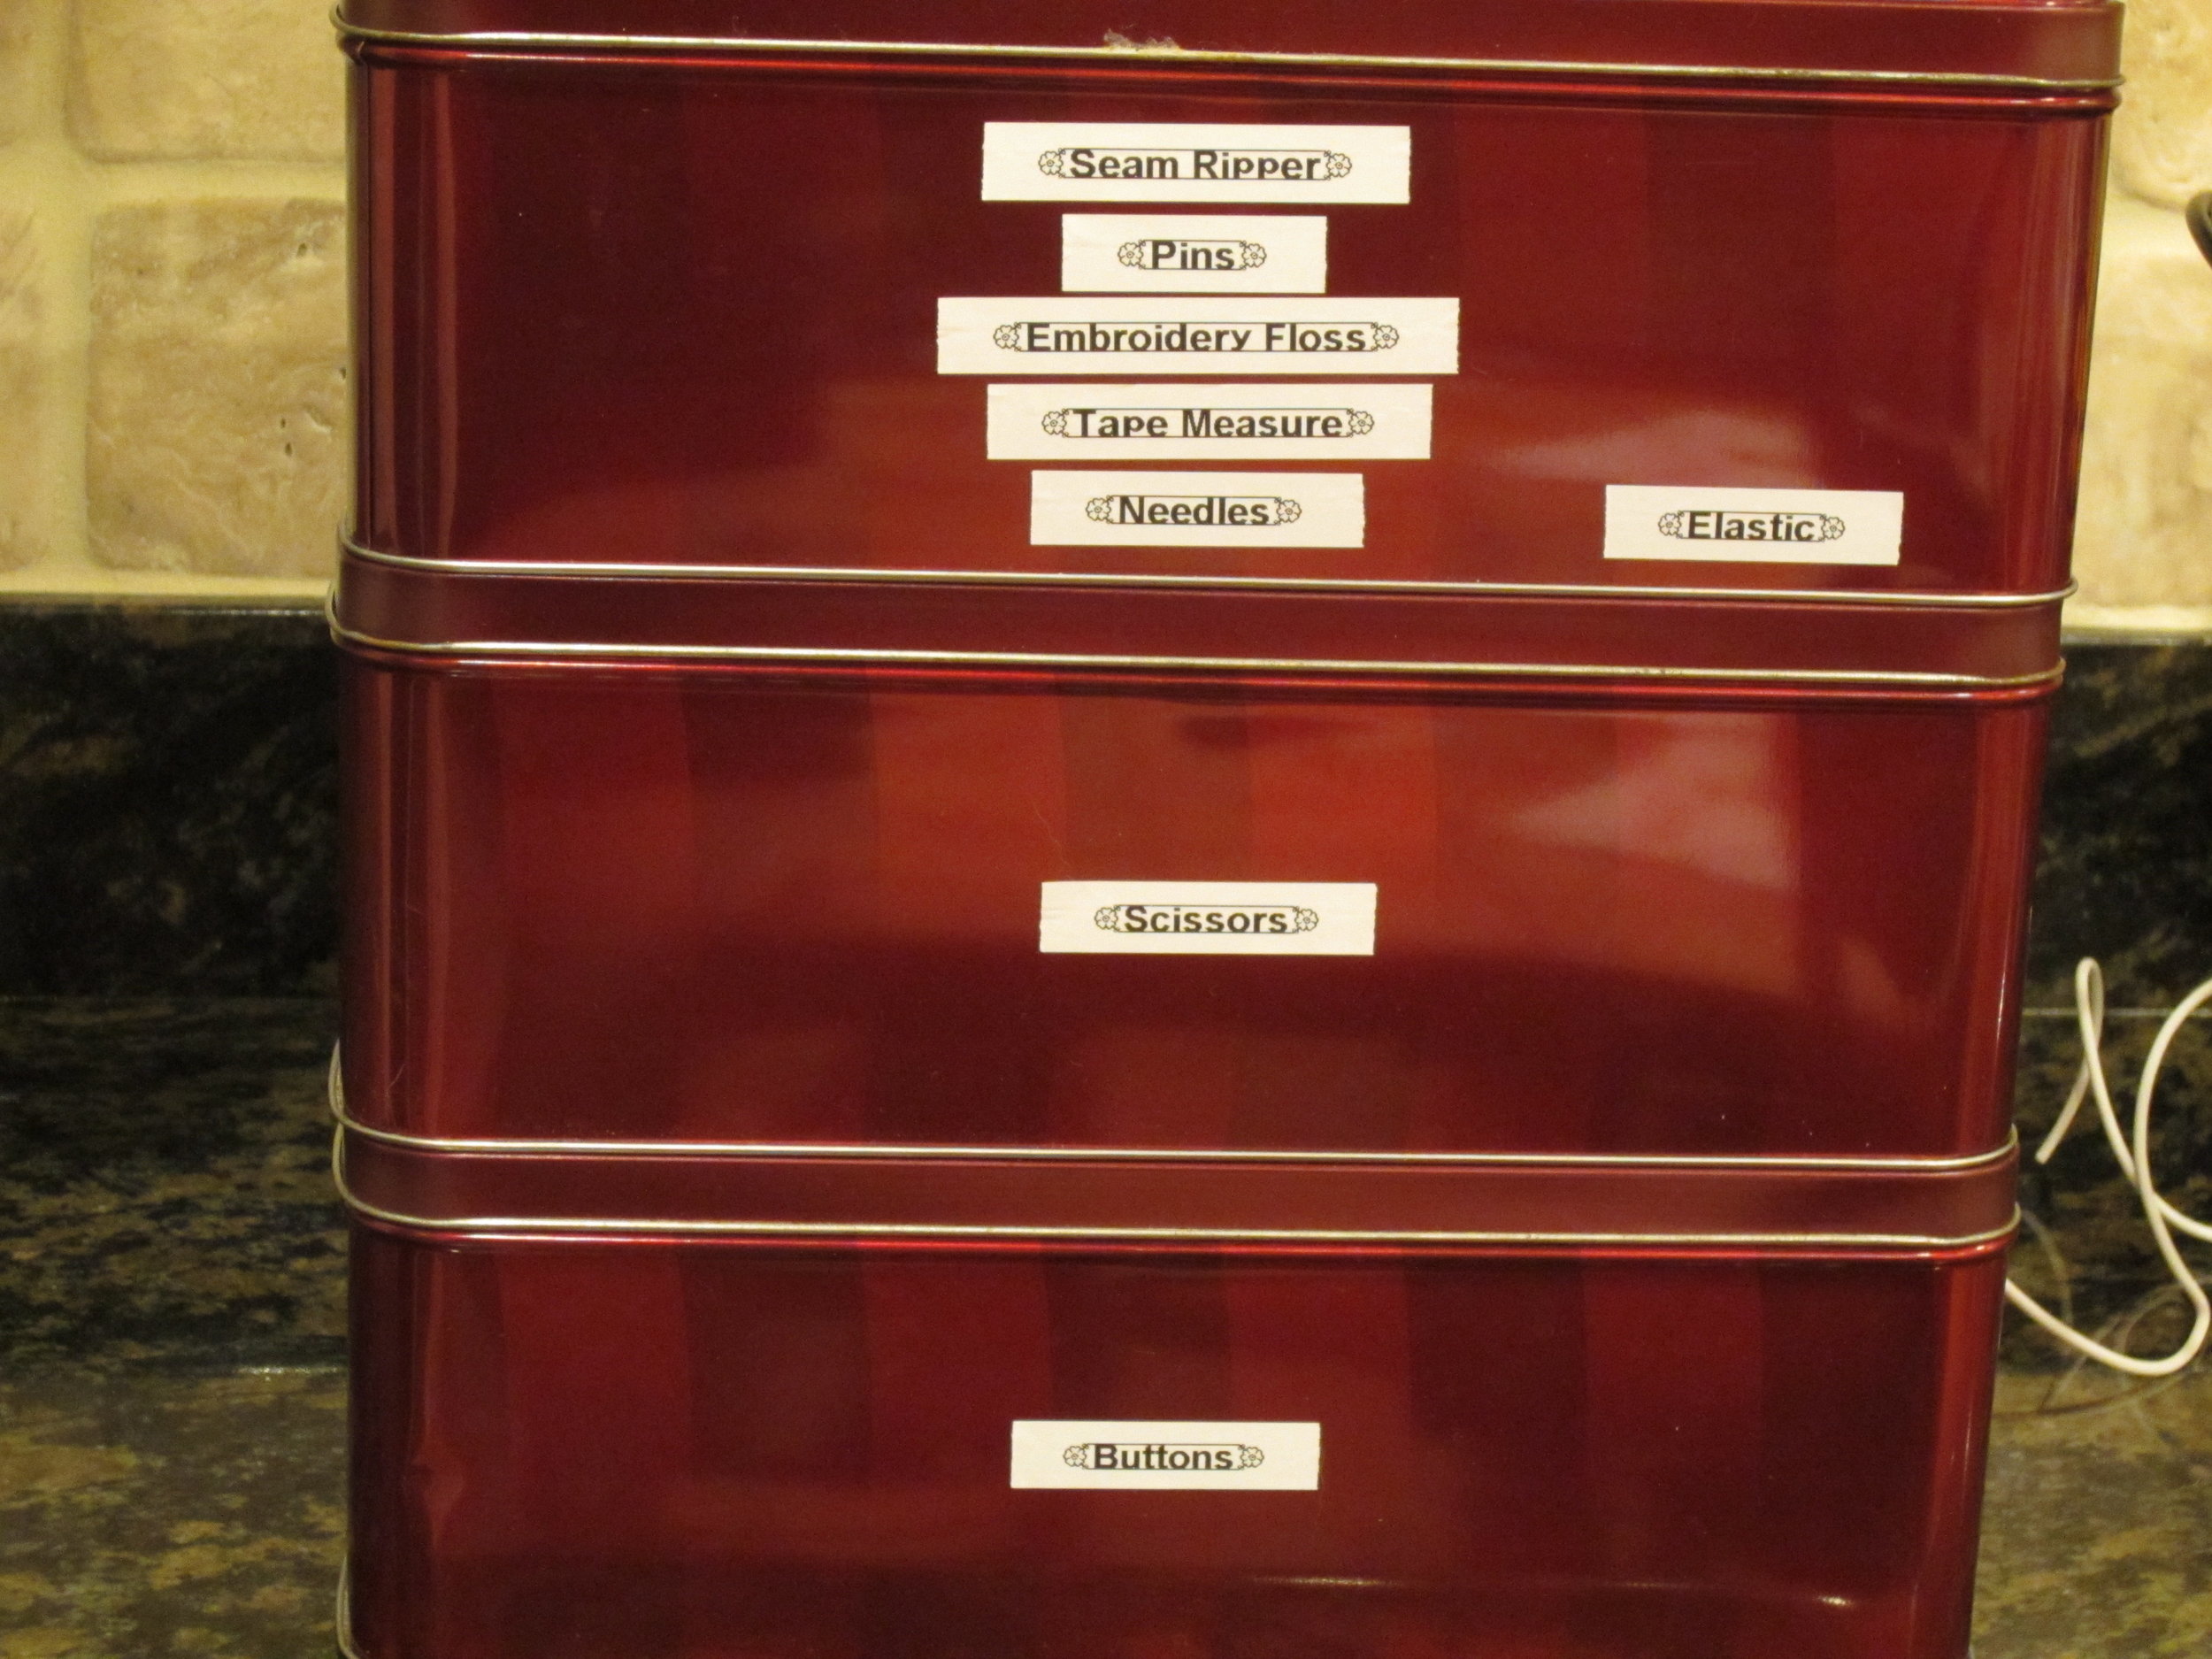
And last but definitely not least, tins full of buttons, thread, and other useful tools that will be needed.  All easy to find and get at.  More later....after class tomorrow...


Working, working, working...

Things are moving right along here at Let's Go Crafting's studio!  Right now, in between writing knitting patterns, I am working on getting samples together for our sewing camps and will be sharing those soon.

Image


I am so blessed with good friends and family who support me at every turn.  Above is a beautiful tin that used to hold cookies.  Friends of mine were talking about what to do with these tins and were thinking about recycling them.  I told them that I had the perfect way to use them and magically the tins showed up on my front porch the very next day!!  Delivery and everything!

Image

These tins are perfect for holding beautiful buttons!!  Now my students can easily see and pick out whatever button they wish to make their project just right for them.  I have two more of these lovely tins...hmm...what treasures can I put into them?


Free Teddy Bear Vest Pattern!

I'm so excited to release my first pattern to the public!  It's actually not the first pattern I have written, there have been several for my students and I may decide to post those as well, but this is one I am proud of.

Stuffed Bear Vest

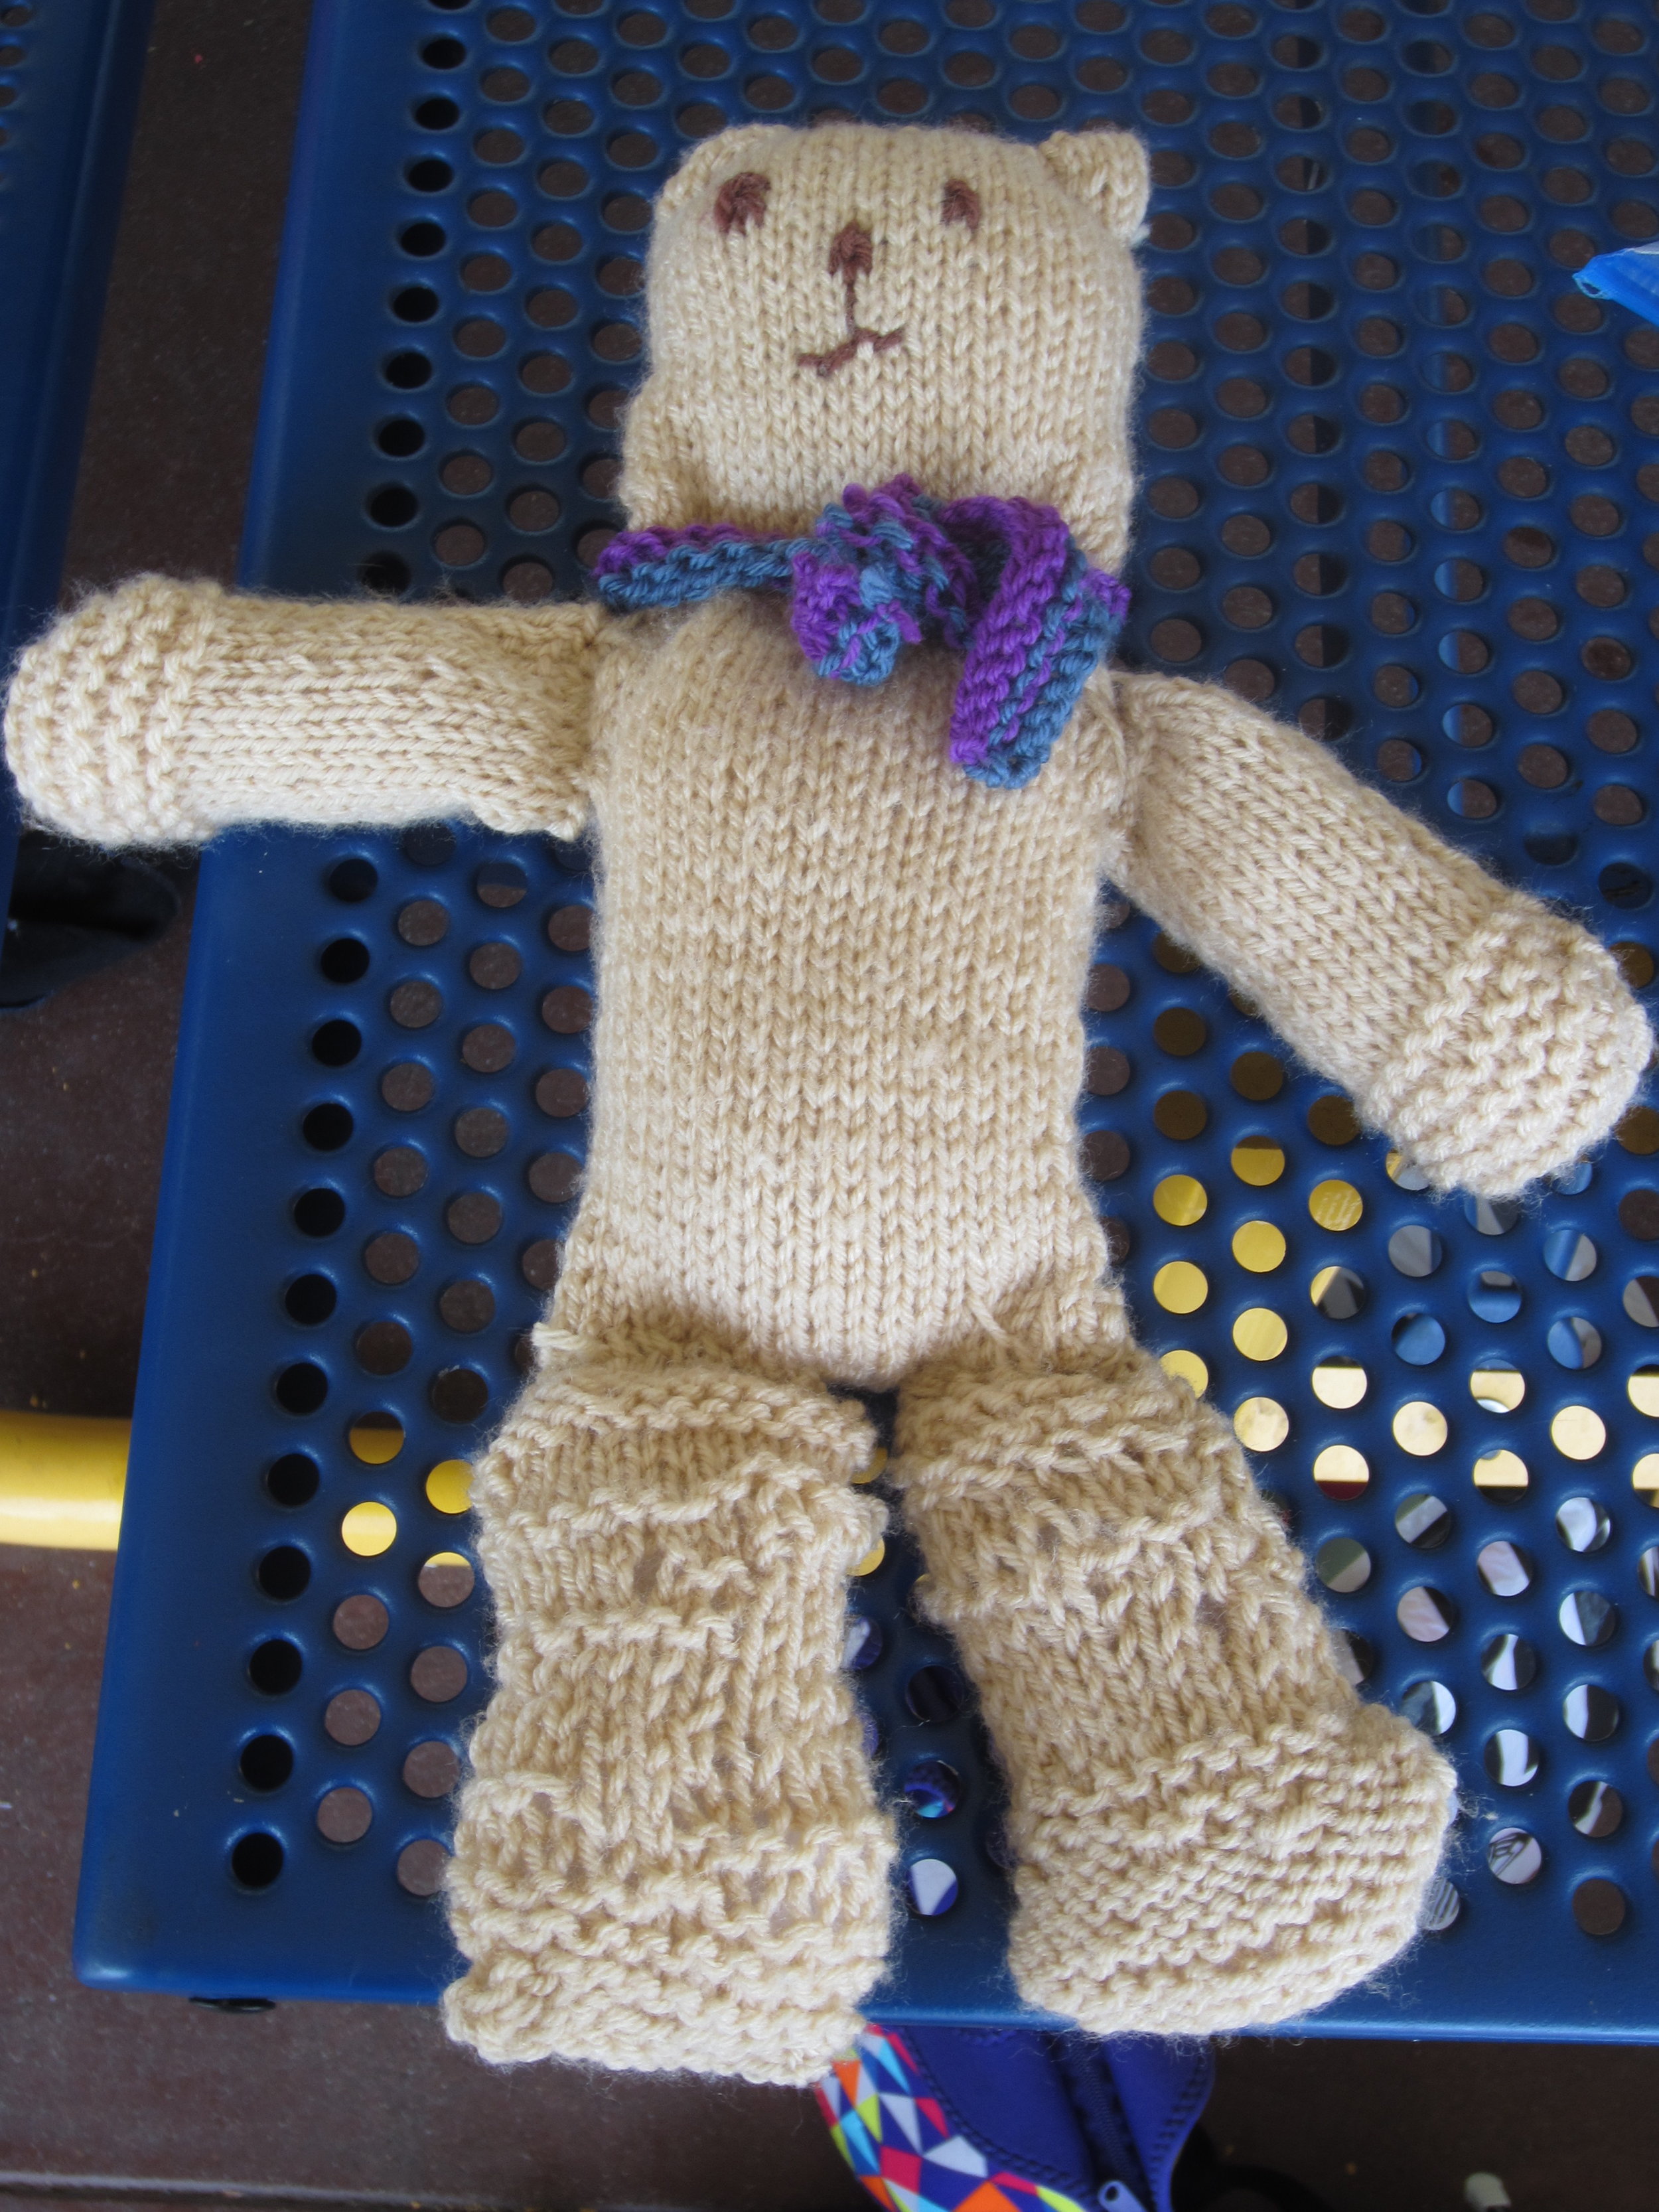
IMG_3295A student from yesterday's class finished her bear and wanted to start a "shirt" for her bear.  So... instead of making this vest, she will make two backs and then I will come up with something for the short sleeves!IMG_3302 This is her completed bear - isn't it fabulous?!!  This student is in the third grade - she knit it by herself and then put the whole thing together with very minimal help - The scarf was her own creation and she did it all on her own in between classes with no help at all - can you tell I am so proud of her?? 

Lovely working conditions!

At the request of a couple of my knitting students, I have come up with a couple of patterns for the stuffed bear that they have been knitting.  Today, I am writing the pattern for a vest and this is what my office looks like:

Image


The weather is so beautiful and warm I just couldn't resist sitting out on the patio!

Image


And this is my view!  These are the raised bed gardens that my husband built me.  What you can't see is that there are a total of FOUR of them!!  They are all filled with compost and vegetables - I can't wait until we can start harvesting.  The strawberries fill one entire bed and the kids are just eating them as they come ripe!  Being out here is just sooo relaxing and feeds my creative spirit!  Come back tomorrow for the free pattern for the bear vest.

Crochet Camp Projects!

While I have been quiet on the blogging front, I have been far from quiet on the crafting front!!  I have some new exciting projects to share with you!  I simply can't wait for crochet camp!  Here are a few of the projects we will be working on:

Image


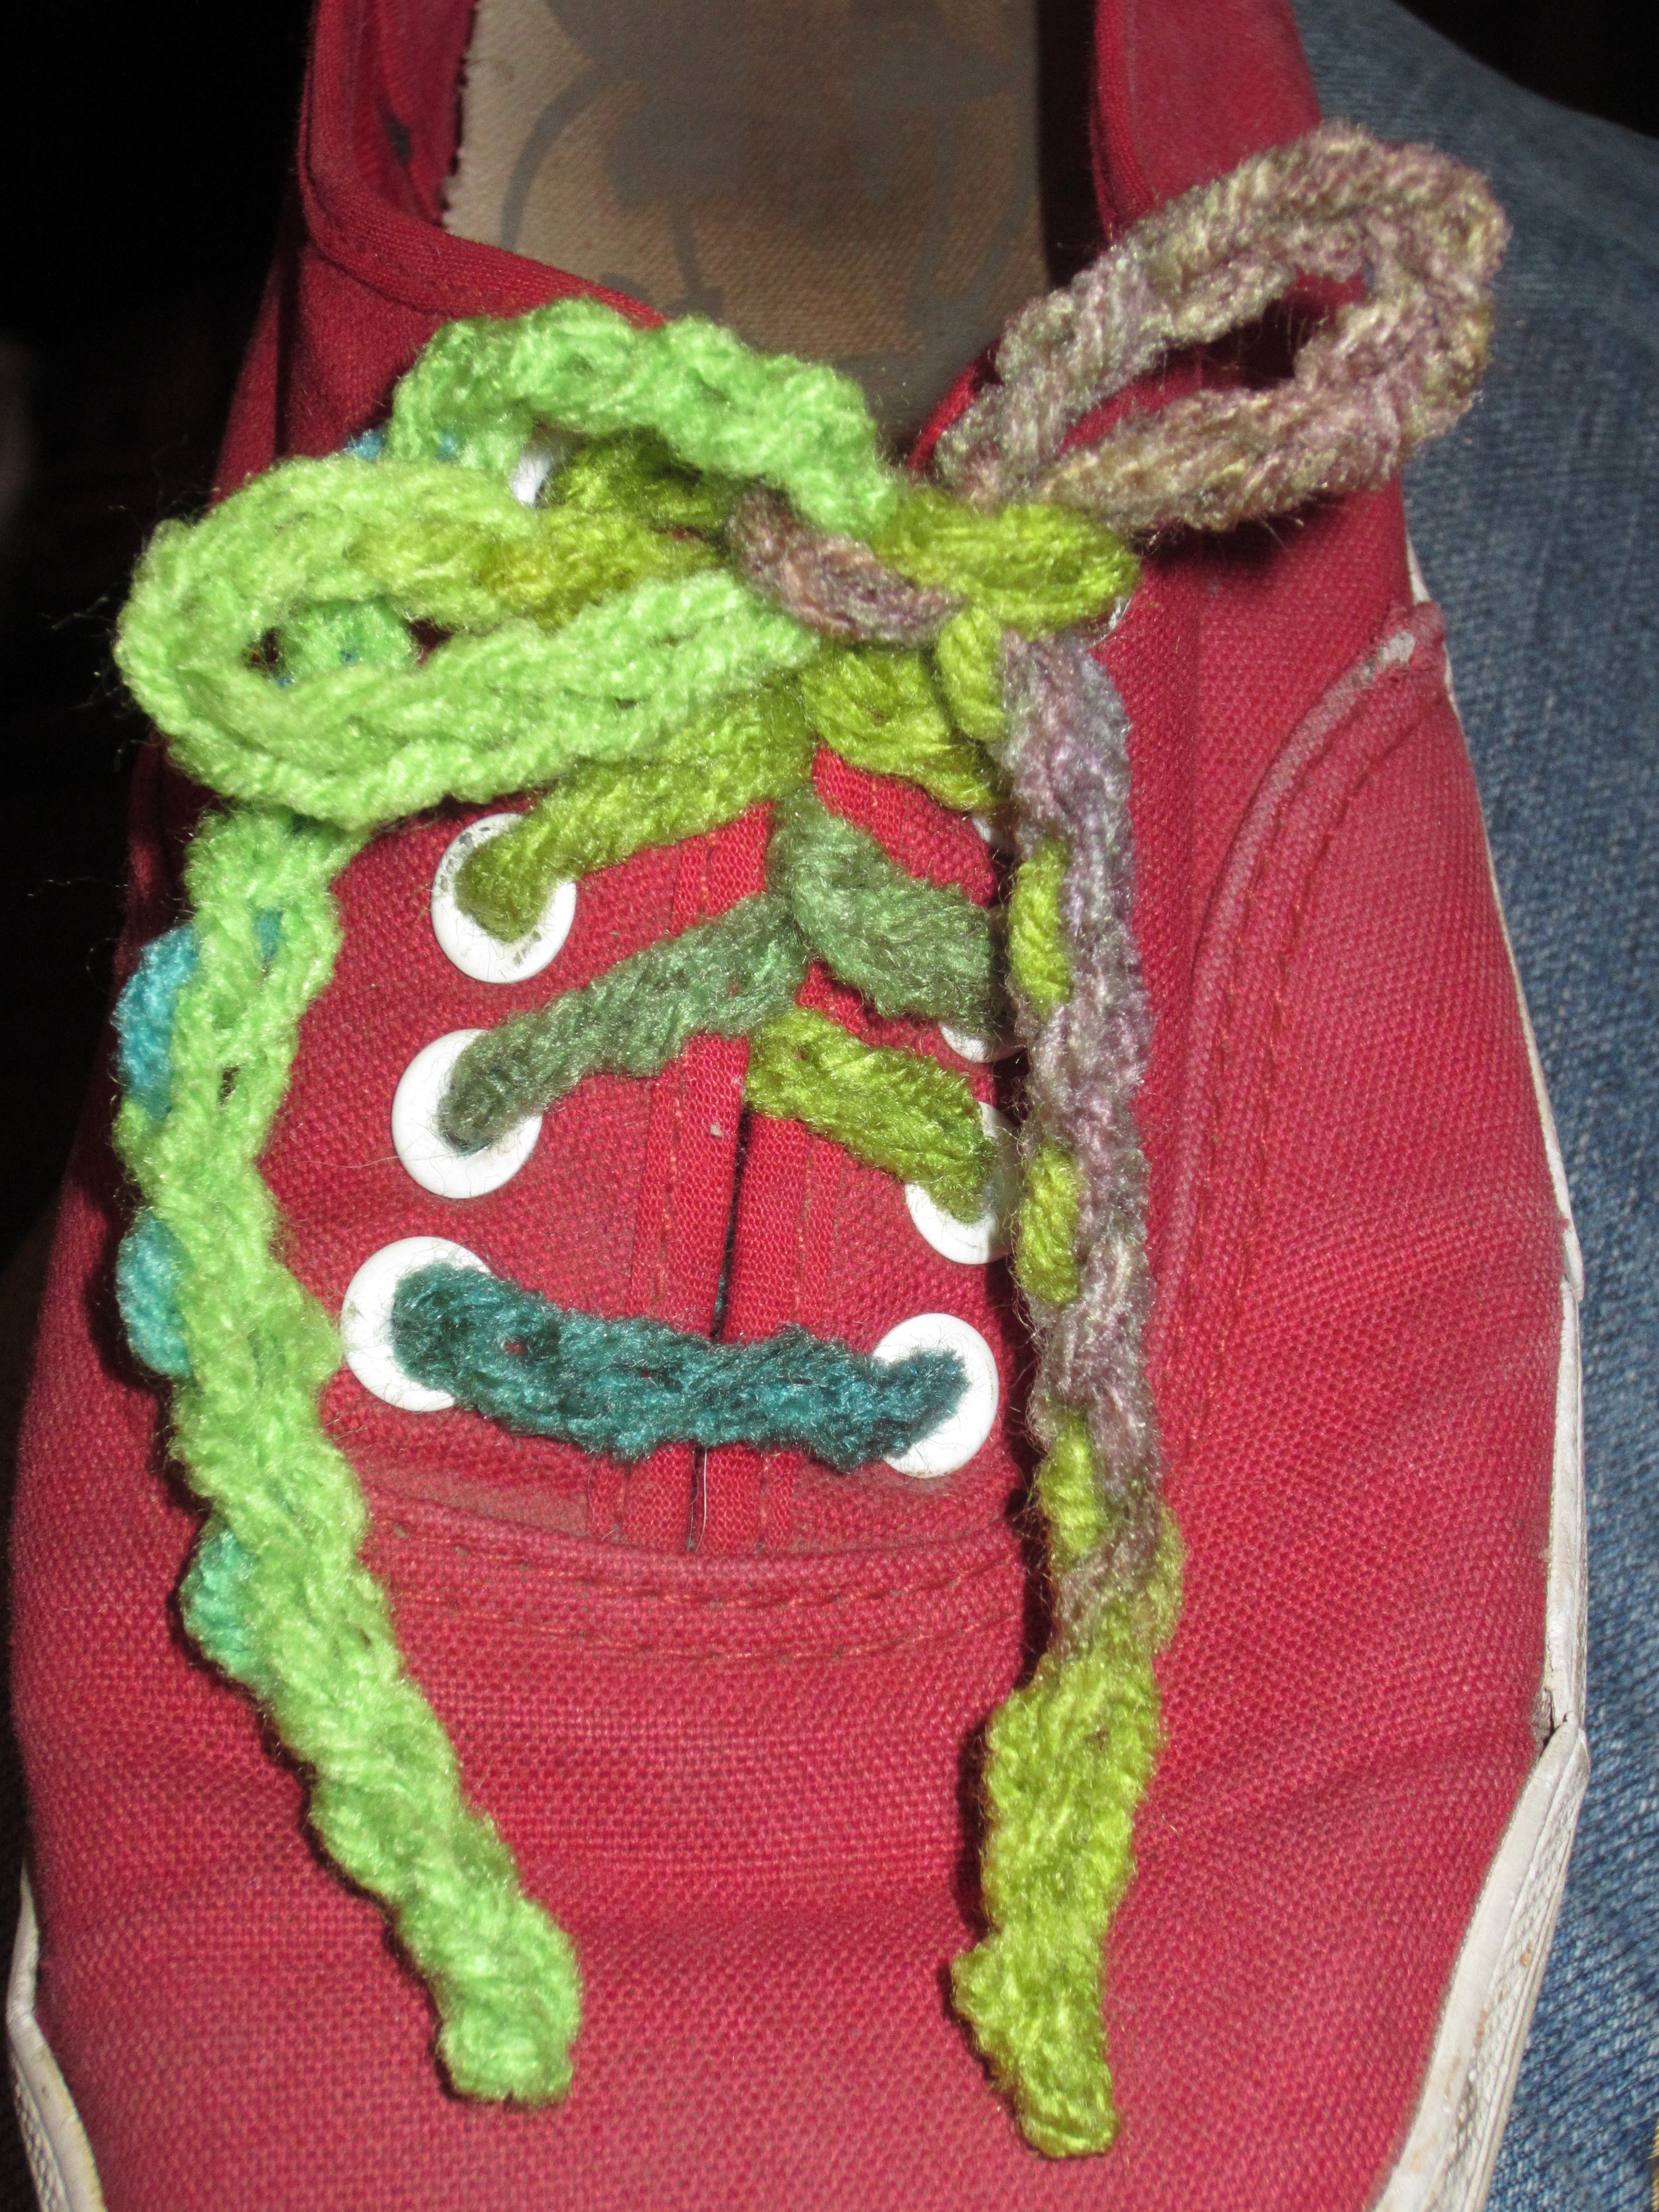
Shoelaces!!  Who doesn't like a spiffy new pair of shoelaces!  They can be made in any color and teach the very most basic crochet stitch, the chain stitch.  This is the foundation of all other crochet stitches.

Image


My 17 year old loves these and now has two pair!

Image

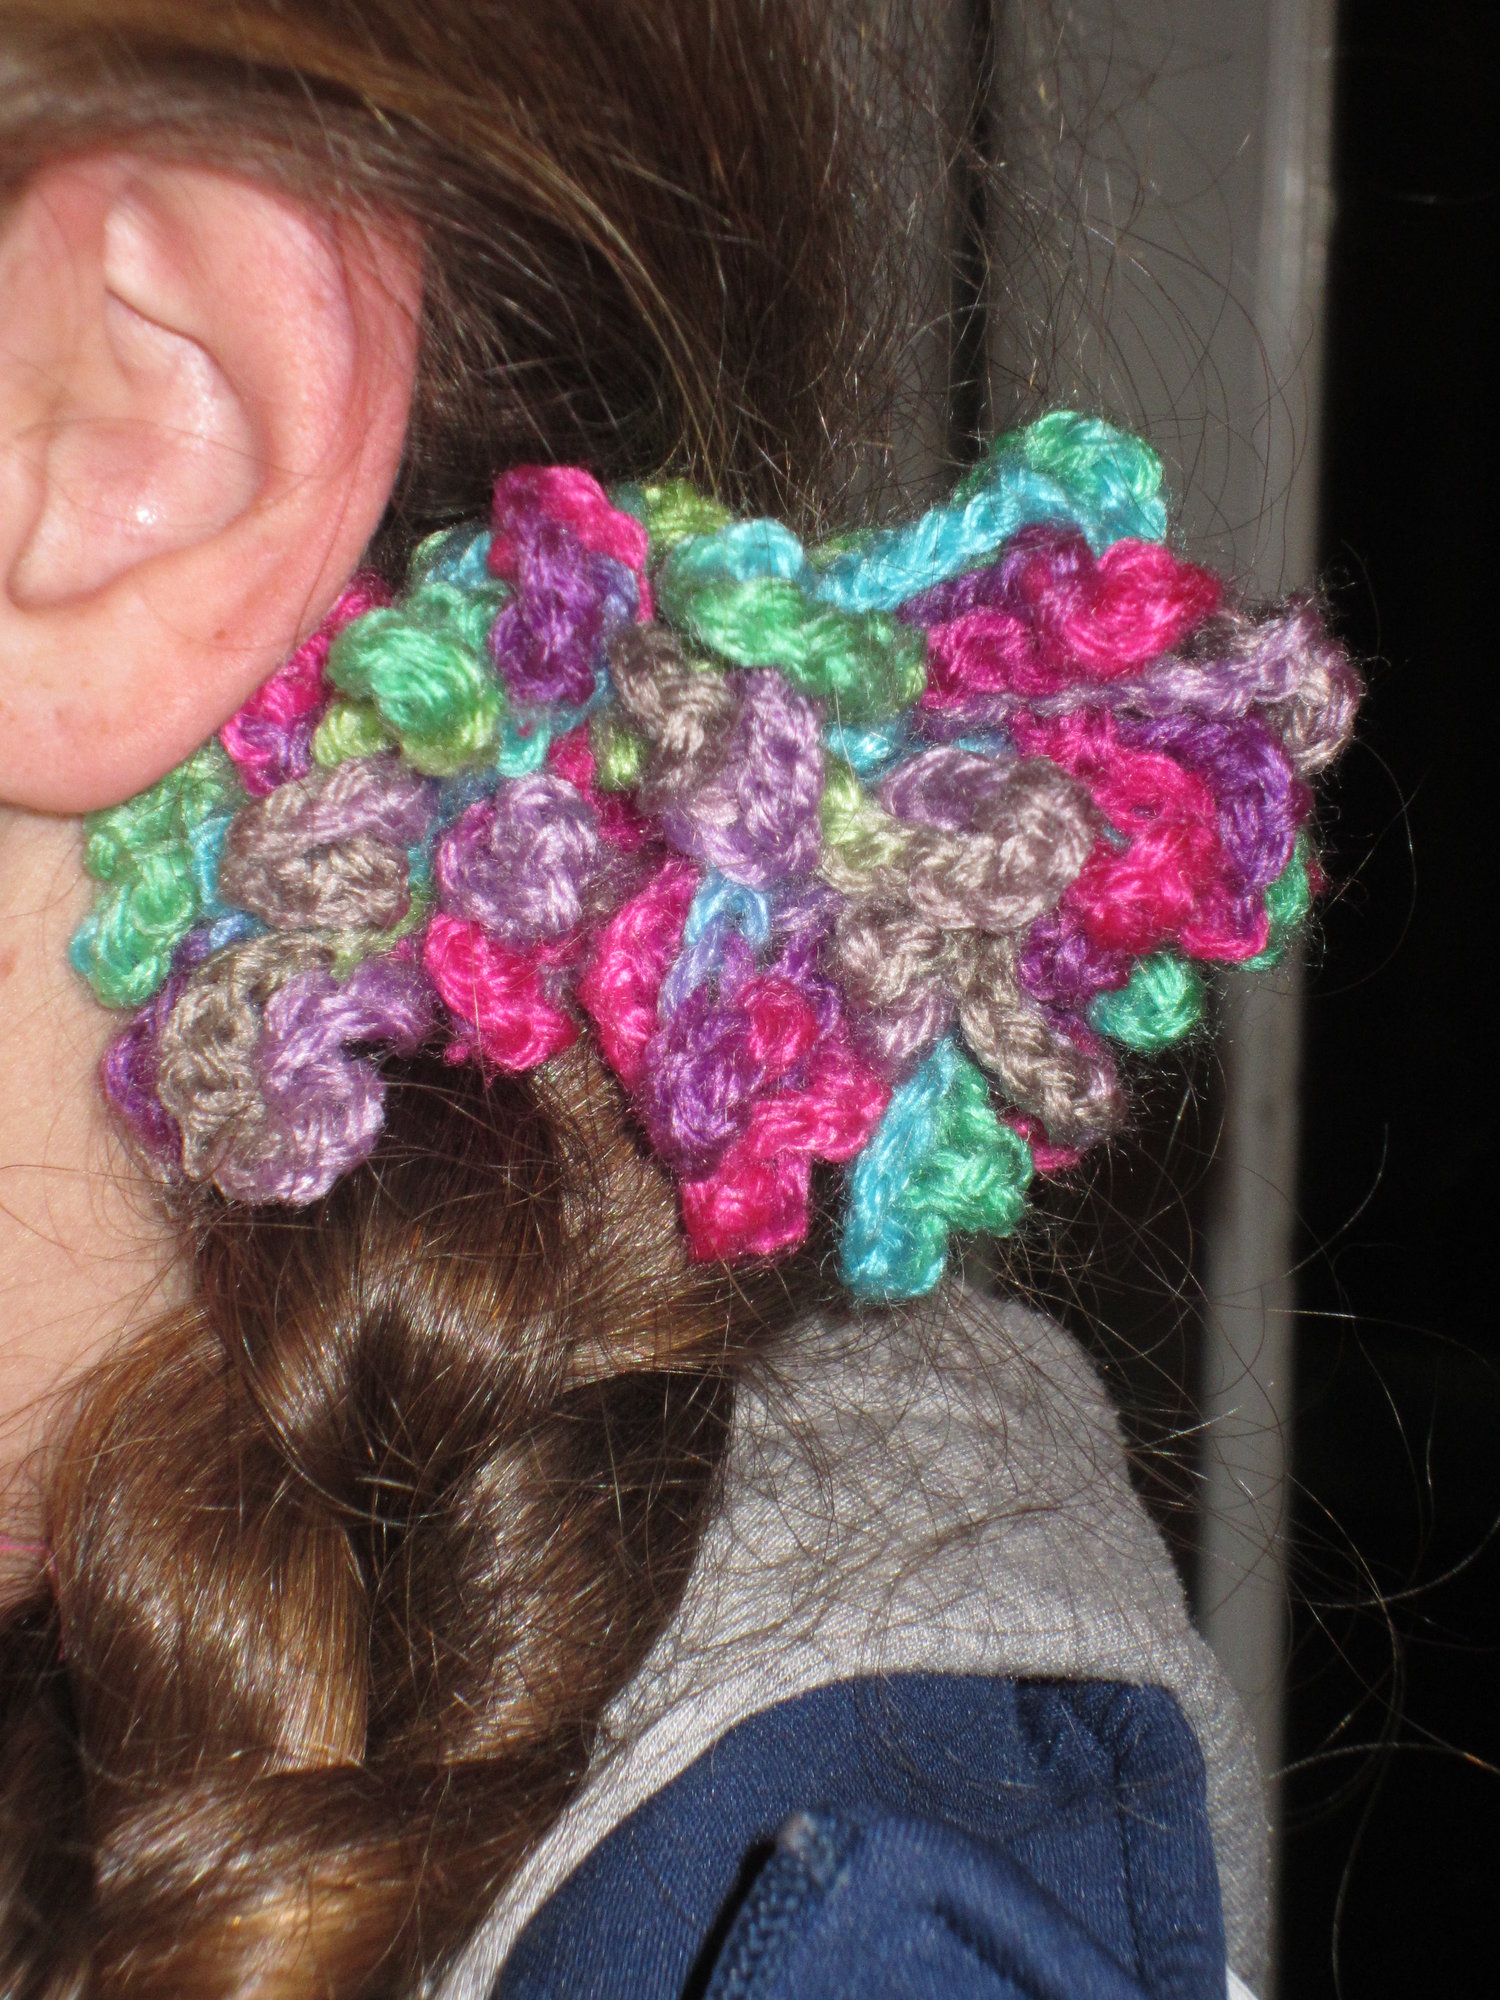
Next up can be a hair scrunchie.  This is such a fun project that combines the chain stitch from the last project with the single crochet.  A quick project that helps solidify their new skills along with helping the student to master their tension.

Image


Another beginner project will be this easy beaded bracelet.  This incorporates the chain stitch and introduces a new stitch - the half double crochet.  These fun, quick projects are perfect for teaching!!  They help teach new skills without becoming boring or too repetitive.

Image


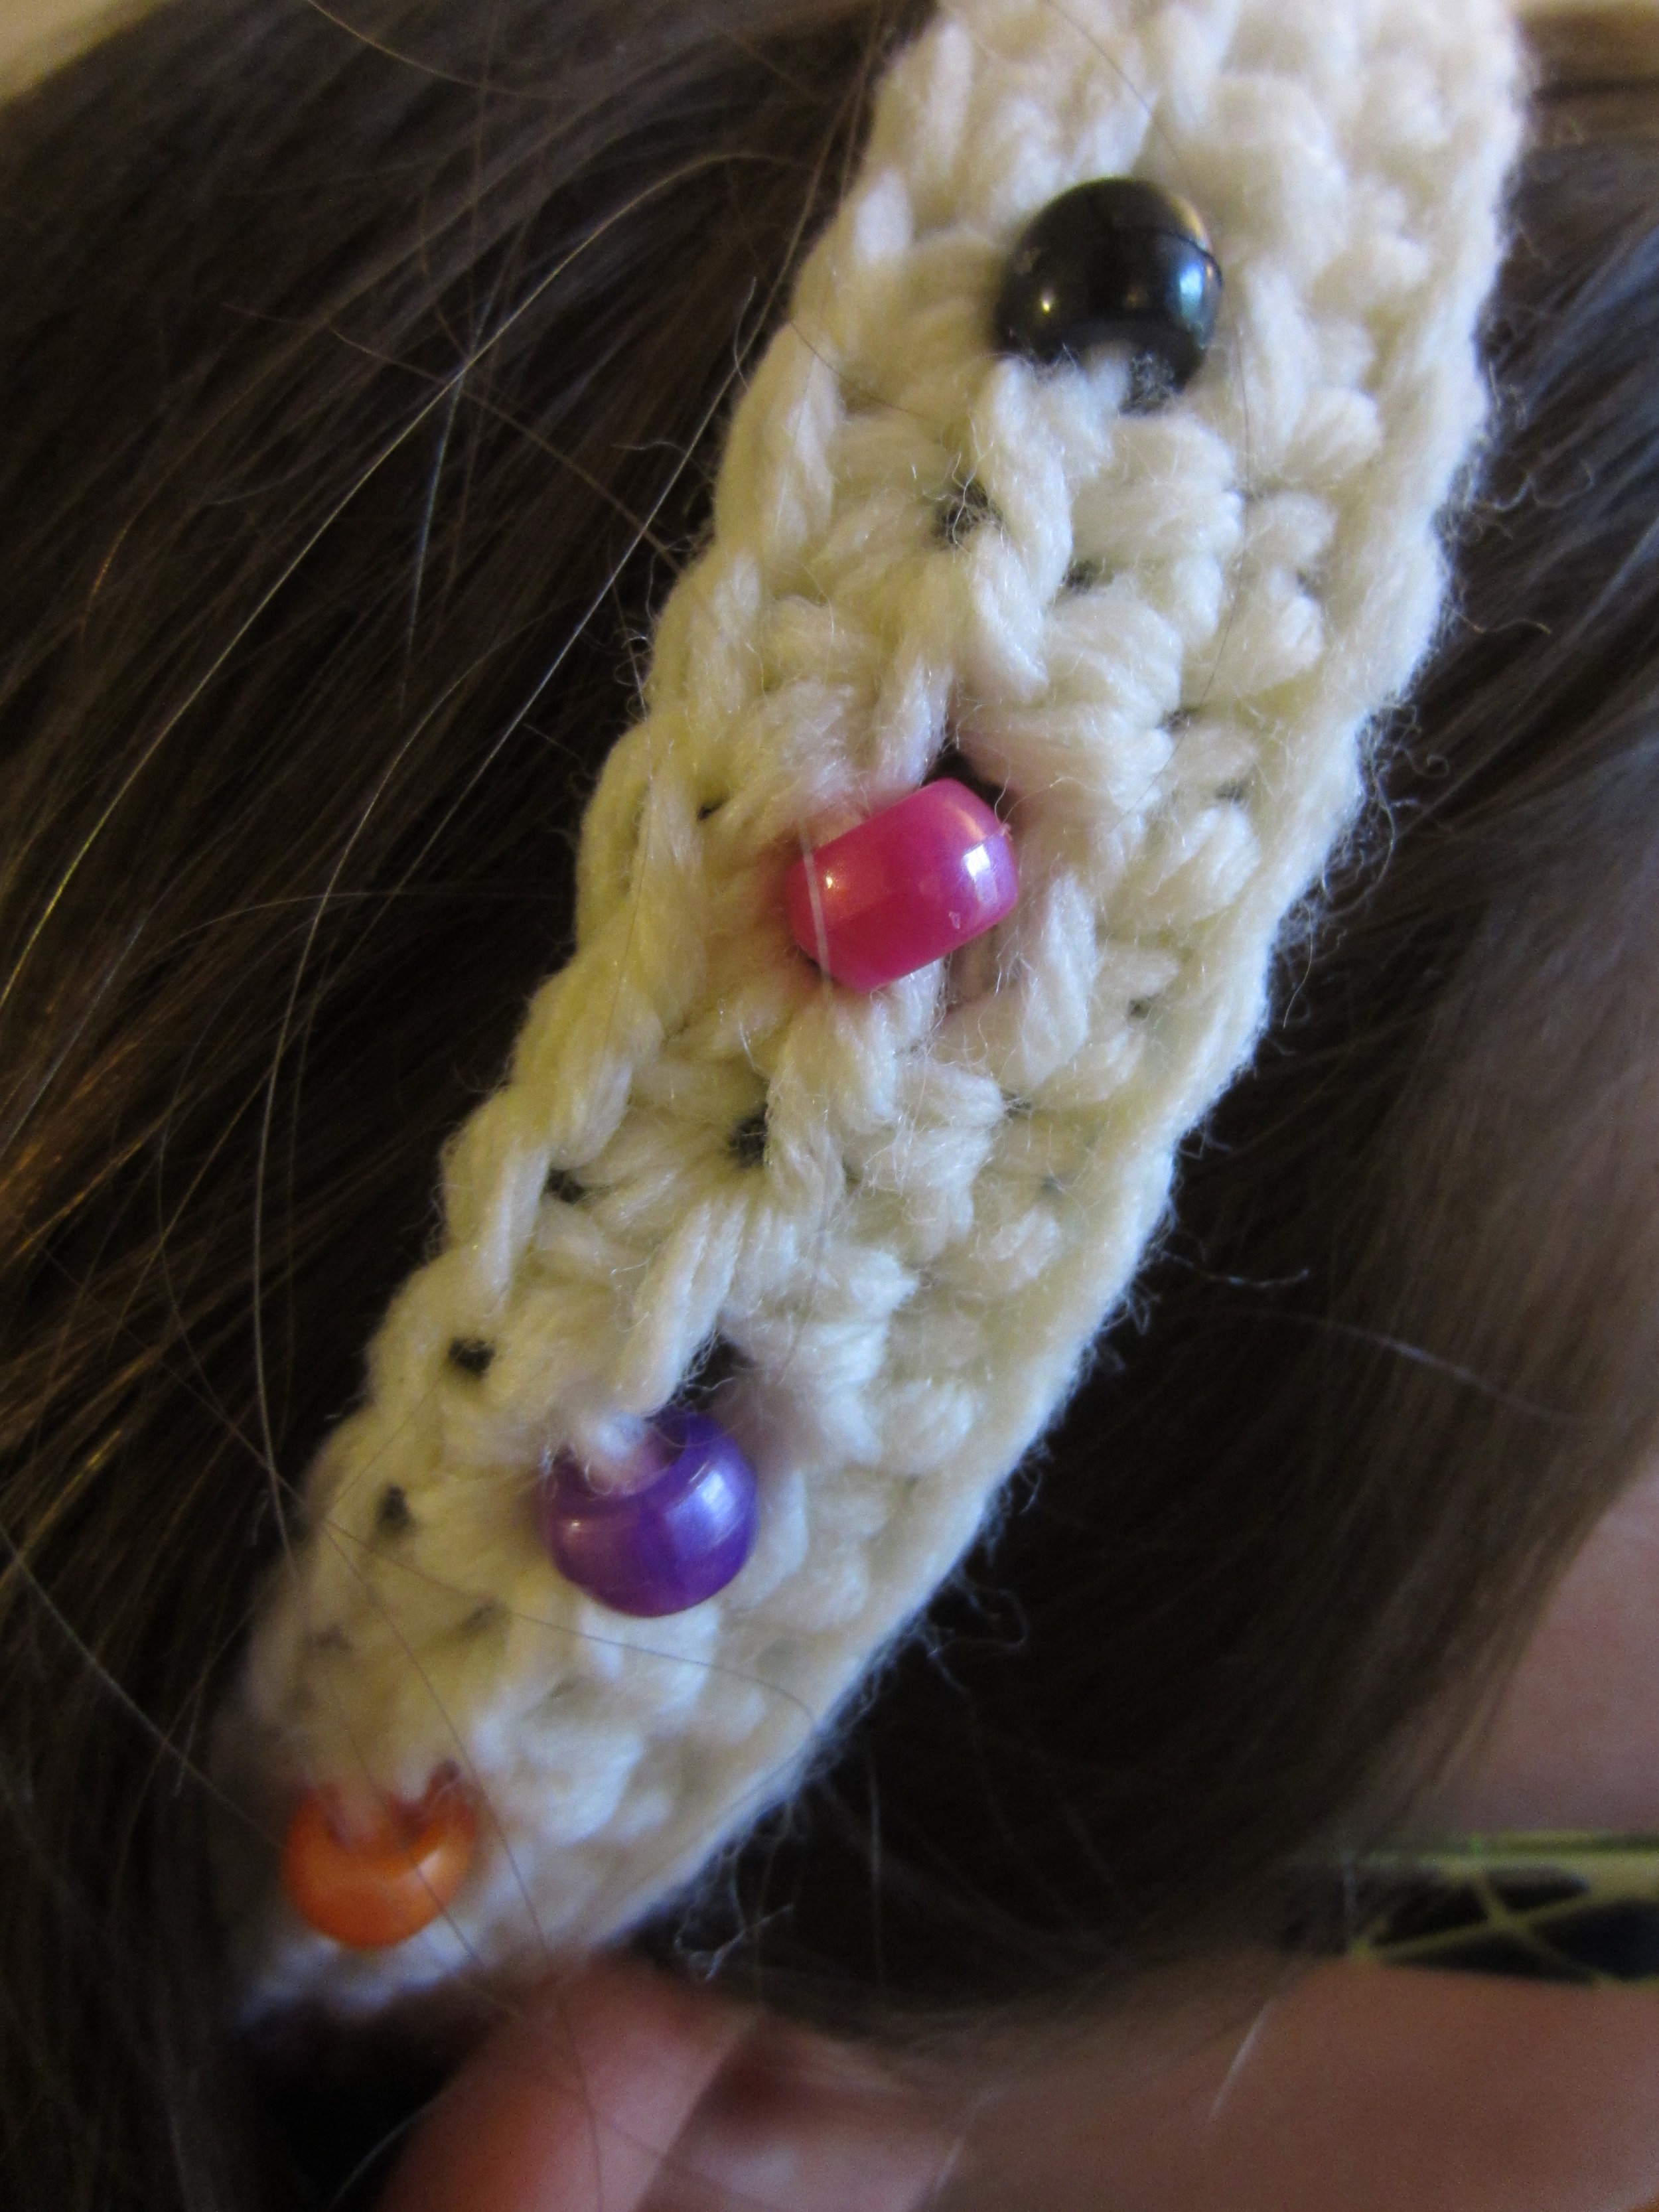
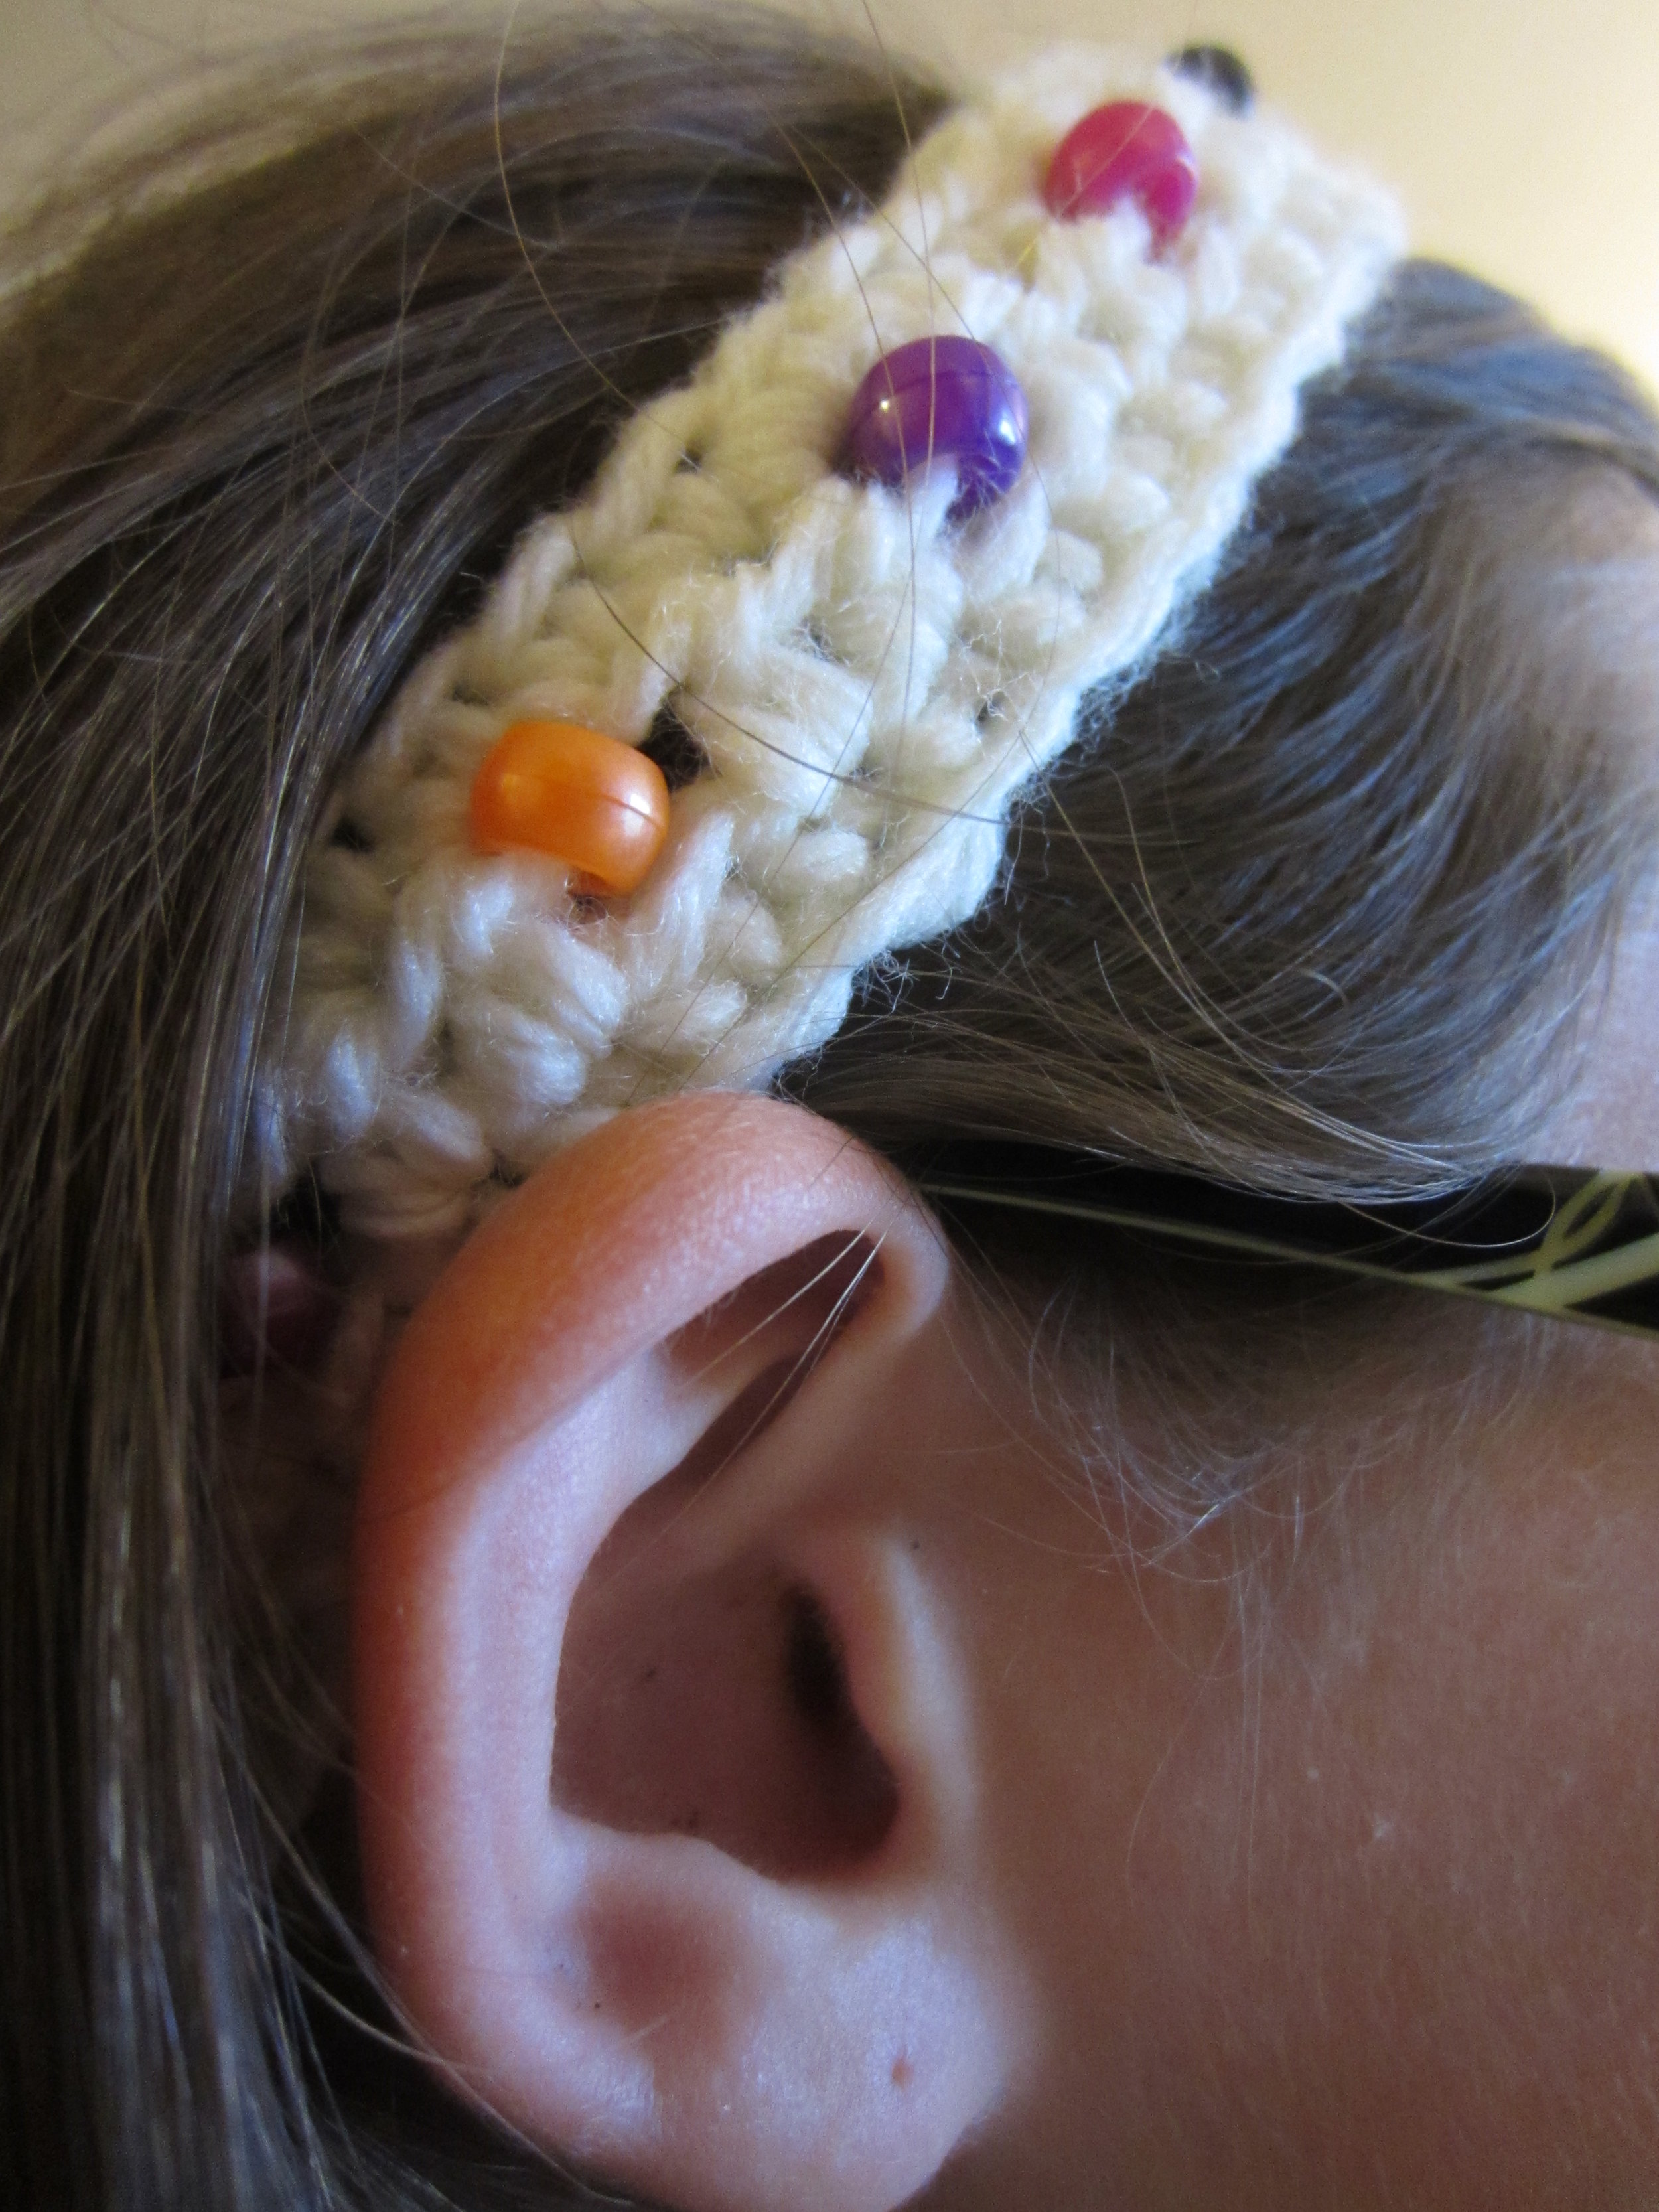
A beaded headband.  This one is basically the same as the bracelet only a bit longer.  It will just depend on what is interesting and exciting to the student.

Image

Now, more complicated projects can be tackled.  This hat uses the same half double crochet stitch, but it takes just a bit longer.  The top of the hat is gathered and the hat is sewn together.  A pompom is then added at the end.

Image

The same hat can stretch to fit many different sizes of heads!!

Image


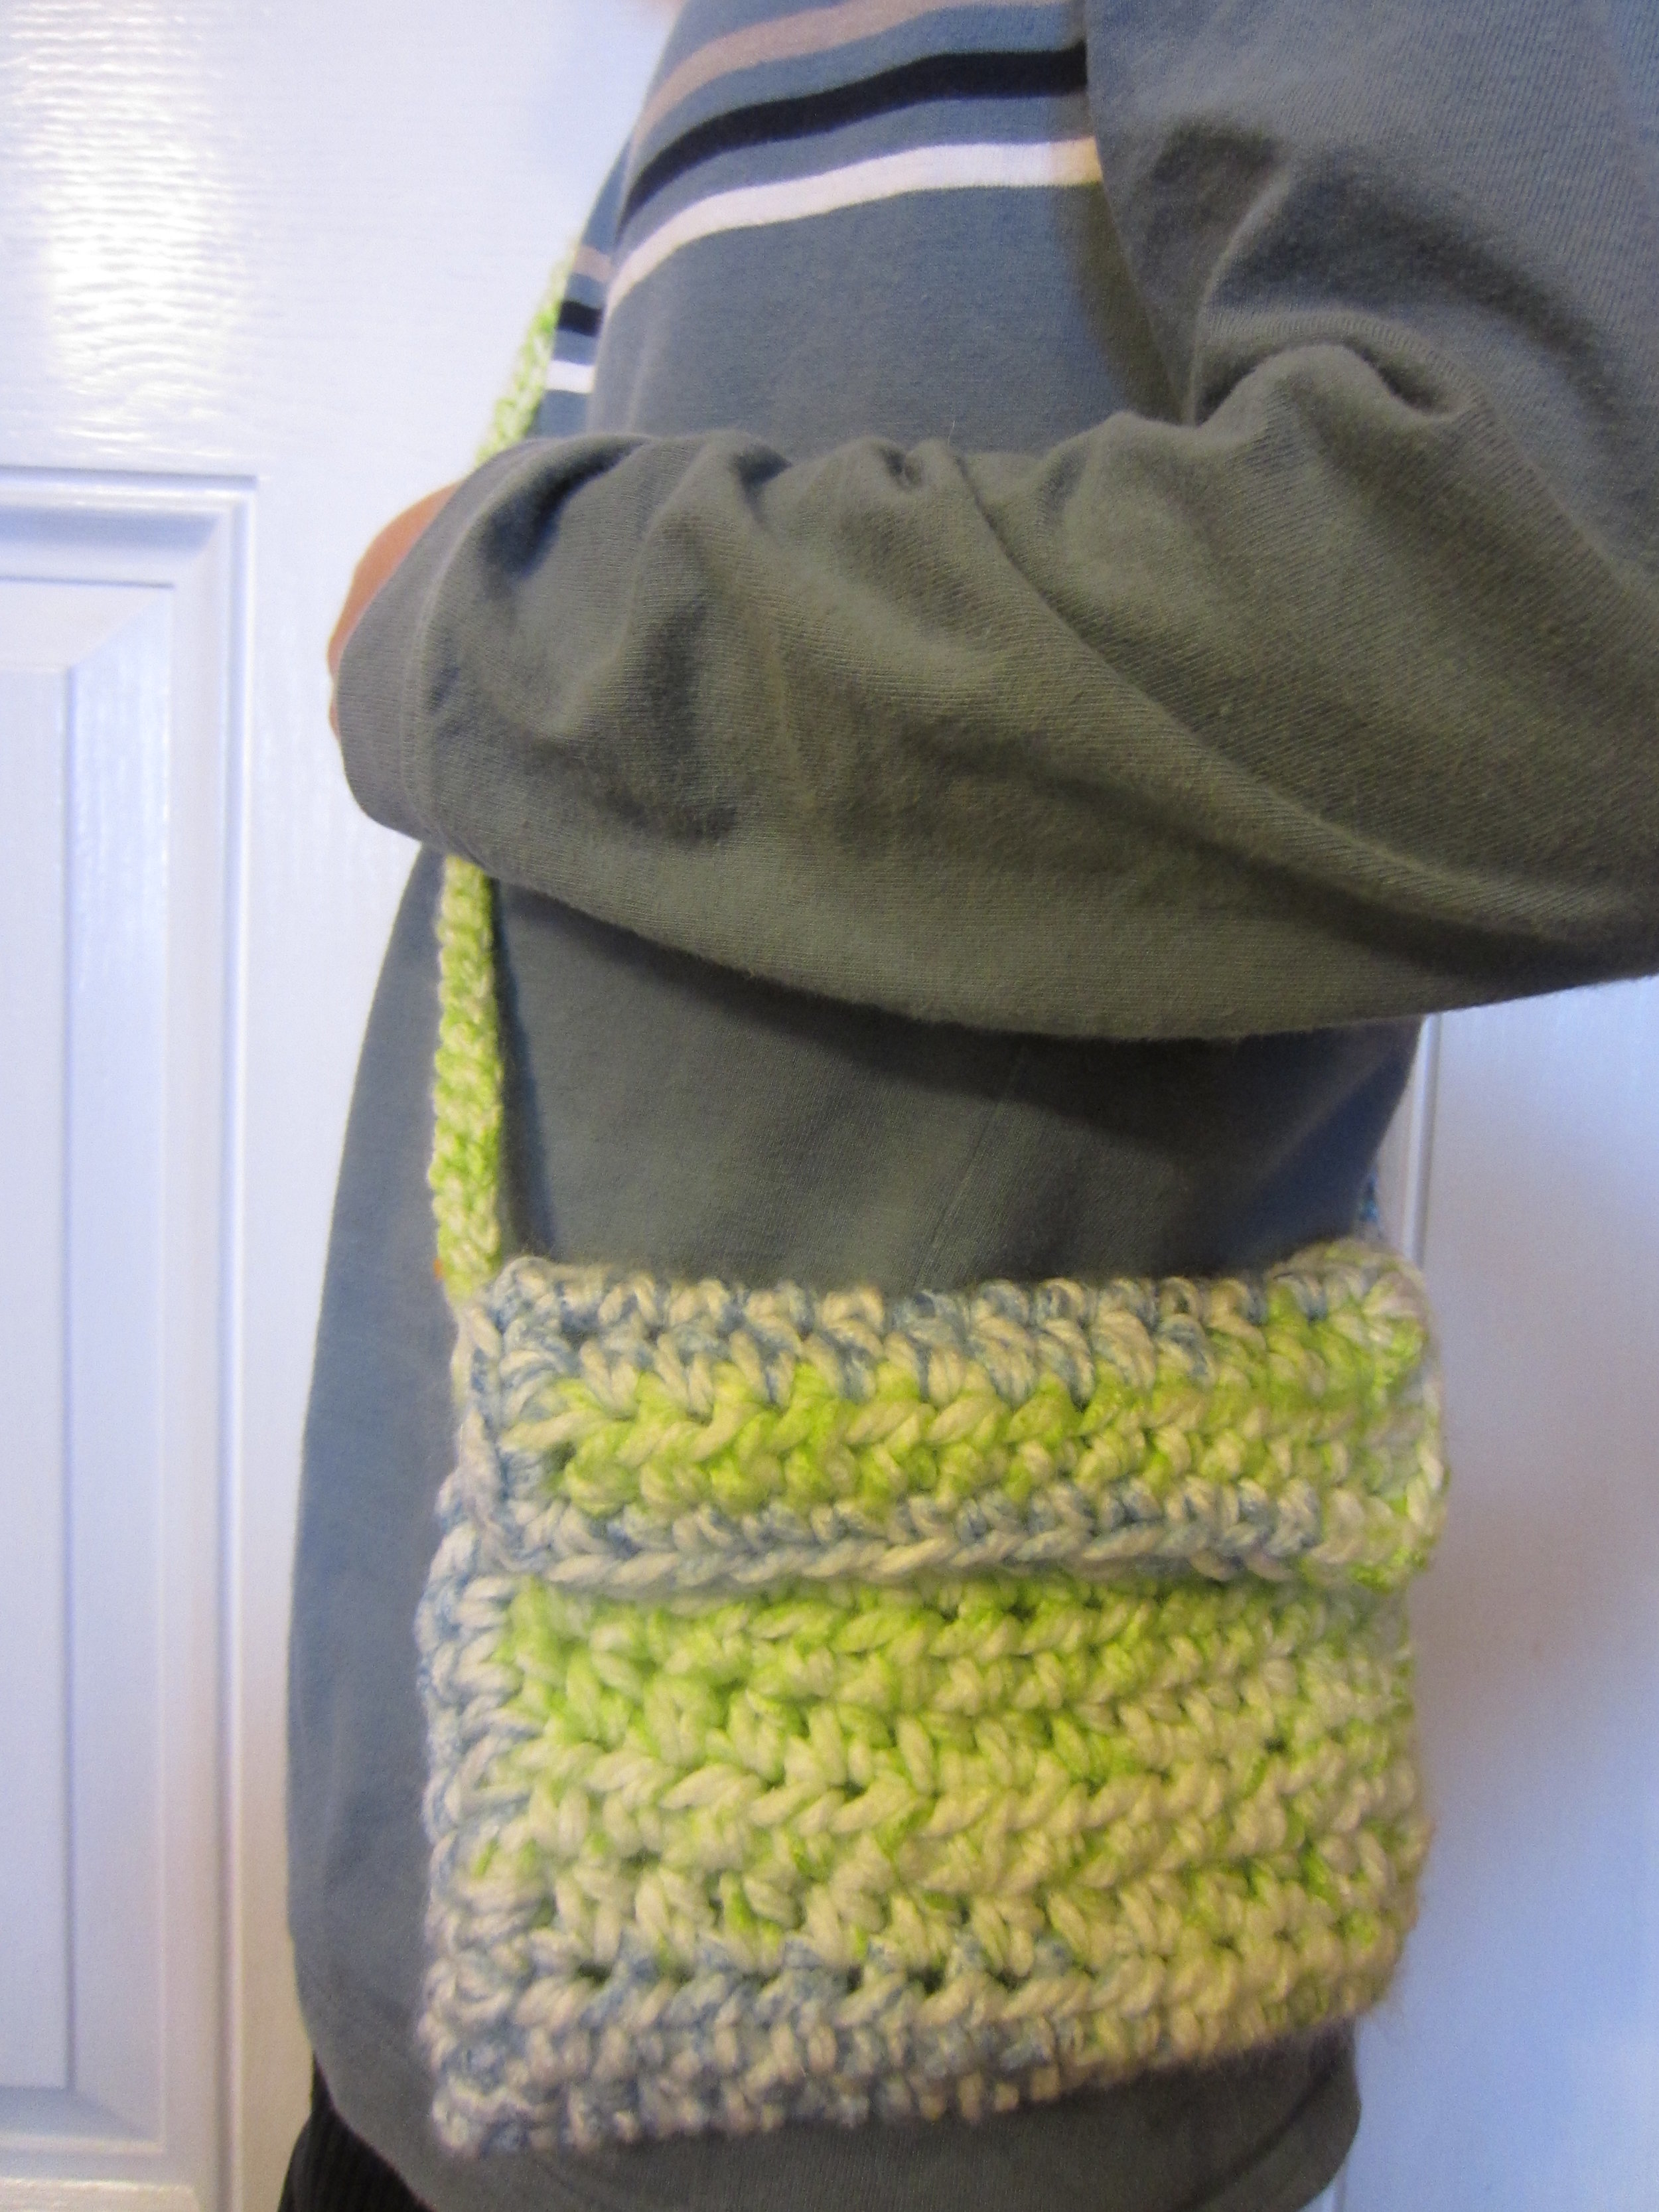
Half Double Crochet Shoulder Bag.  These are so fun to make!  Useful too!

Image


Kids love keychains to hang off their backpacks and give as gifts!

Image


A longer keychain.  These can be made in any length desired!!

Image


This fun and pretty scarf introduces yet another stitch - the double crochet.  This one takes just a bit longer, but the time spent is well worth it!!  Fringe can also be added to both ends for a nice touch.

Image


This ripple blanket project introduces decreases and increases.  It is one of the most popular crochet patterns (besides the granny square) you will find.  Once the student falls into the rhythm and is ready for a greater challenge, this would be a perfect project for them.

Image


This is an example of Amigurumi crochet.  Once the student has learned the basic crochet stitches, there is really nothing they cannot do.  A little lesson in pattern reading and their imaginations are the only limit they have!!

Simple bag project

I am so excited about these beginner crochet projects for my students!!  I think they add the perfect combination of cuteness and learning to keep them excited and interested.  The next project they can choose from is a Half Double Crochet bag.Image

This bag reinforces what they have already learned and works up so quickly!Image

My 8 year old son modeling the bag.  He wants to learn how to make one of his own!

Beaded Bracelet and Headband

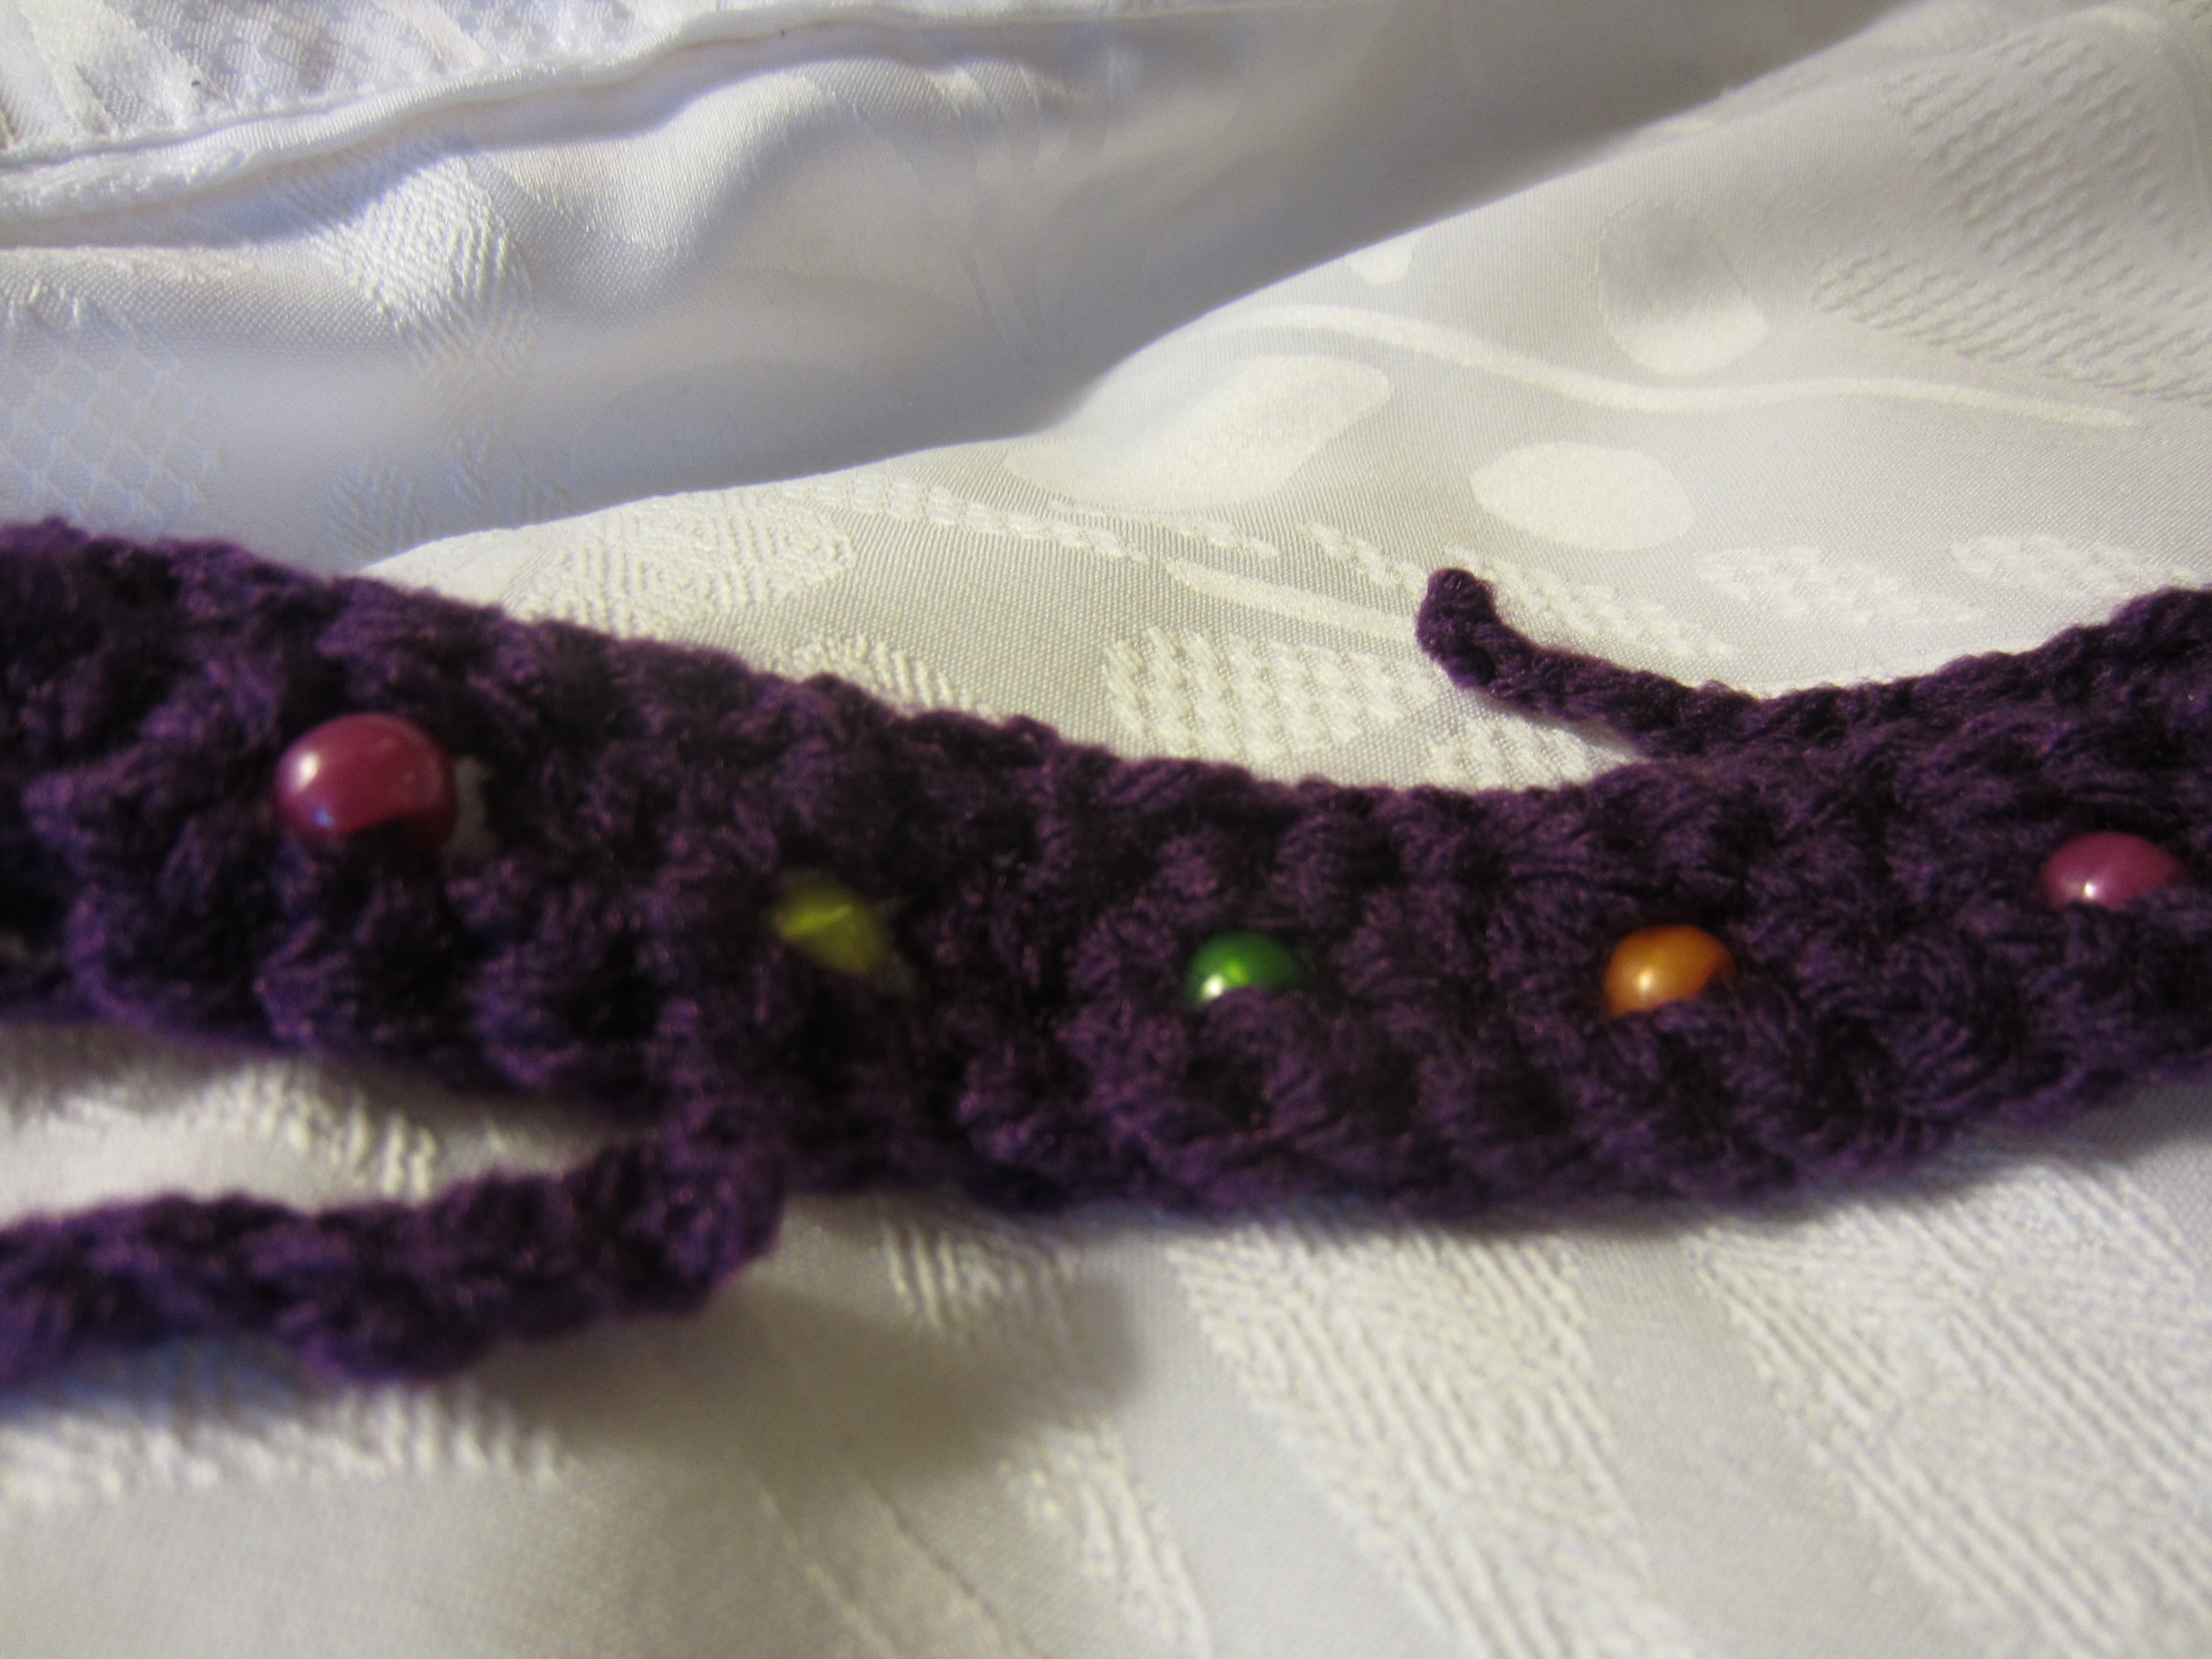
This next project is super simple to make, teaches one new crochet stitch, and gives practice to those stitches already learned.ImageThe beaded bracelet utilized the chain stitch and then moves right into the Half Double Crochet stitch.  The beads are first threaded onto the yarn and moved into place as the work proceeds.ImageIt is quite a quick project to make, yet produces a very cute effect!  I know students will love this one!ImageThis is the same stitch and same beads, but different yarn.  The bead colors "pop" so much more in this one! ImageThis headband has ties at each end and can be adjusted to fit any head.  Once they are tied and the headband is in place, the ties are not visible.ImageIsn't this just the cutest thing?!  And to think, a student new to crochet will be able to whip this up in no time flat!!Materials:Pony Beads, Yarn, Crochet hook to match yarn selectionIntructions:*Thread 20 beads for headband and 7 for bracelet.*Measure wrist or head, then chain to match that measurement minus 1/4".  For example, my daughter's head measured 15 inches so I made enough chains to measure 14 3/4".  If your measurements are more or less, add more or less beads.*Turn work, sc (single crochet) into the second chain and in every chain stitch after that to the end of the row.*Turn work, chain 2 (this is your first hdc), hdc in next stitch, **slip bead up to the crochet hook, chain one, skip the next stitch, hdc into the next two stitches and repeat from ** to end.*Turn work, chain 1 then single crochet in every stitch across the row.  Do not cut yarn.*Turn bracelet or headband so that the short end is facing up and pickup 4 stitches evenly across this section.  Yarn over and pull through all 4 stitches so that you now only have one stitch on the hook.  Chain 20 for bracelet and 35 for headband.  Fasten off.*Turn the other end of the bracelet or headband up to the top with the right side facing you.  Pick up 4 stitches evenly across this end and repeat instructions for first end.*You are now ready to wear your creations!!  Or let your kids try them on for photos and try to get them back - good luck!! 

Crochet Camp Prep

I have been quite busy these last couple of weeks and have been trying to set aside time to make up some samples for my crochet camp.  I think it is always helpful when students can see what they can make before they start.  My kids are on spring break this week and we decided at the last minute to head up to Oregon to visit with my dad.  Well...this gave me oodles of time to crochet because my husband likes to do all the driving.  Whoopie!!

Image


I though about what someone who is just learning to crochet would need to know and the chain stitch is the foundation to everything.  Those two strands of chain stitch don't look very exciting do they?  The picture is also a little dark because it was taken in the hotel room.Image

But shoelaces are sure exciting!  How do those single strands of chain stitch look now?  Now that they are in shoes?  And the other one is in the other shoe!  This is my 17 year old's foot and she now wants red and white ones to match her shoes.  In fact all five of my kids want shoelaces!!  I will have to get cracking in order to have samples for class!!Image

The next stitch I thought the kids would do well knowing is the single crochet (or sc).  So this project is a combination of chain stitches and single crochet.  They start with a slip knot on their hook, sc once around the hair tie, the chain 10, 15, or 20 chains depending on what they like.Image

Can you tell what it is??  My friend told me it was her brain on Easter candy!  Haha, it kind of looks like that too.Image

It's a hair scrunchie!Image

Here is the 15 year old modeling it.  It's going to be tough getting it back!

Scrunchie tutorial

You need an elastic hair tie, yarn and crochet hook in the size recommended for the yarn.

Start with a slip knot on your hook, single crochet once around the elastic hair tie, chain 10 to 15 chains depending on how big you would like your loops and then single crochet once around the hair tie.  Repeat this process until the elastic hair tie is completely covered.

It's so simple, easy, and cute, but it allows practice of the chain stitch to help with technique and getting the tension right.  Tension is important for other projects.

More crochet samples coming soon!!

20 Minute Fabric Bags

I am the head of noon art at my children's elementary school.  We have 20 minutes every other week to bring an interesting art project to approximately 150 to 175 kids.  It's chaotic, fun and challenges me to come up with something that both boys and girls  aged 6 through 11 will find interesting.

I wound up getting a whole bunch of fabric from Fabmo.  I LOVE Fabmo!!  They have great fabric that is really affordable for the budget that I have been given.

Image

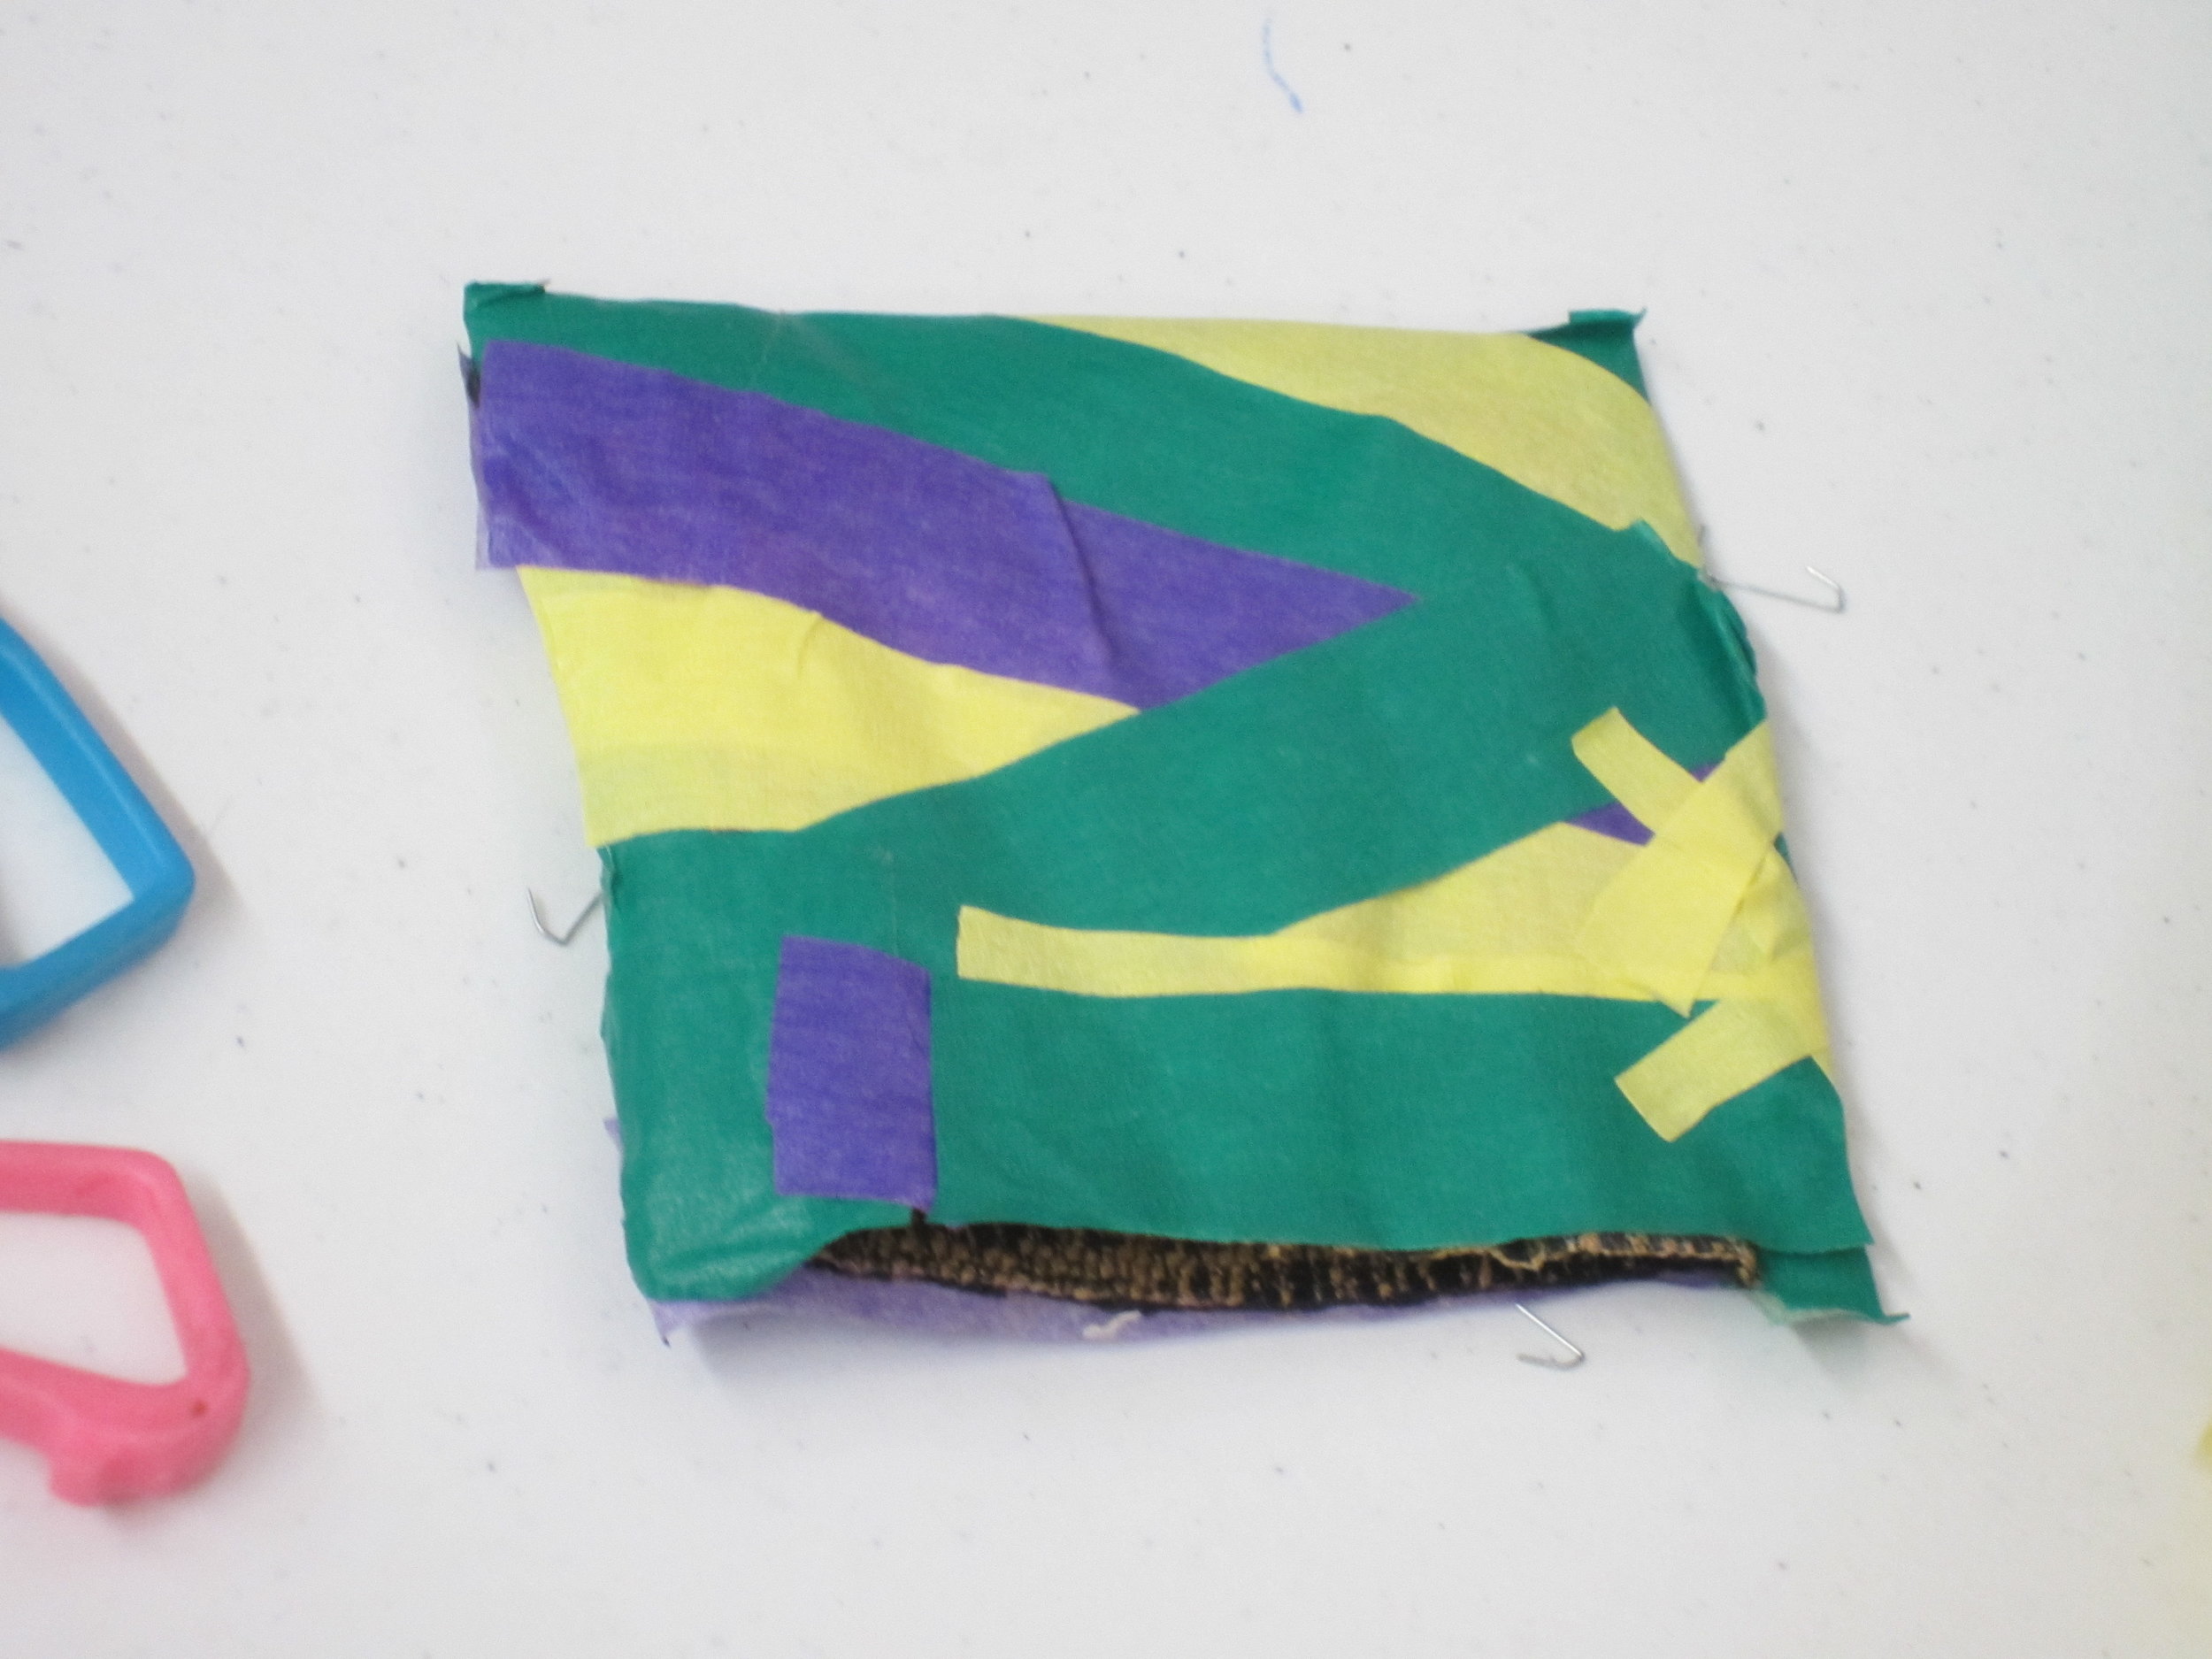
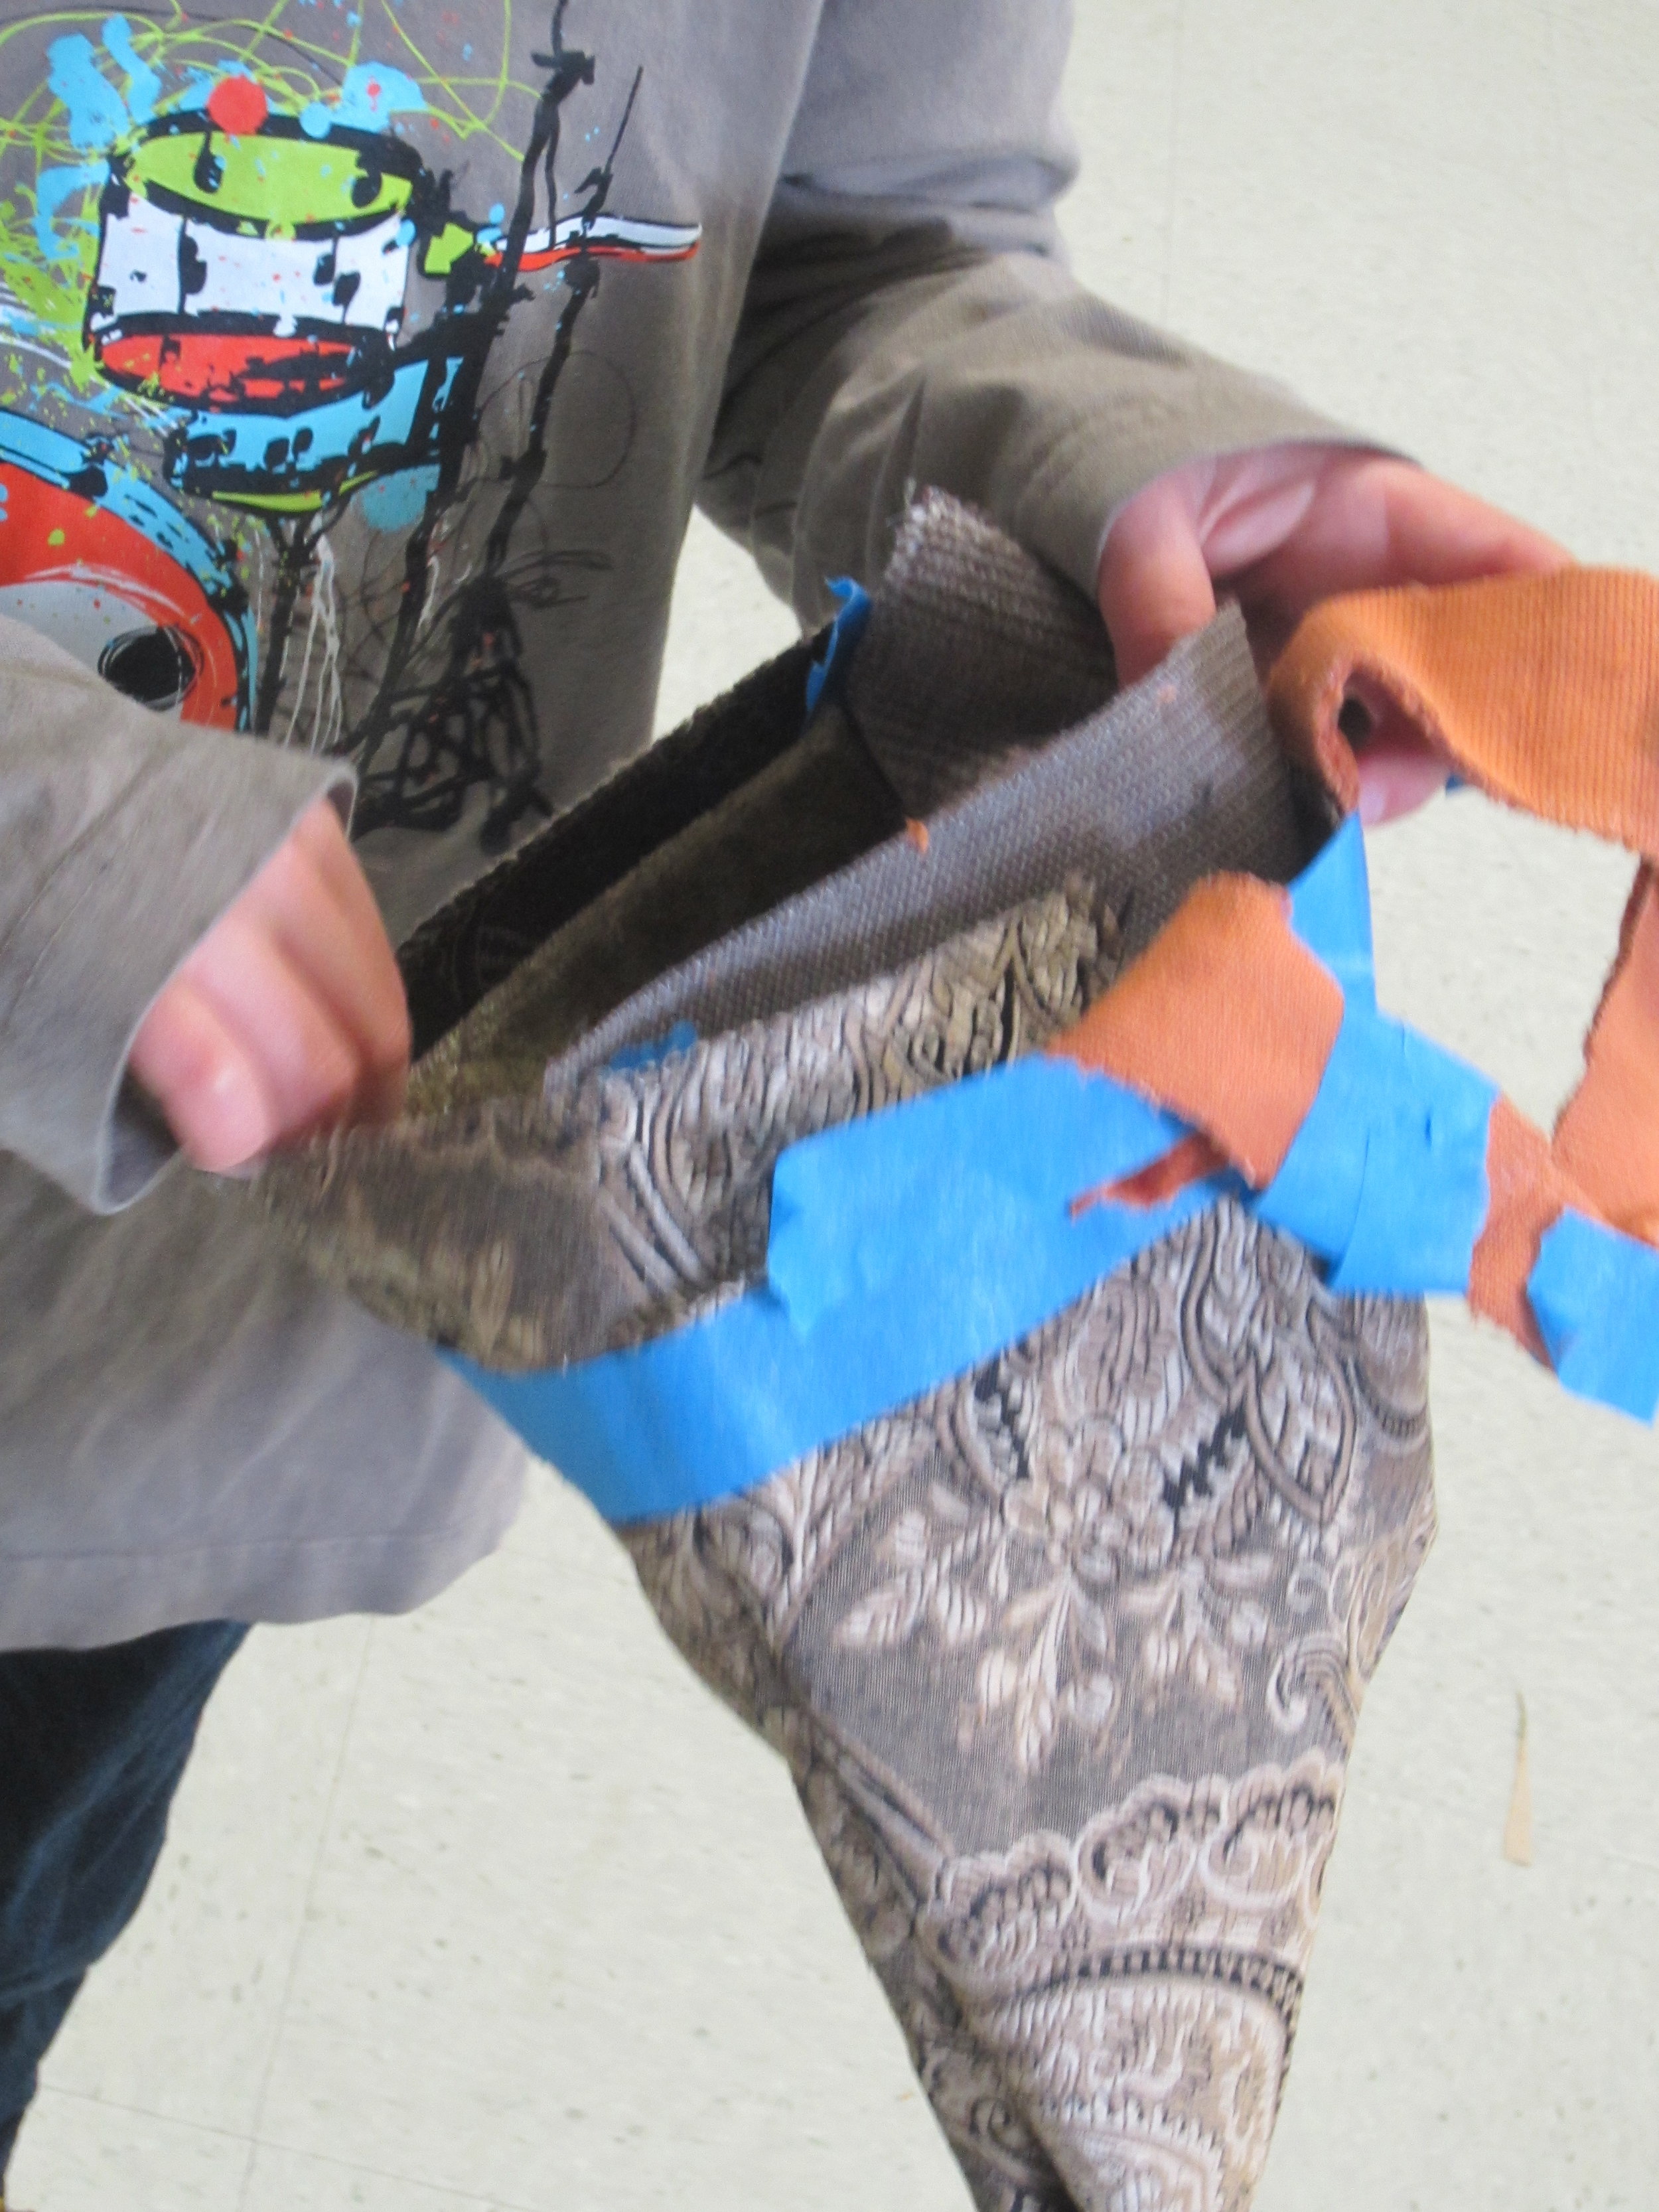
The kids cut the fabric, stapled the edges, placed tape over the staples and then added embellishments (pockets, handles, etc).

Image

Image

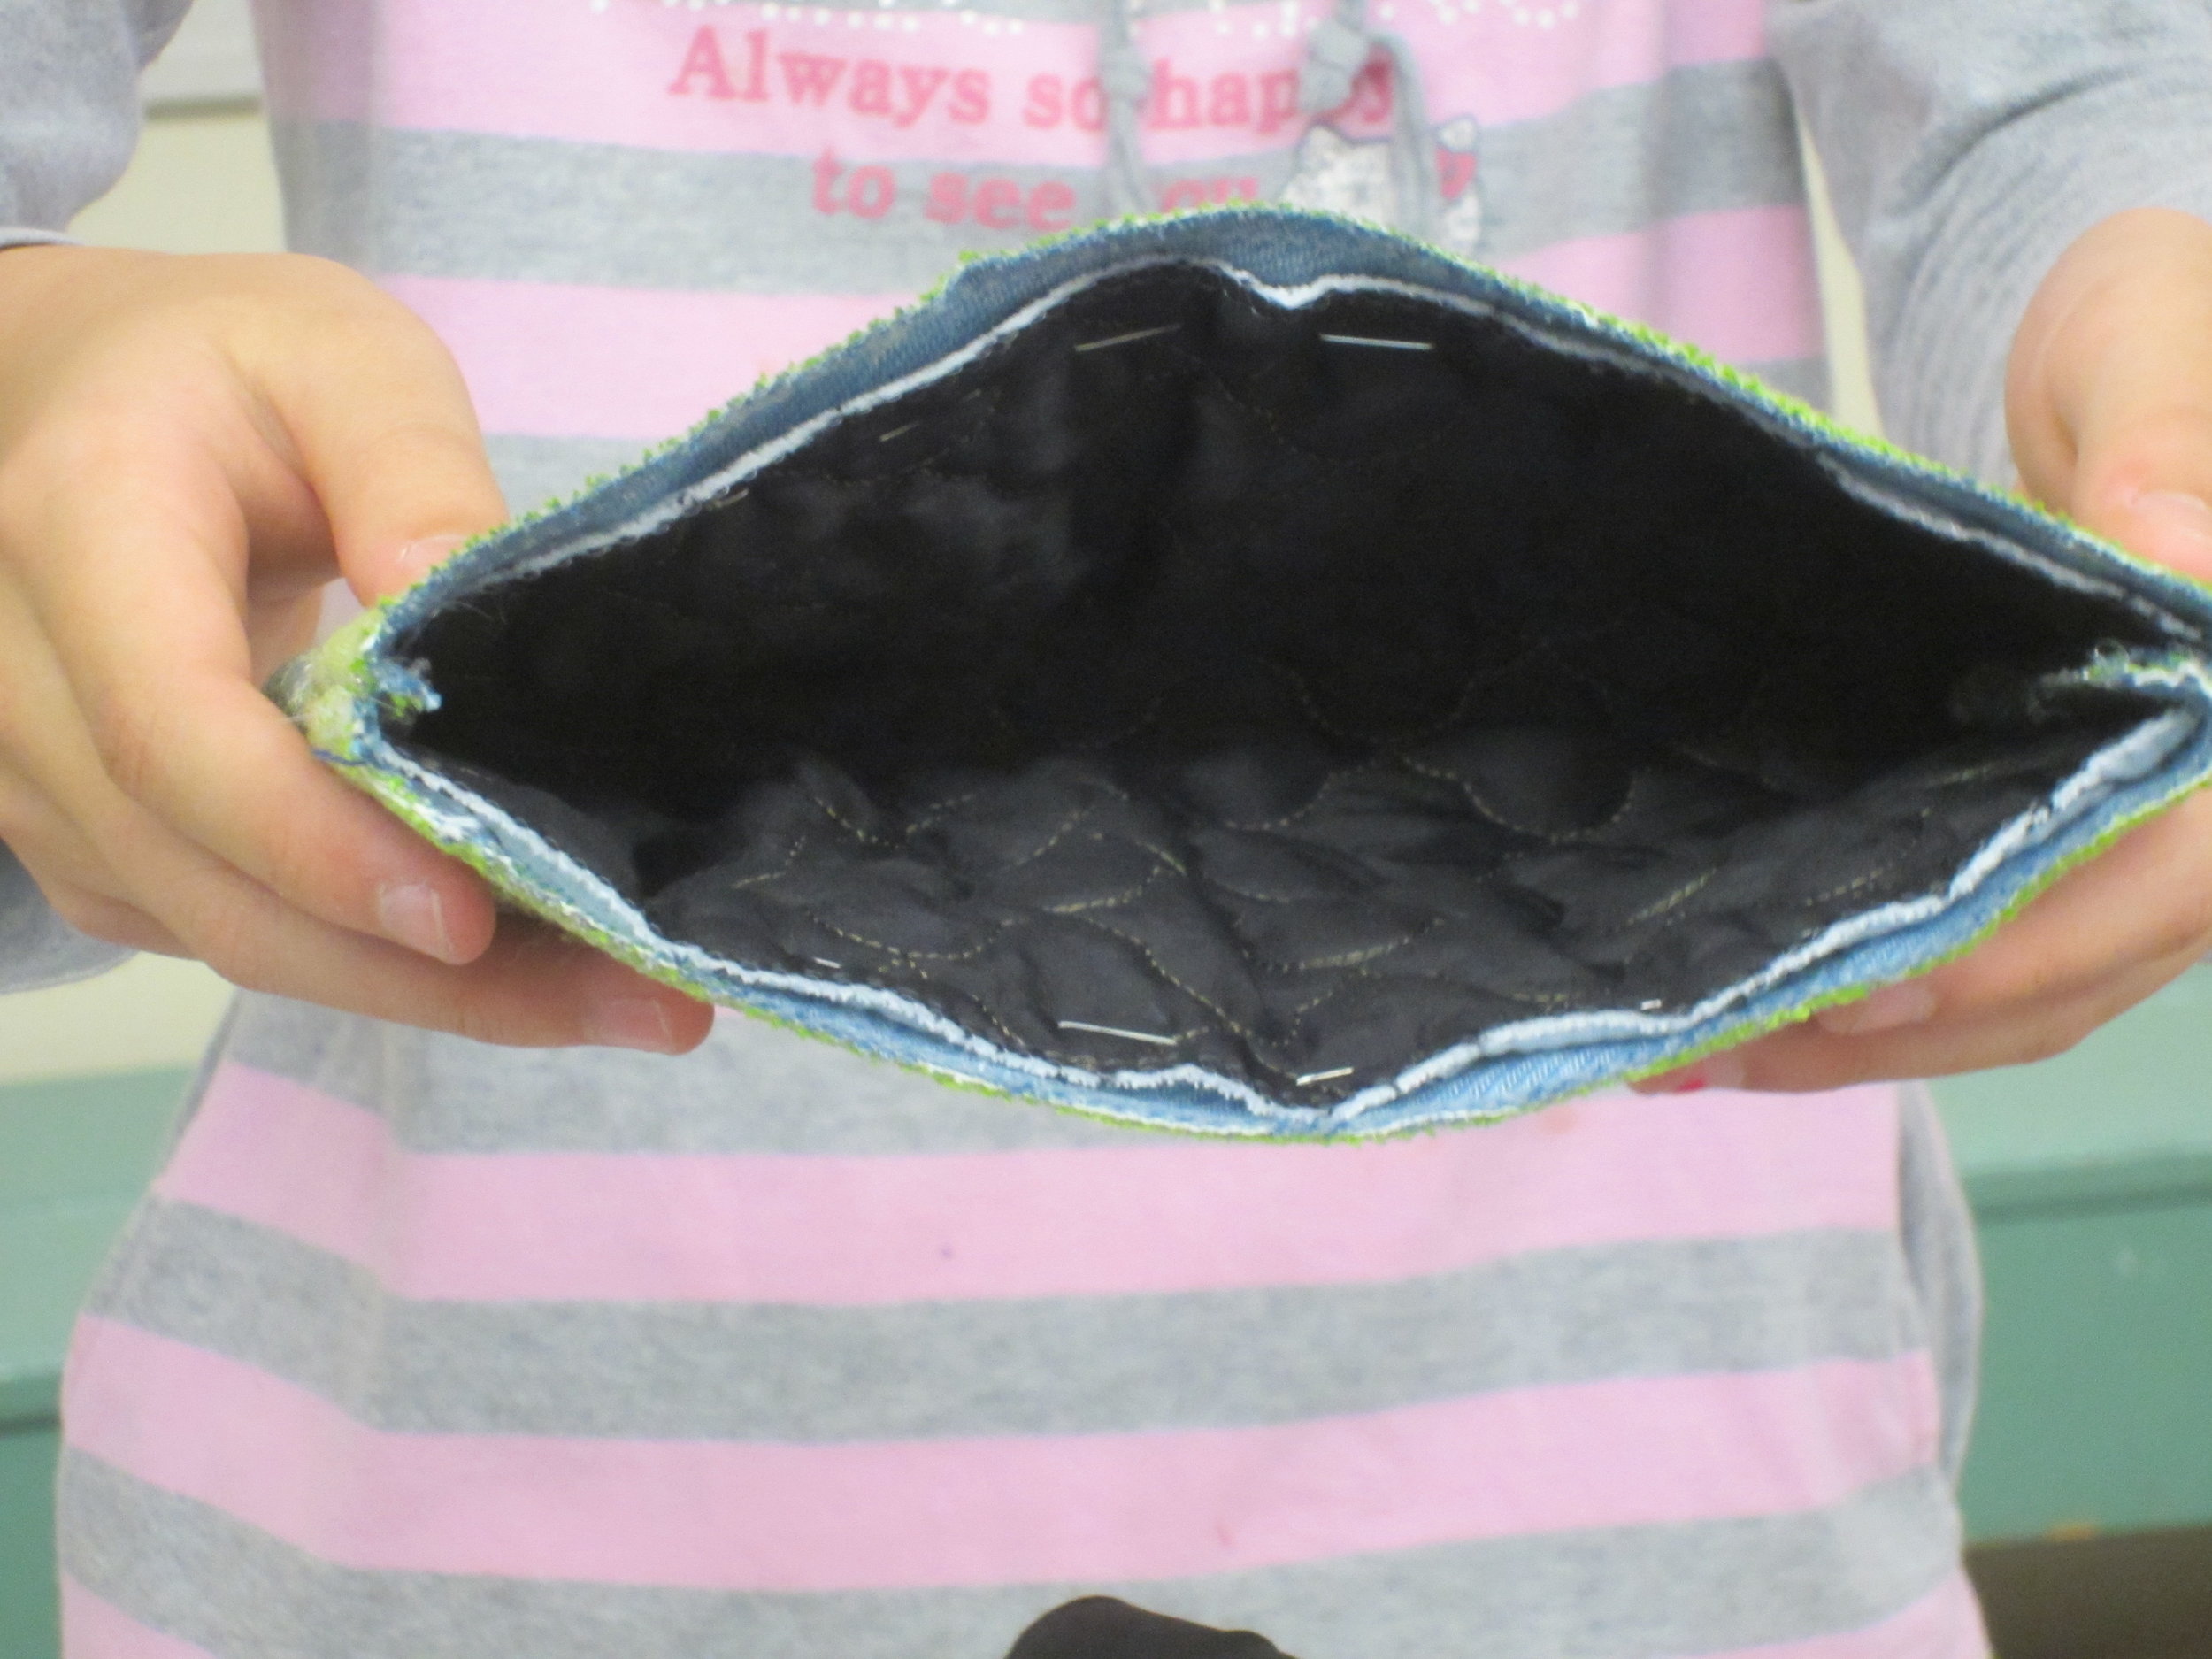
This one is completely lined!  How cool is that?!

Image


Fancy Floral Pocket.

Image


Severa clutch type bags.  There were three students all working at this table and each of them made several of these bags.  I love it when they chat and collaborate on projects!!

Image


A first grader totally decorated her bag with the colored masking tape.  Gotta love the design.

Image


This is a second grade boy who created a bag with many different sections.  So very creative.  I could have included so many more photos - I have close to 75 different and fantastic bags - each one unique and special.

I am always amazed at what these students can accomplish and make in such a limited amount of time.  Can I say it again?  They are amazing!!

I just wish we had longer and I could really introduce them to sewing with a needle and thread, what if we had an hour, or two, or more...just think what they could do then.

Fabulous knitting class this week!

This last Wednesday, we had a great knitting class.  The kids didn't even really want to take a break in the middle - they were all concentrating on their projects and each other.Image

This is one of my 4th graders who is knitting a sampler scarf.  She has learned lace, ribbing, and is now working on seed stitch.  She loves this yarn - the softness and the color.  I think it's so important to provide nice yarns and good tools for the kids to learn with.  It just makes the experience so much more pleasing and exciting for them.Image

This 2nd grader is working on a stuffed bear.  Her stitches are so even and smooth!!  Just look at the way she added on that new color to transition from the top of the shorts to the shirt for the torso part.  She has already completed both legs.  I just can't believe the progress she has made!Image

The second grader who is working on this is so fun!  She finished her sampler scarf and then wanted to start something completely different. I taught her the basket weave stitch and asked her what she had in mind.  She told me she wants to knit up a whole lot of different colored squares and then sew them together to make a small blanket for one of her dolls.  How cool is that?!!Image

The above photo is near and dear to my heart.  These two students are discussing and helping each other with their knitting.  One of them thought she had made  a mistake and the other one was taking a close look and advising her.  I am so proud of them!!  They have reached a new level in their knitting and I couldn't be happier for them.


These are just a few examples of how knitting class went this week.  I can't wait for our next class to see what they have in store for me!

First sewing project for sewing camp!

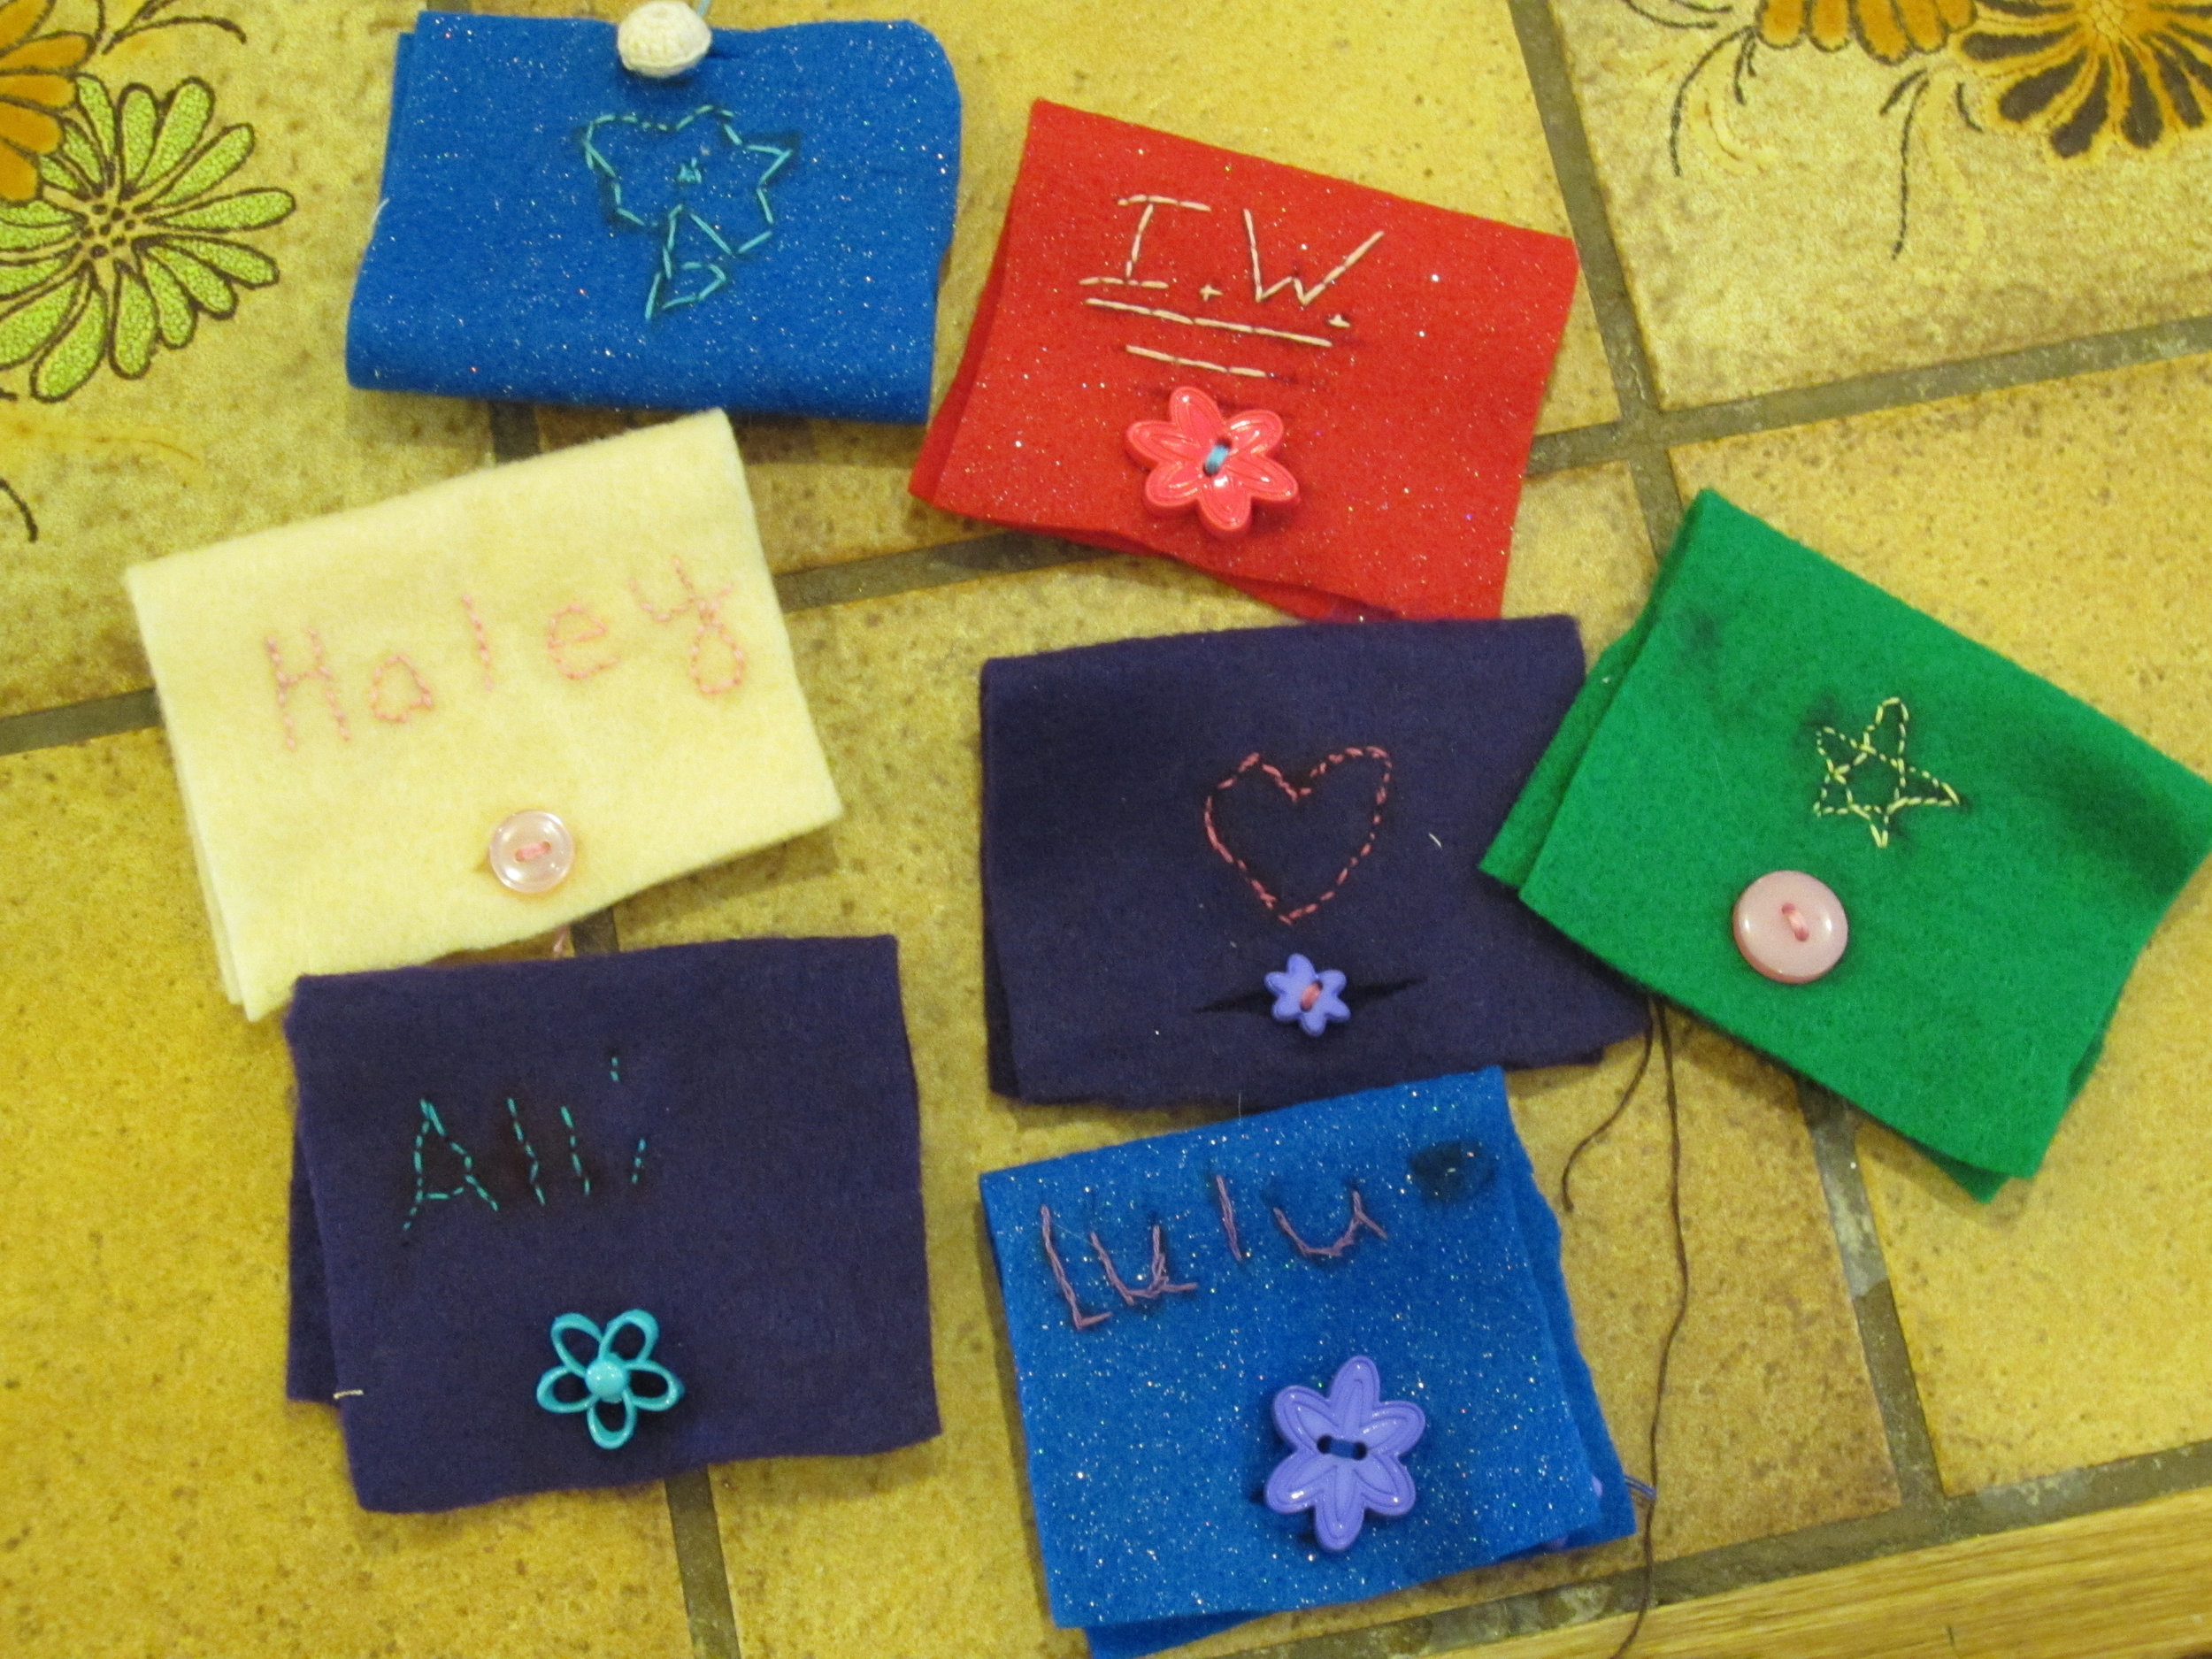
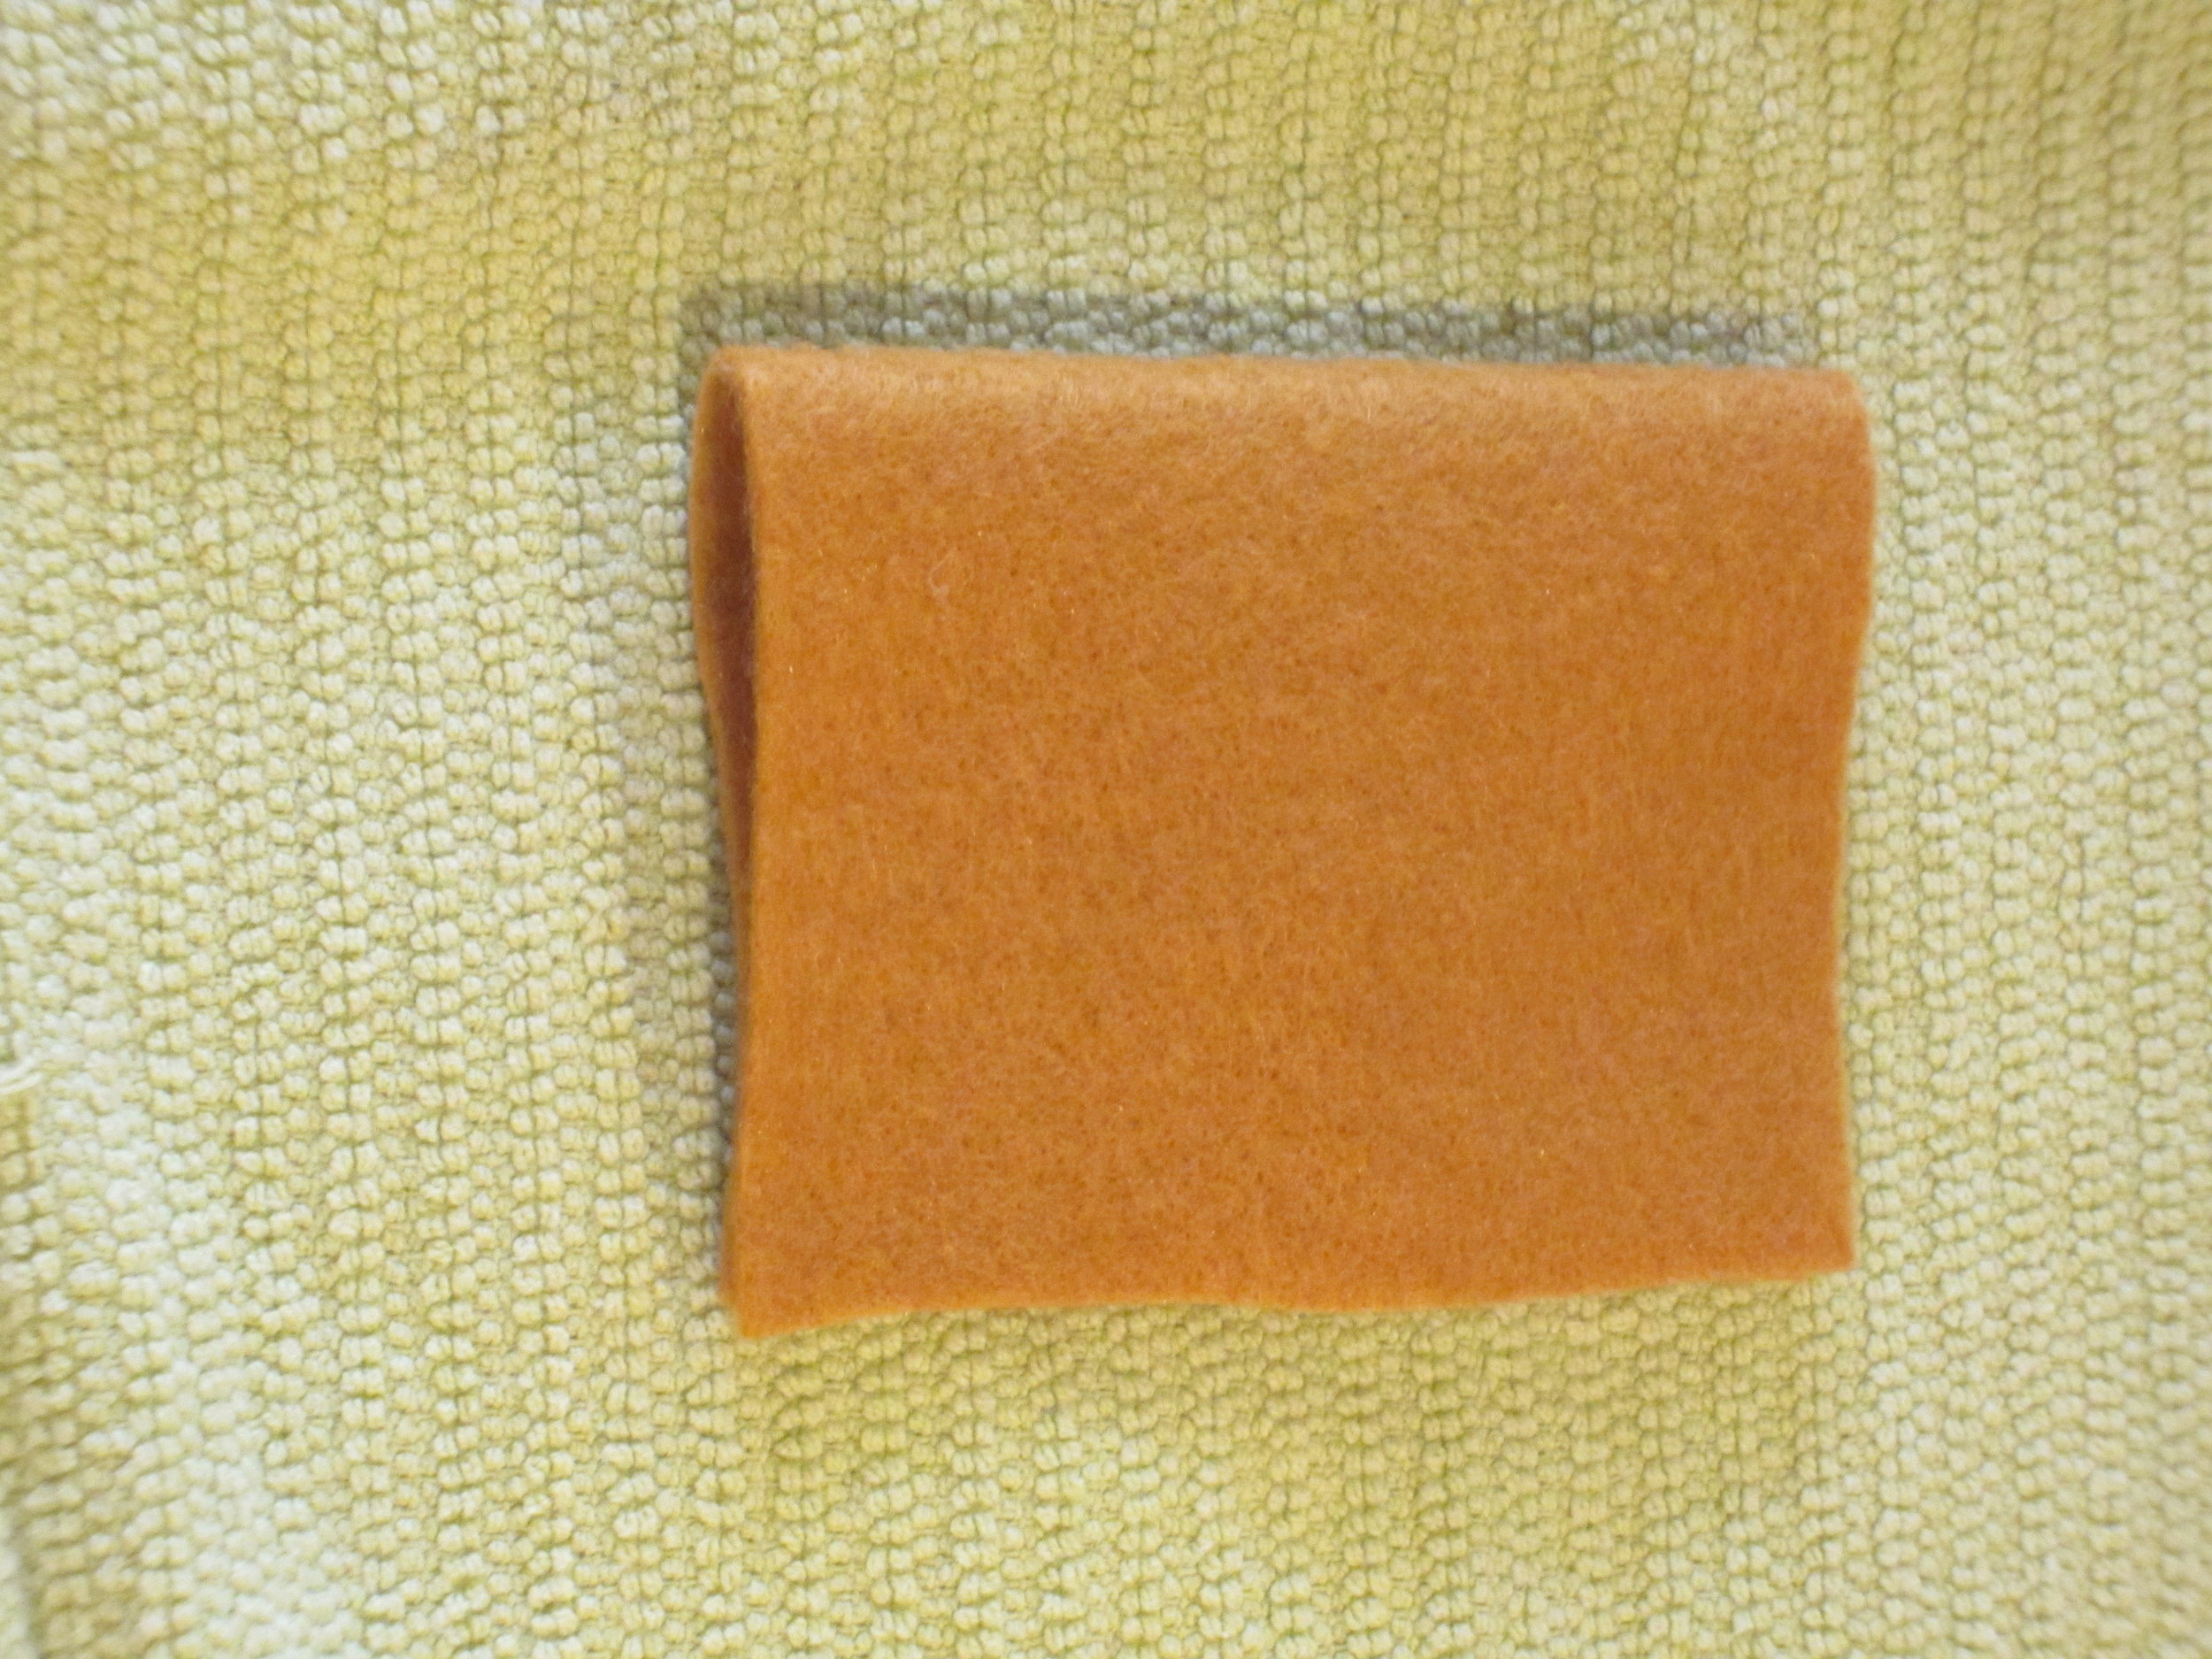
The very first thing we do in sewing camp is talk about safety.  One of those safety items is always knowing where your needle is.  SOoooo.....the first project is a little needle book.  If you are not using your needles, it should be stored safely in your book.

Image

We start with a piece of felt - the kids learn how to trace a simple pattern.

Image


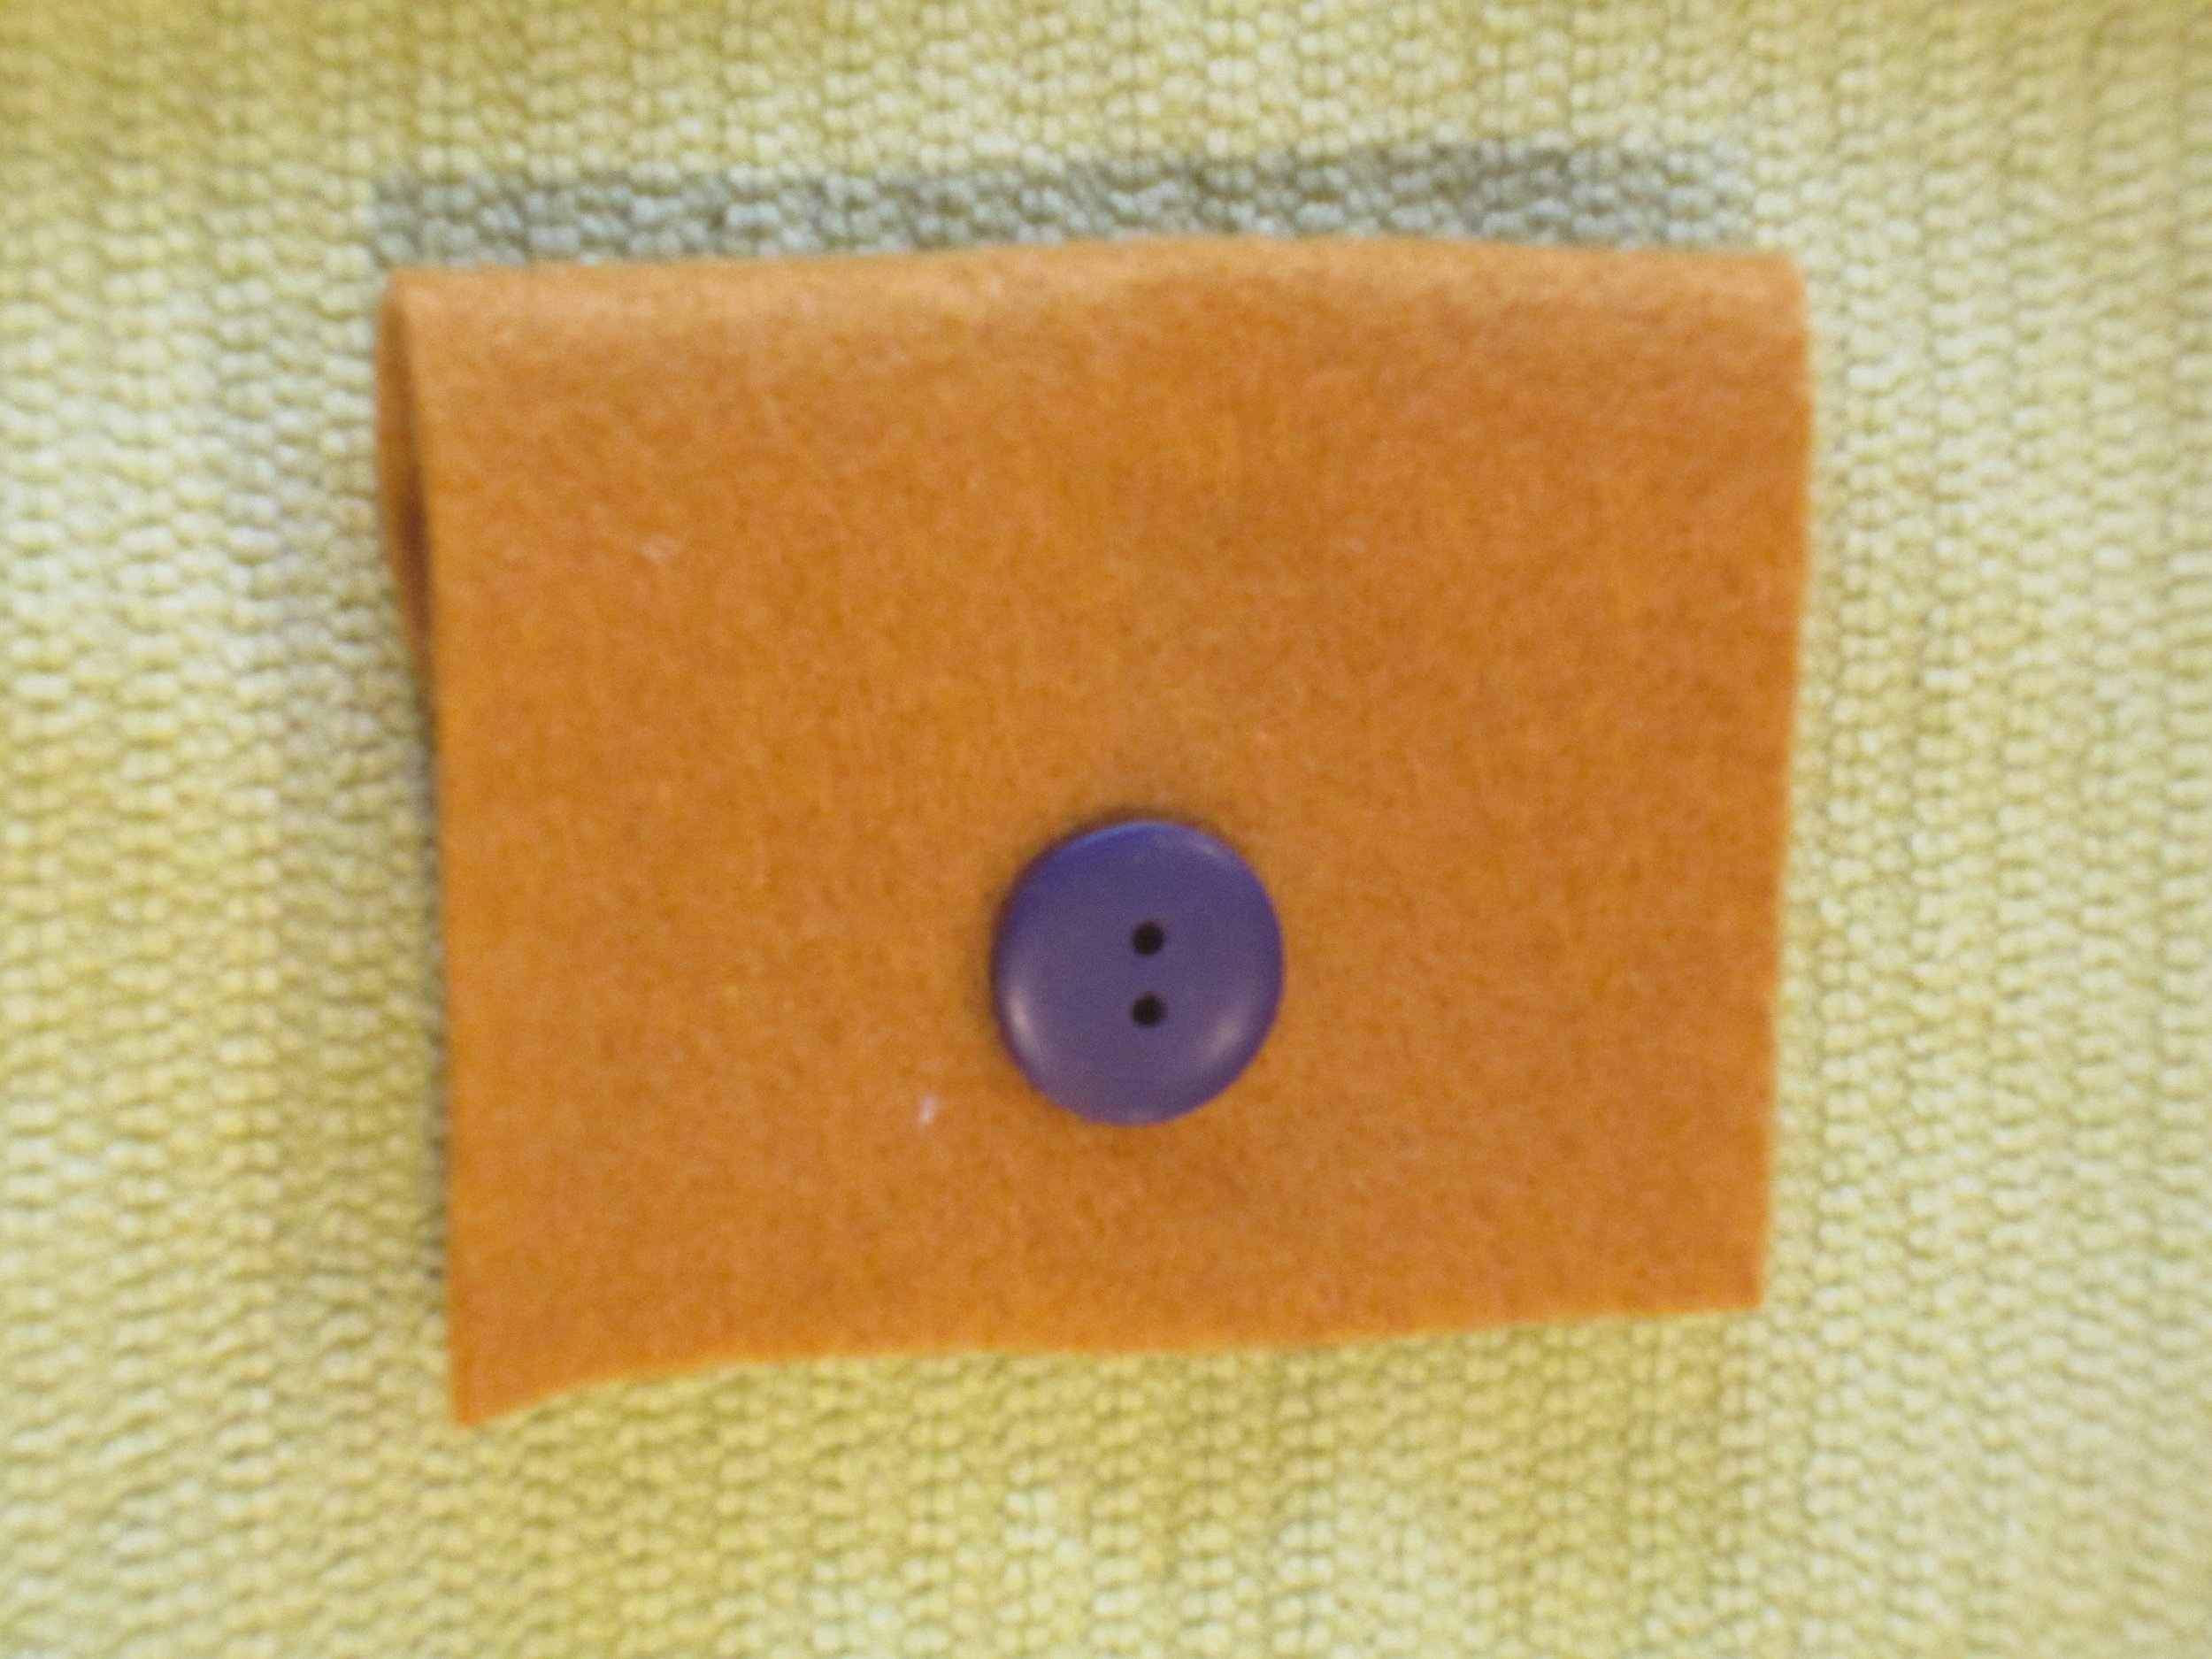
Next they get to choose a button for the closure.

Image

Sometimes, that can be a challenge!

Image


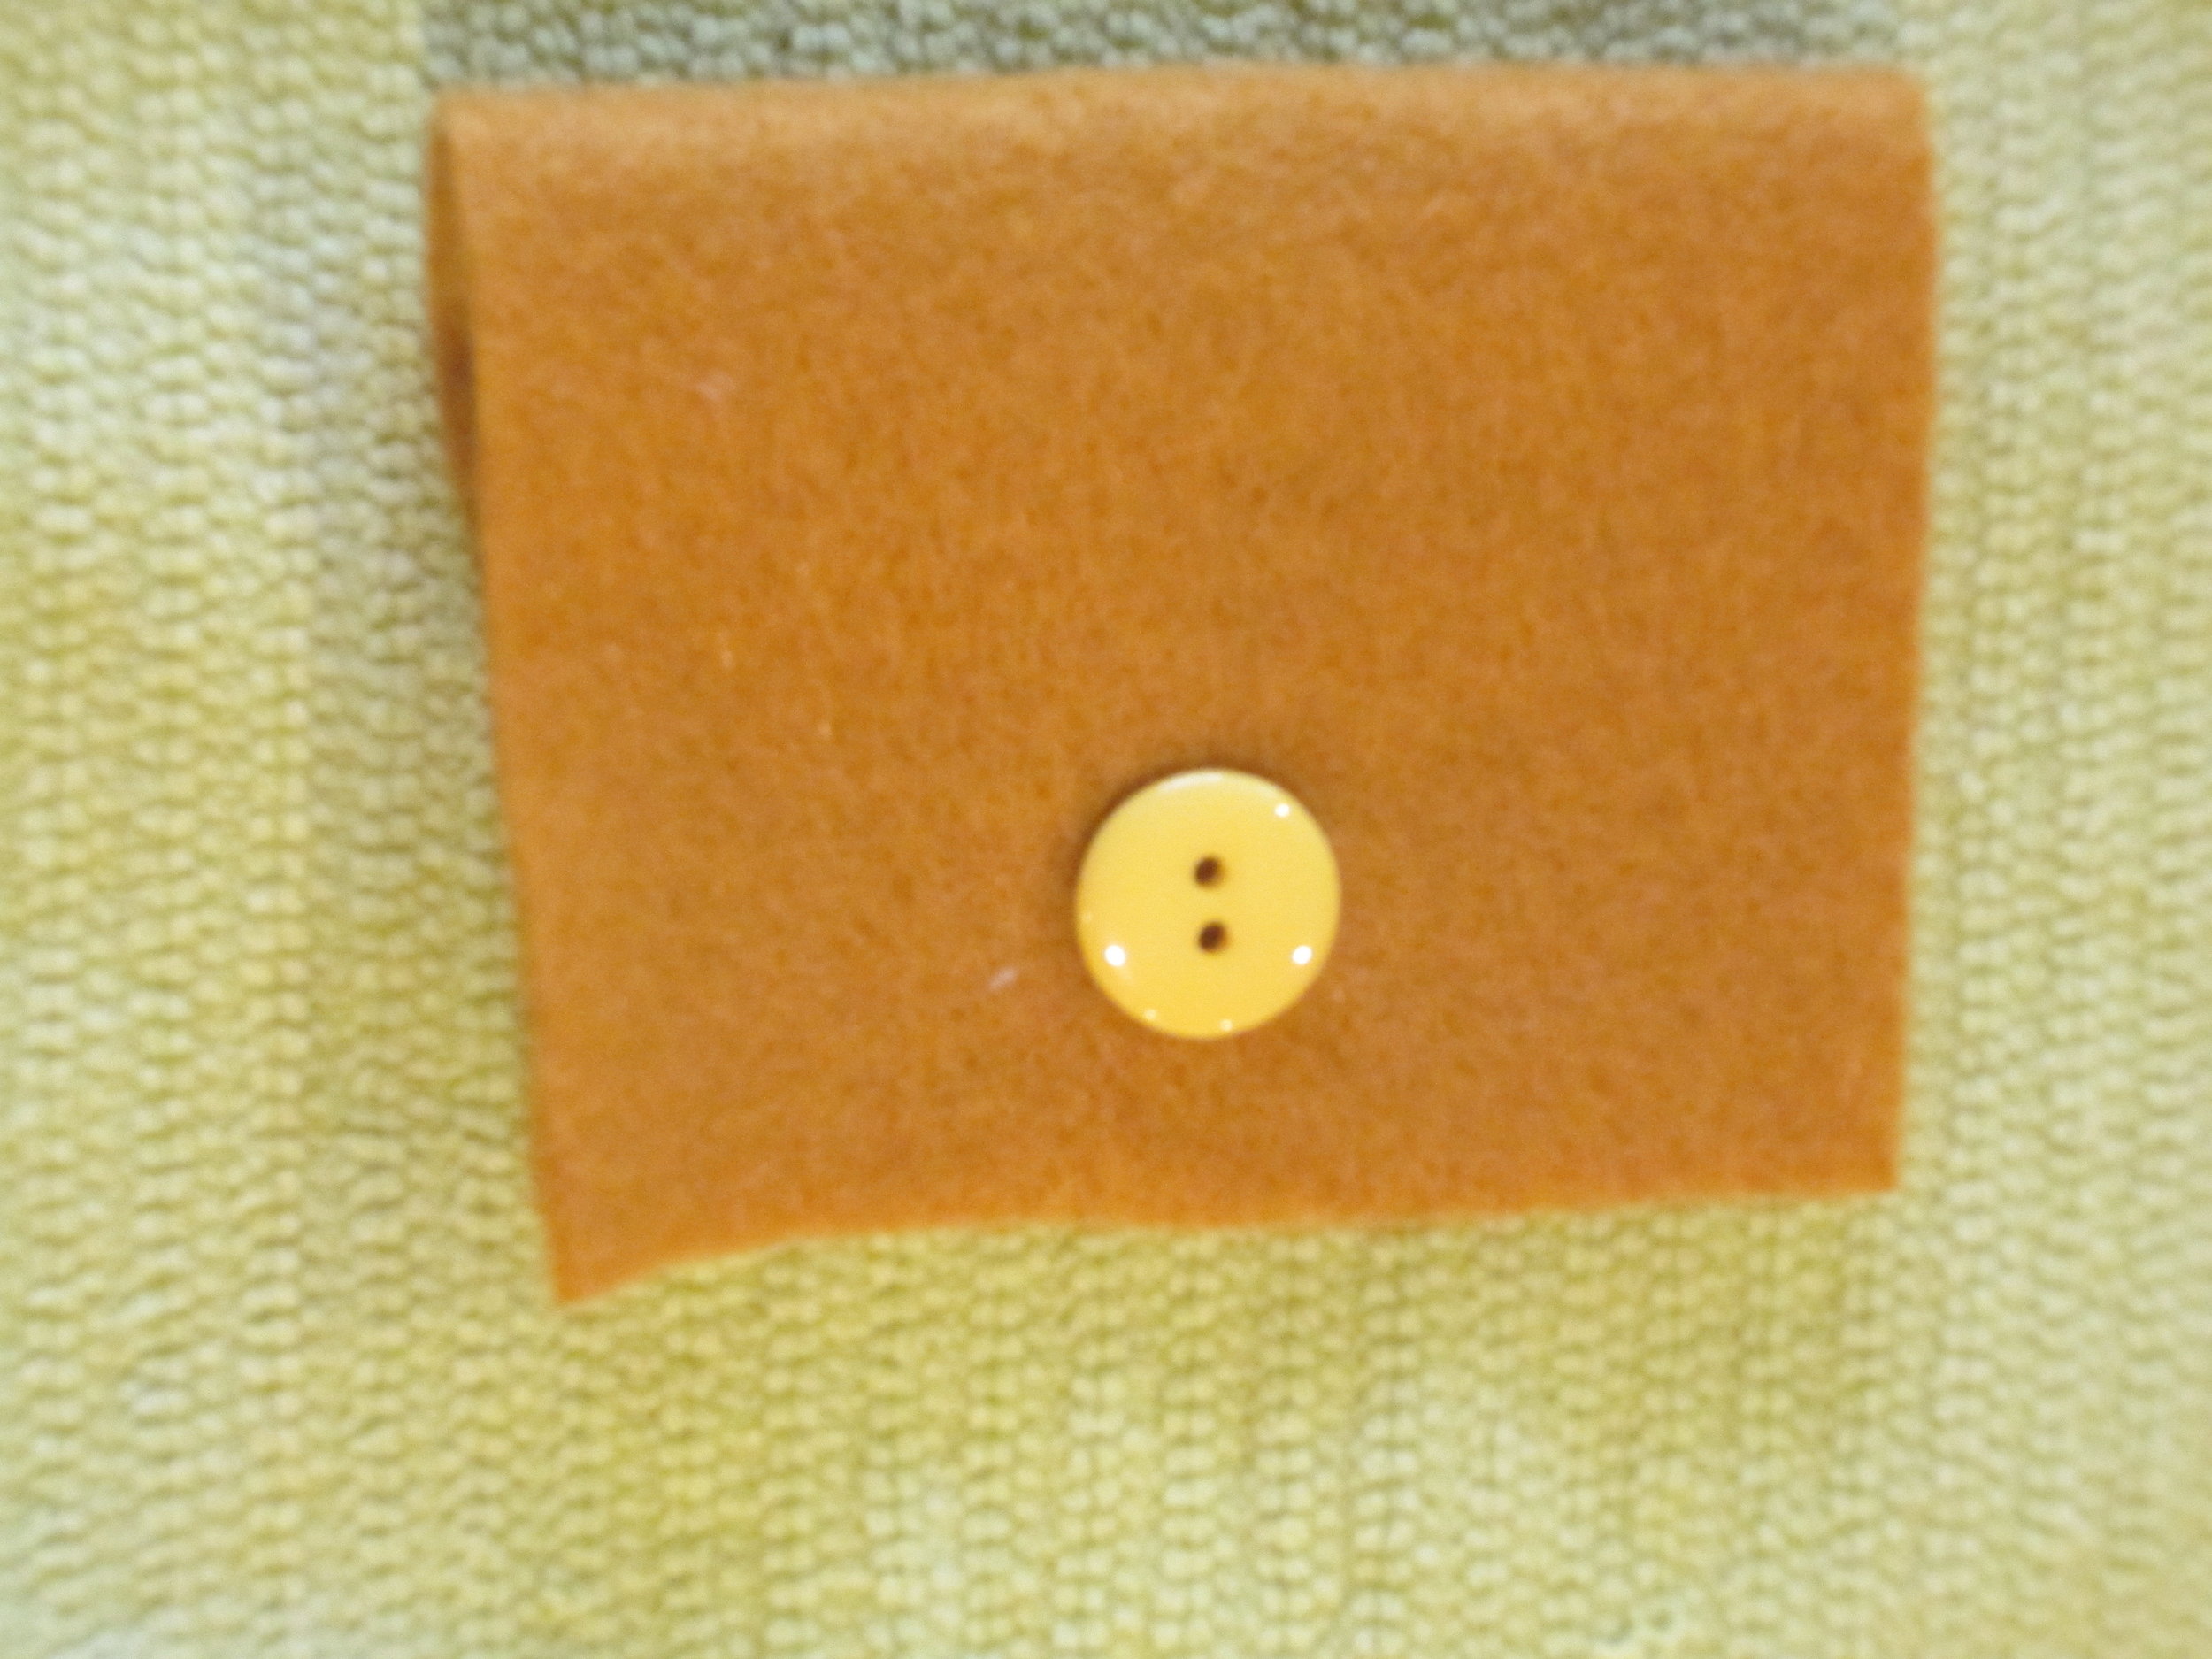
I have a pretty big box filled to capacity with all kids of great buttons!

Image


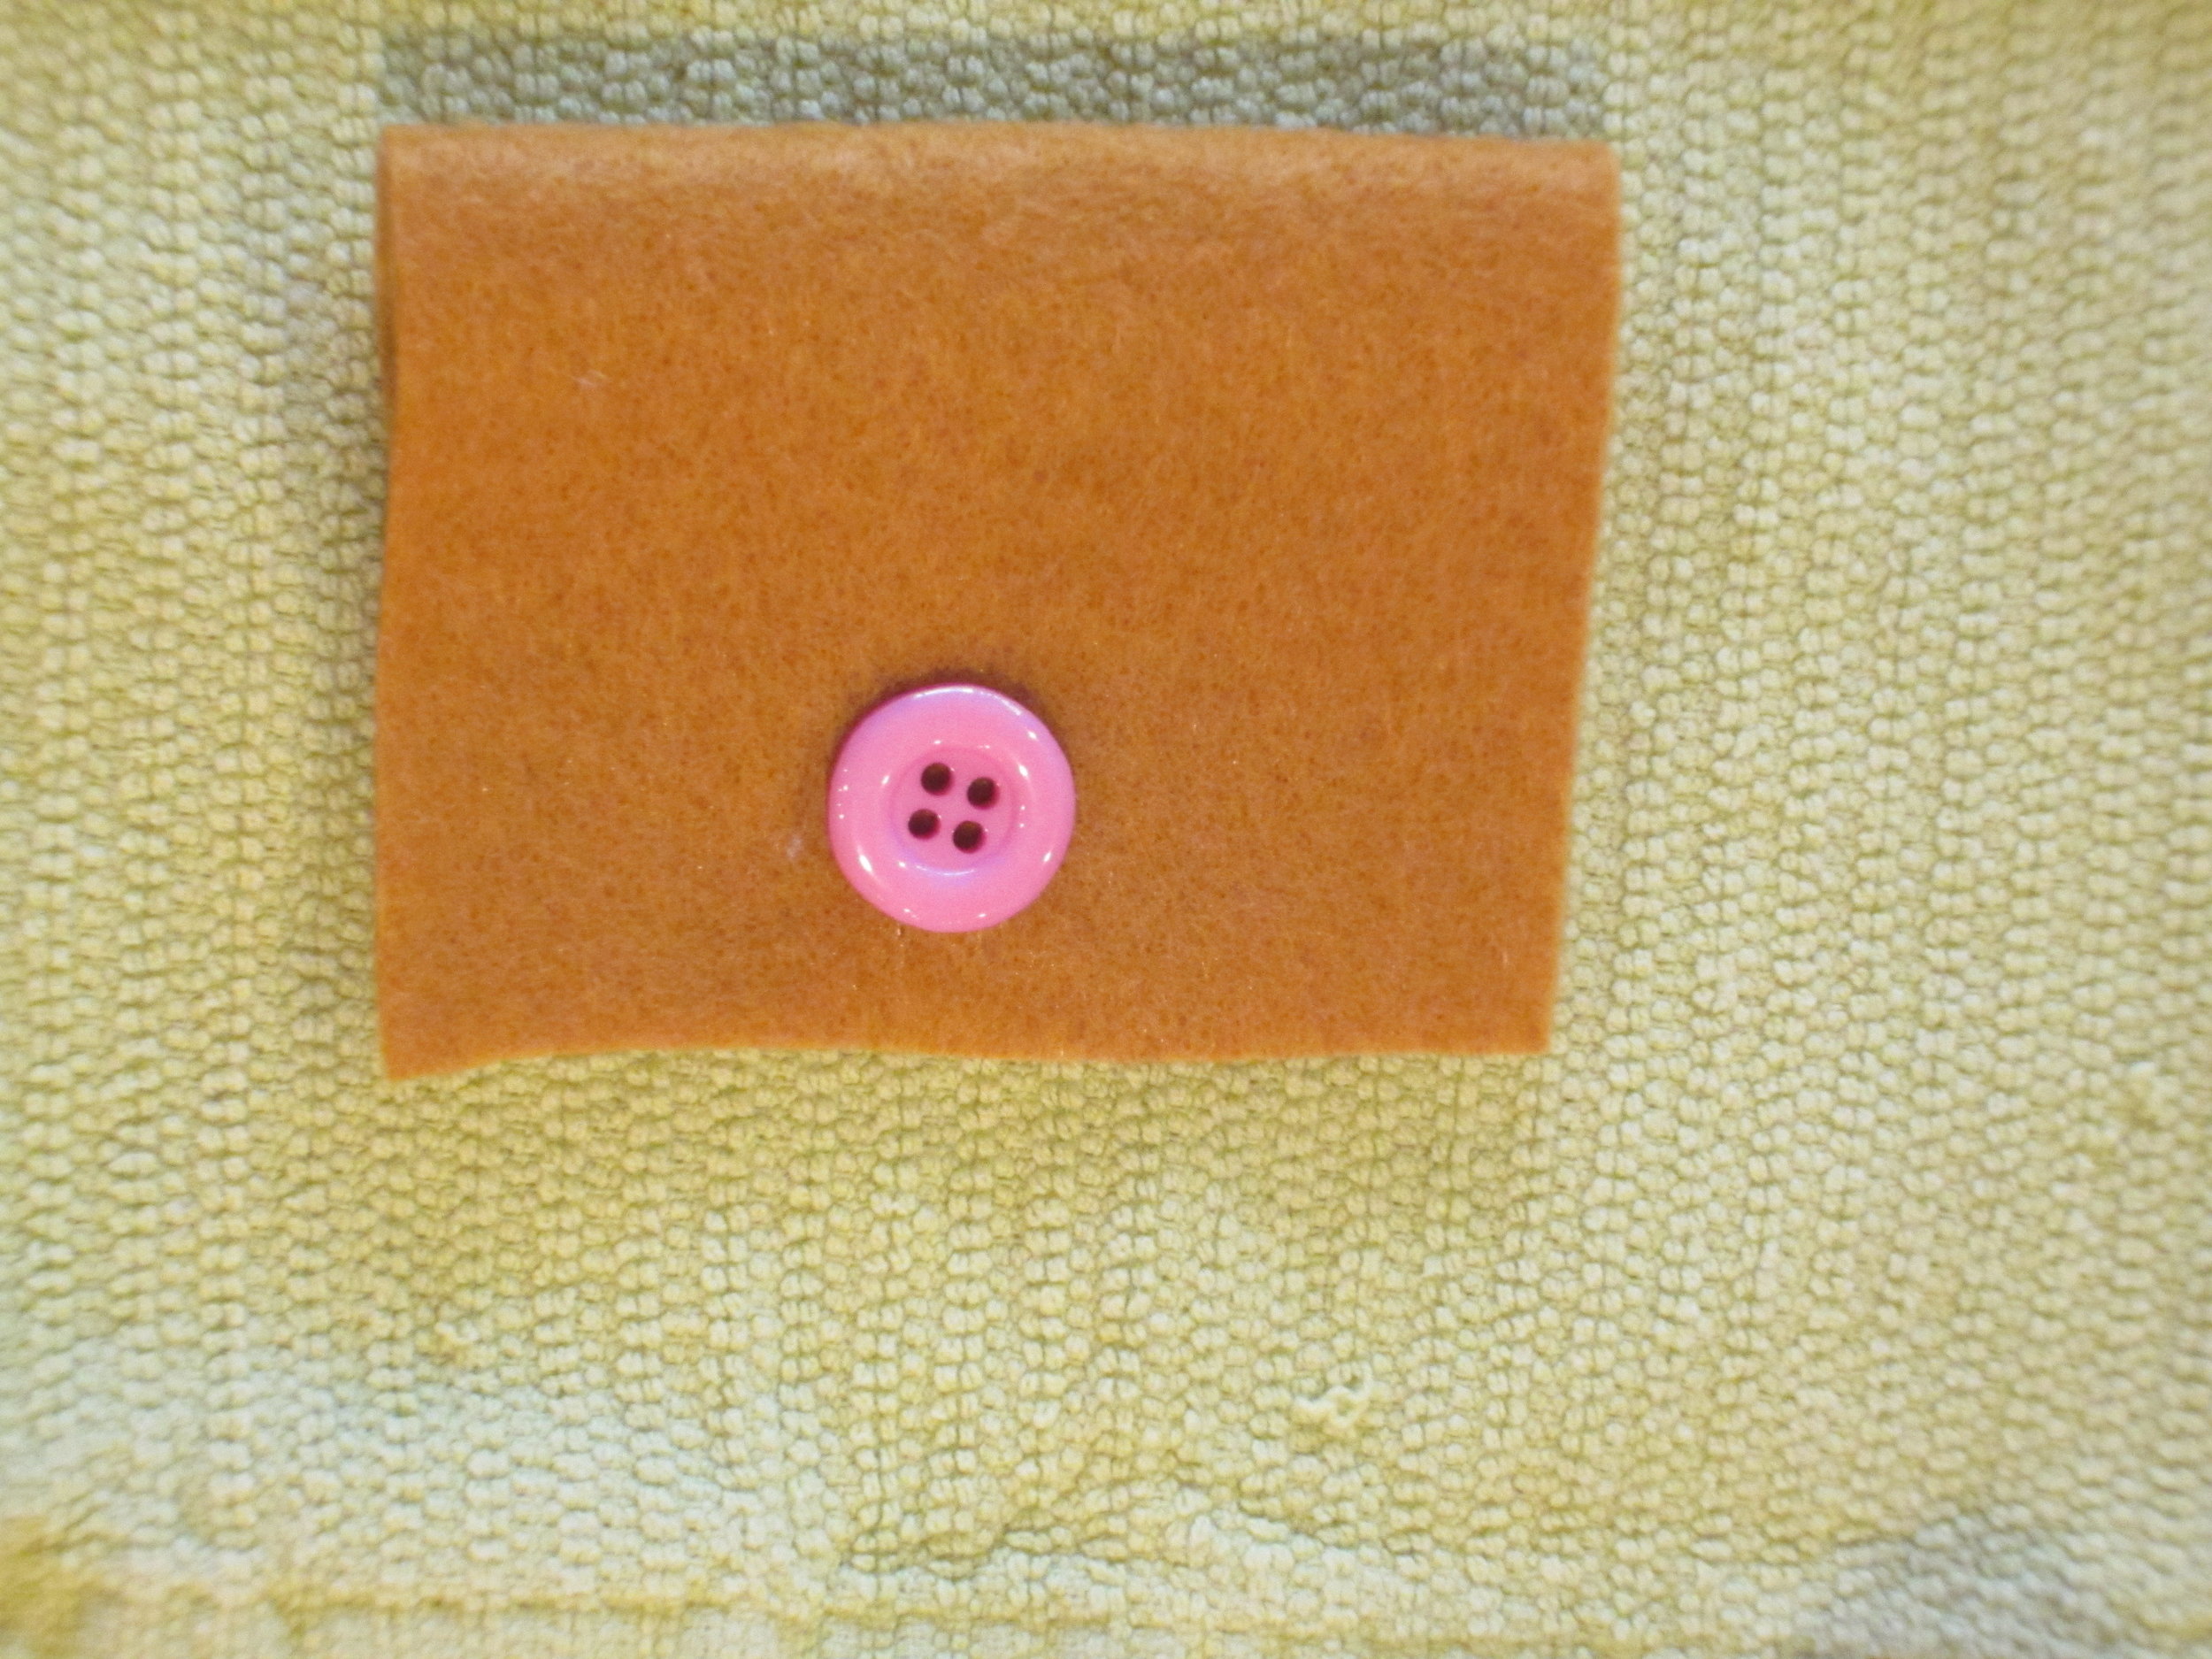
But in the end, they will find the perfect button for their needle book

Image

After attaching their button and some fun embellishment, they have a lovely needle book that is perfect for them!!

Look at what I have been up to!

Today was such an exciting day for me!!  I started pulling out all of my fun fabrics to check what I have and what I still need to add to make sewing camp the best ever for my students!Image

Just look at those yummy fabrics!  All 100% cotton so they are very easy to work with and sew on like a dream.

Image


More fabric....

Image


Even more fabric.  Do you see that denim up there?  I just love denim - such cute things can be created by using a bit of denim.

Image


You really simply can not have too much fabric :o)

Image


I really must stop here lest one thinks I have a slight fabric addiction!  Samples of projects offered in sewing camp coming soon!

Tin Can Robots!


Image

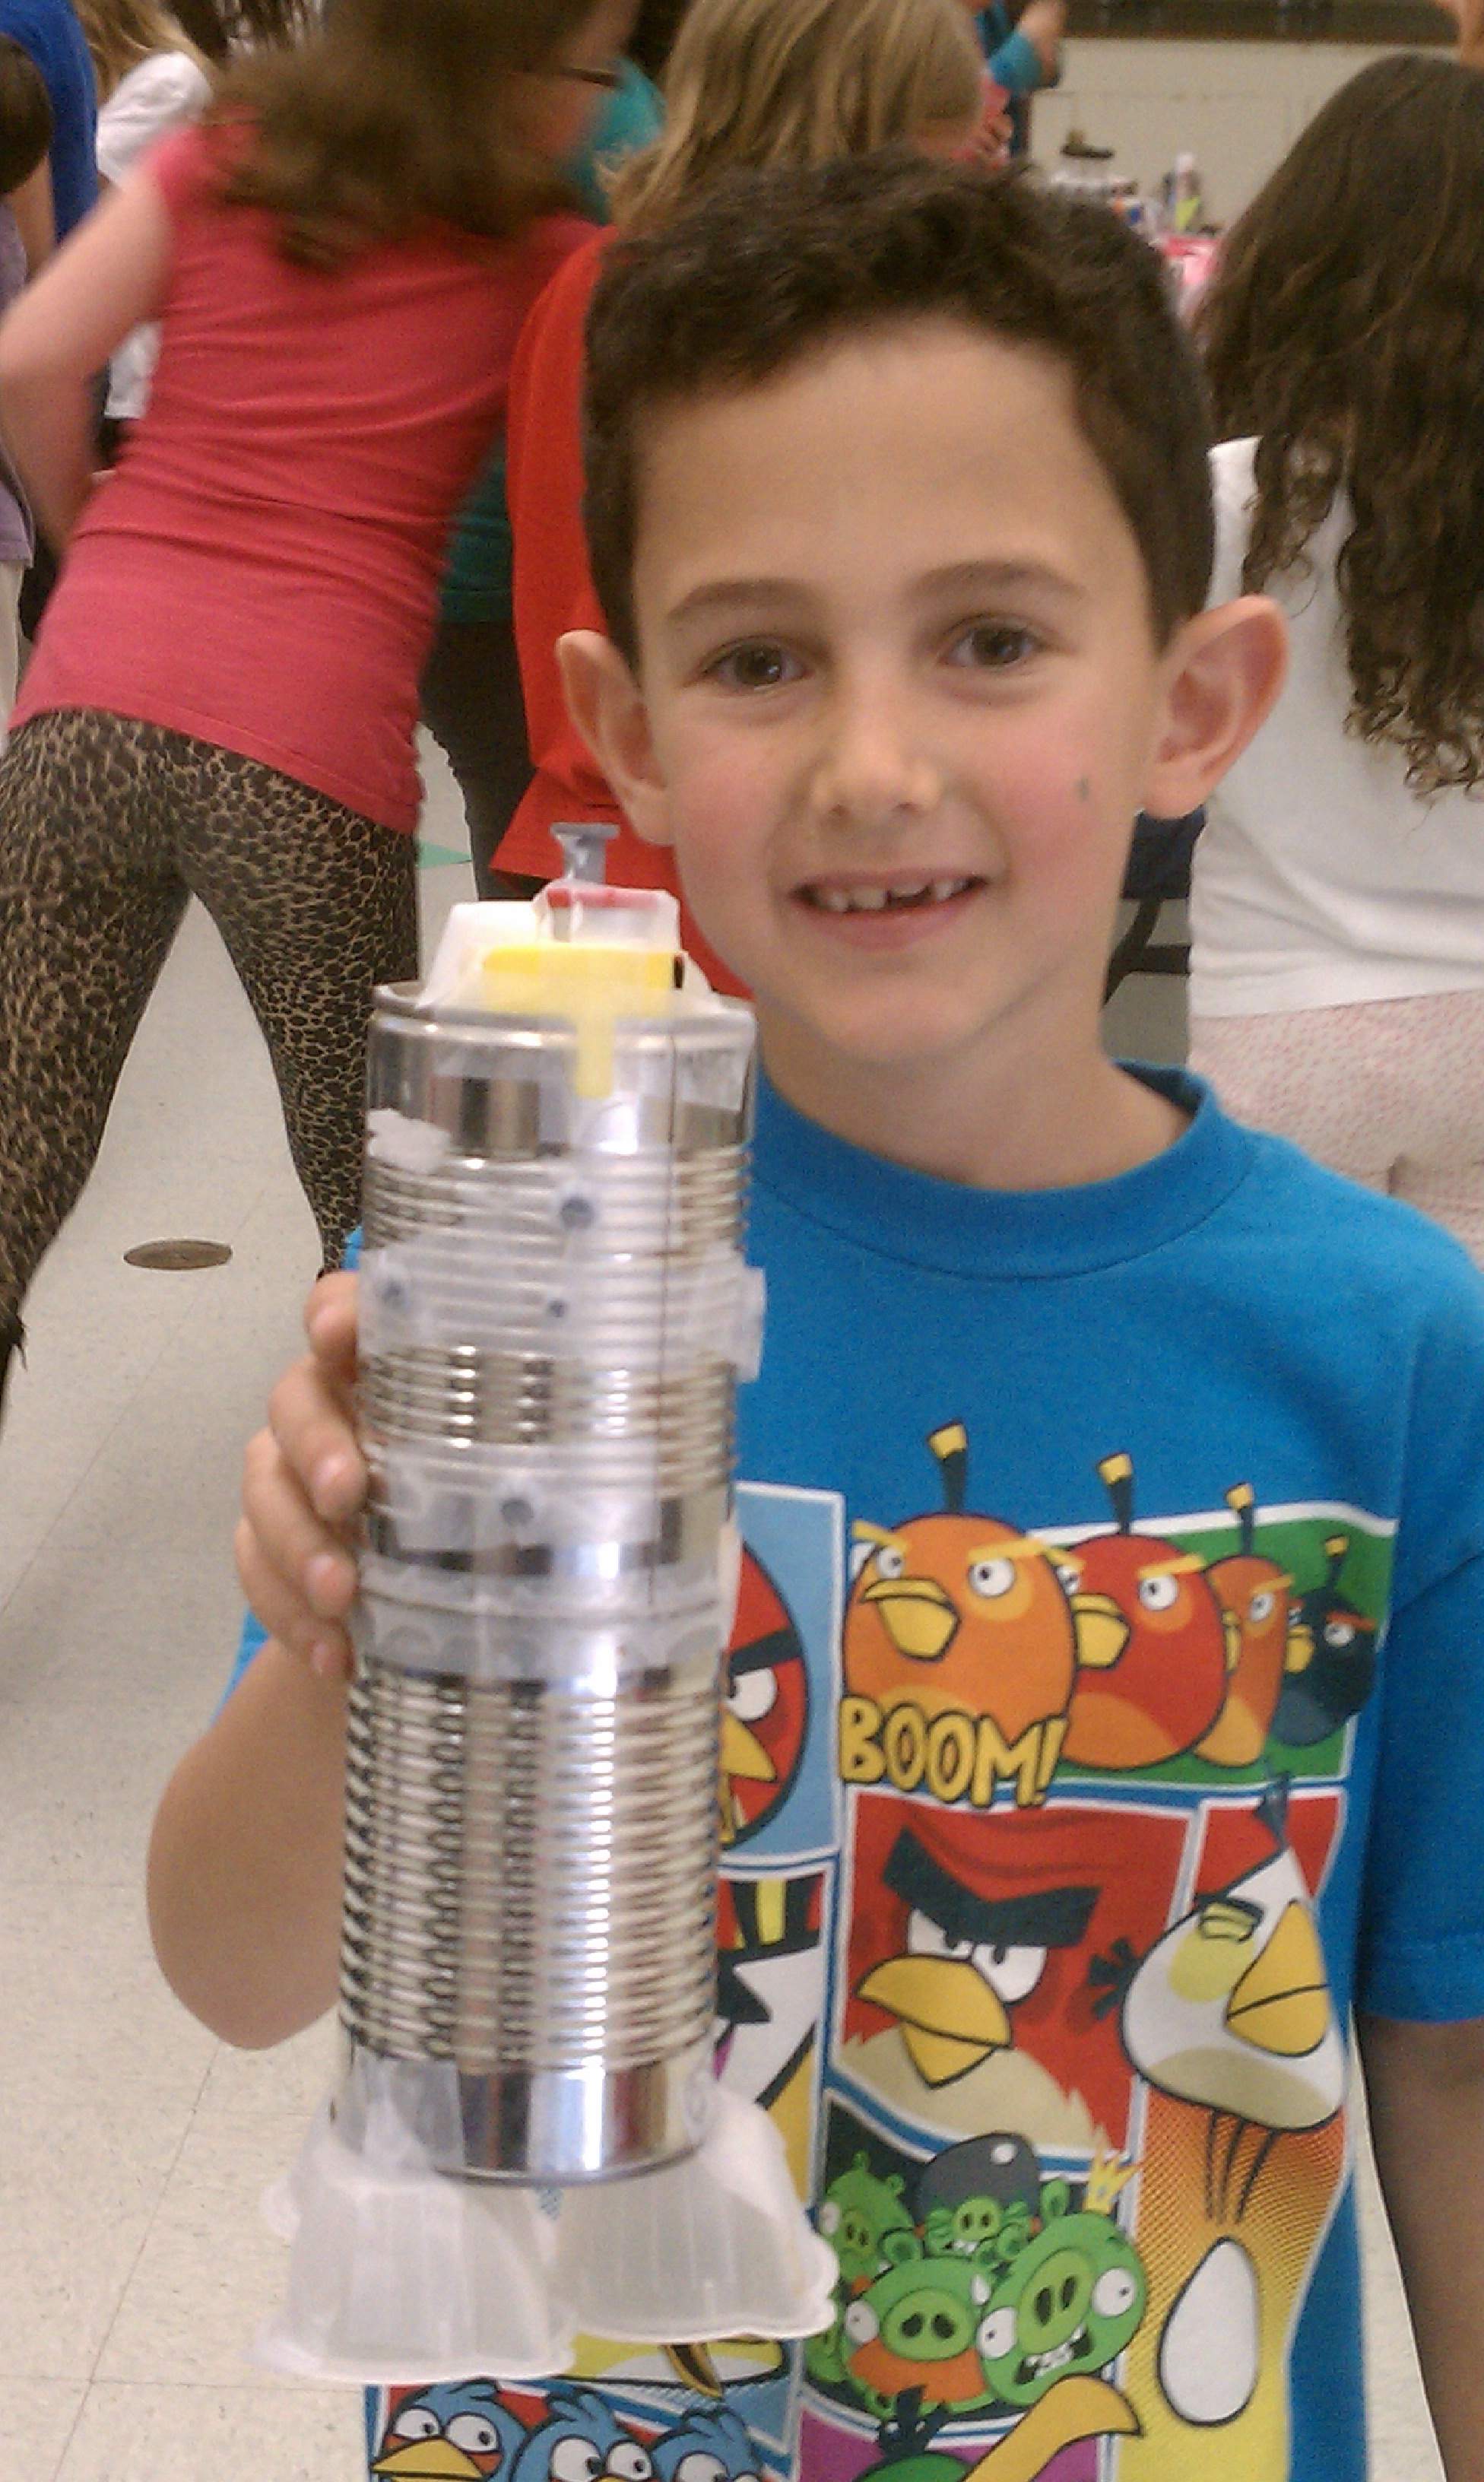
Tin Can Robots was the order of the day at noon art.  These robots were made entirely of recycled materials and the kids had such a blast!!

Image

Image

Image


Image

As you can see, no two were the same.  Approximately 200 students were in the MP Room making these creations - students from 1st grade right up through 5th grade.  They all loved it!!  Parents sometimes ask me if their older kids will get bored of these "simple" arts and crafts and I always give them a resounding "No Way!".  Kids are starving for art - and art that they have the freedom to create whatever is in their own imaginations (not directed art) is exactly what they are looking for.  They love the relaxed atmosphere, no expectations of a certain way their project should look in the end, and the freedom to create whatever they wish.  

There are quite a few students who come in for art and use the supplies in new ways and make something completely different than the example.  I LOVE this!!

I can't wait for the next time I get to teach art - Oh wait, I am lucky - I get to do this almost everyday.  


Pet Rocks

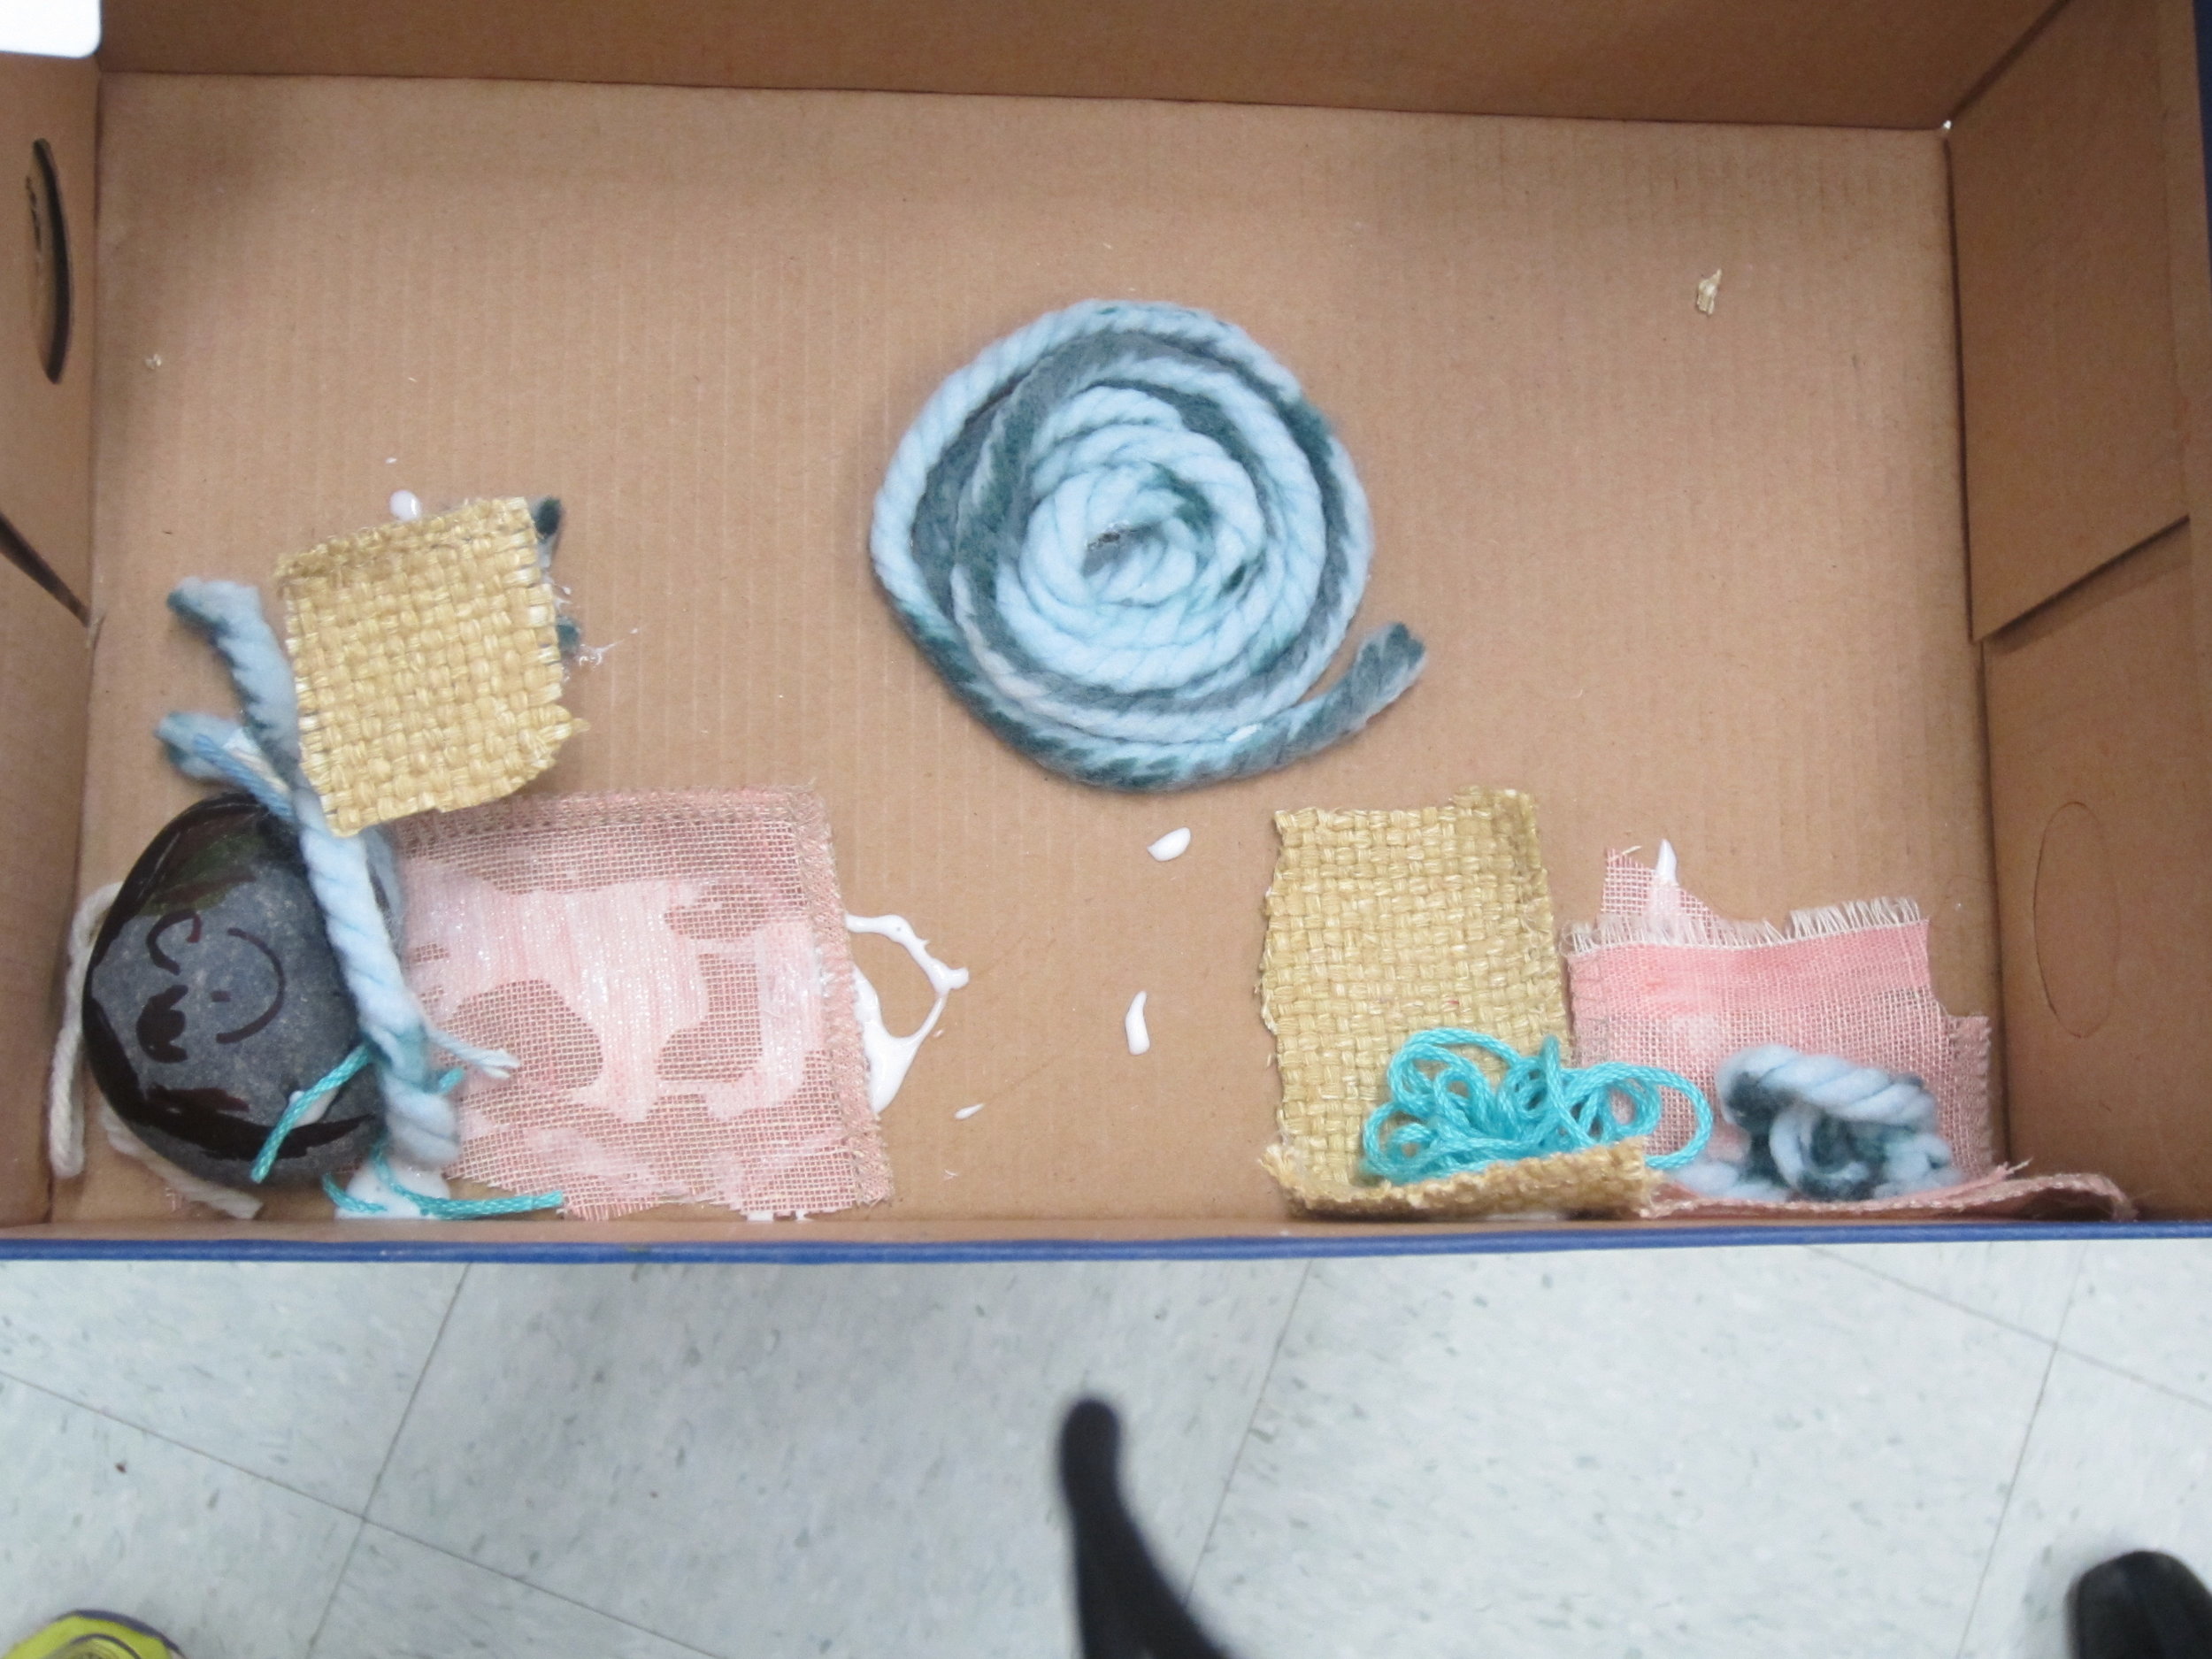
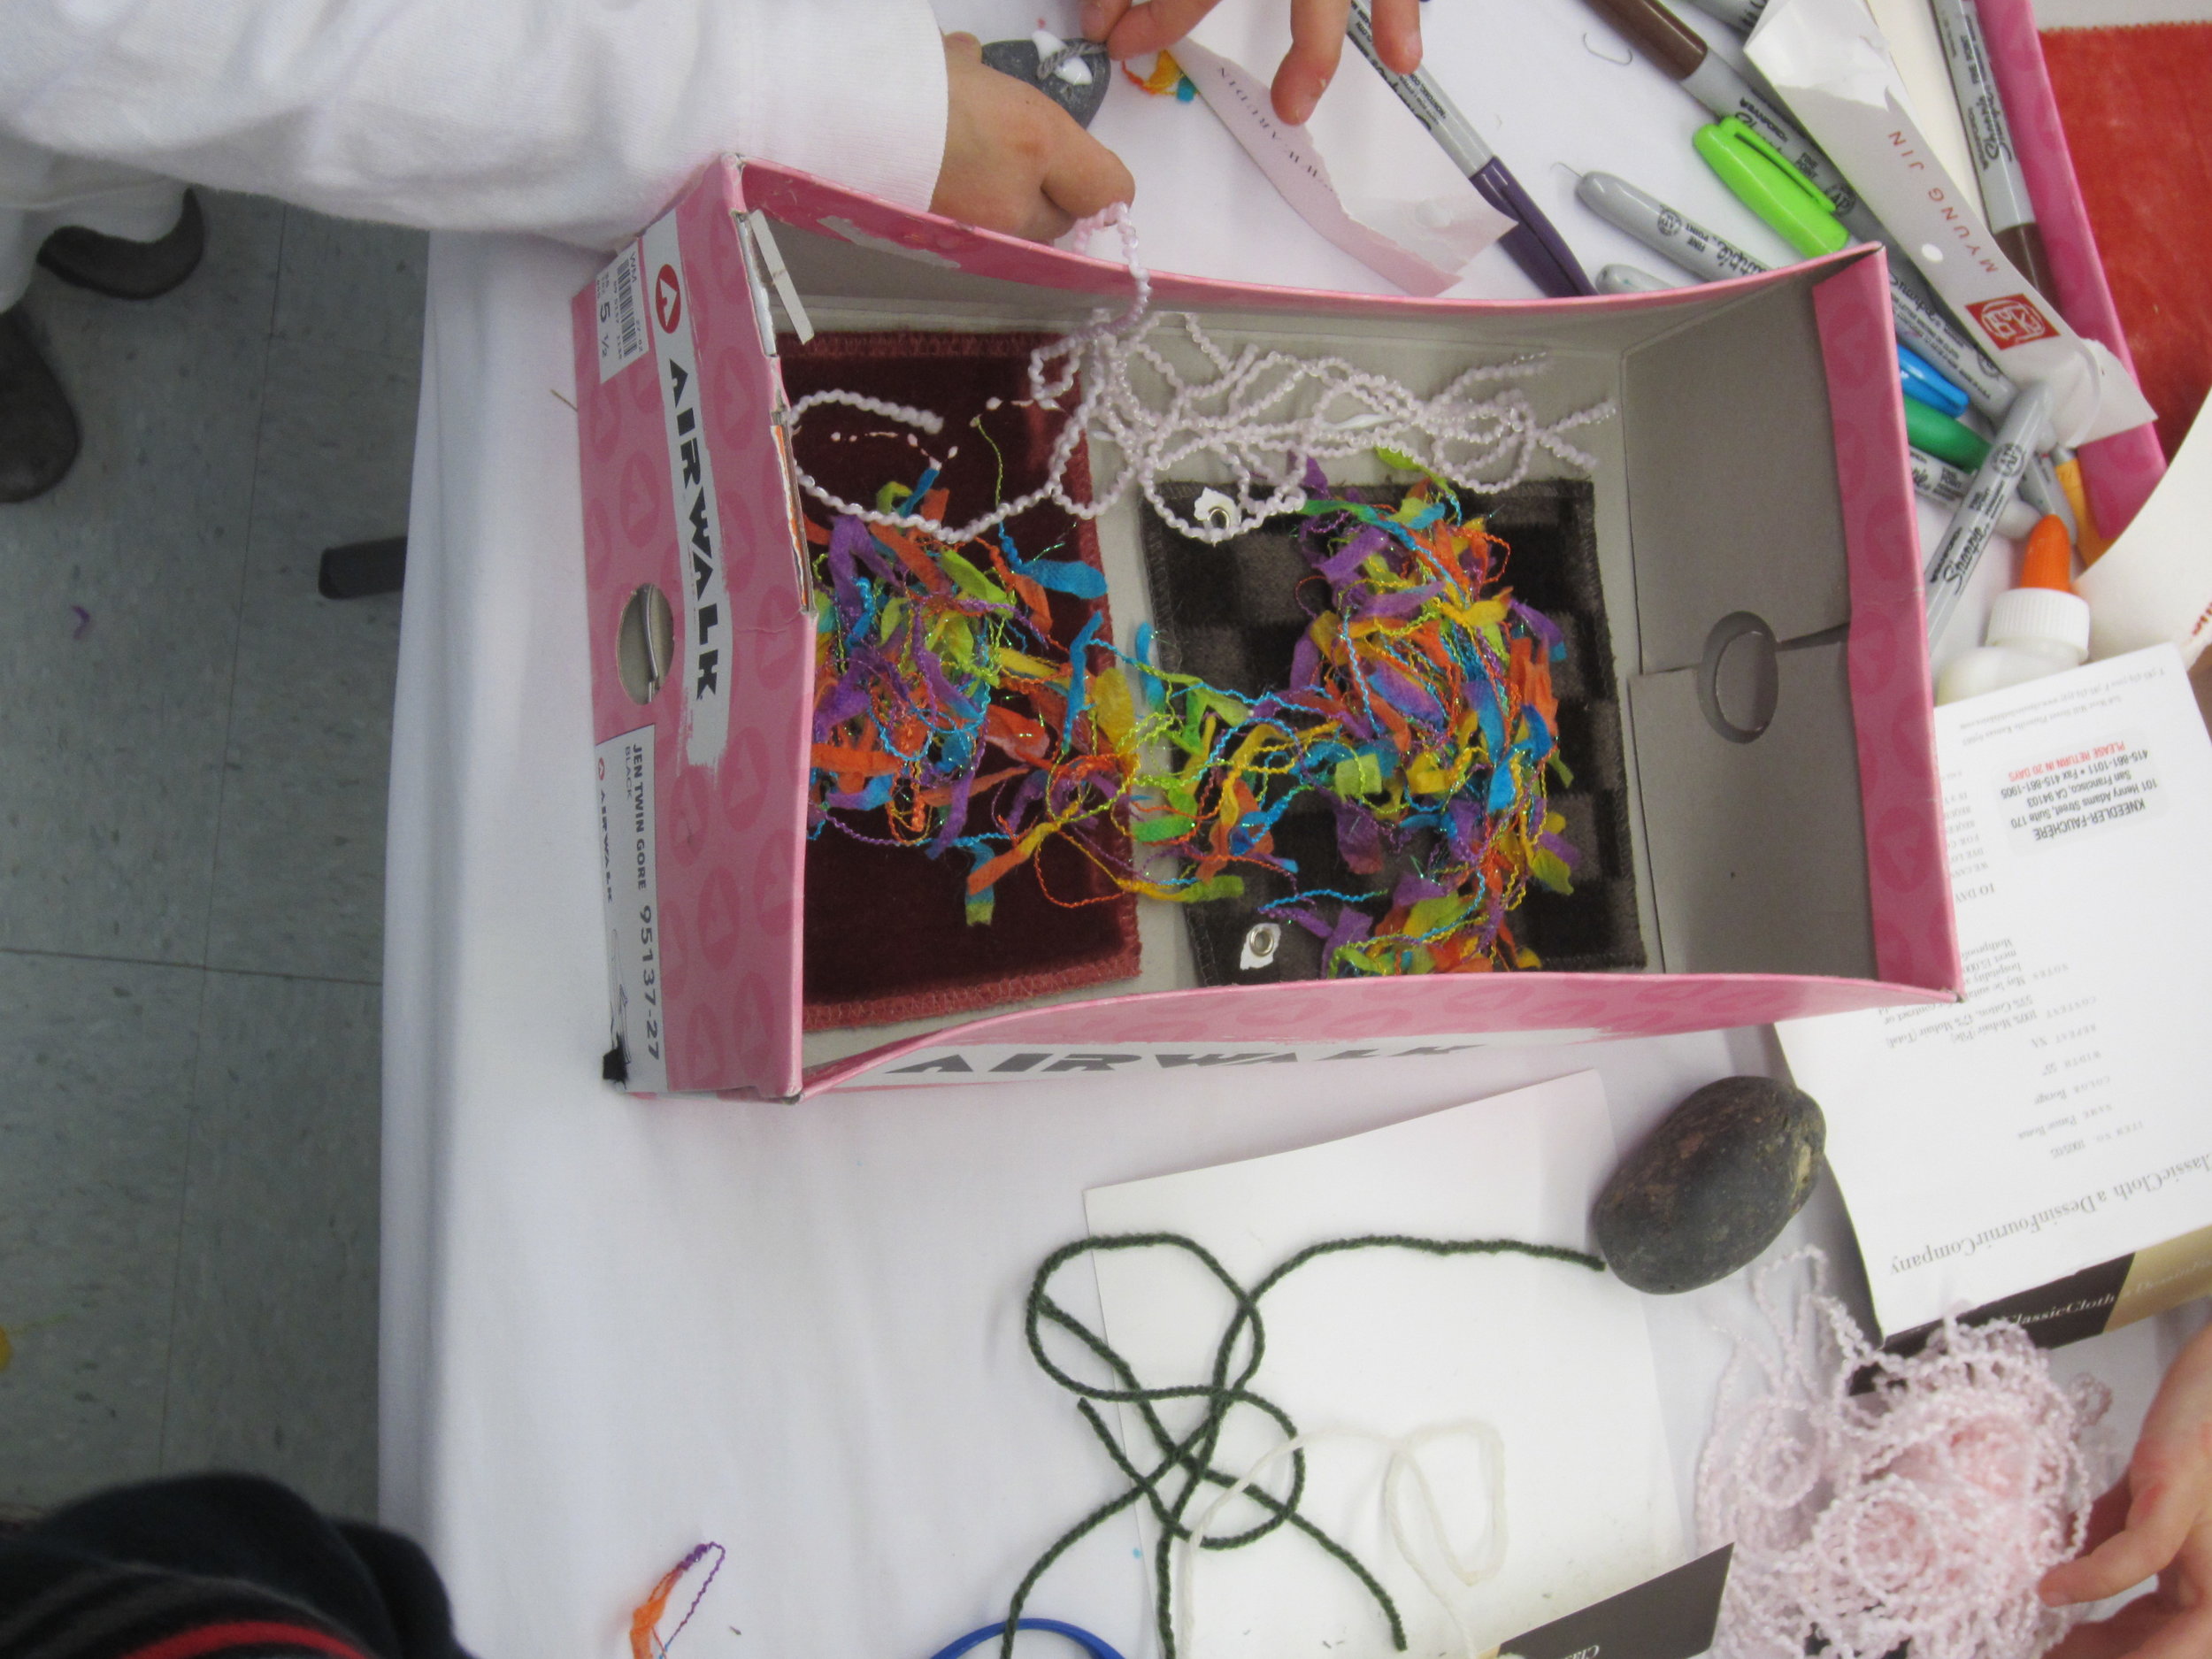
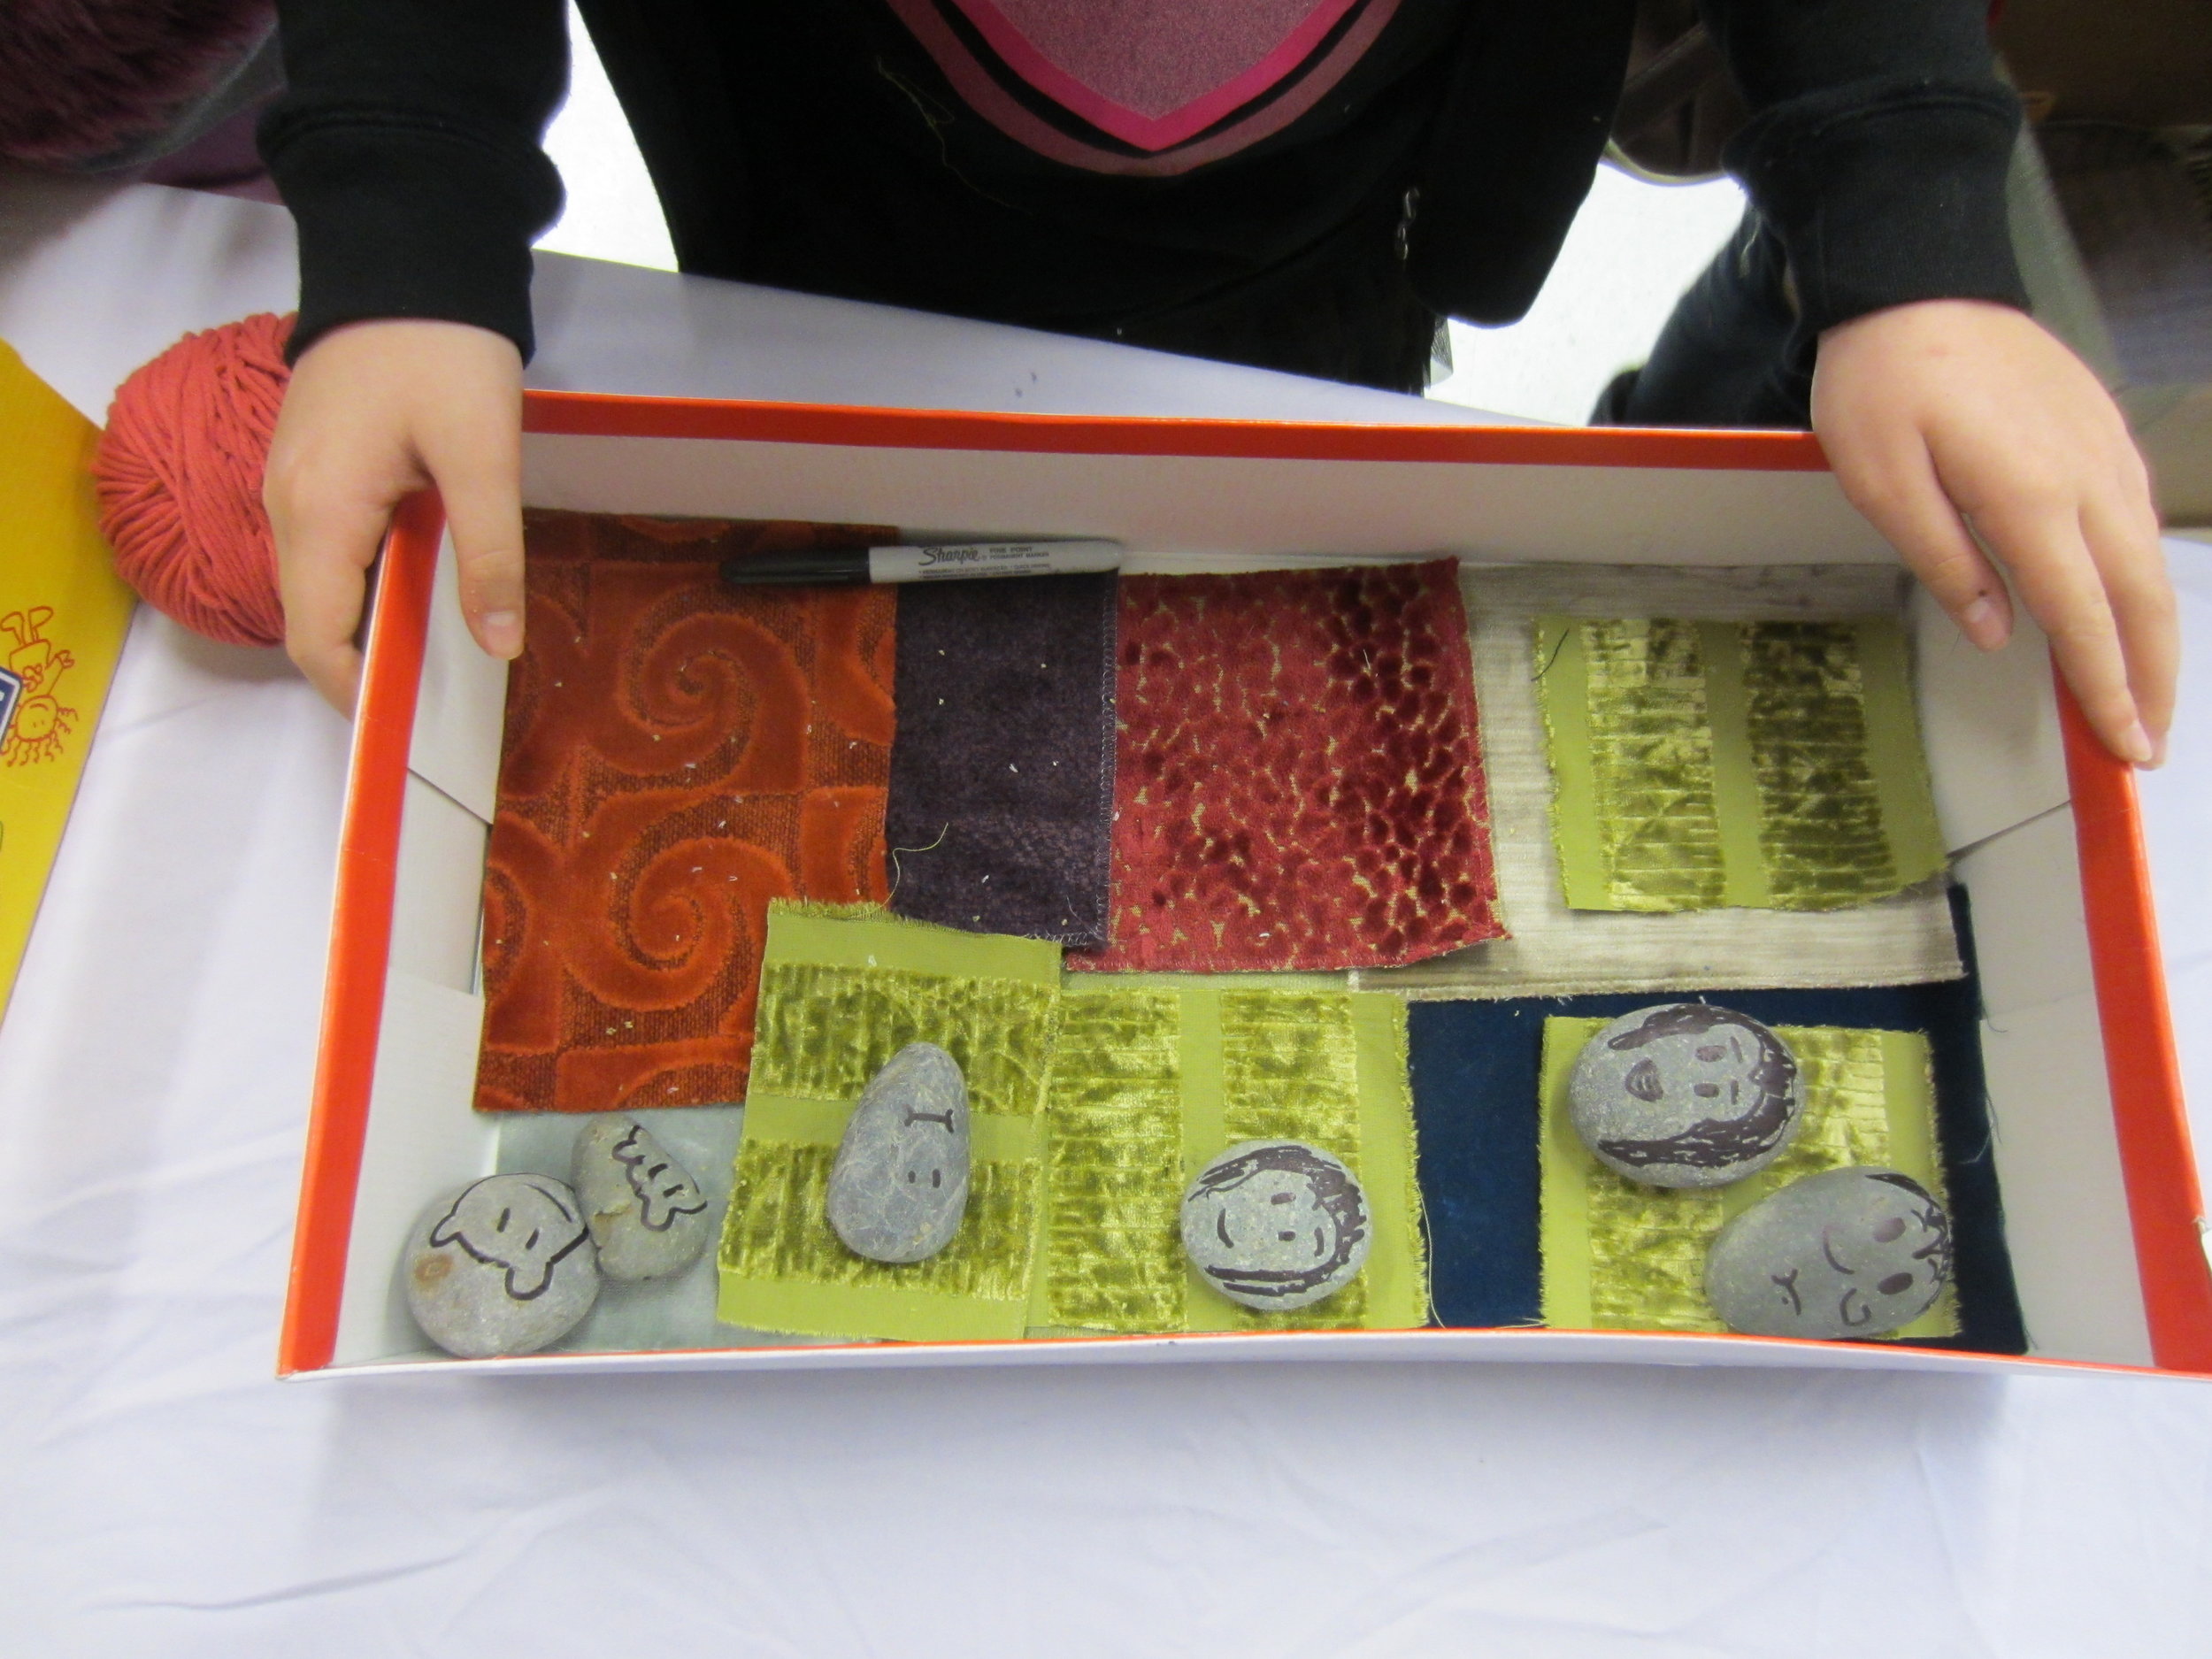
IMG_2761At noon art last week, the kids made pet rocks.  I could not believe how creative they were!!  I had also put out empty shoe boxes and bits of fabric for them.IMG_2762This one is a dog. The child who made this one was so happy and couldn't wait to bring it home to share with her family.IMG_2767Here is a whole family of pet rocks and I got to meet them all by name!IMG_2766This habitat is complete with bed, small rug and chairs.IMG_2756VERY decorated habitat!IMG_2758Another family complete with pets and different rooms to hang out in! As you can see (and this is a very small sampling), the kids had a huge blast with this project. We had about 150 students at this noon art. I wish I had taken more pictures - there were two story homes, homes with doors and roofs, "pets" that were all dressed up - the list goes on and on. I LOVE noon art, these kid's creativity know no bounds!!

The latest in knitting news!

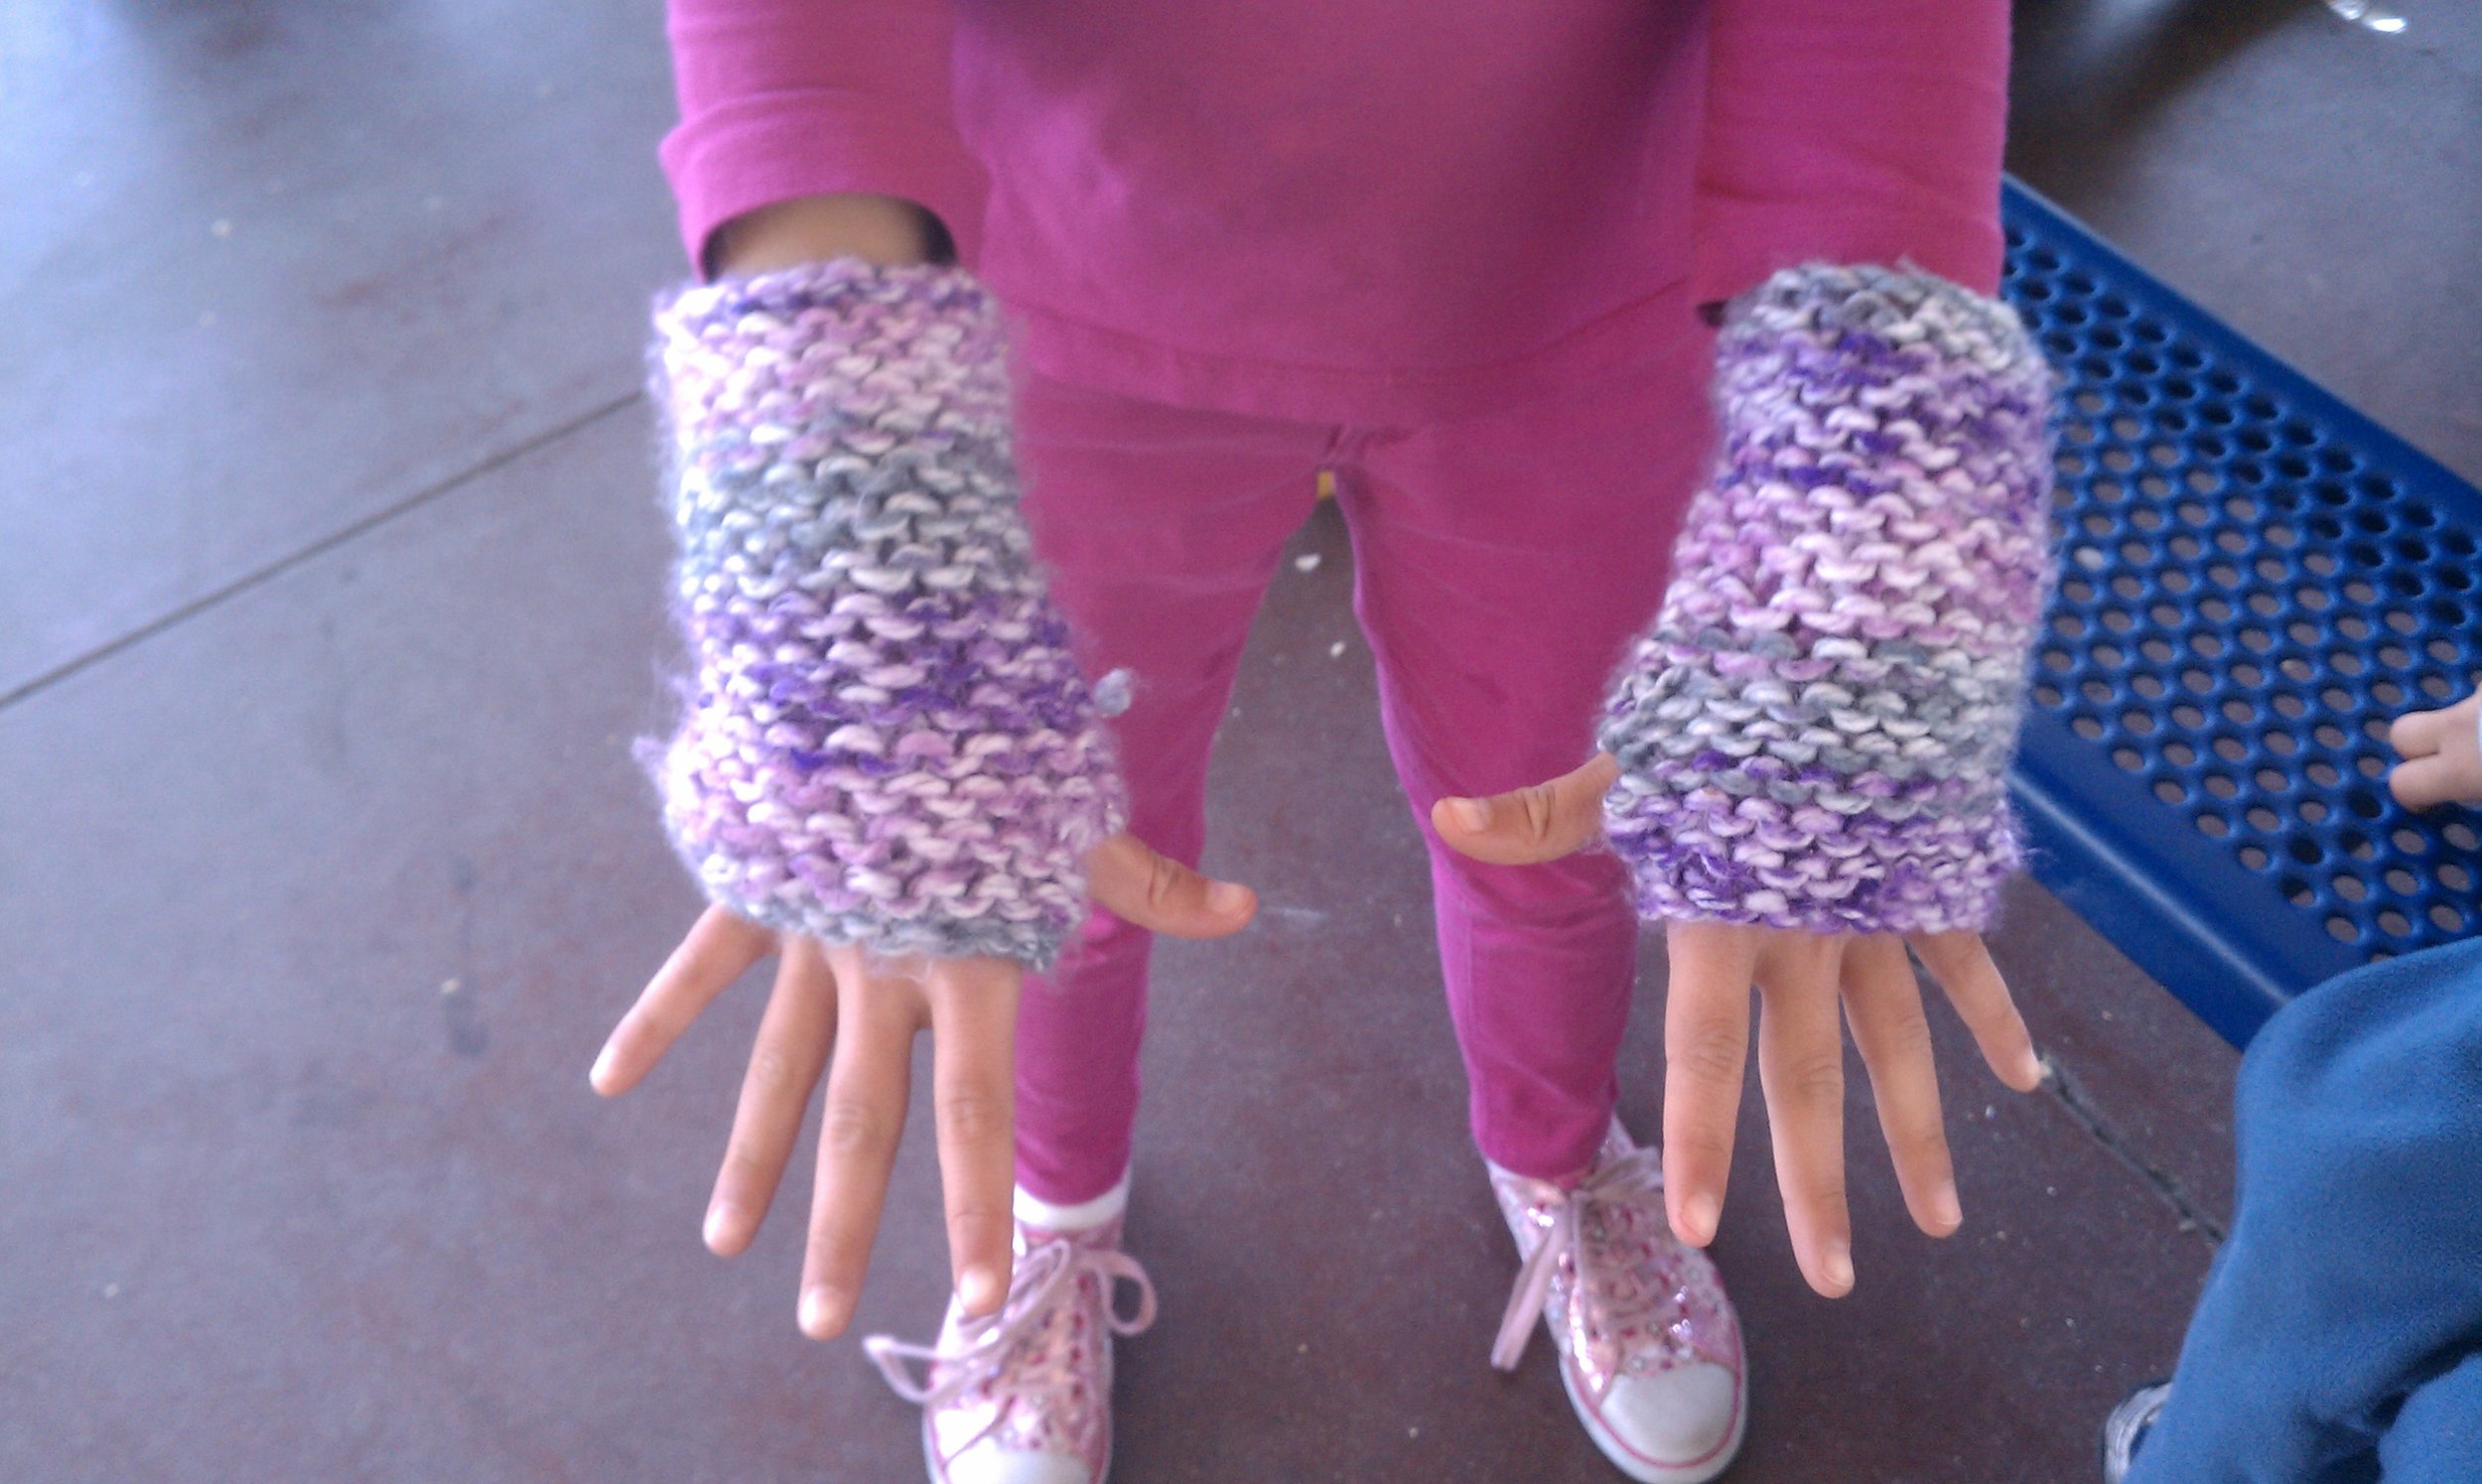
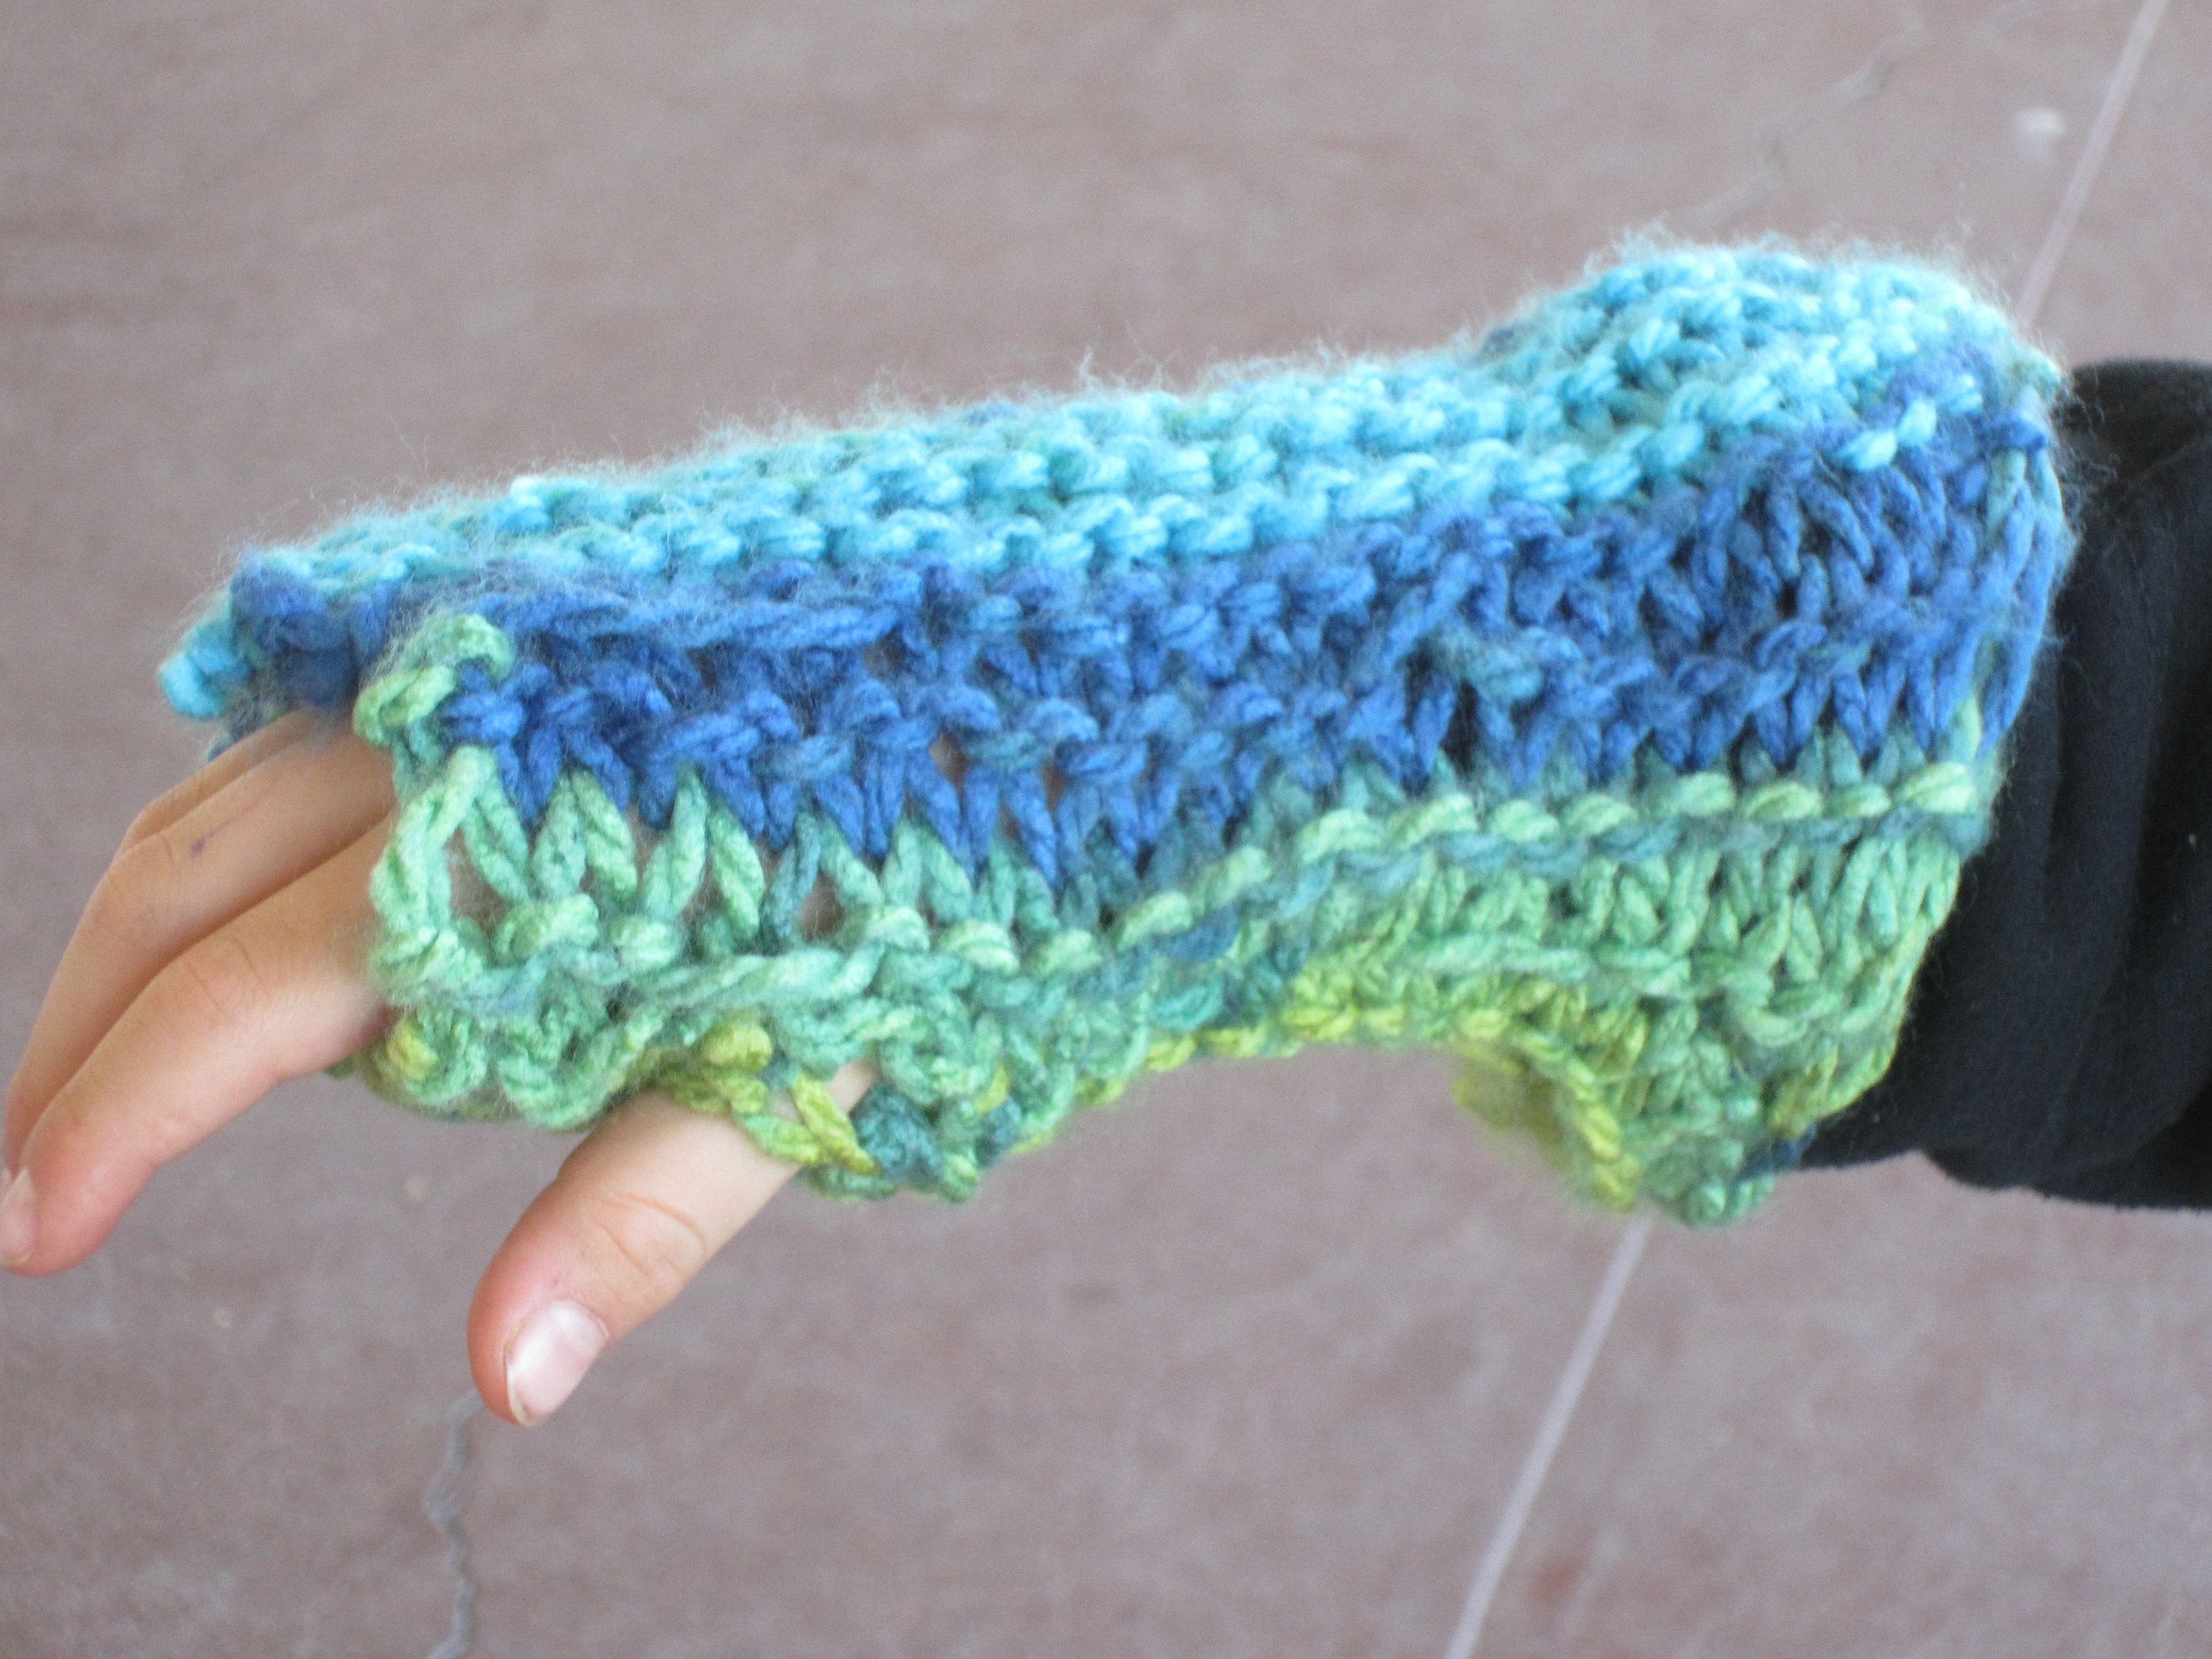
ImageLegs to a bear complete!!  What fun, now onto the torso.  This bear is making fast progress.ImageAnother 2nd grader hard at work on a sampler scarf.  This was her second class and she is ready for the purl stitch!!ImageFirst wrist warmer complete!  Now onto the second one.