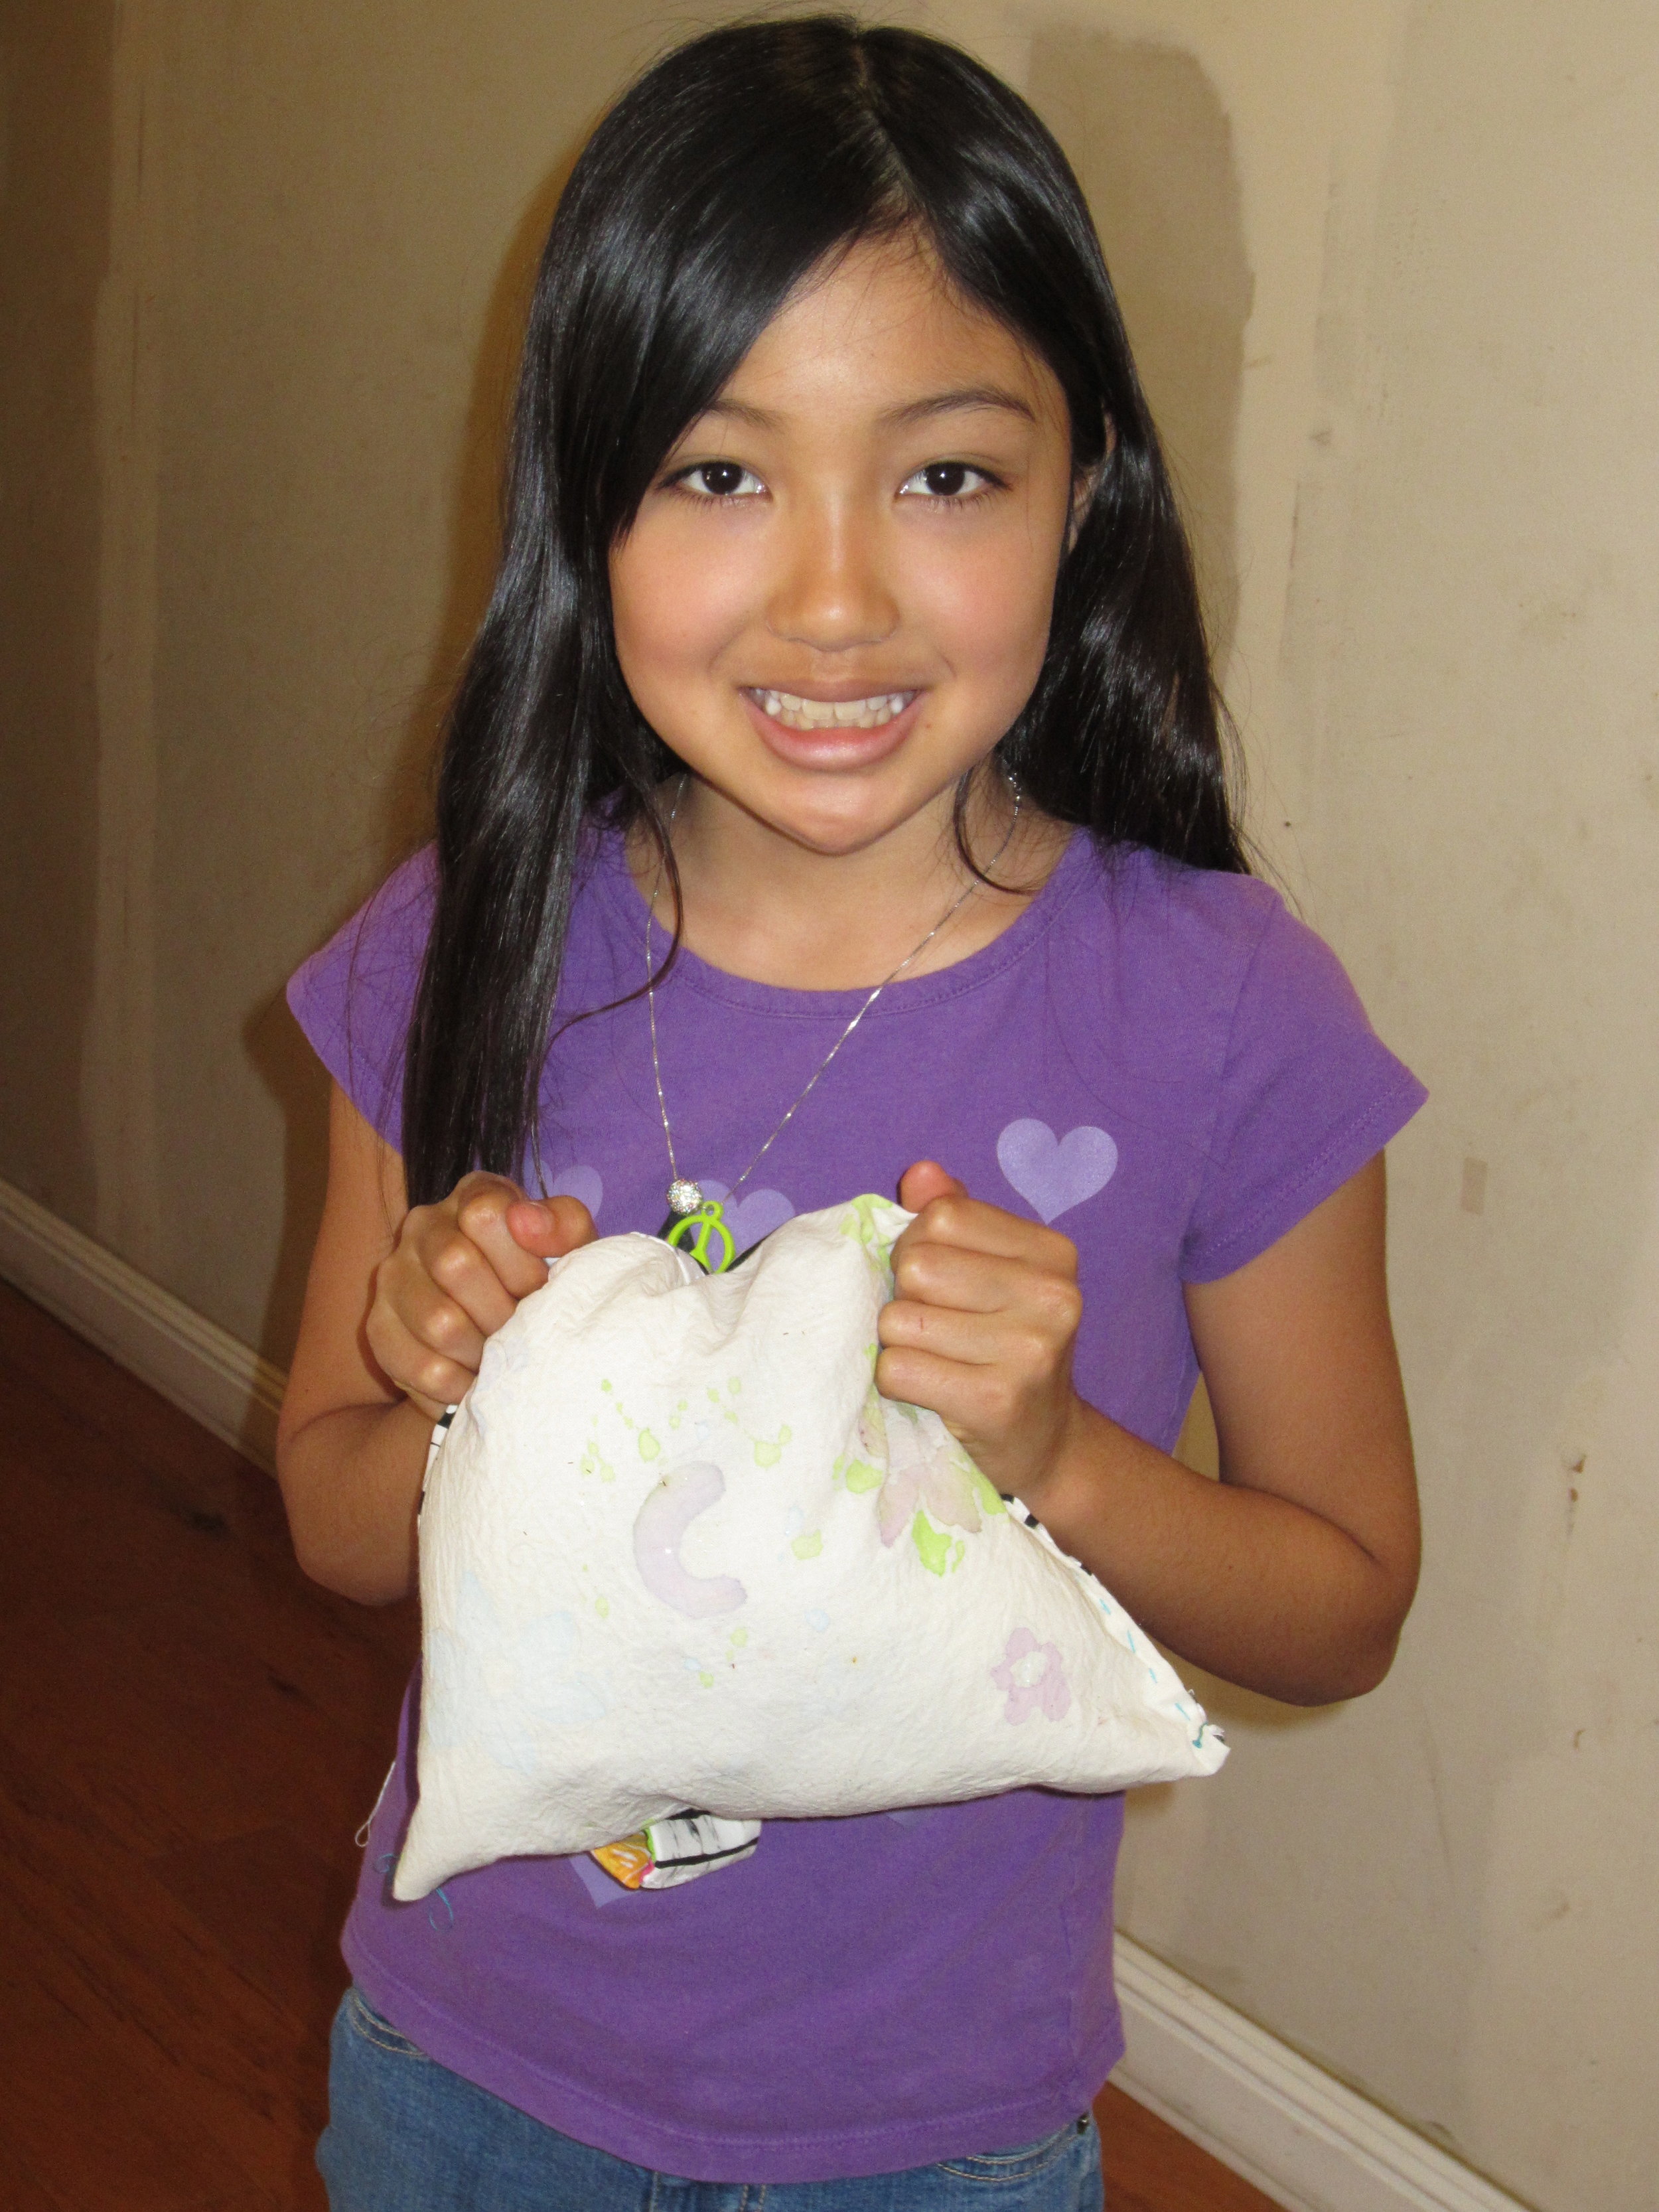
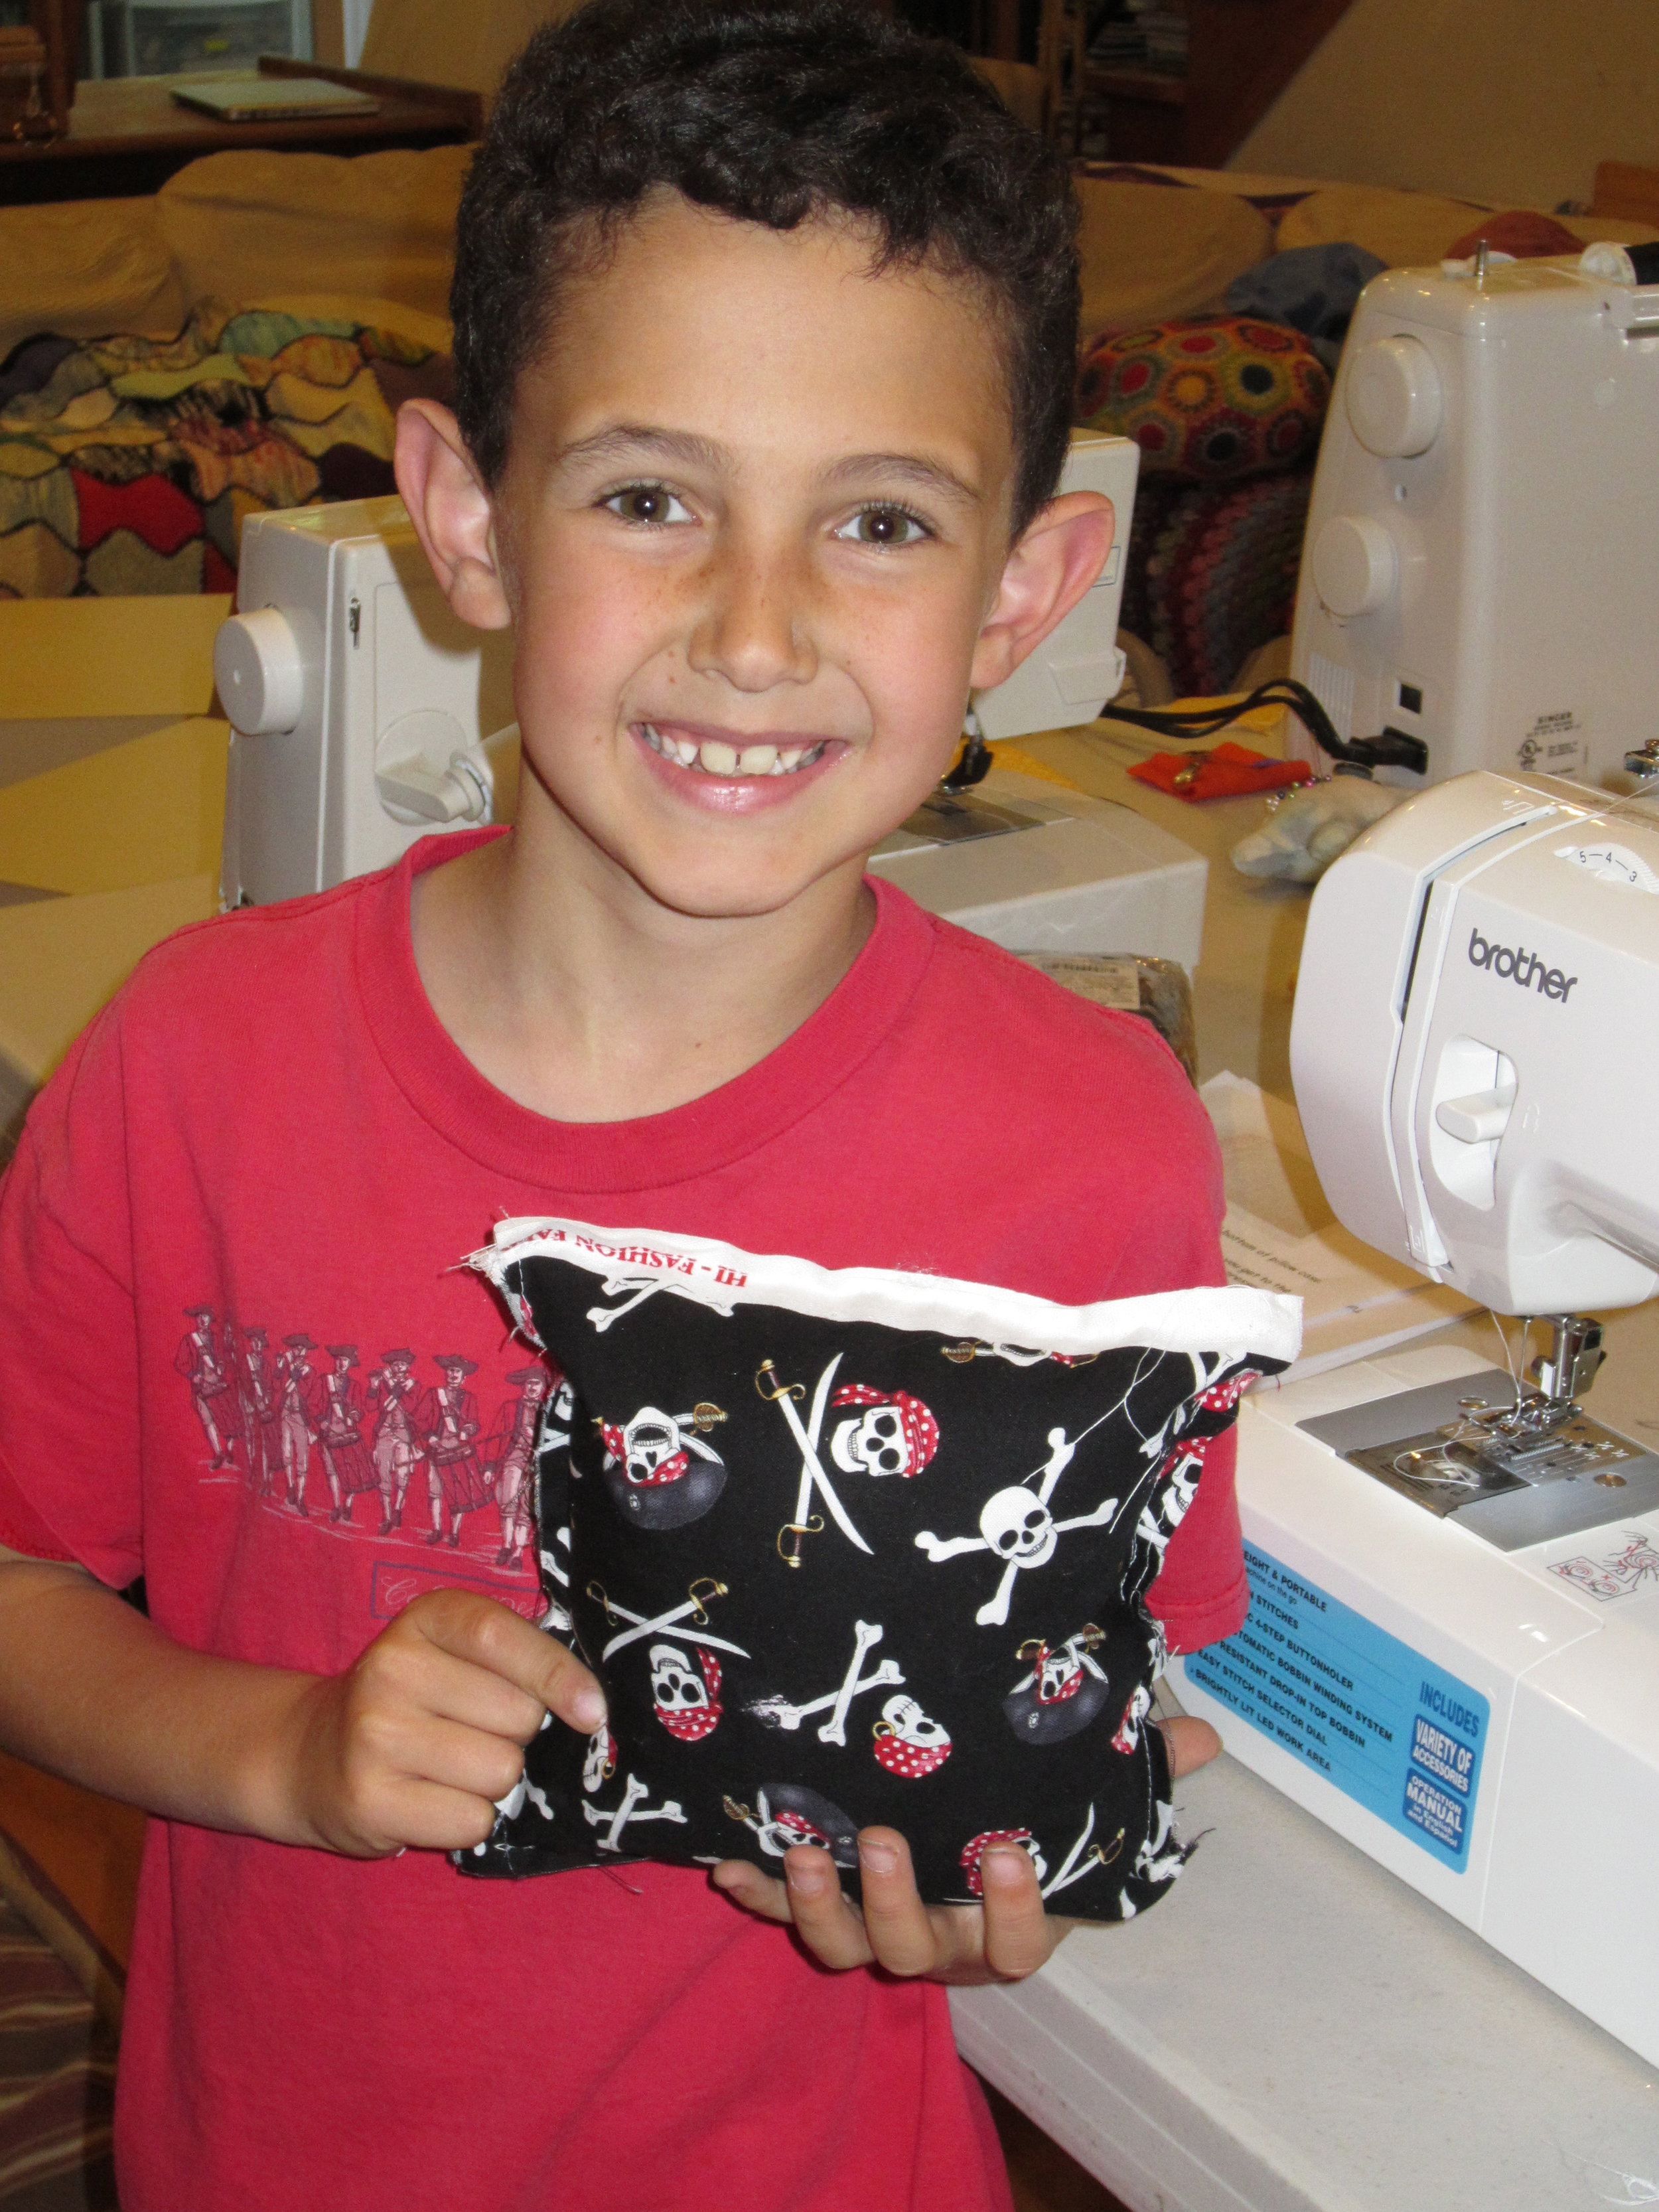
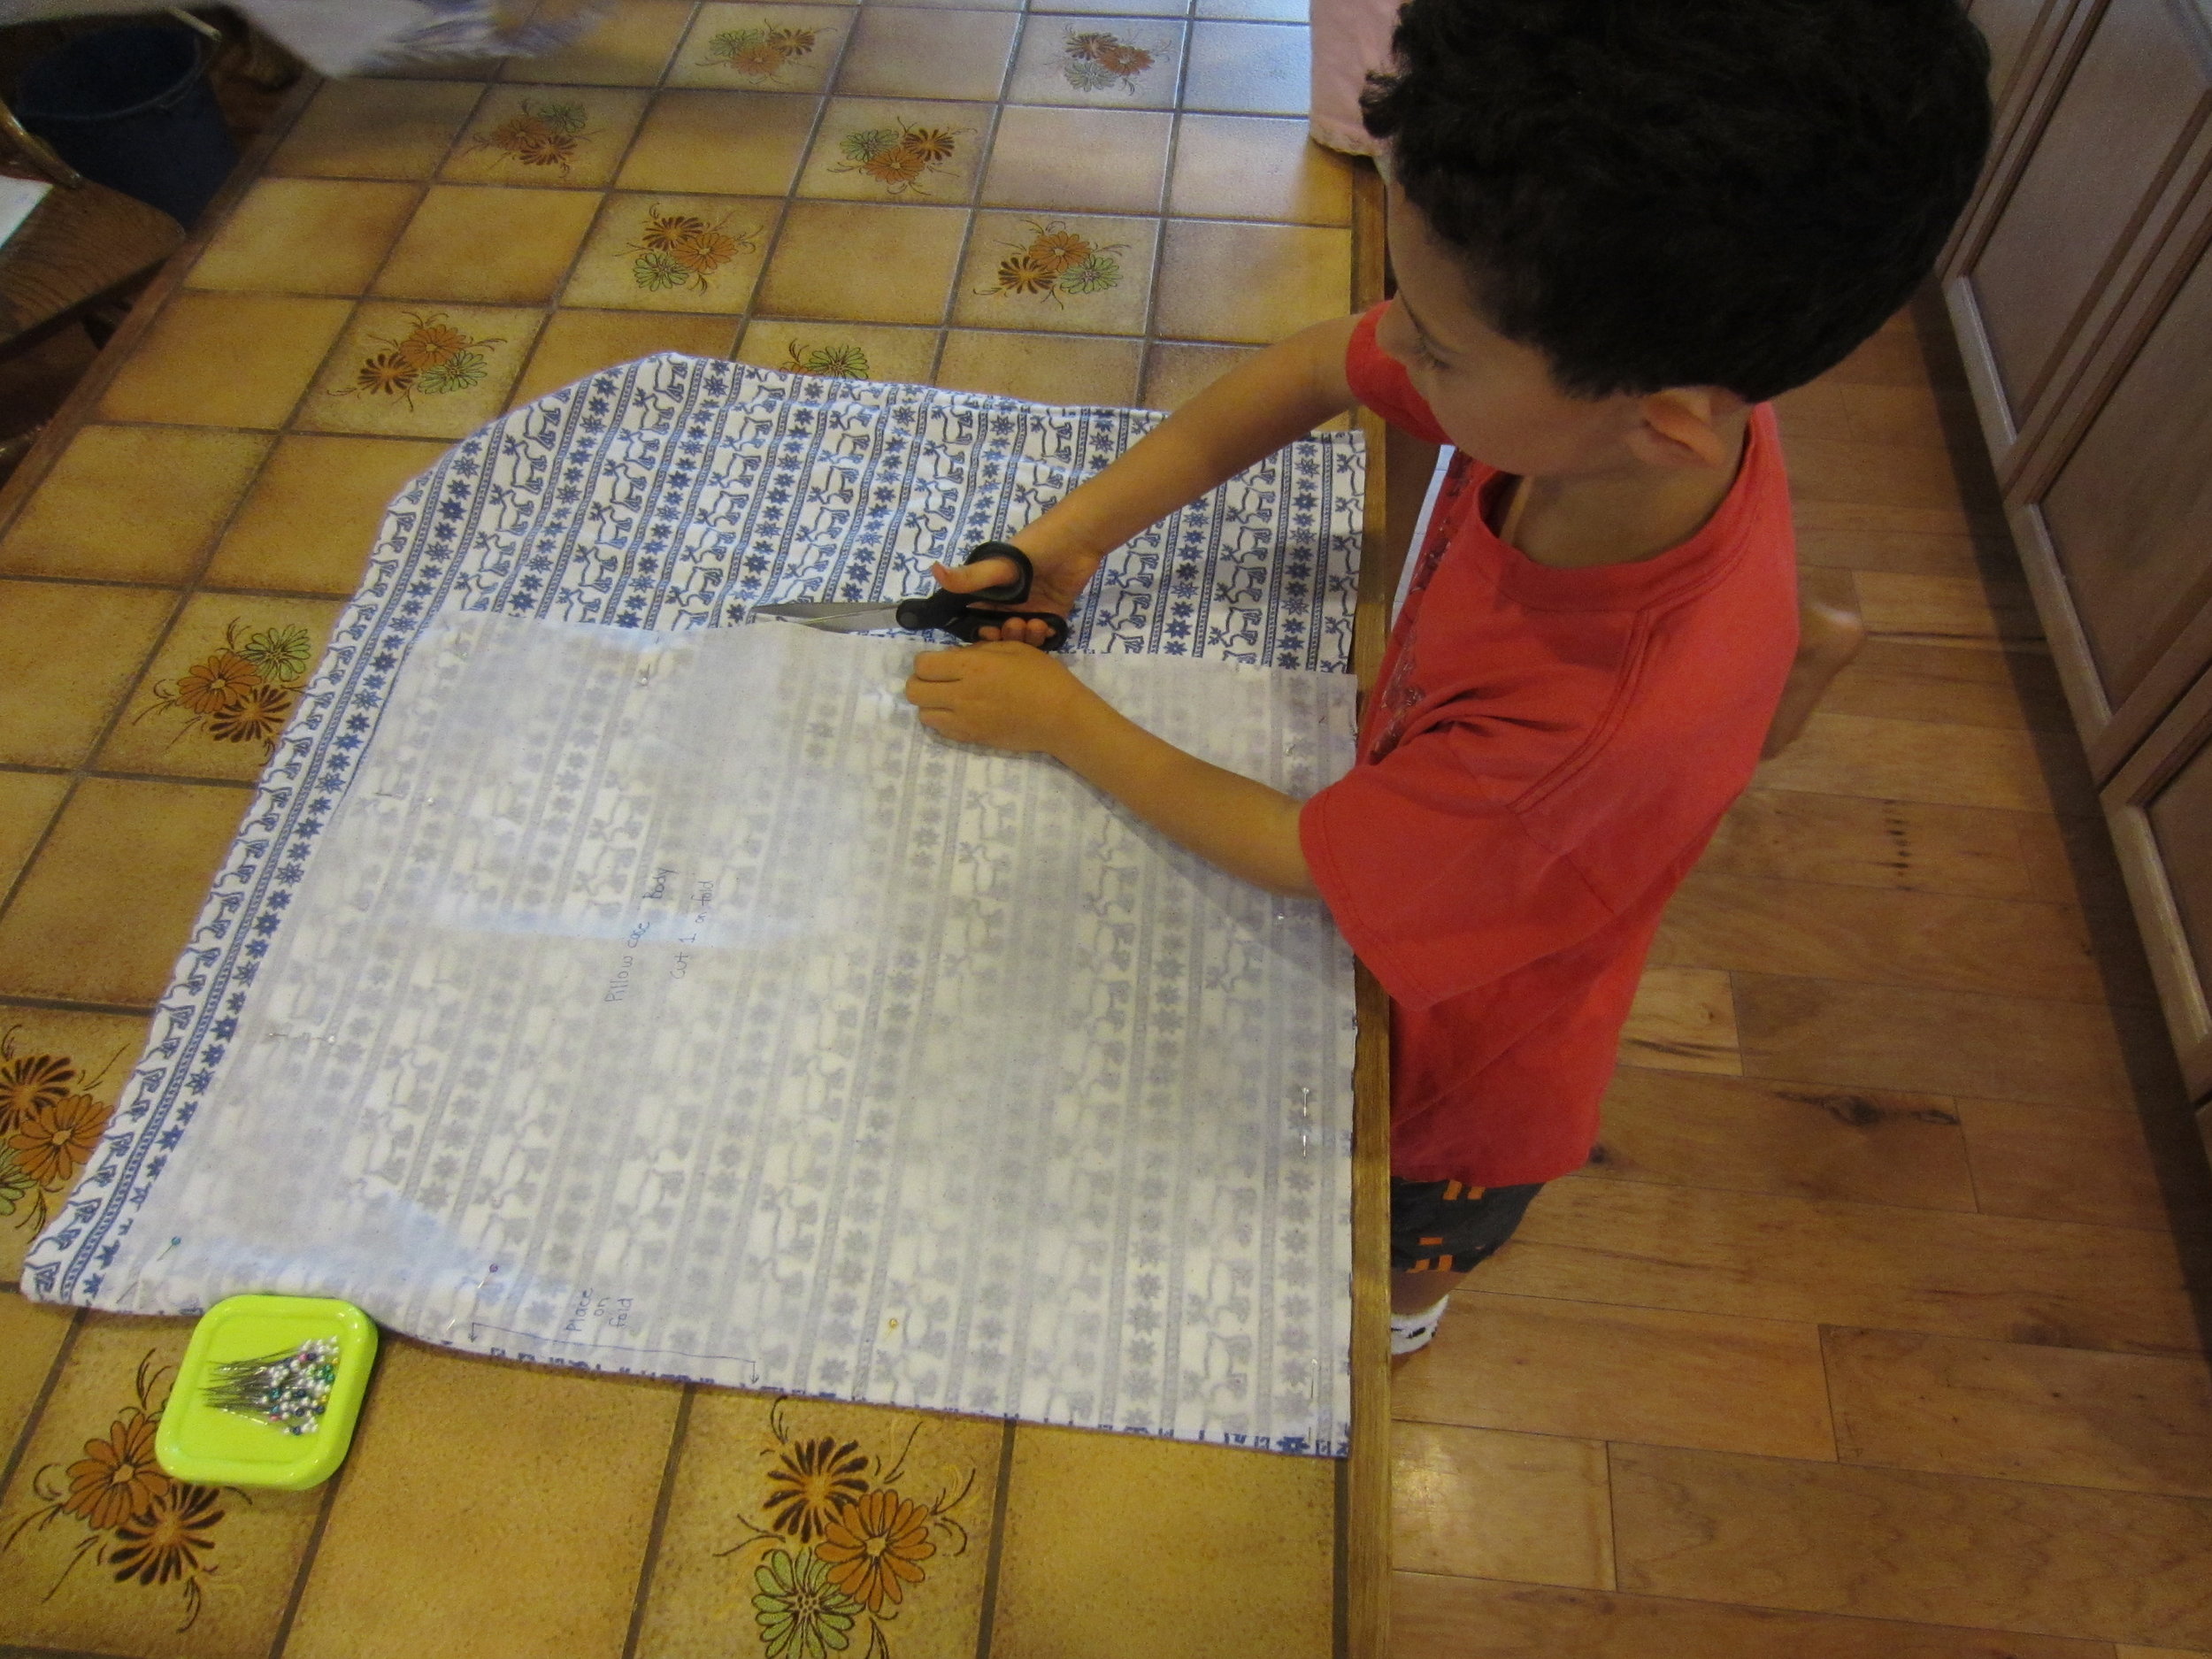
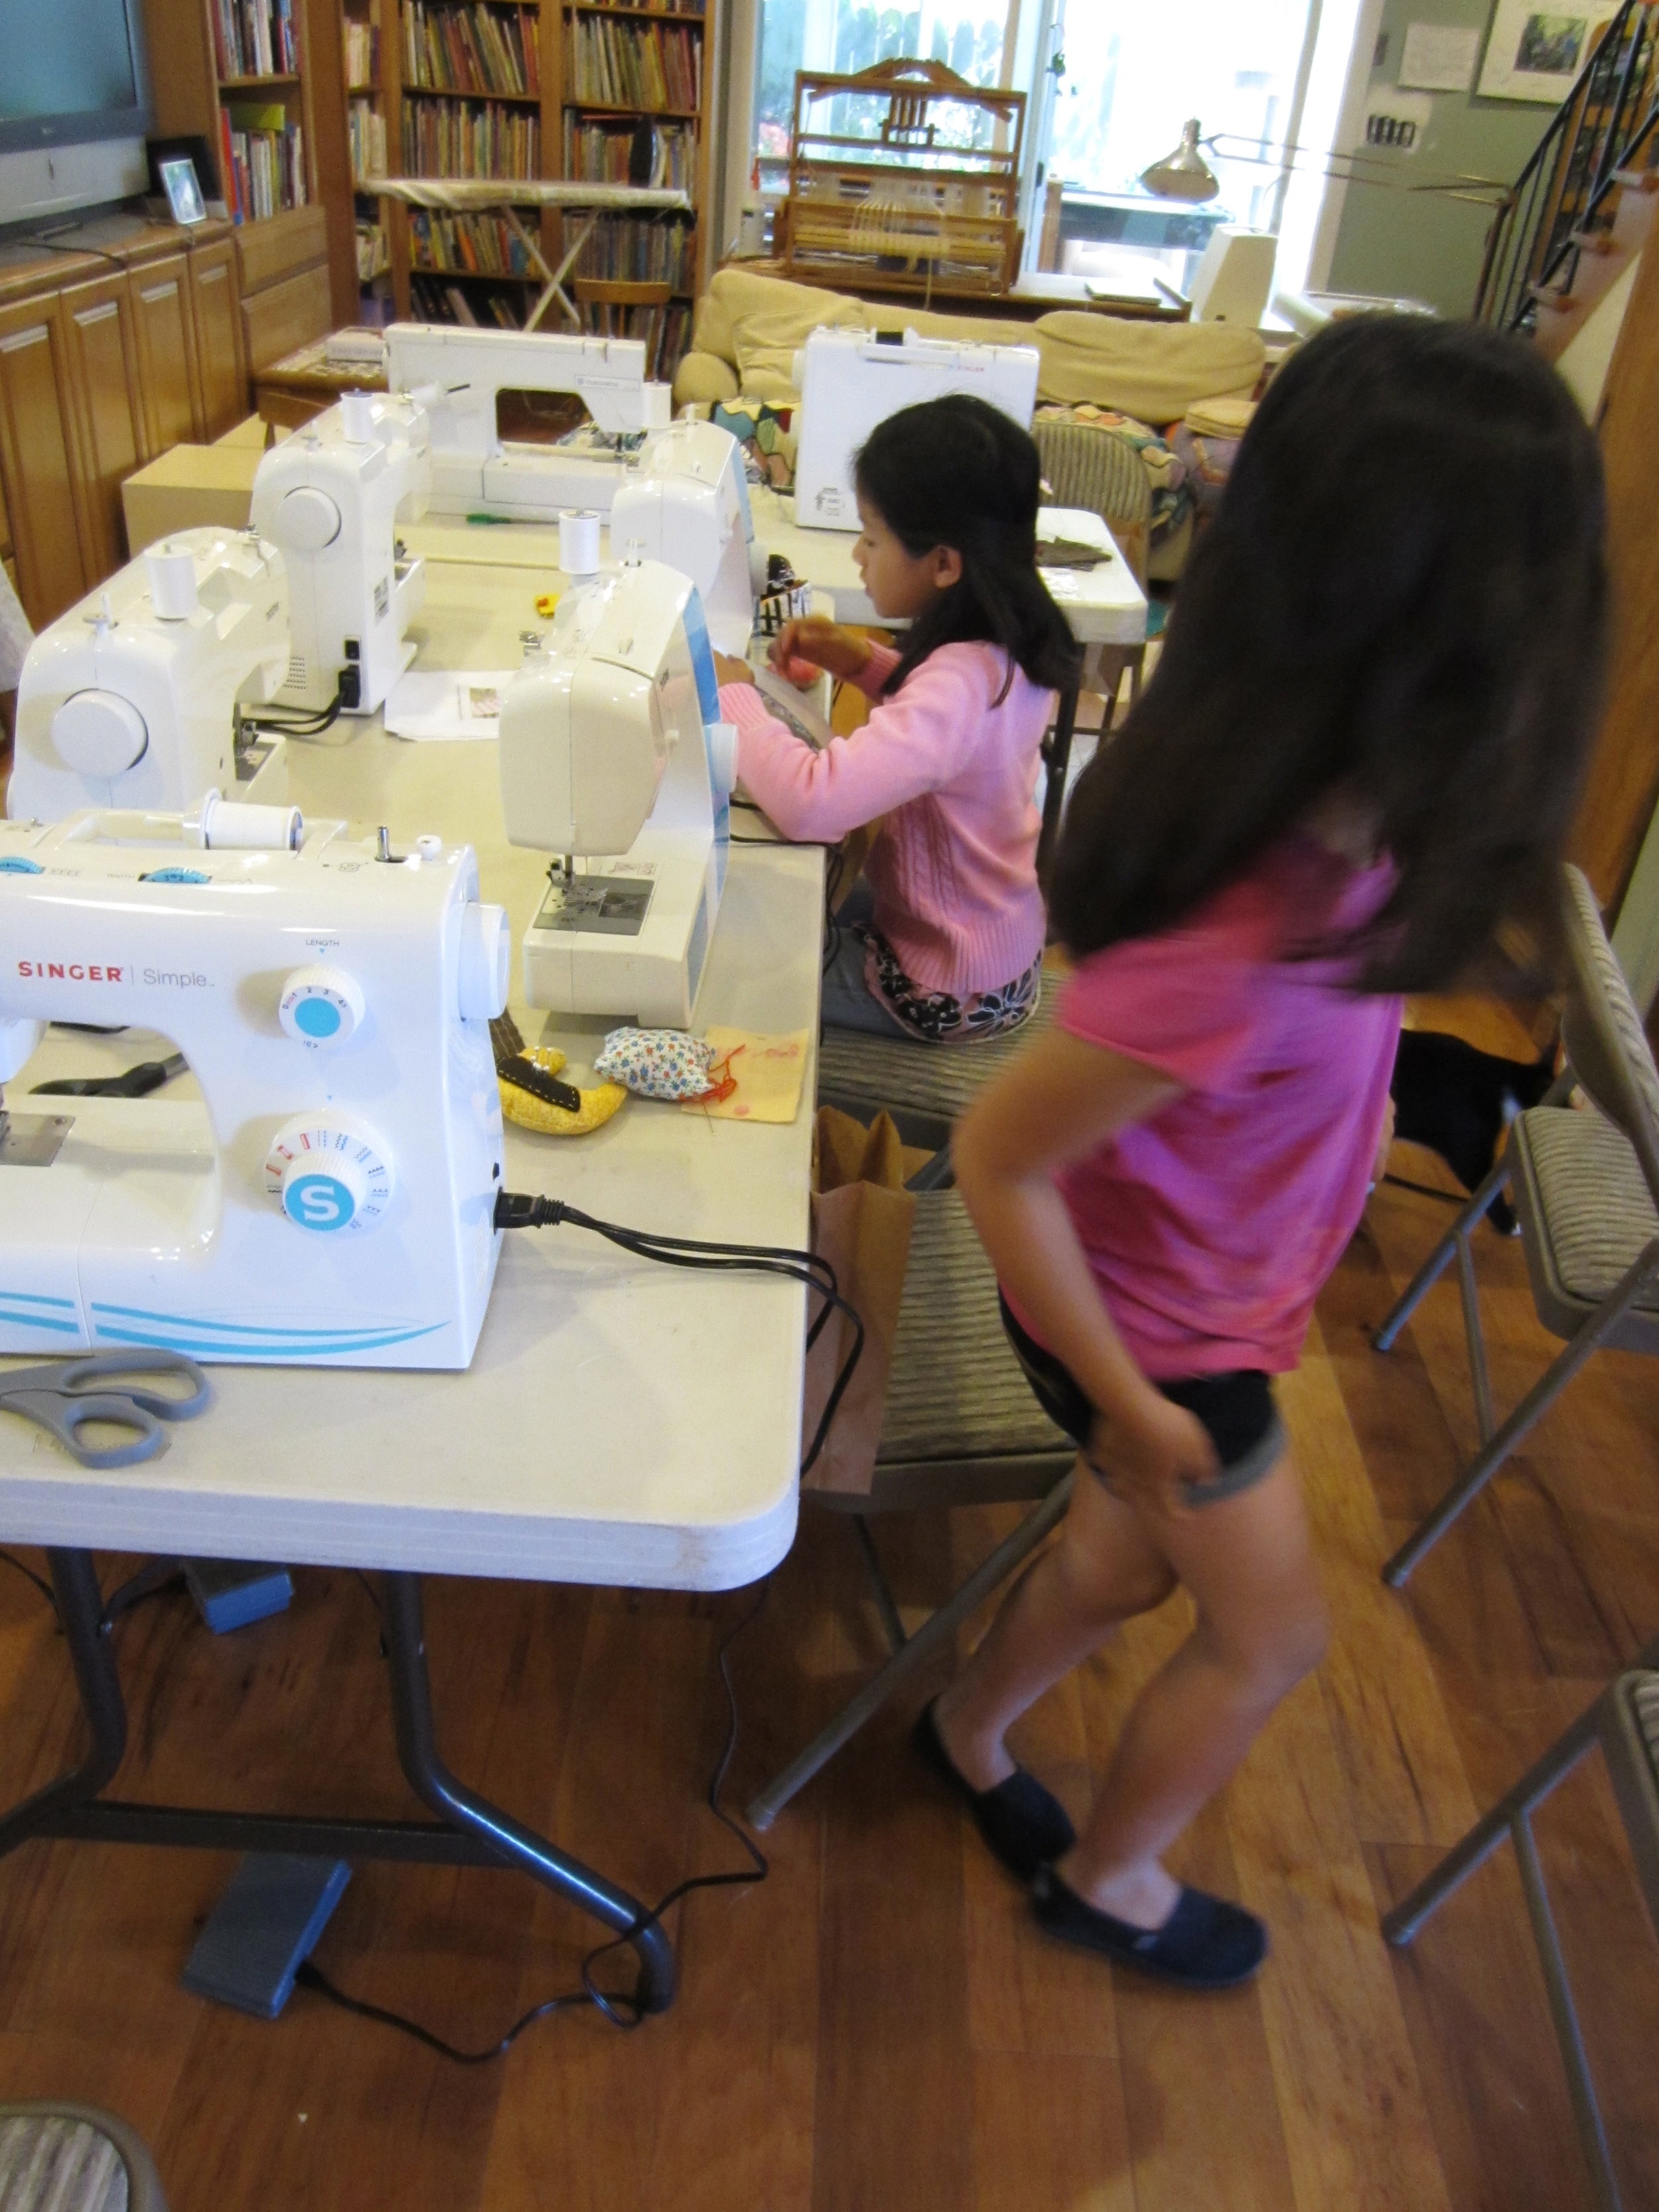
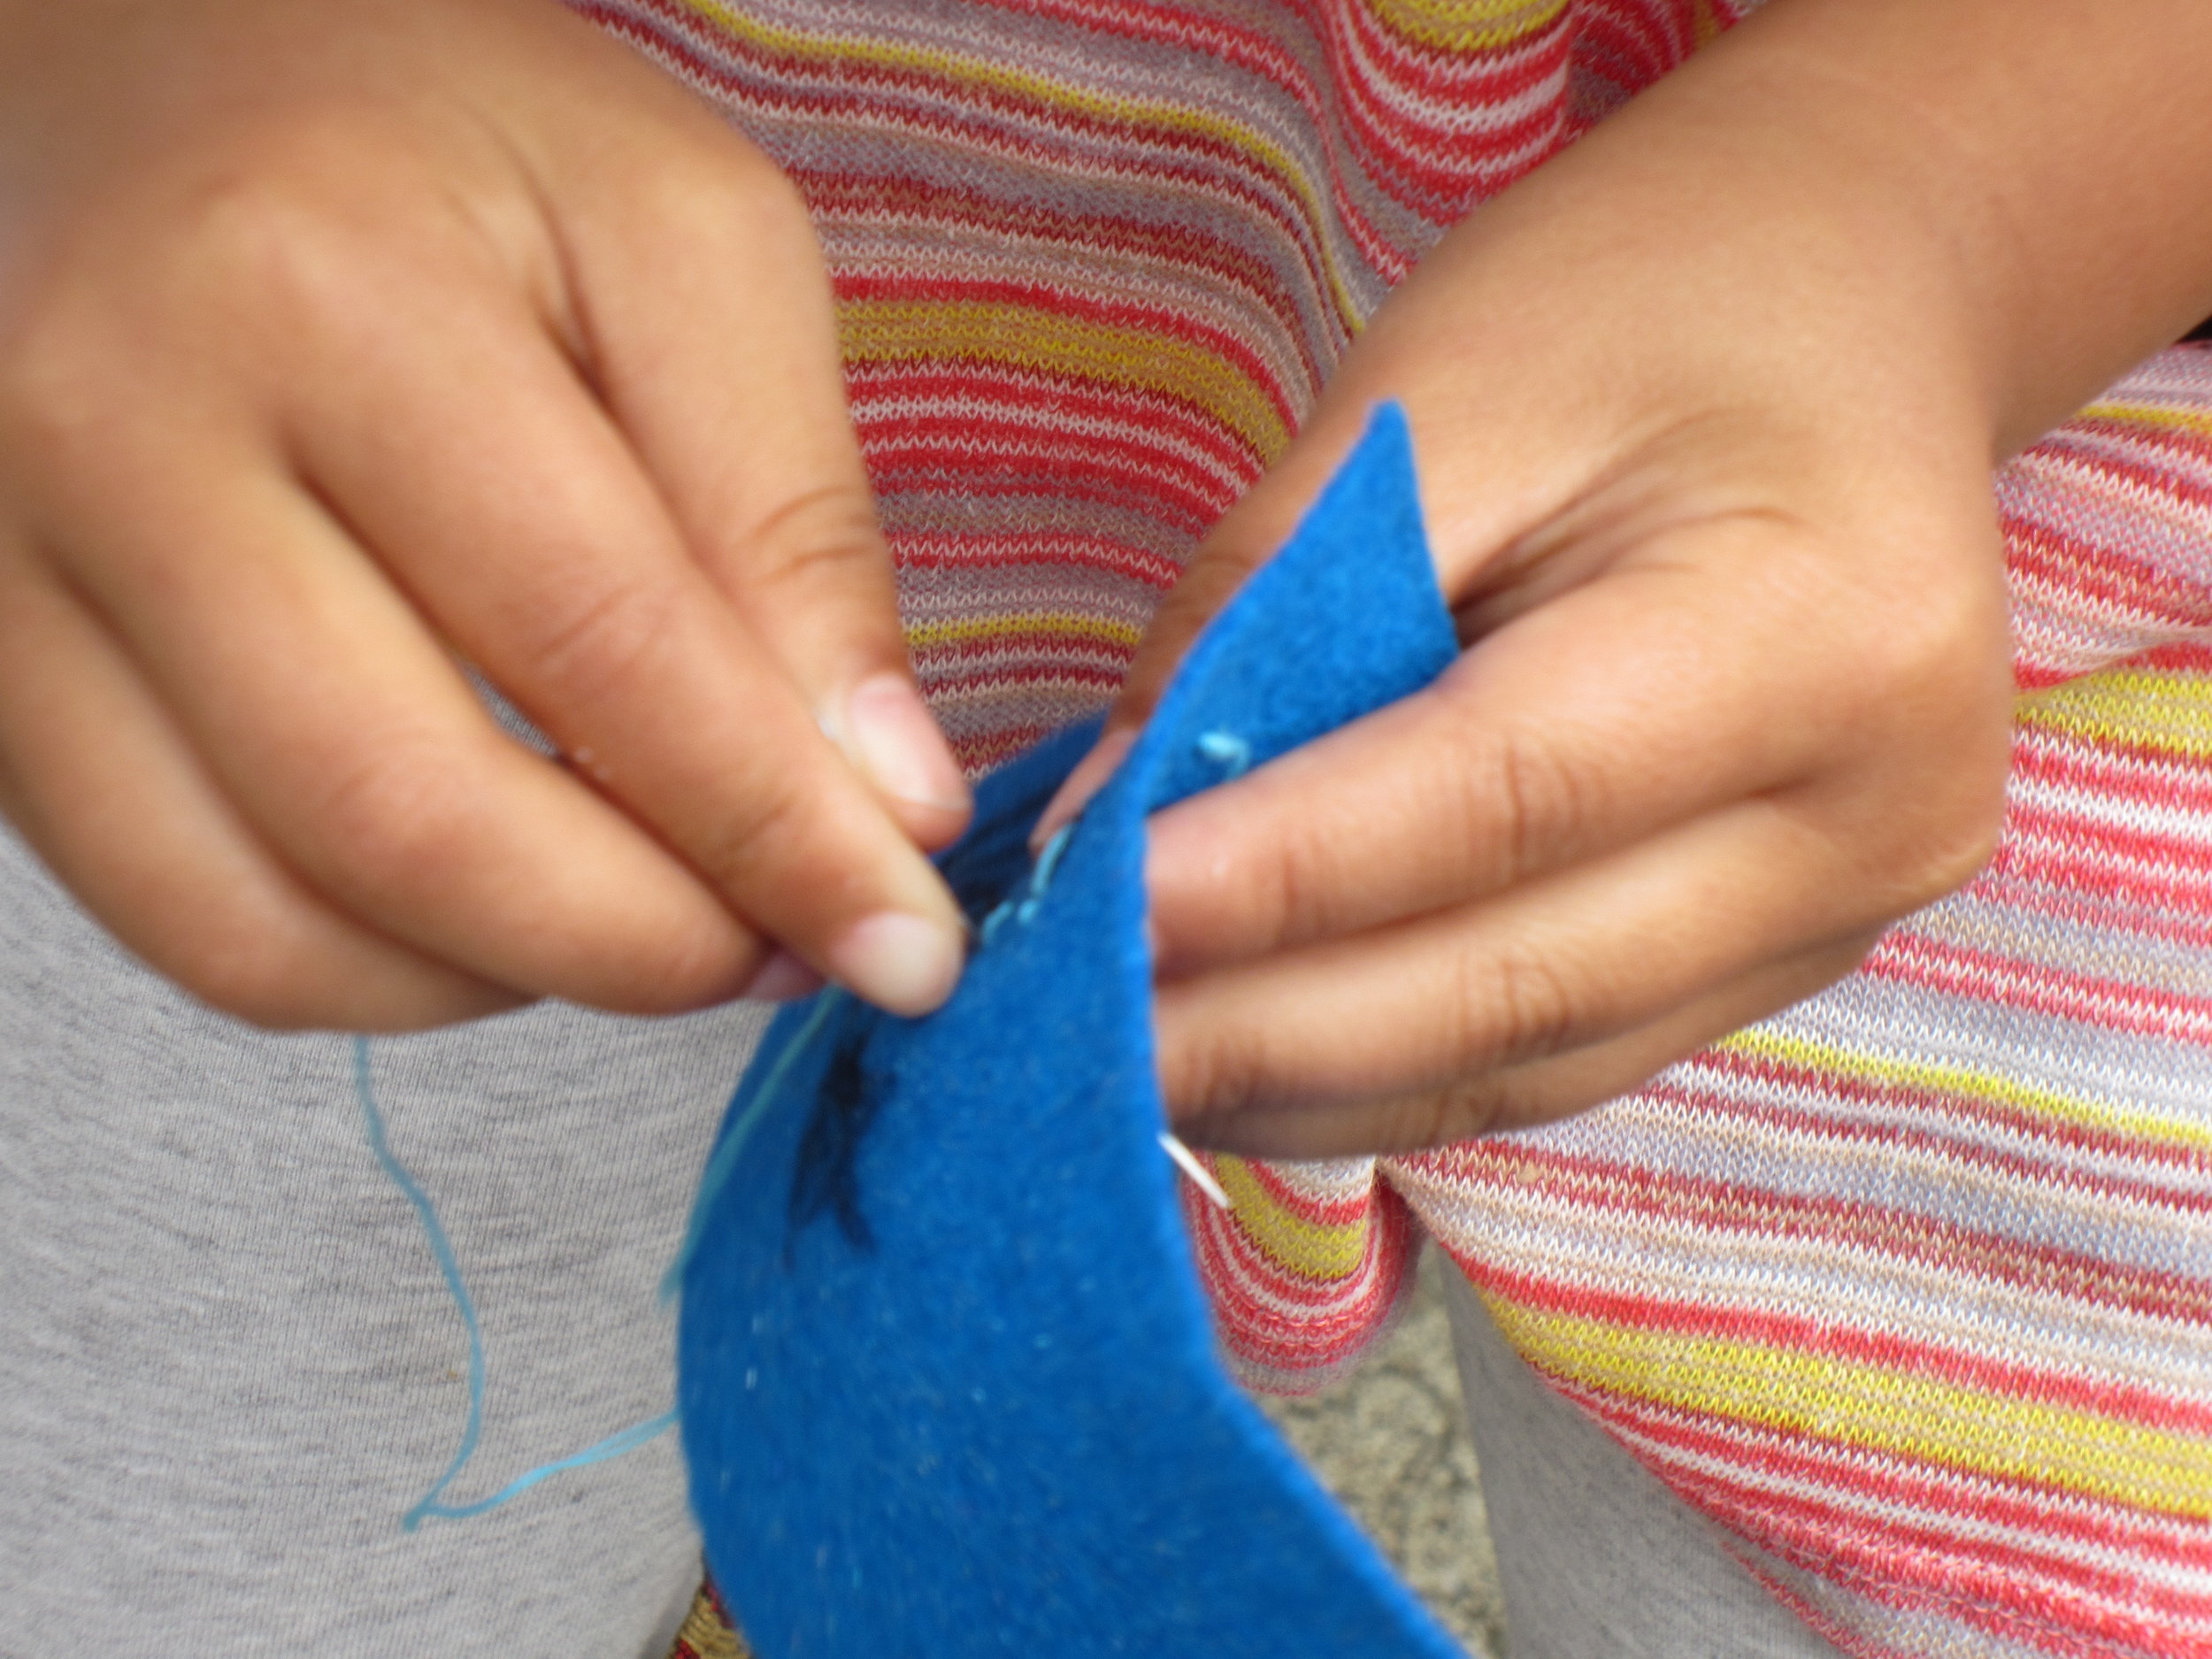
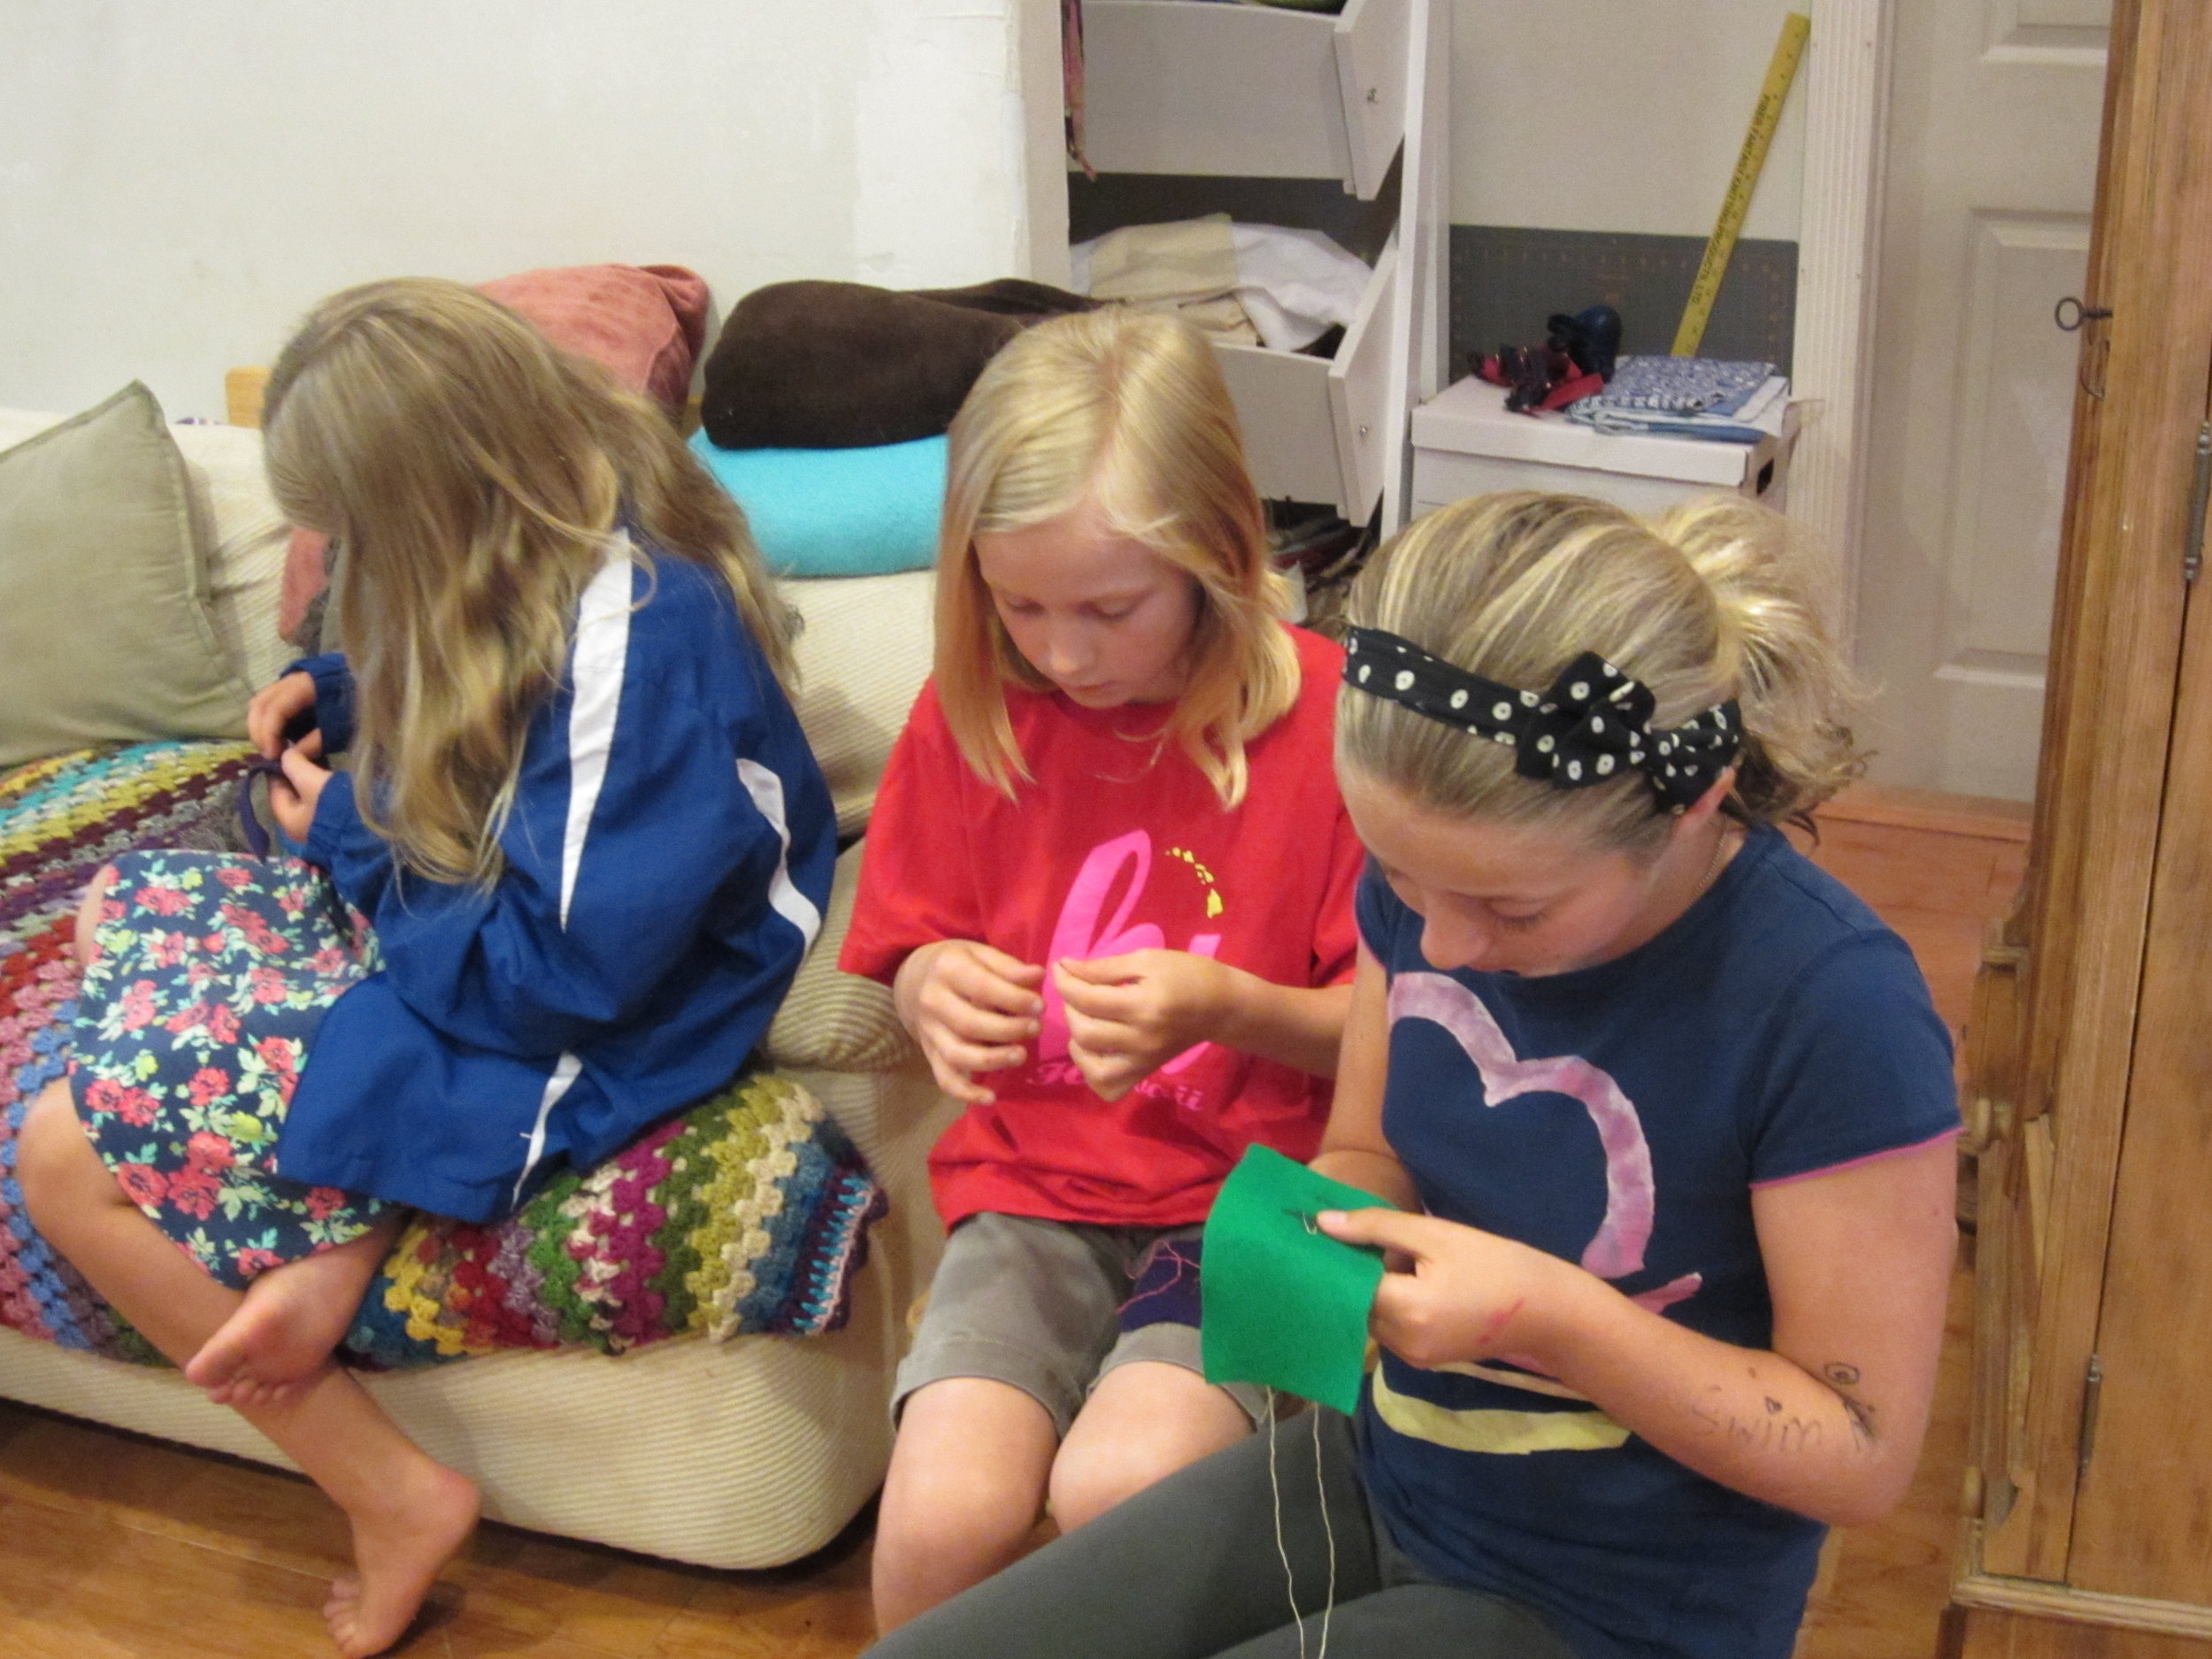
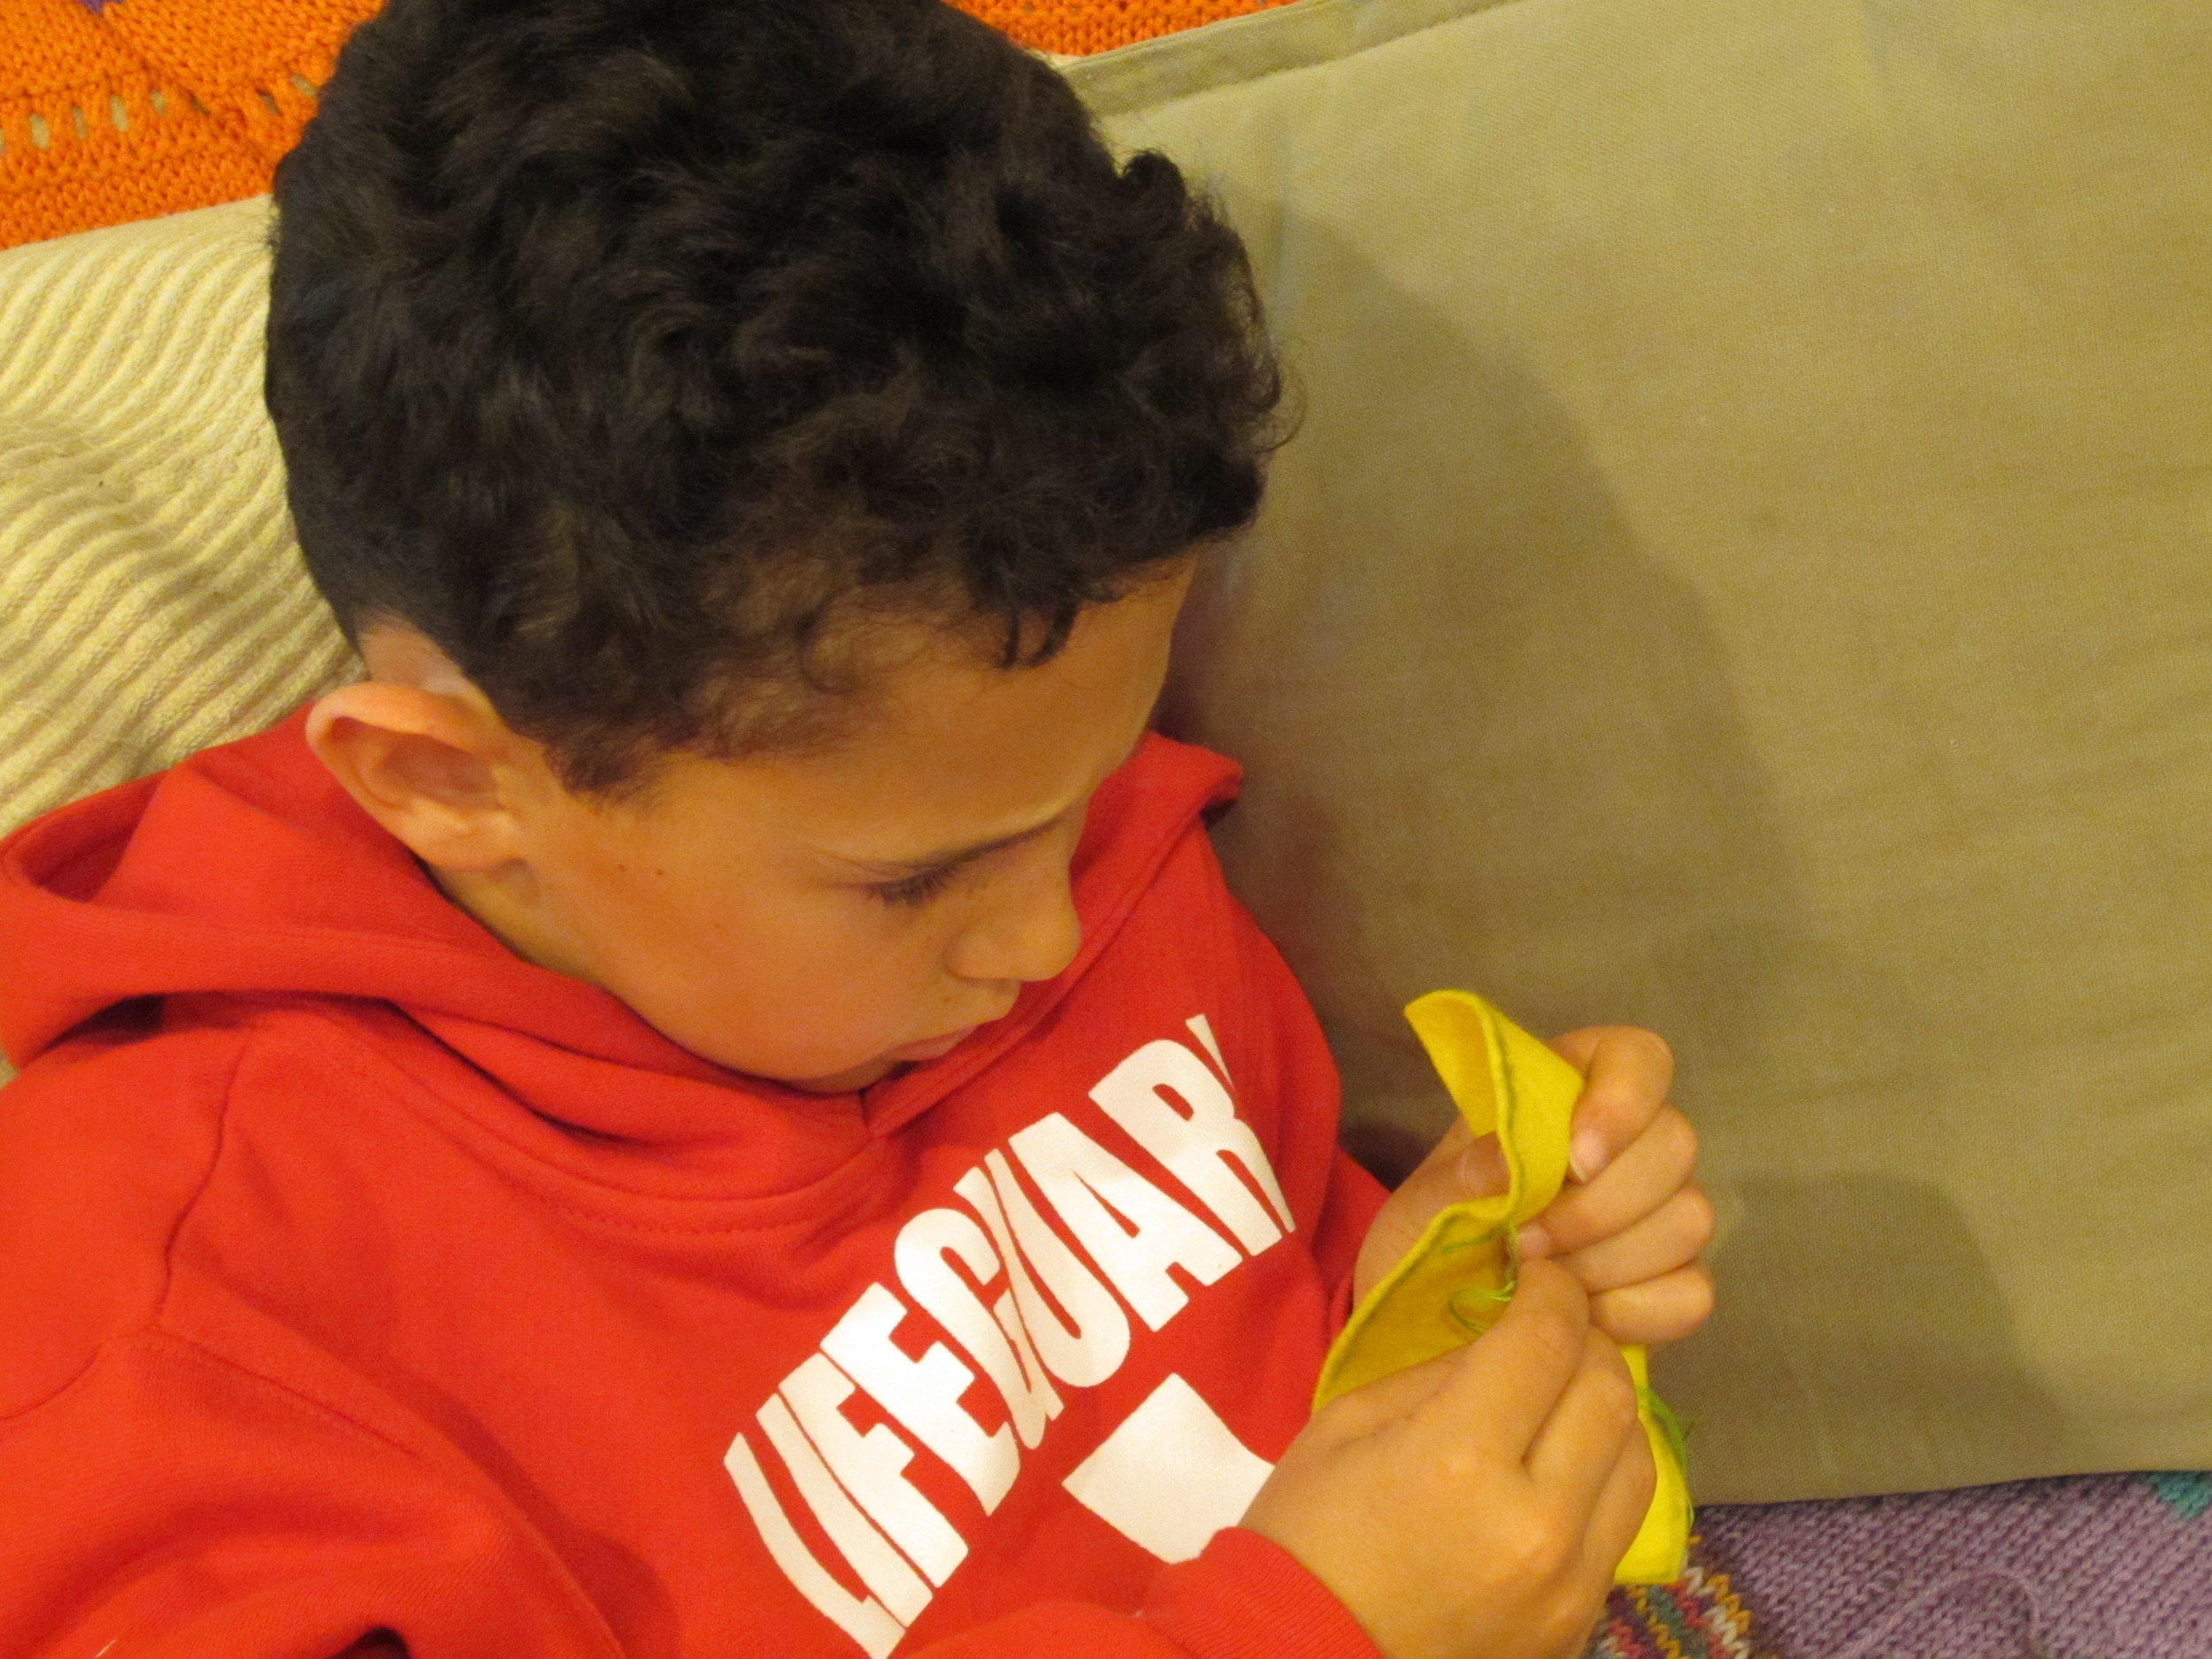
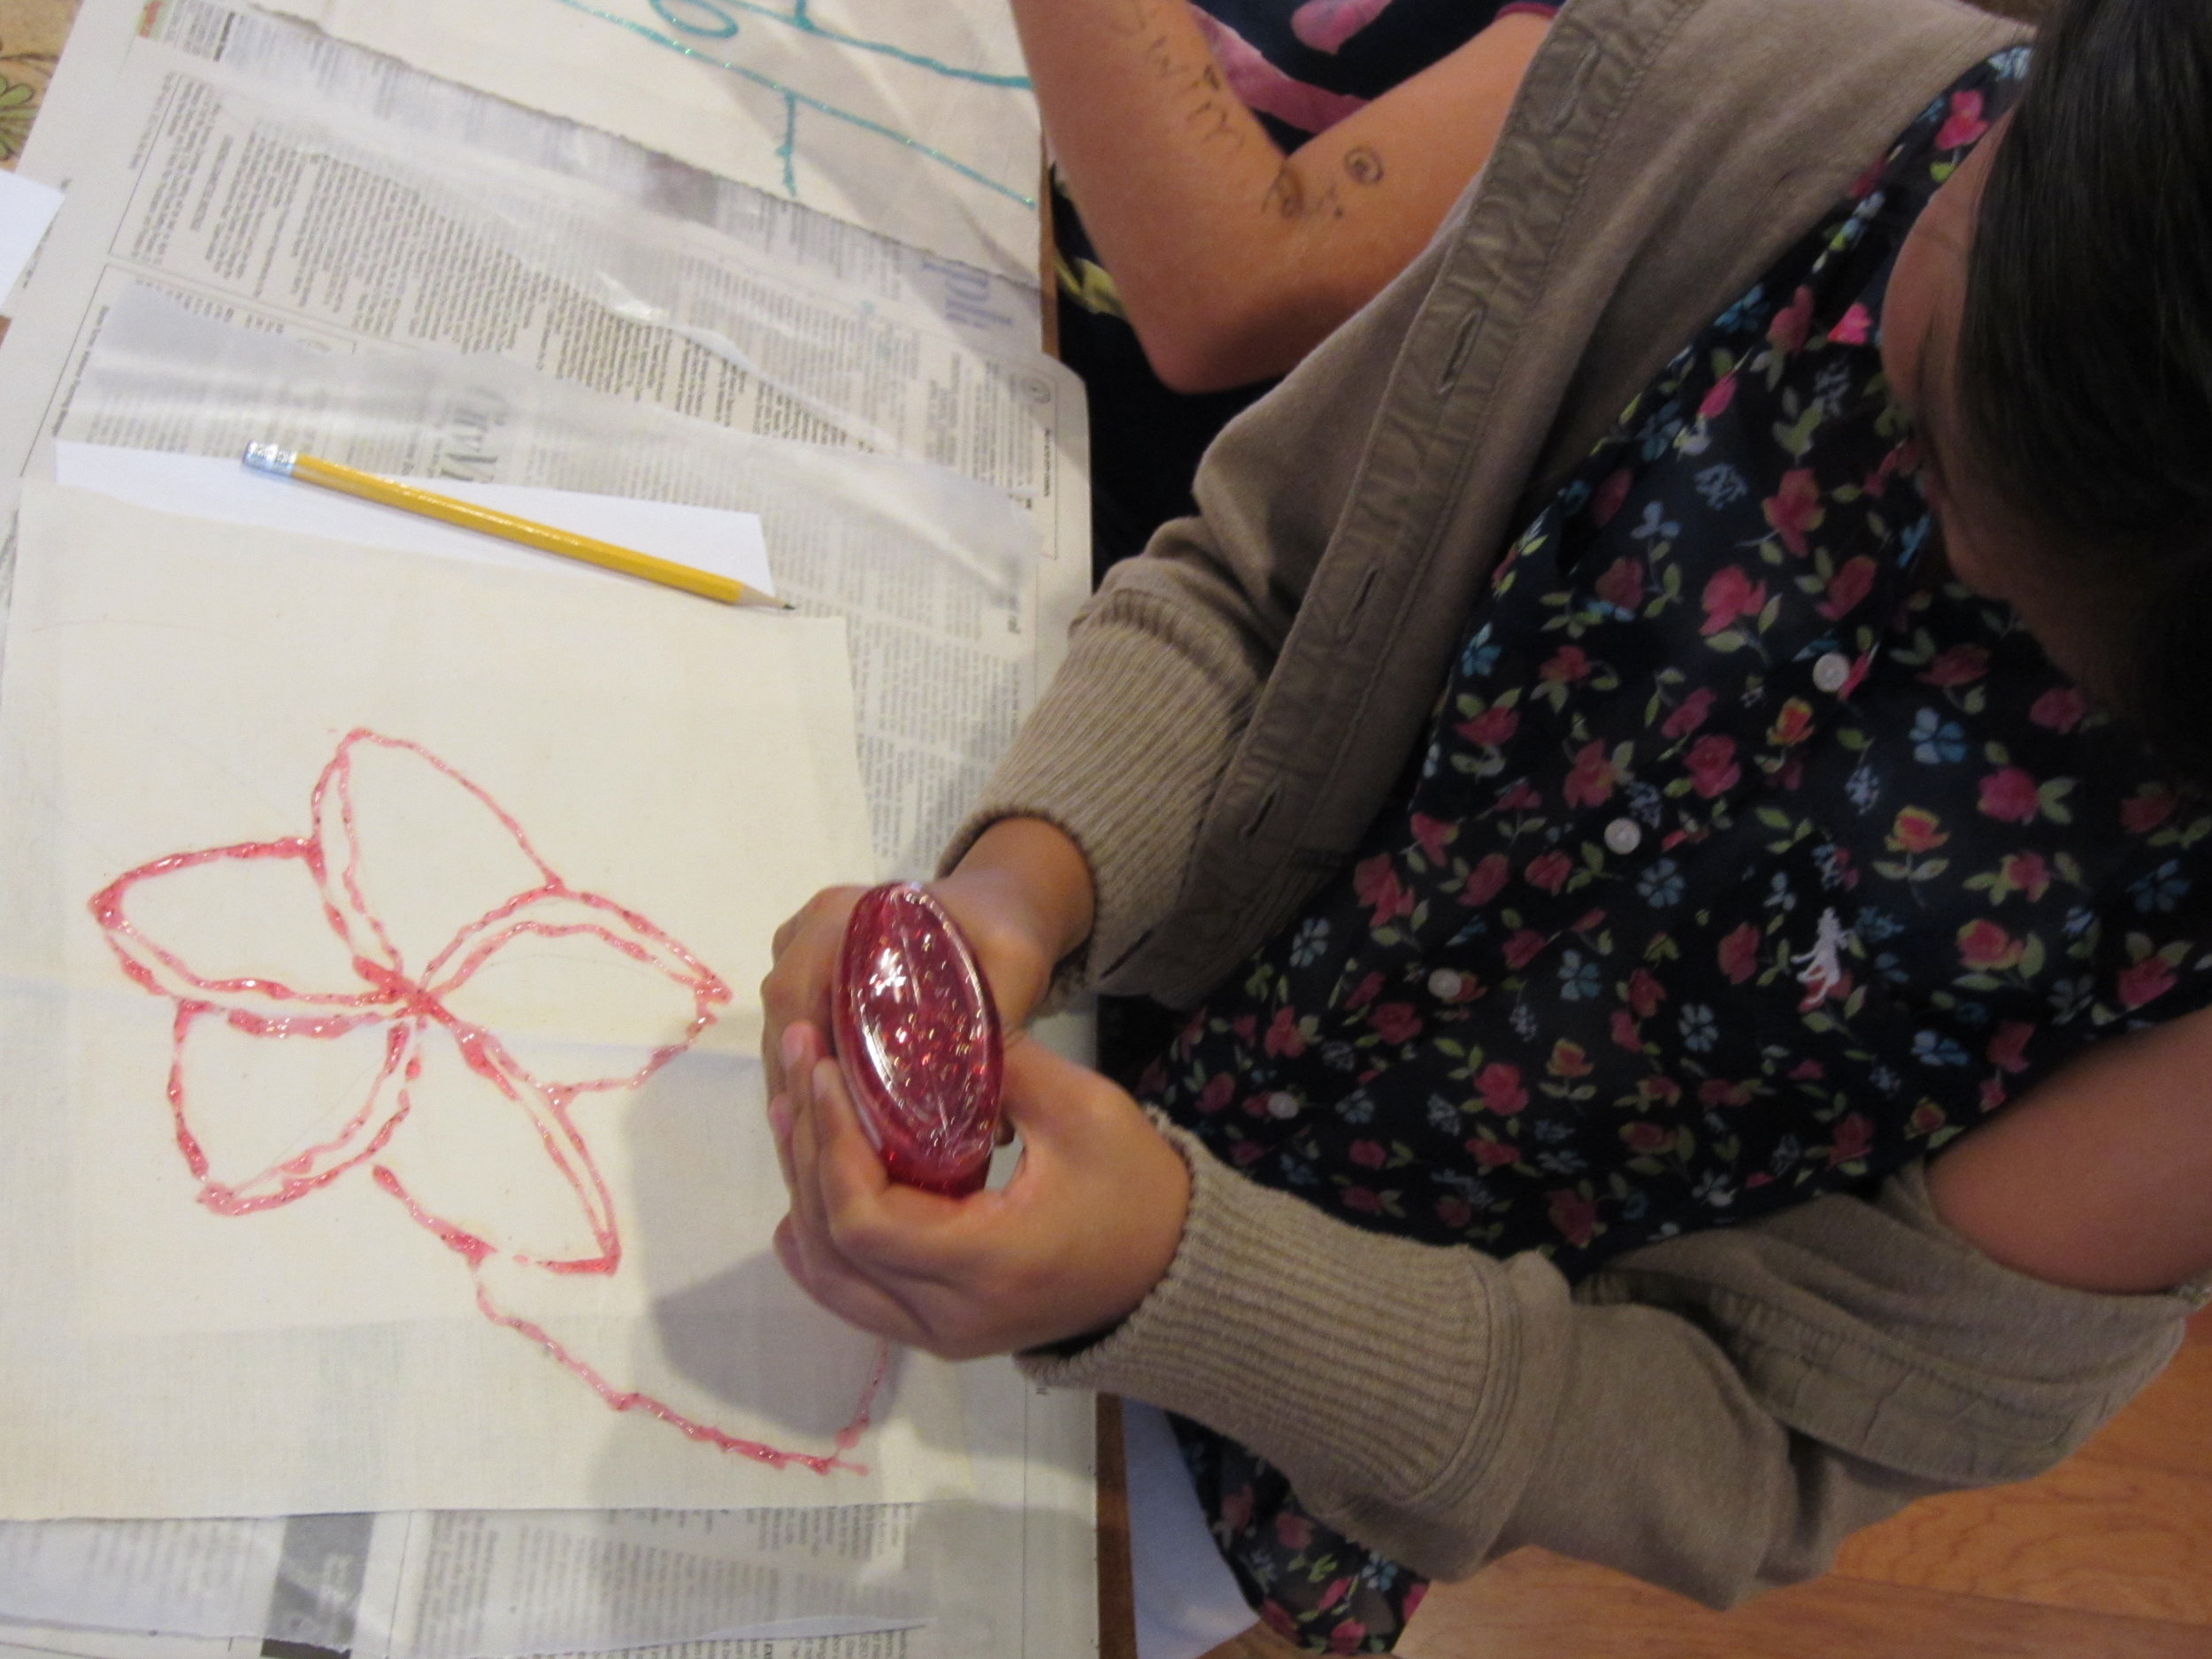
Amigurumi is SOOO fun!!

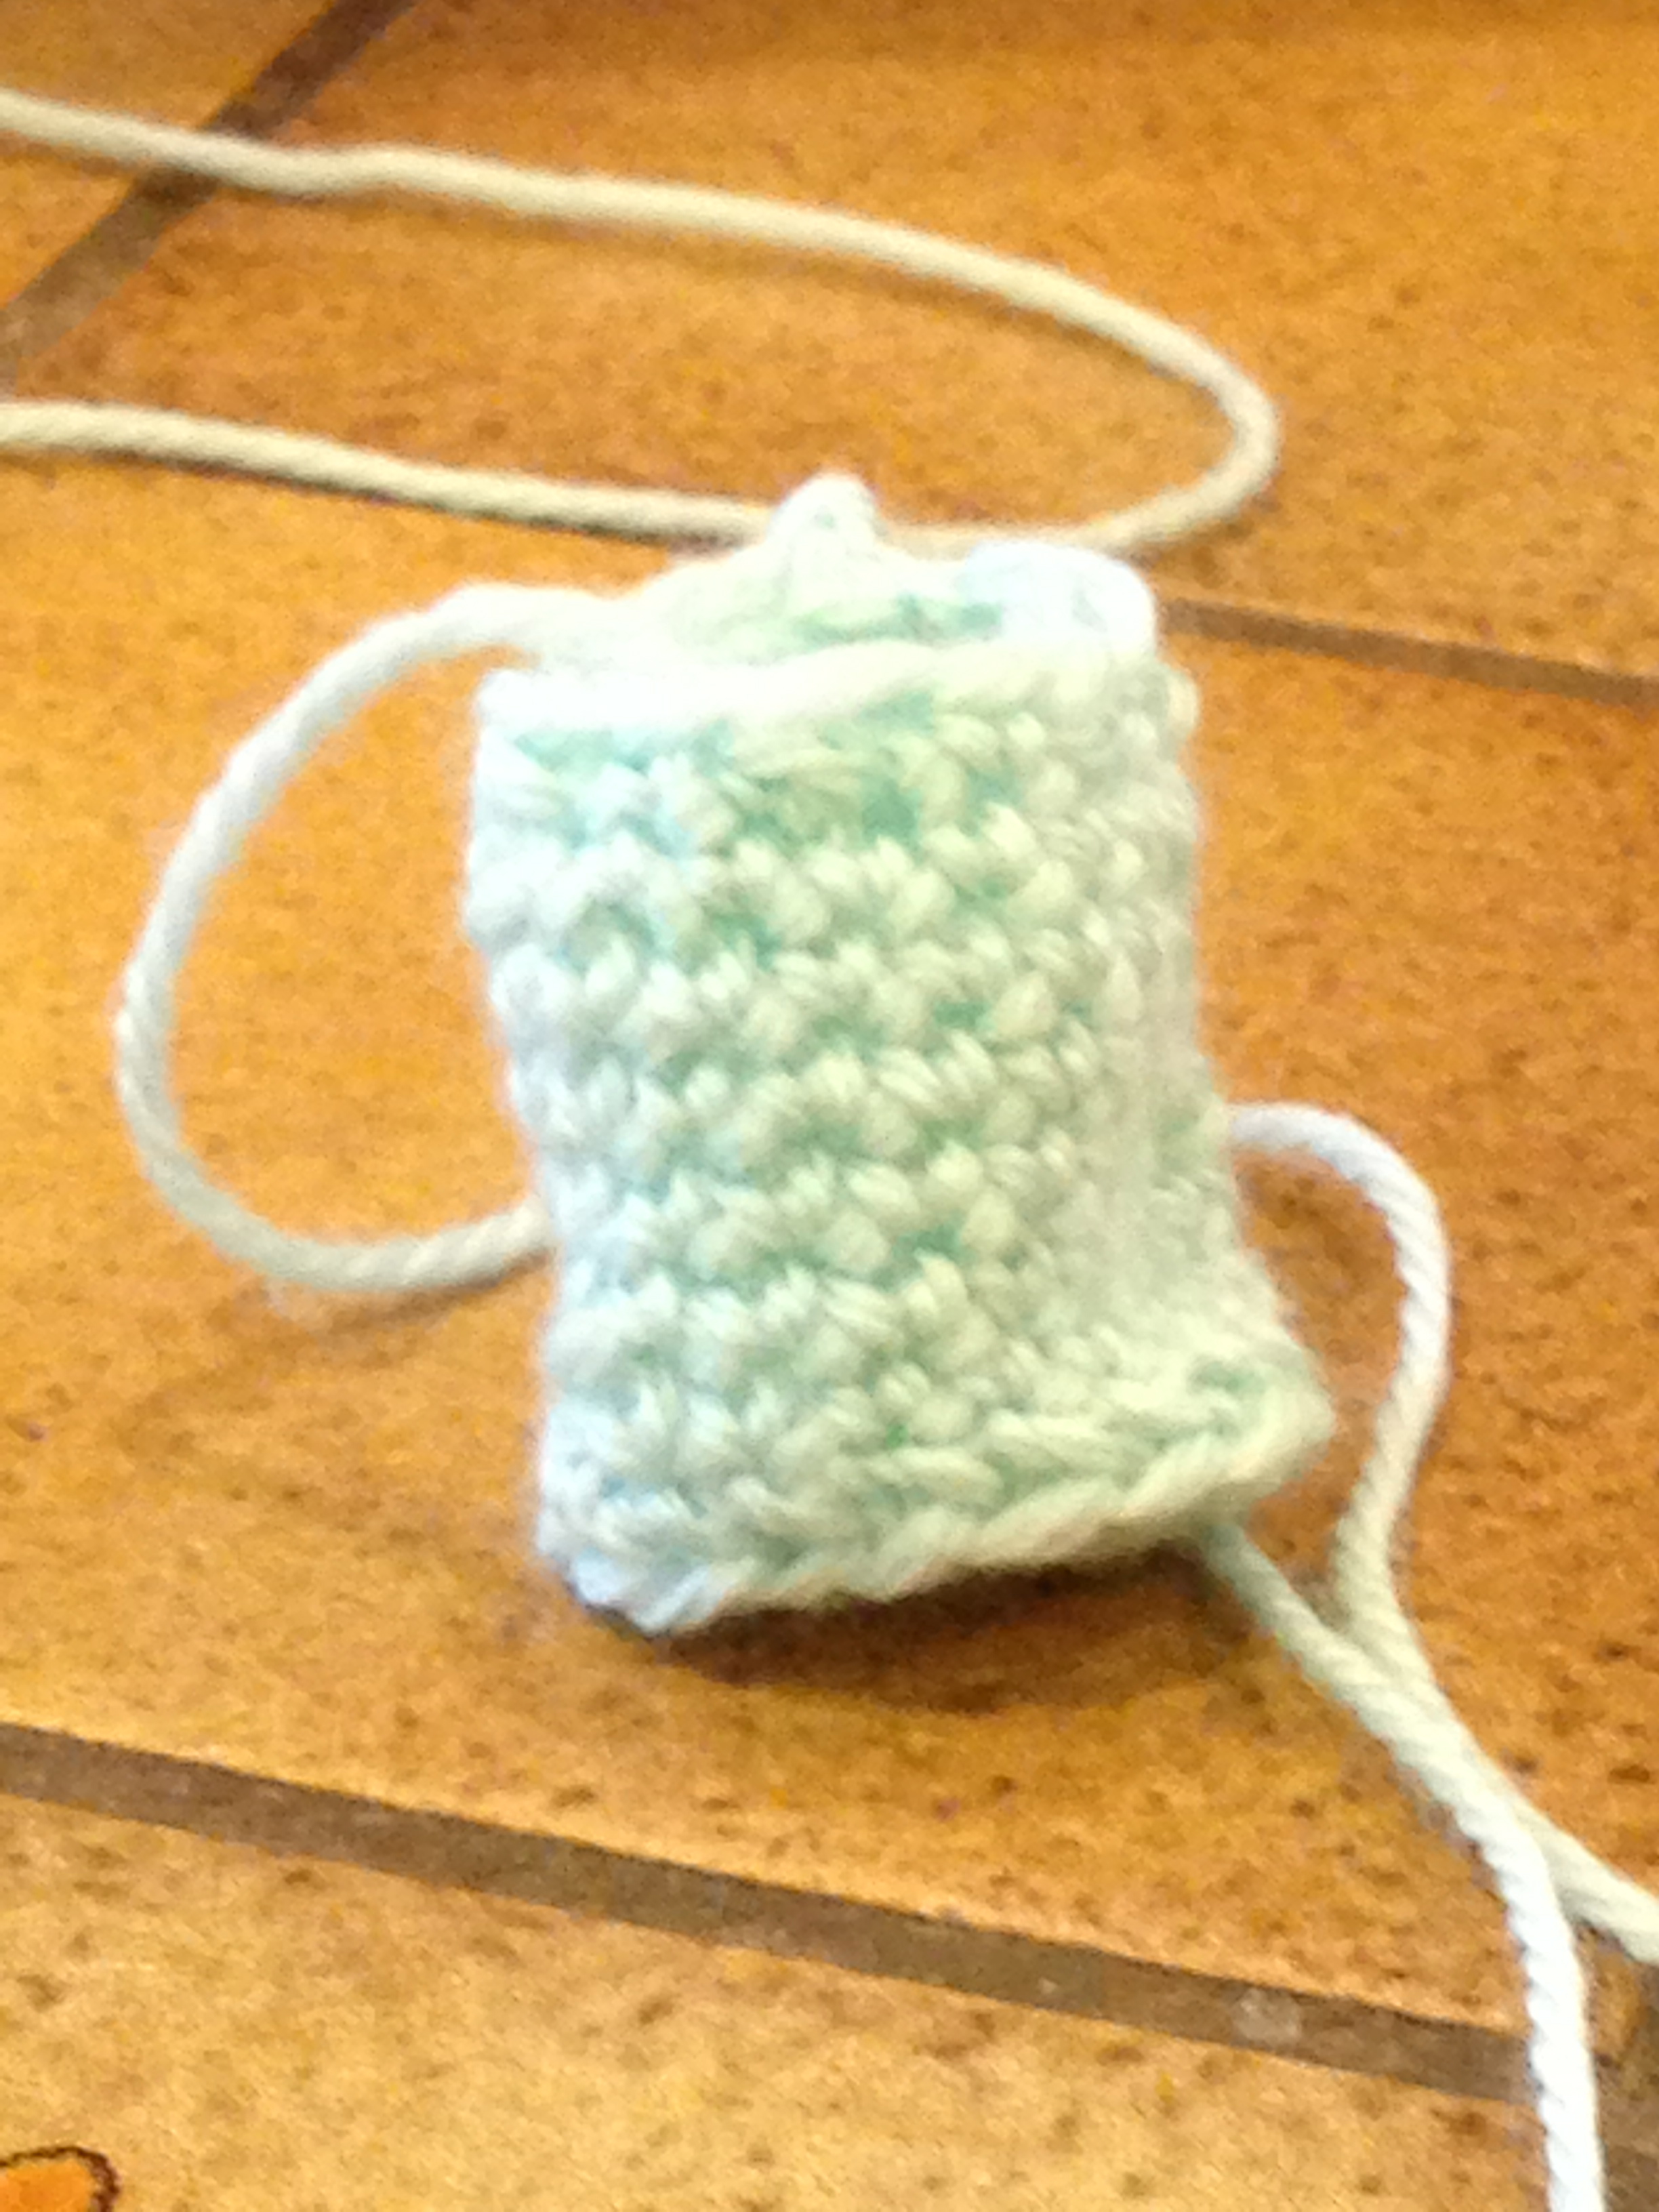
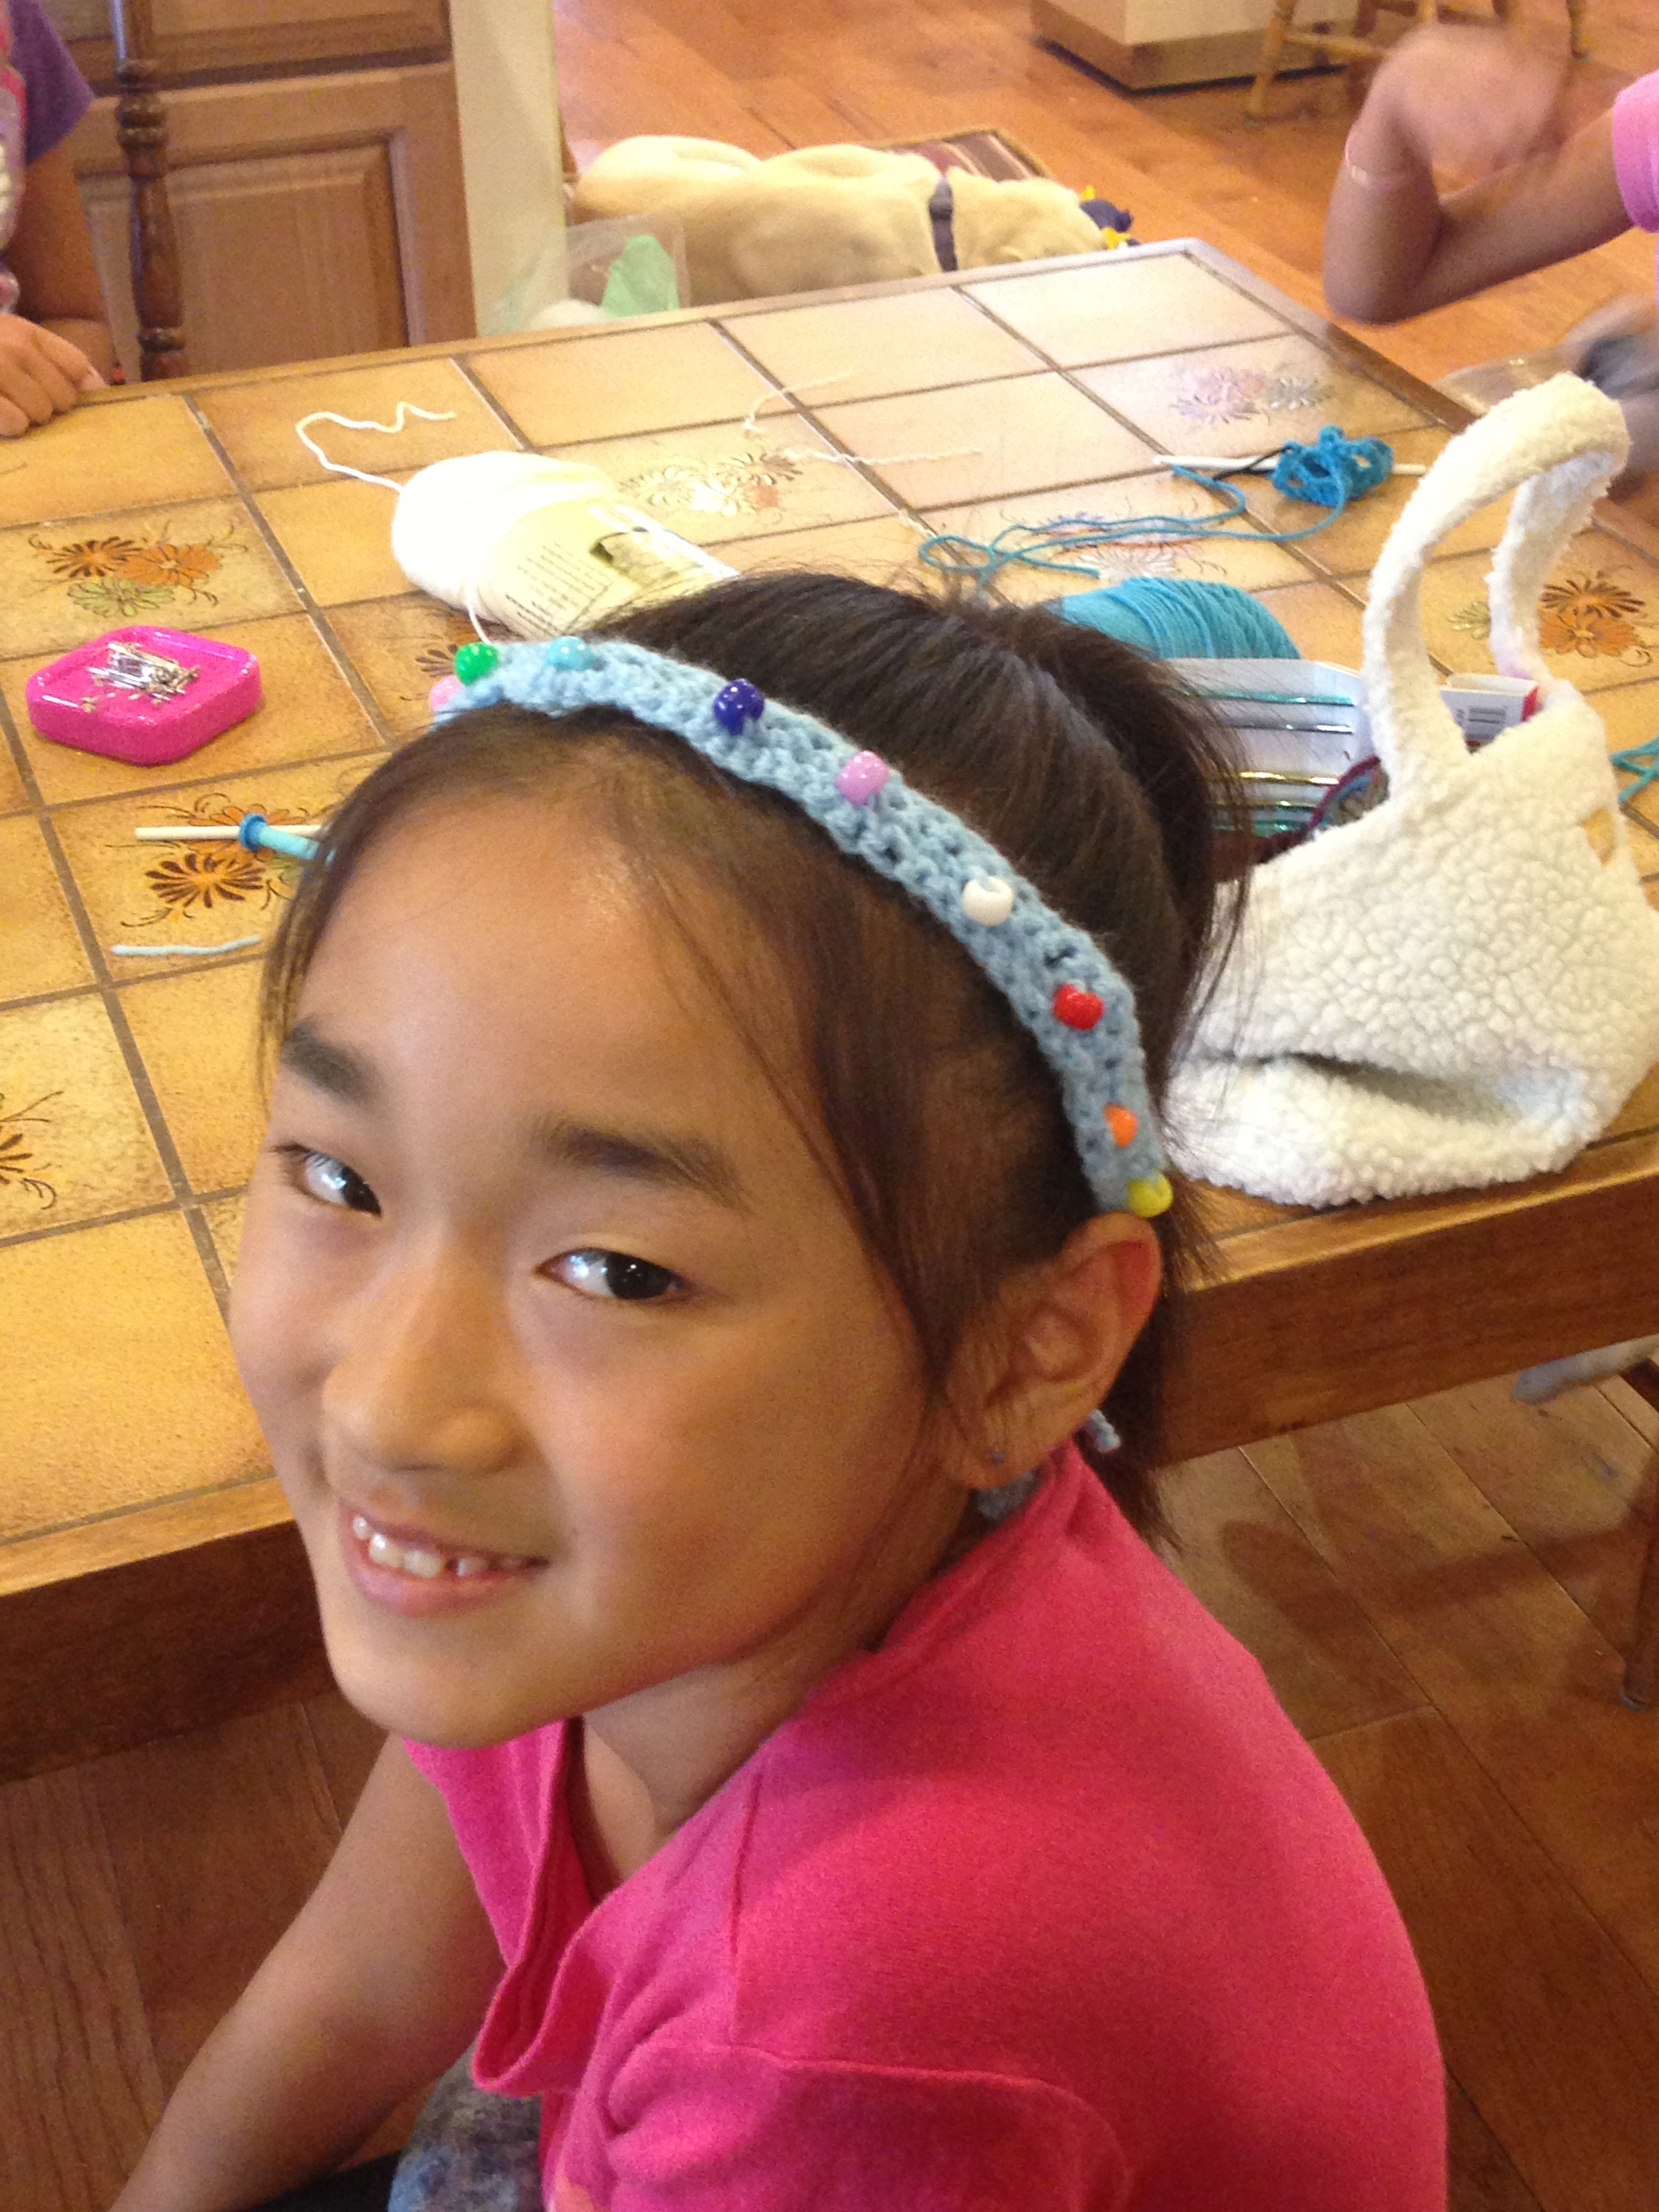
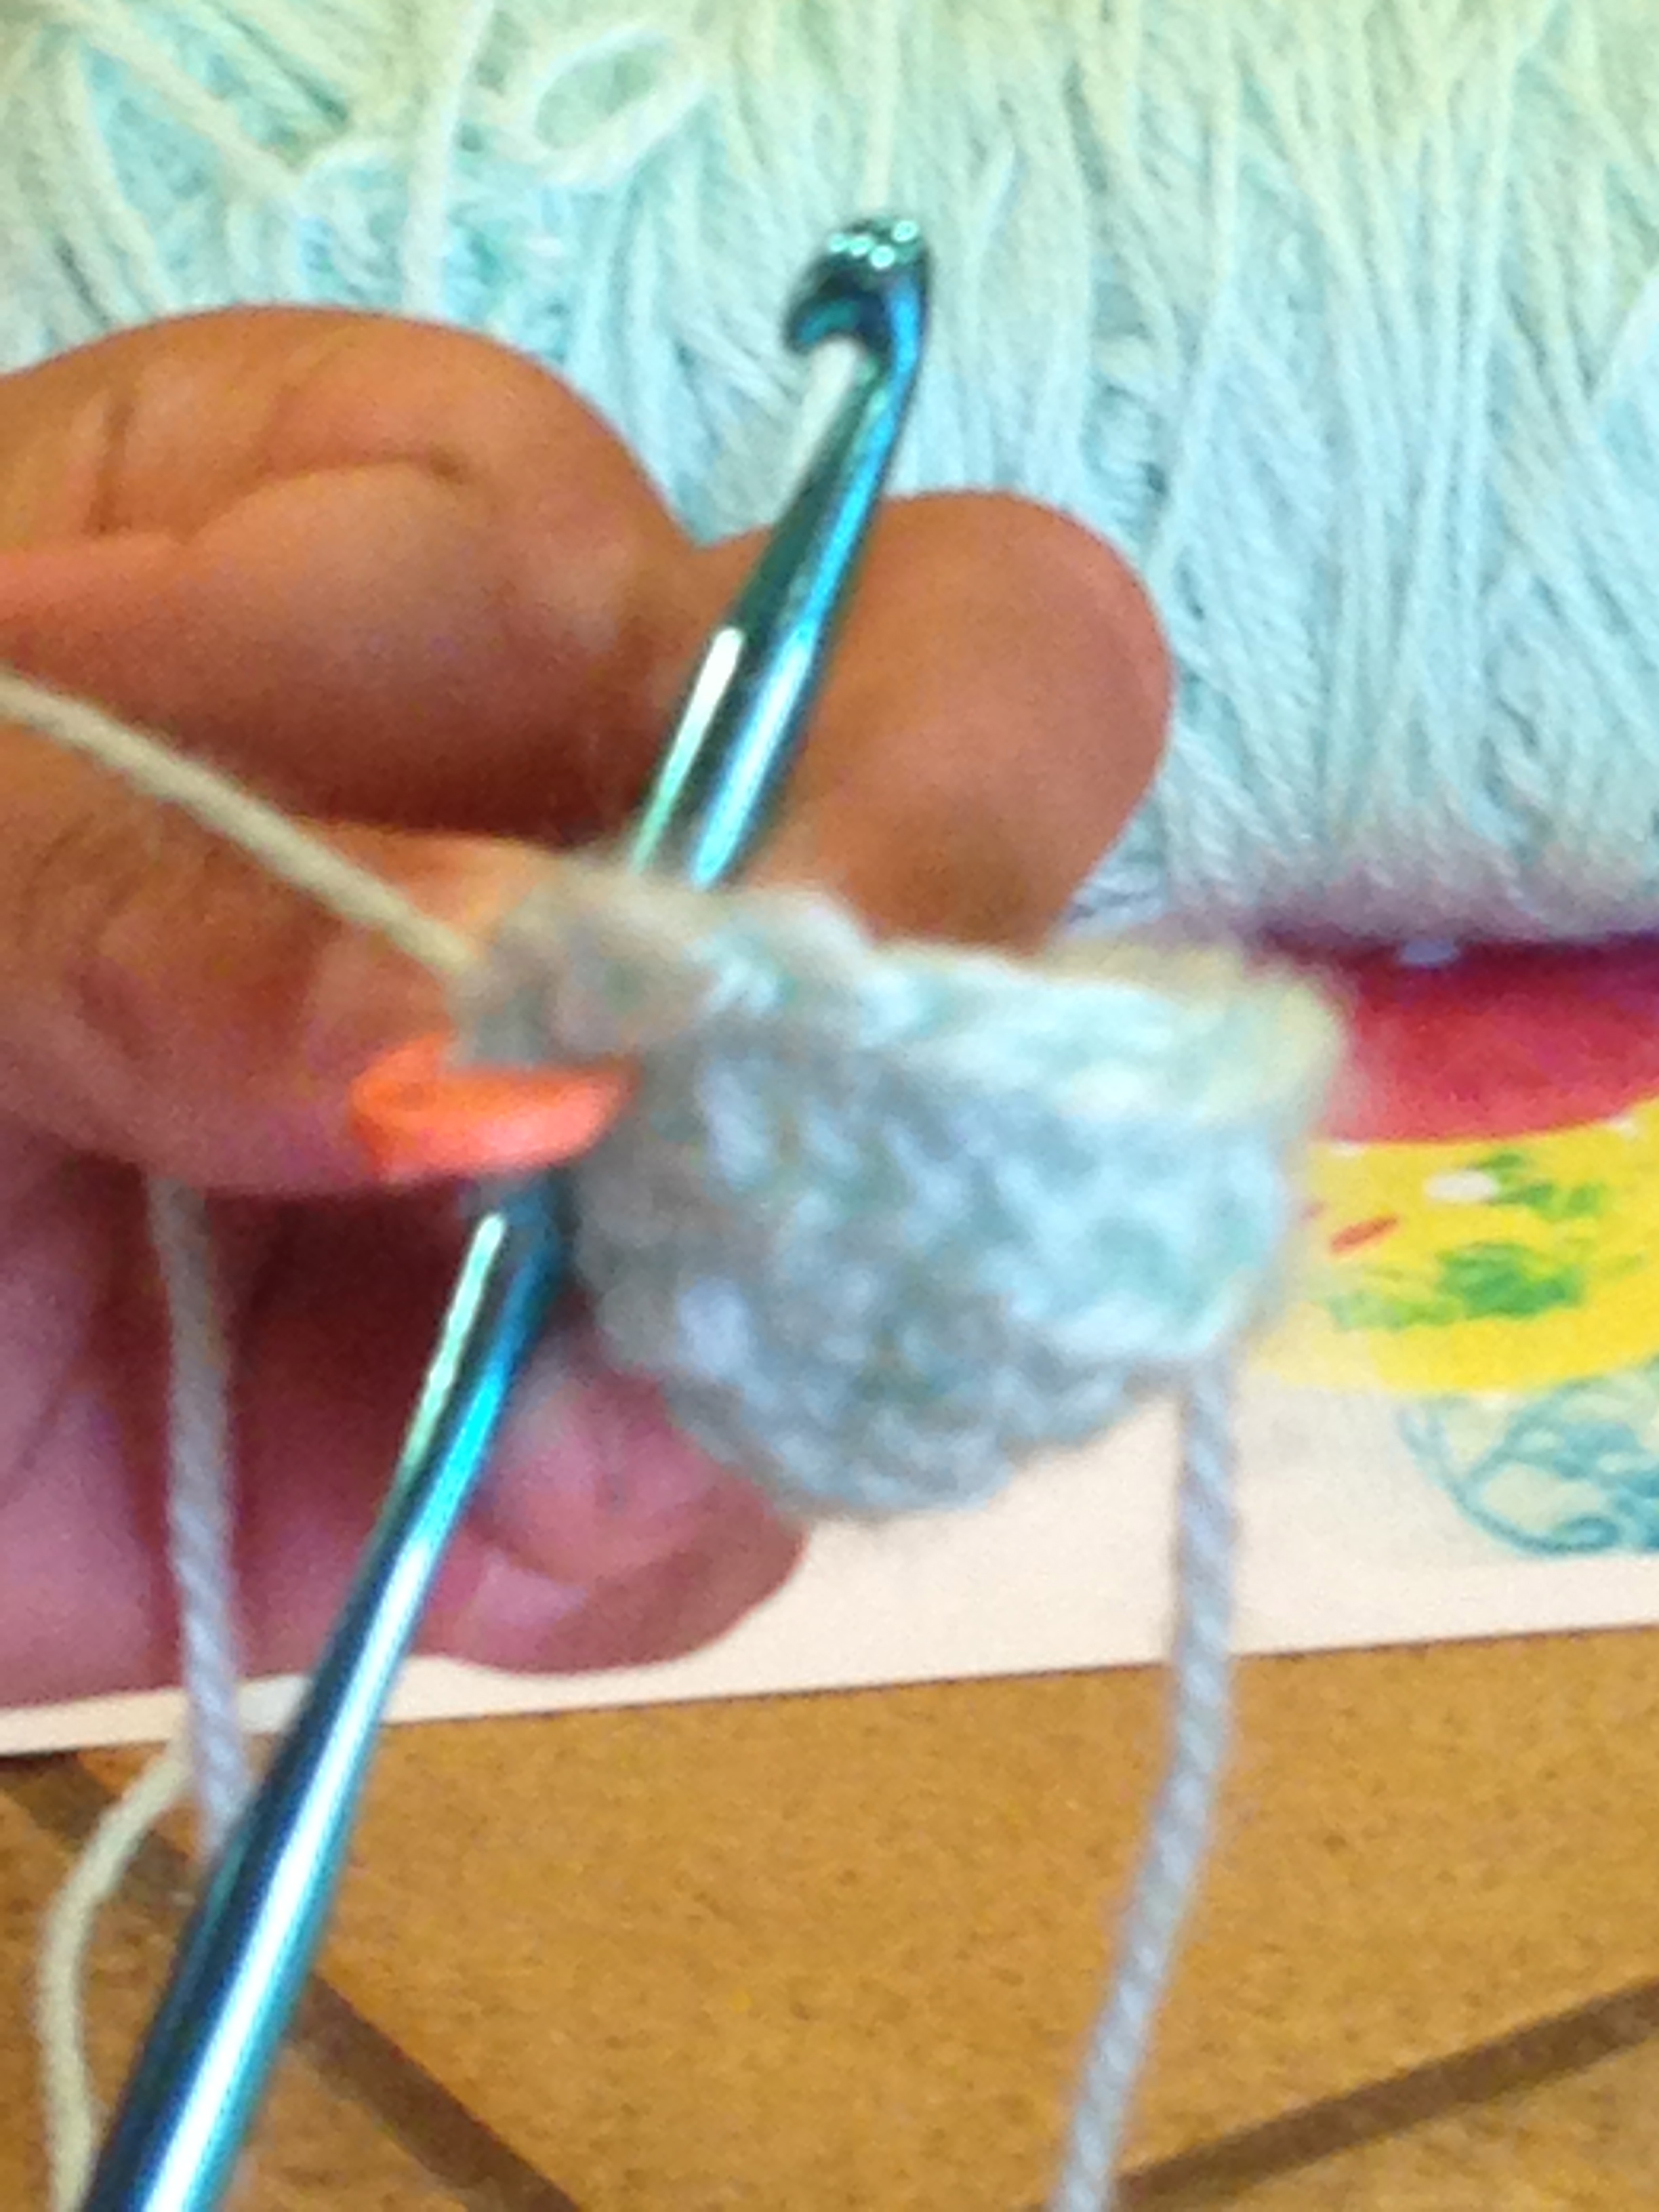
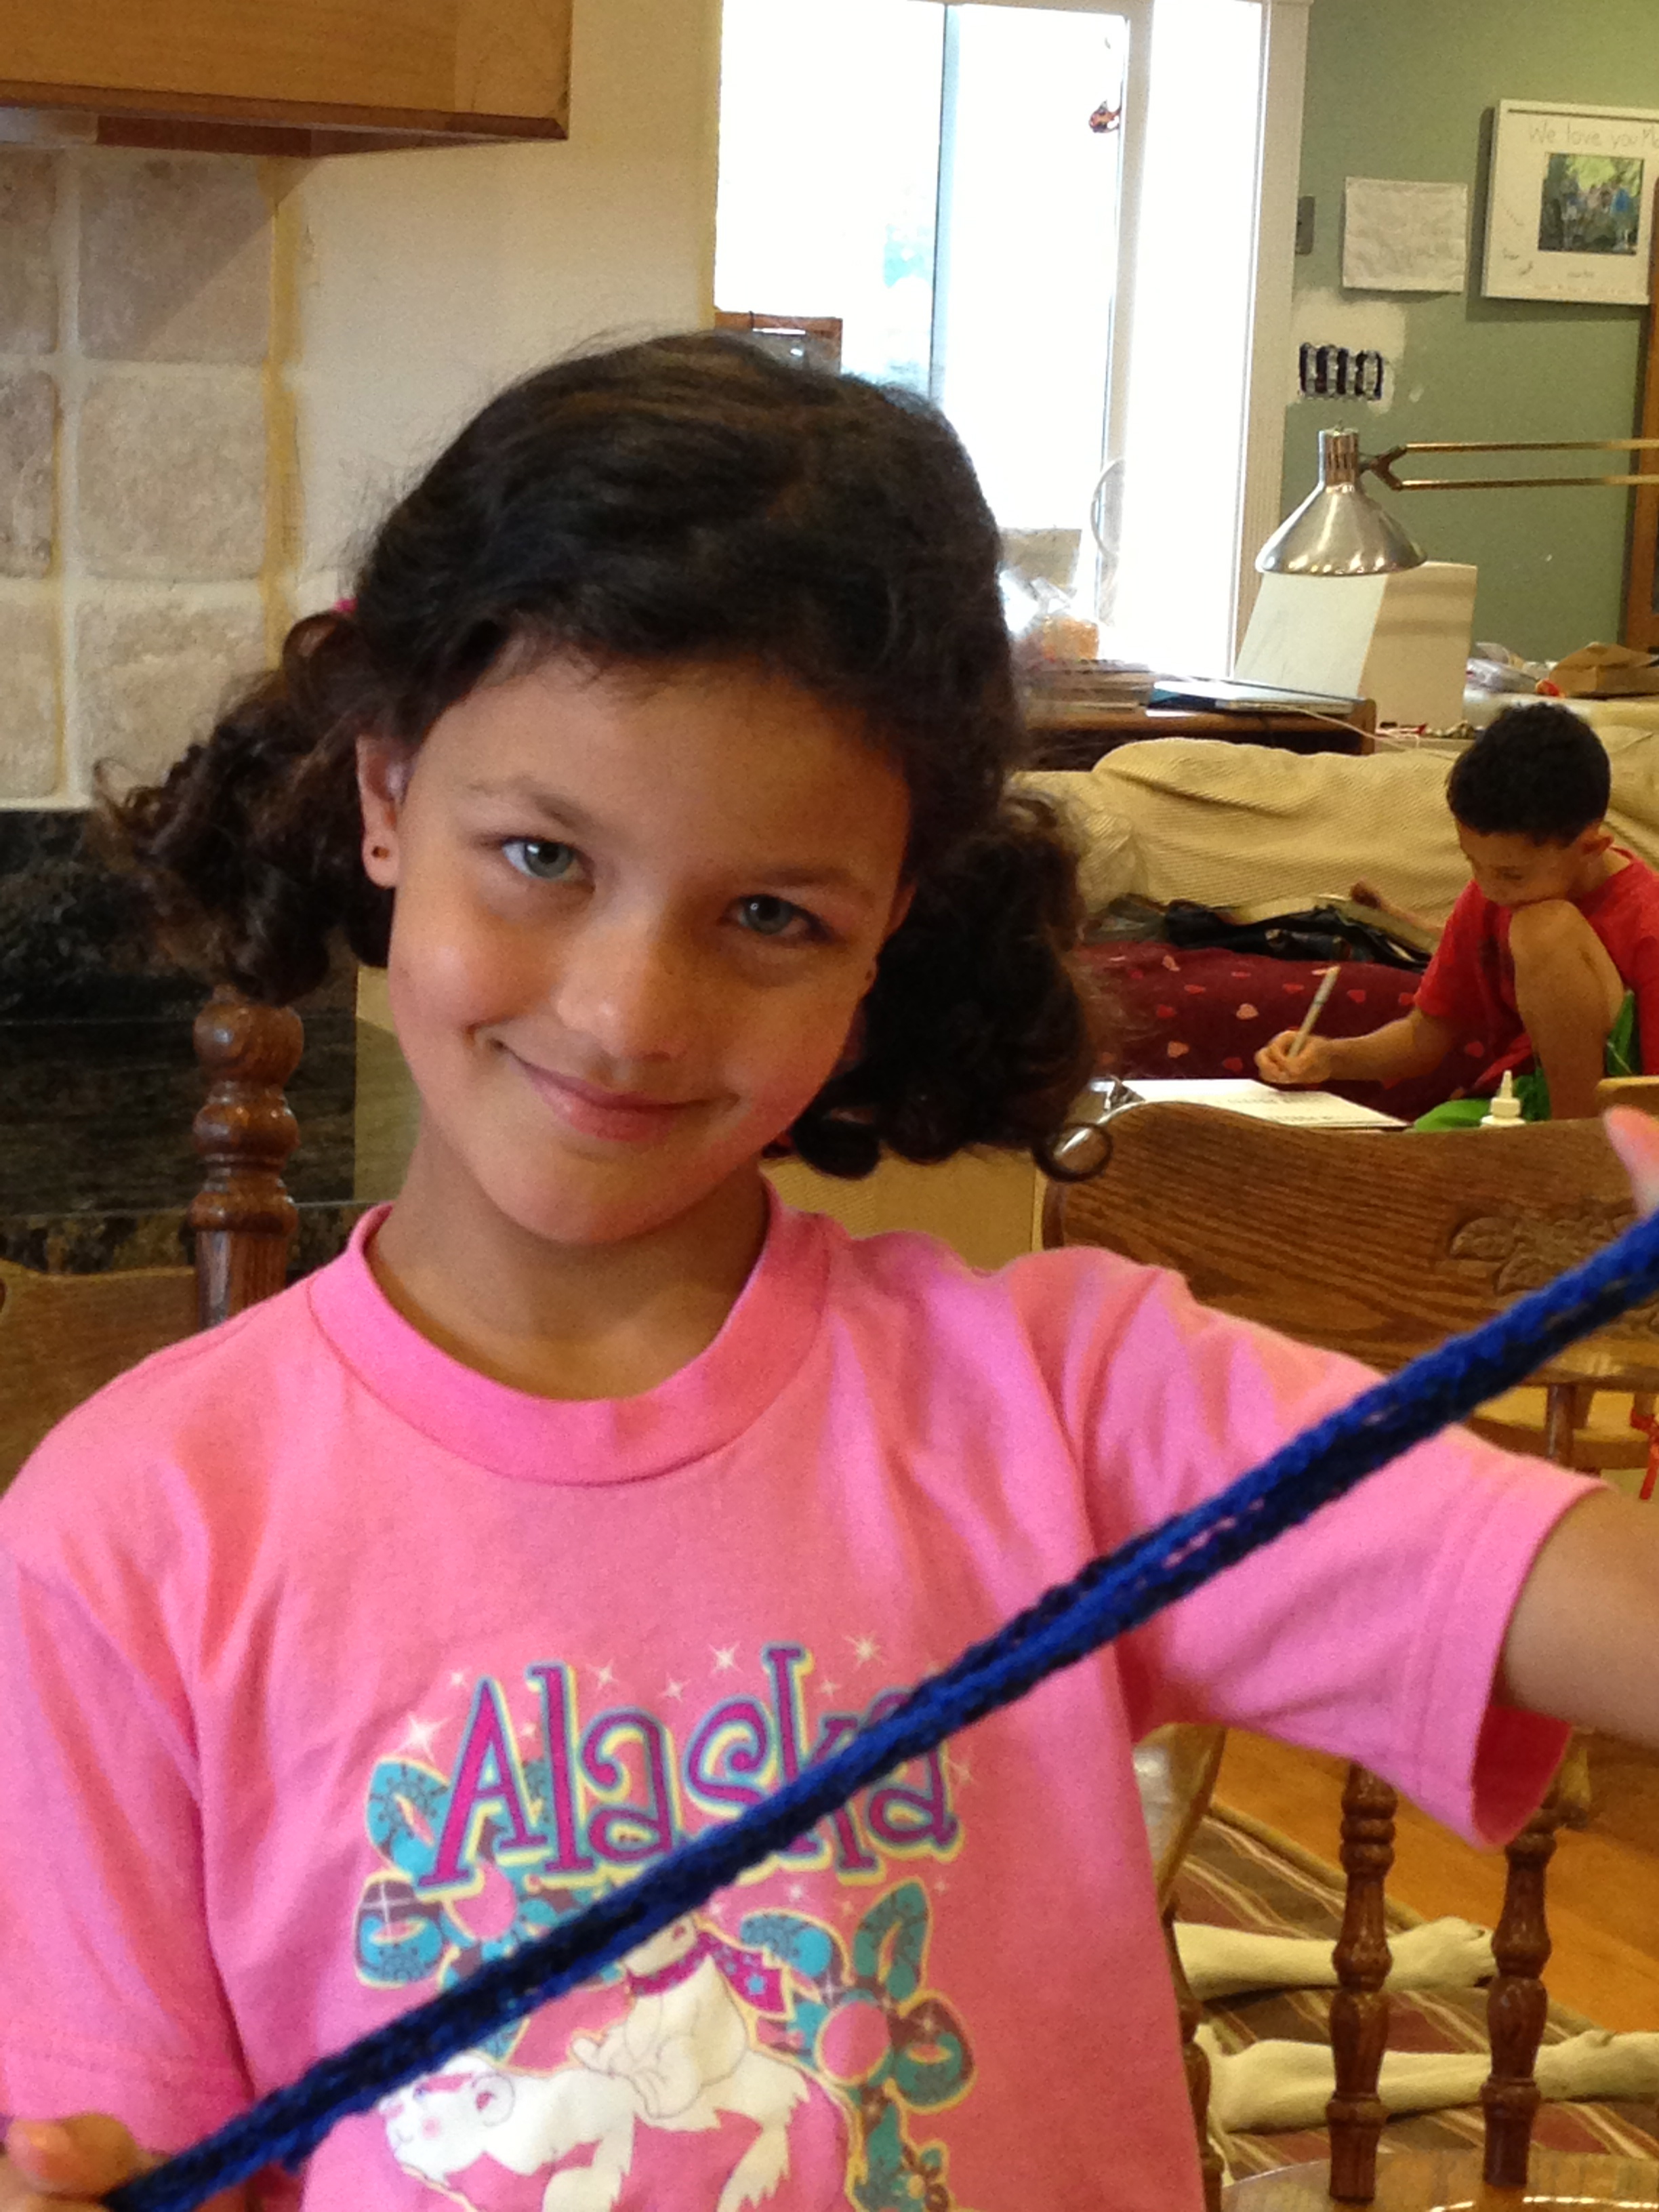
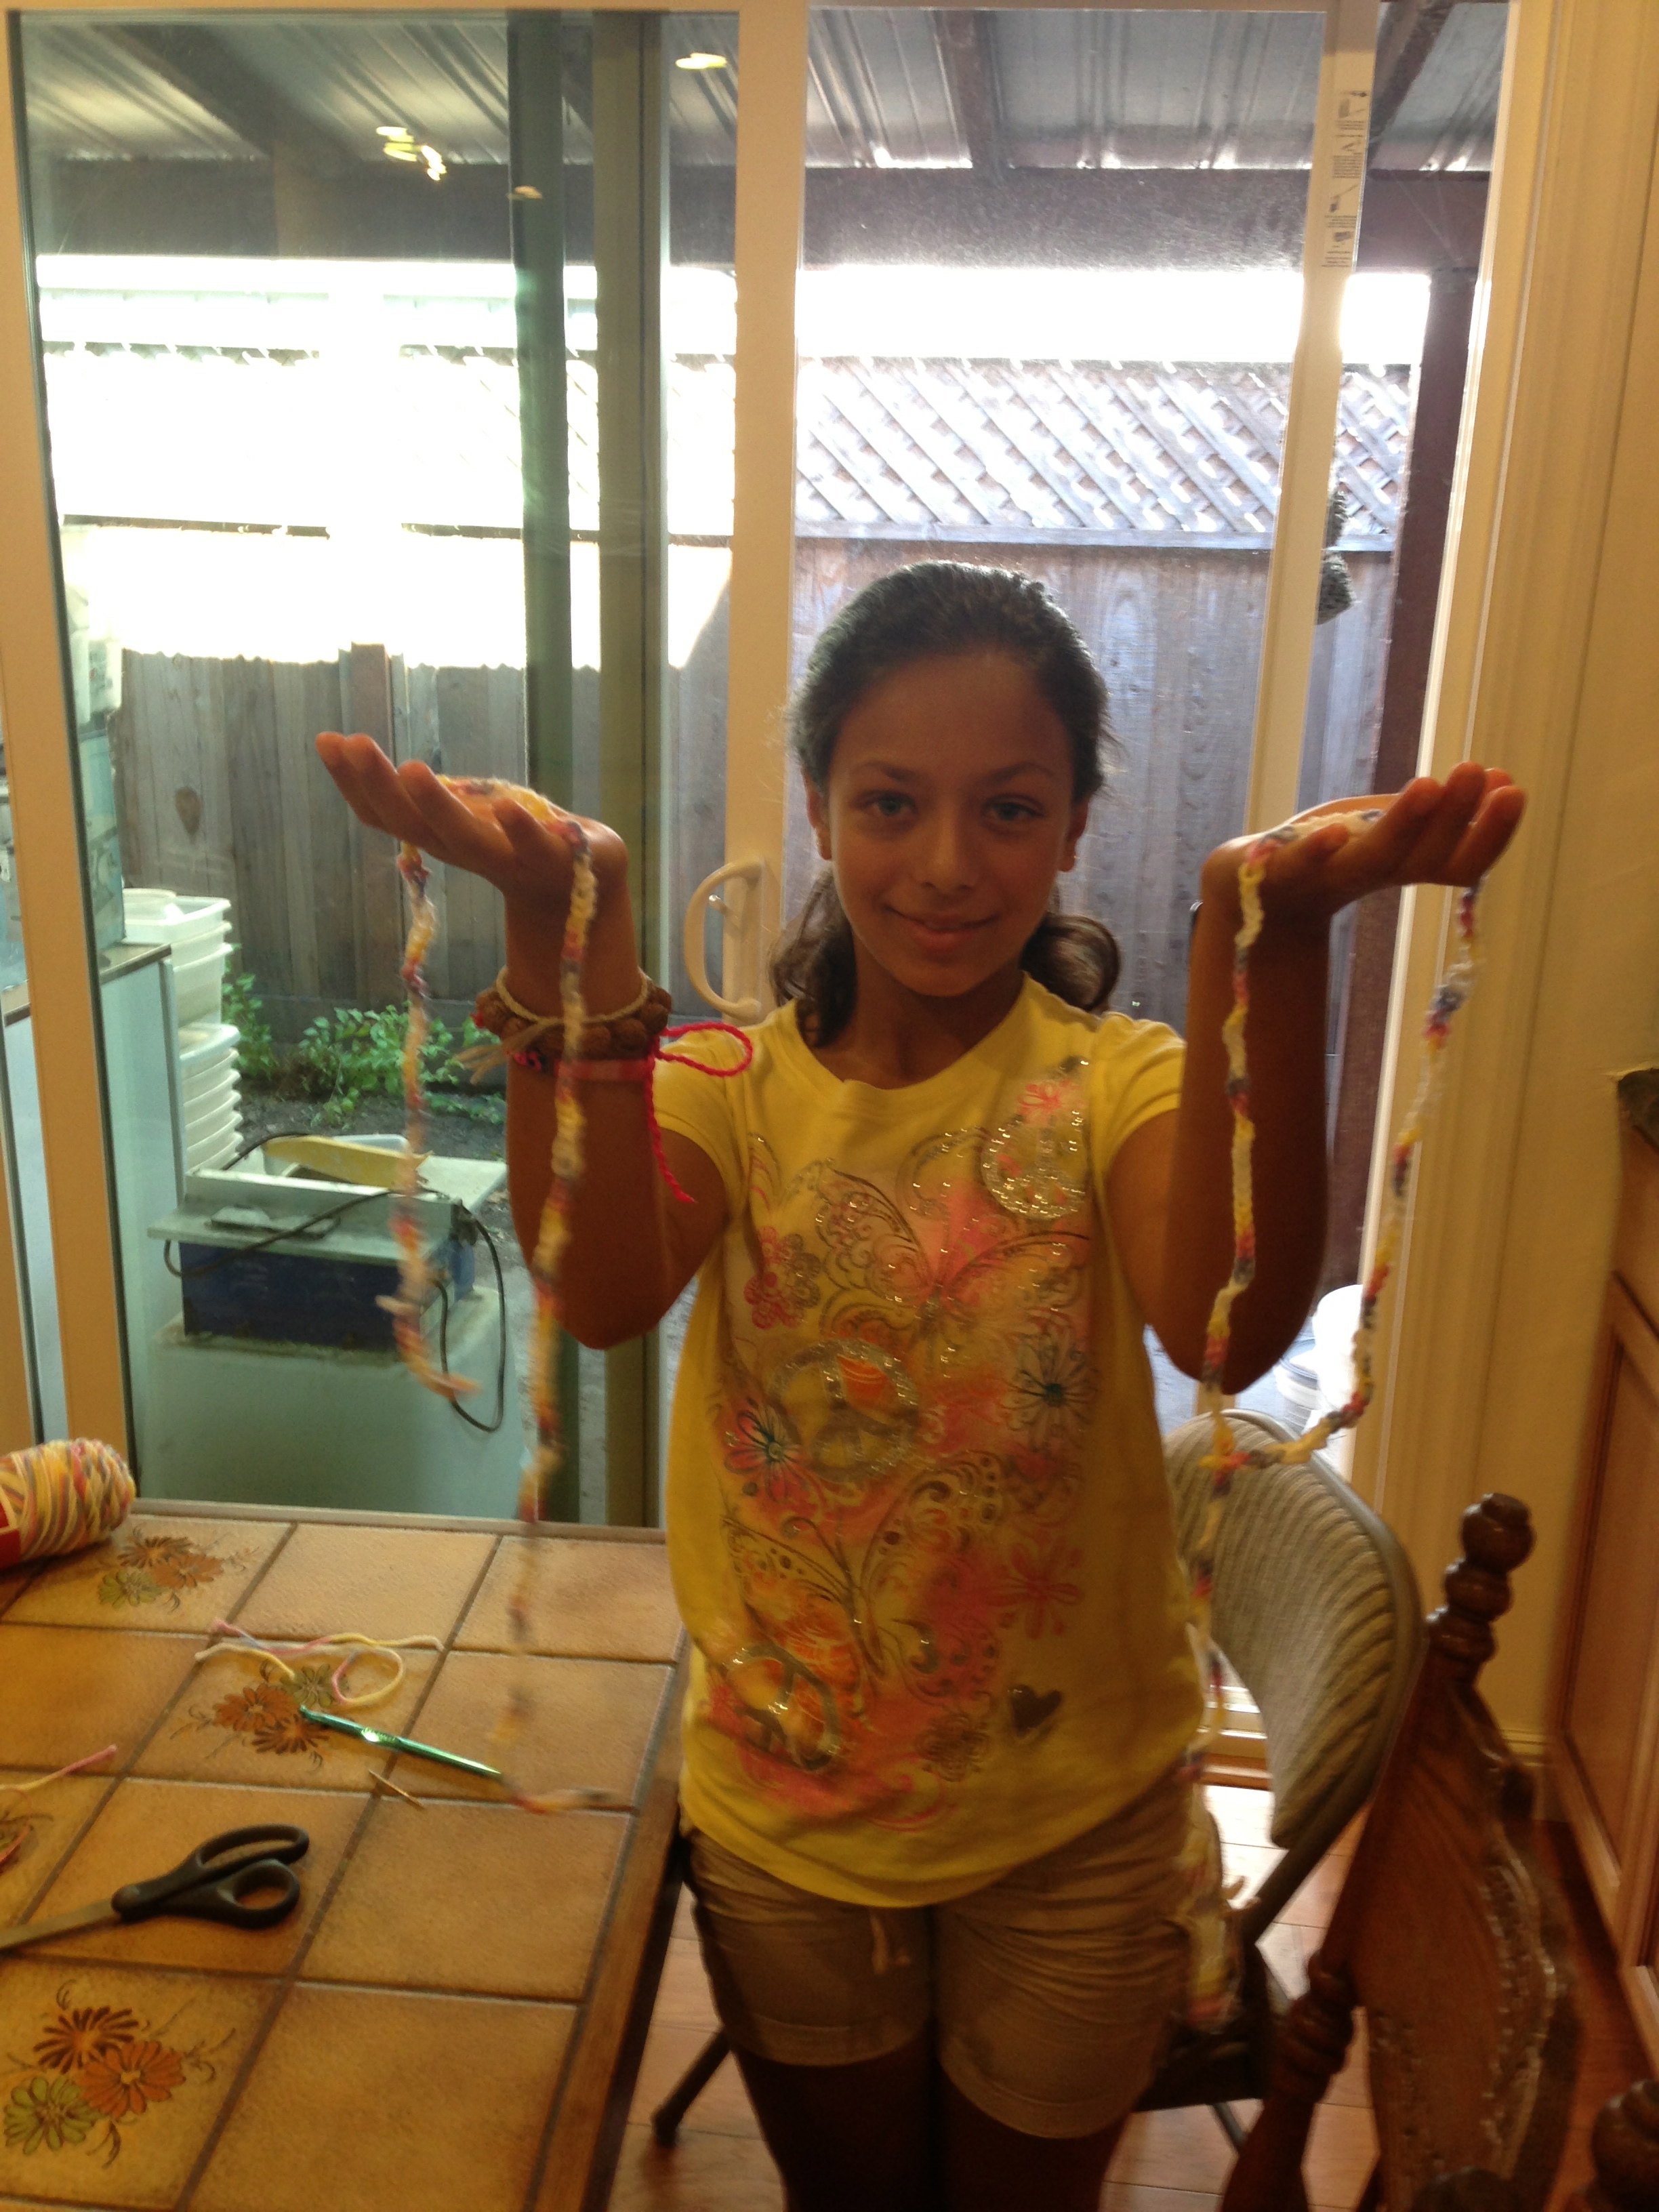
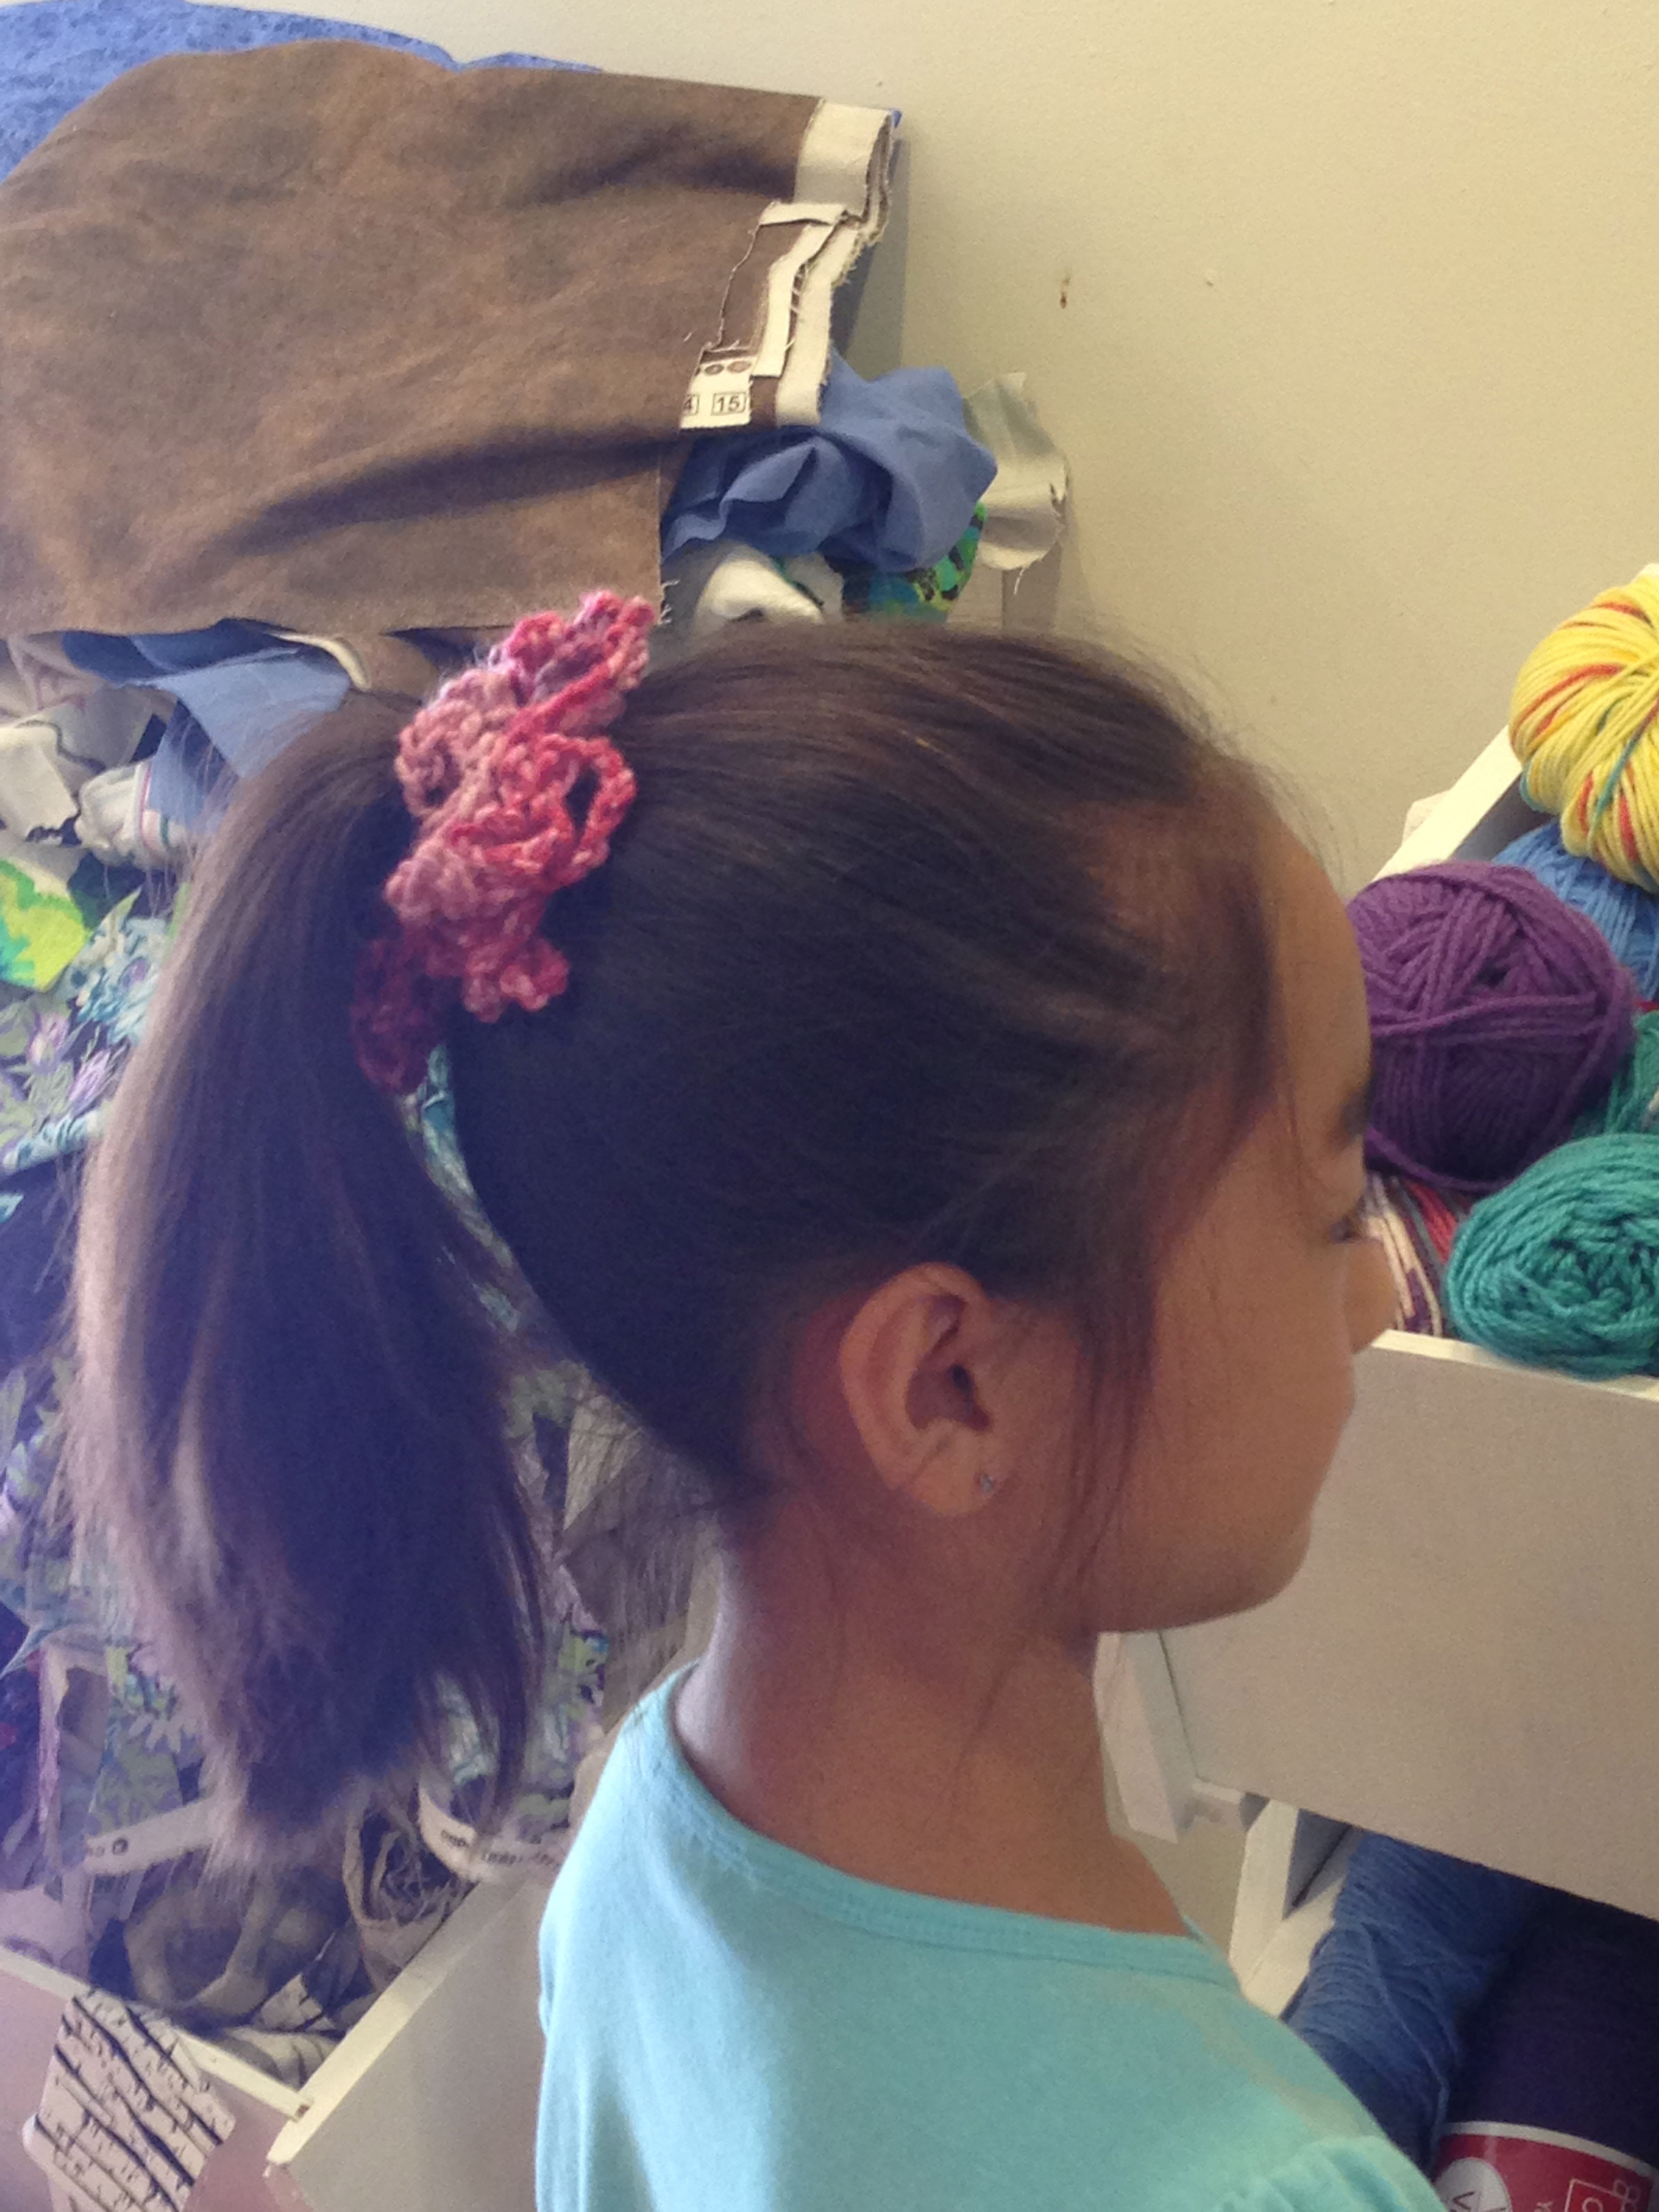
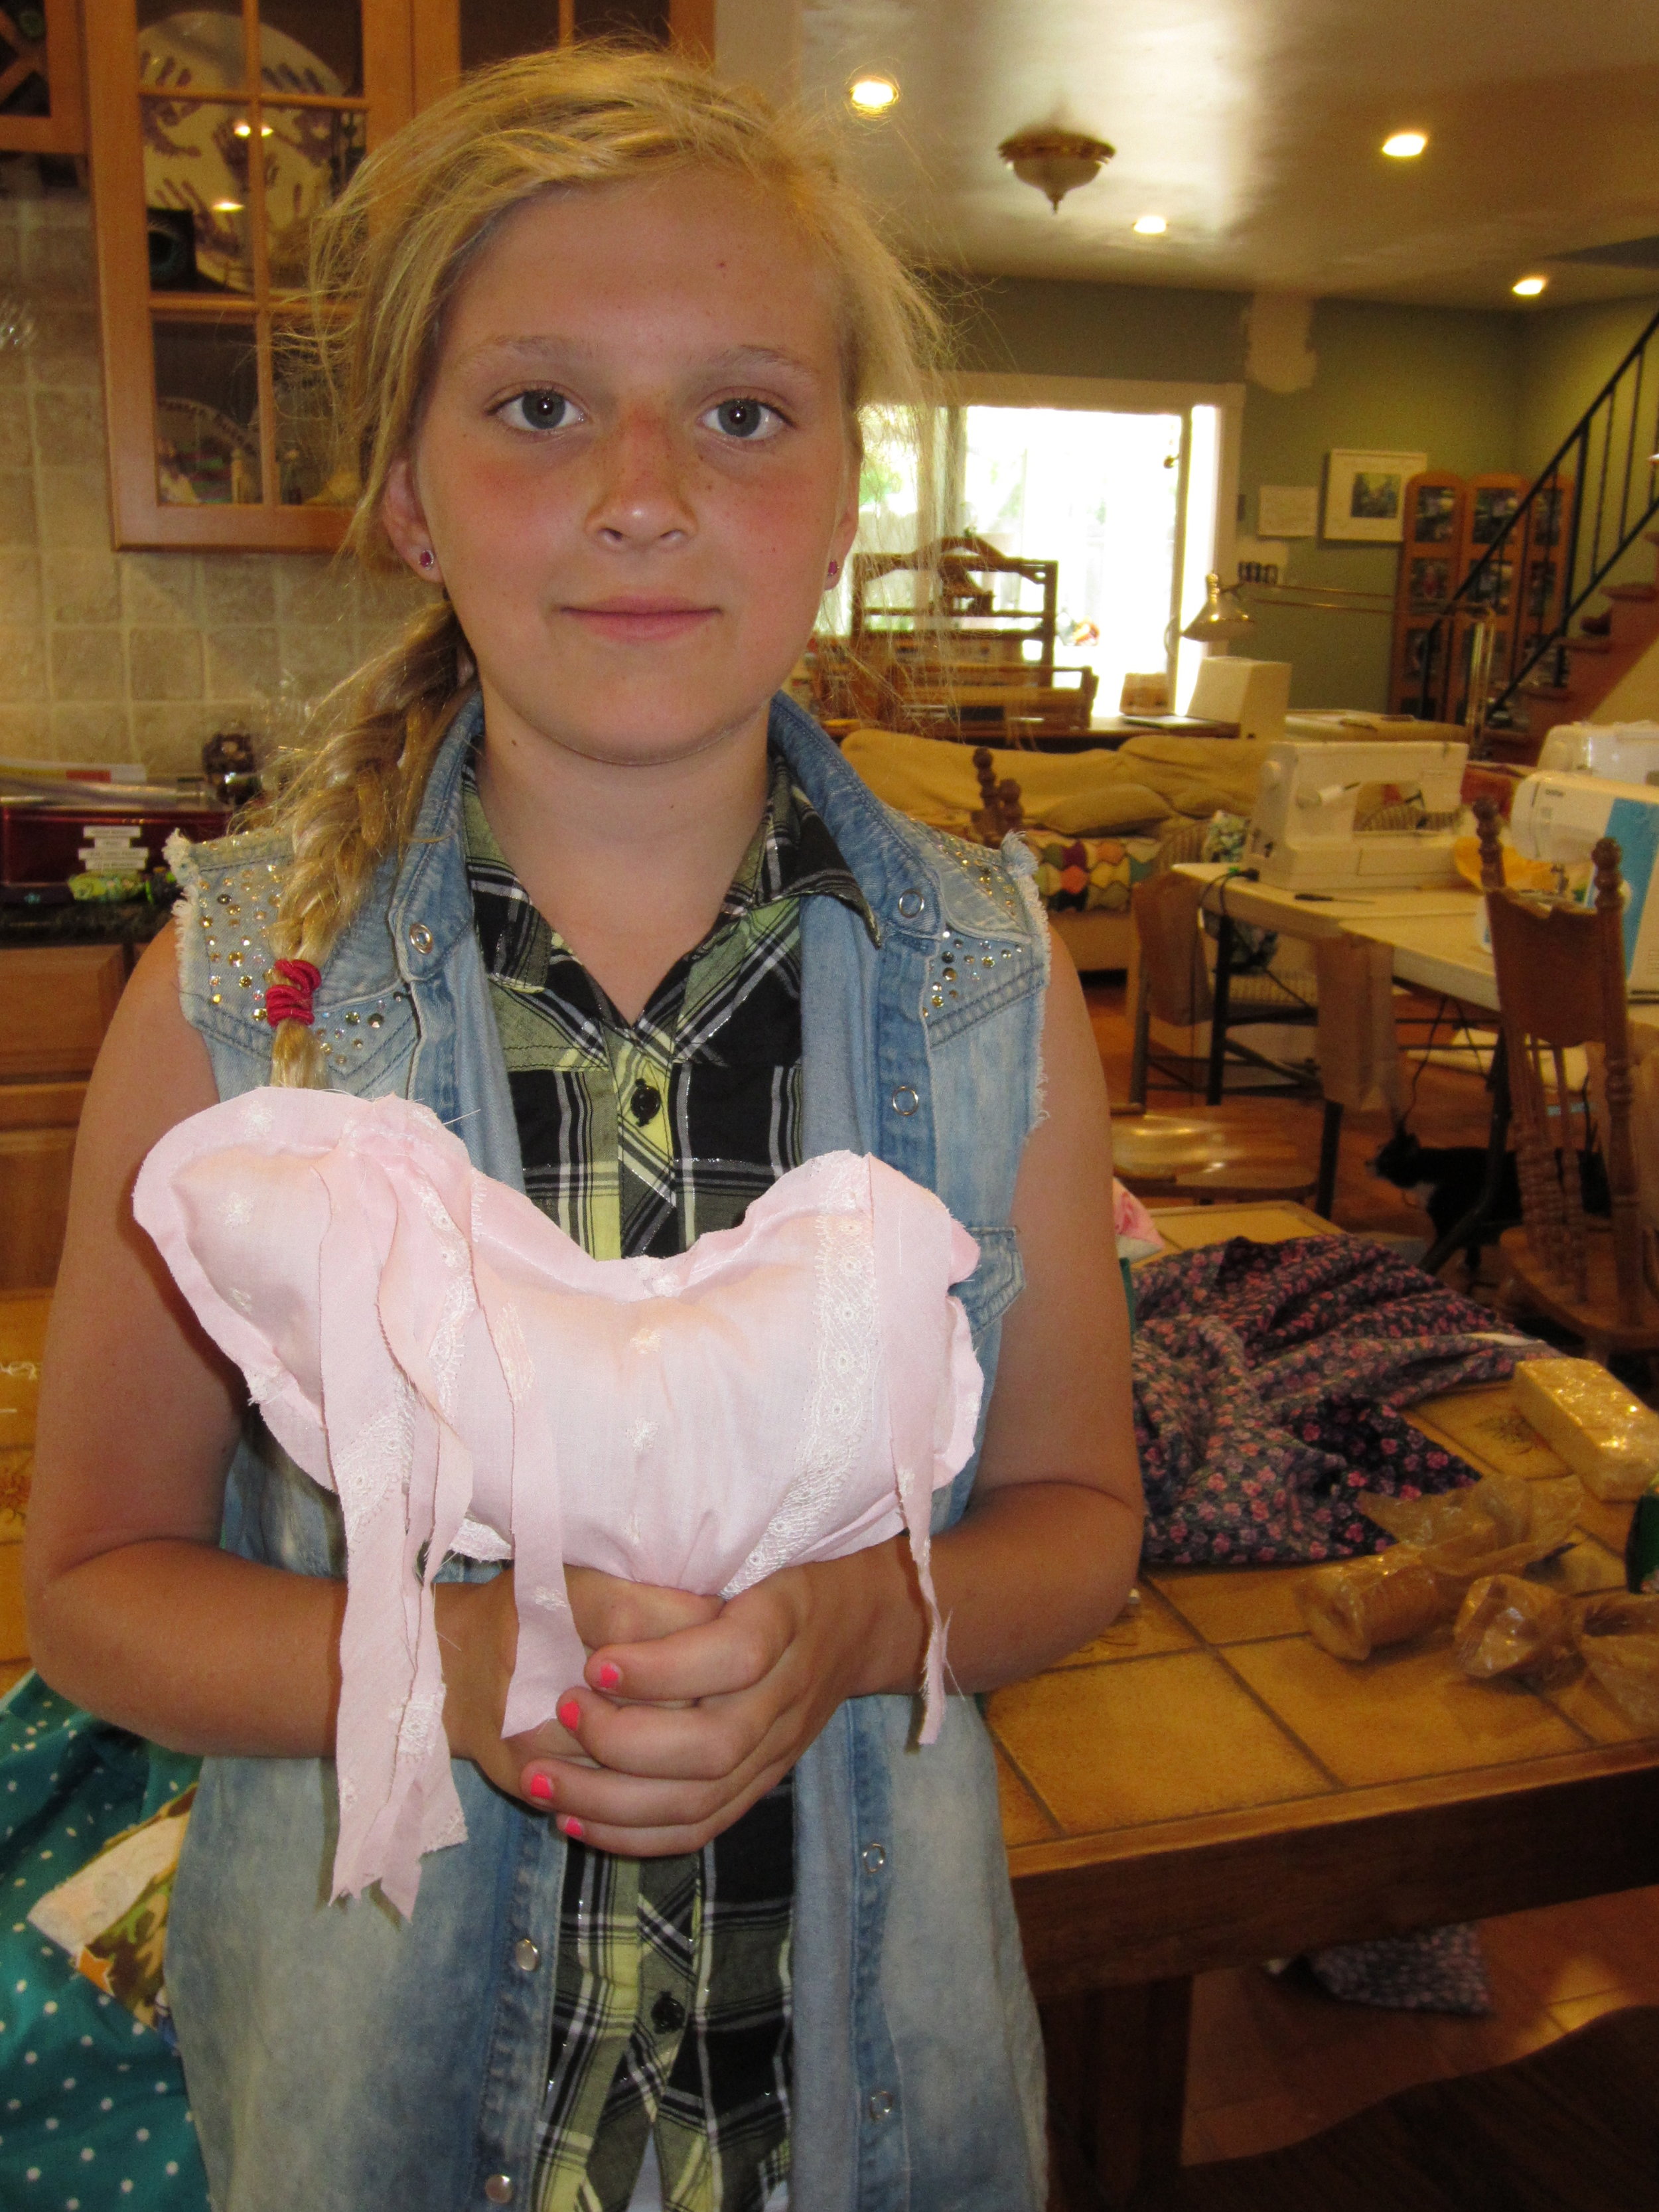
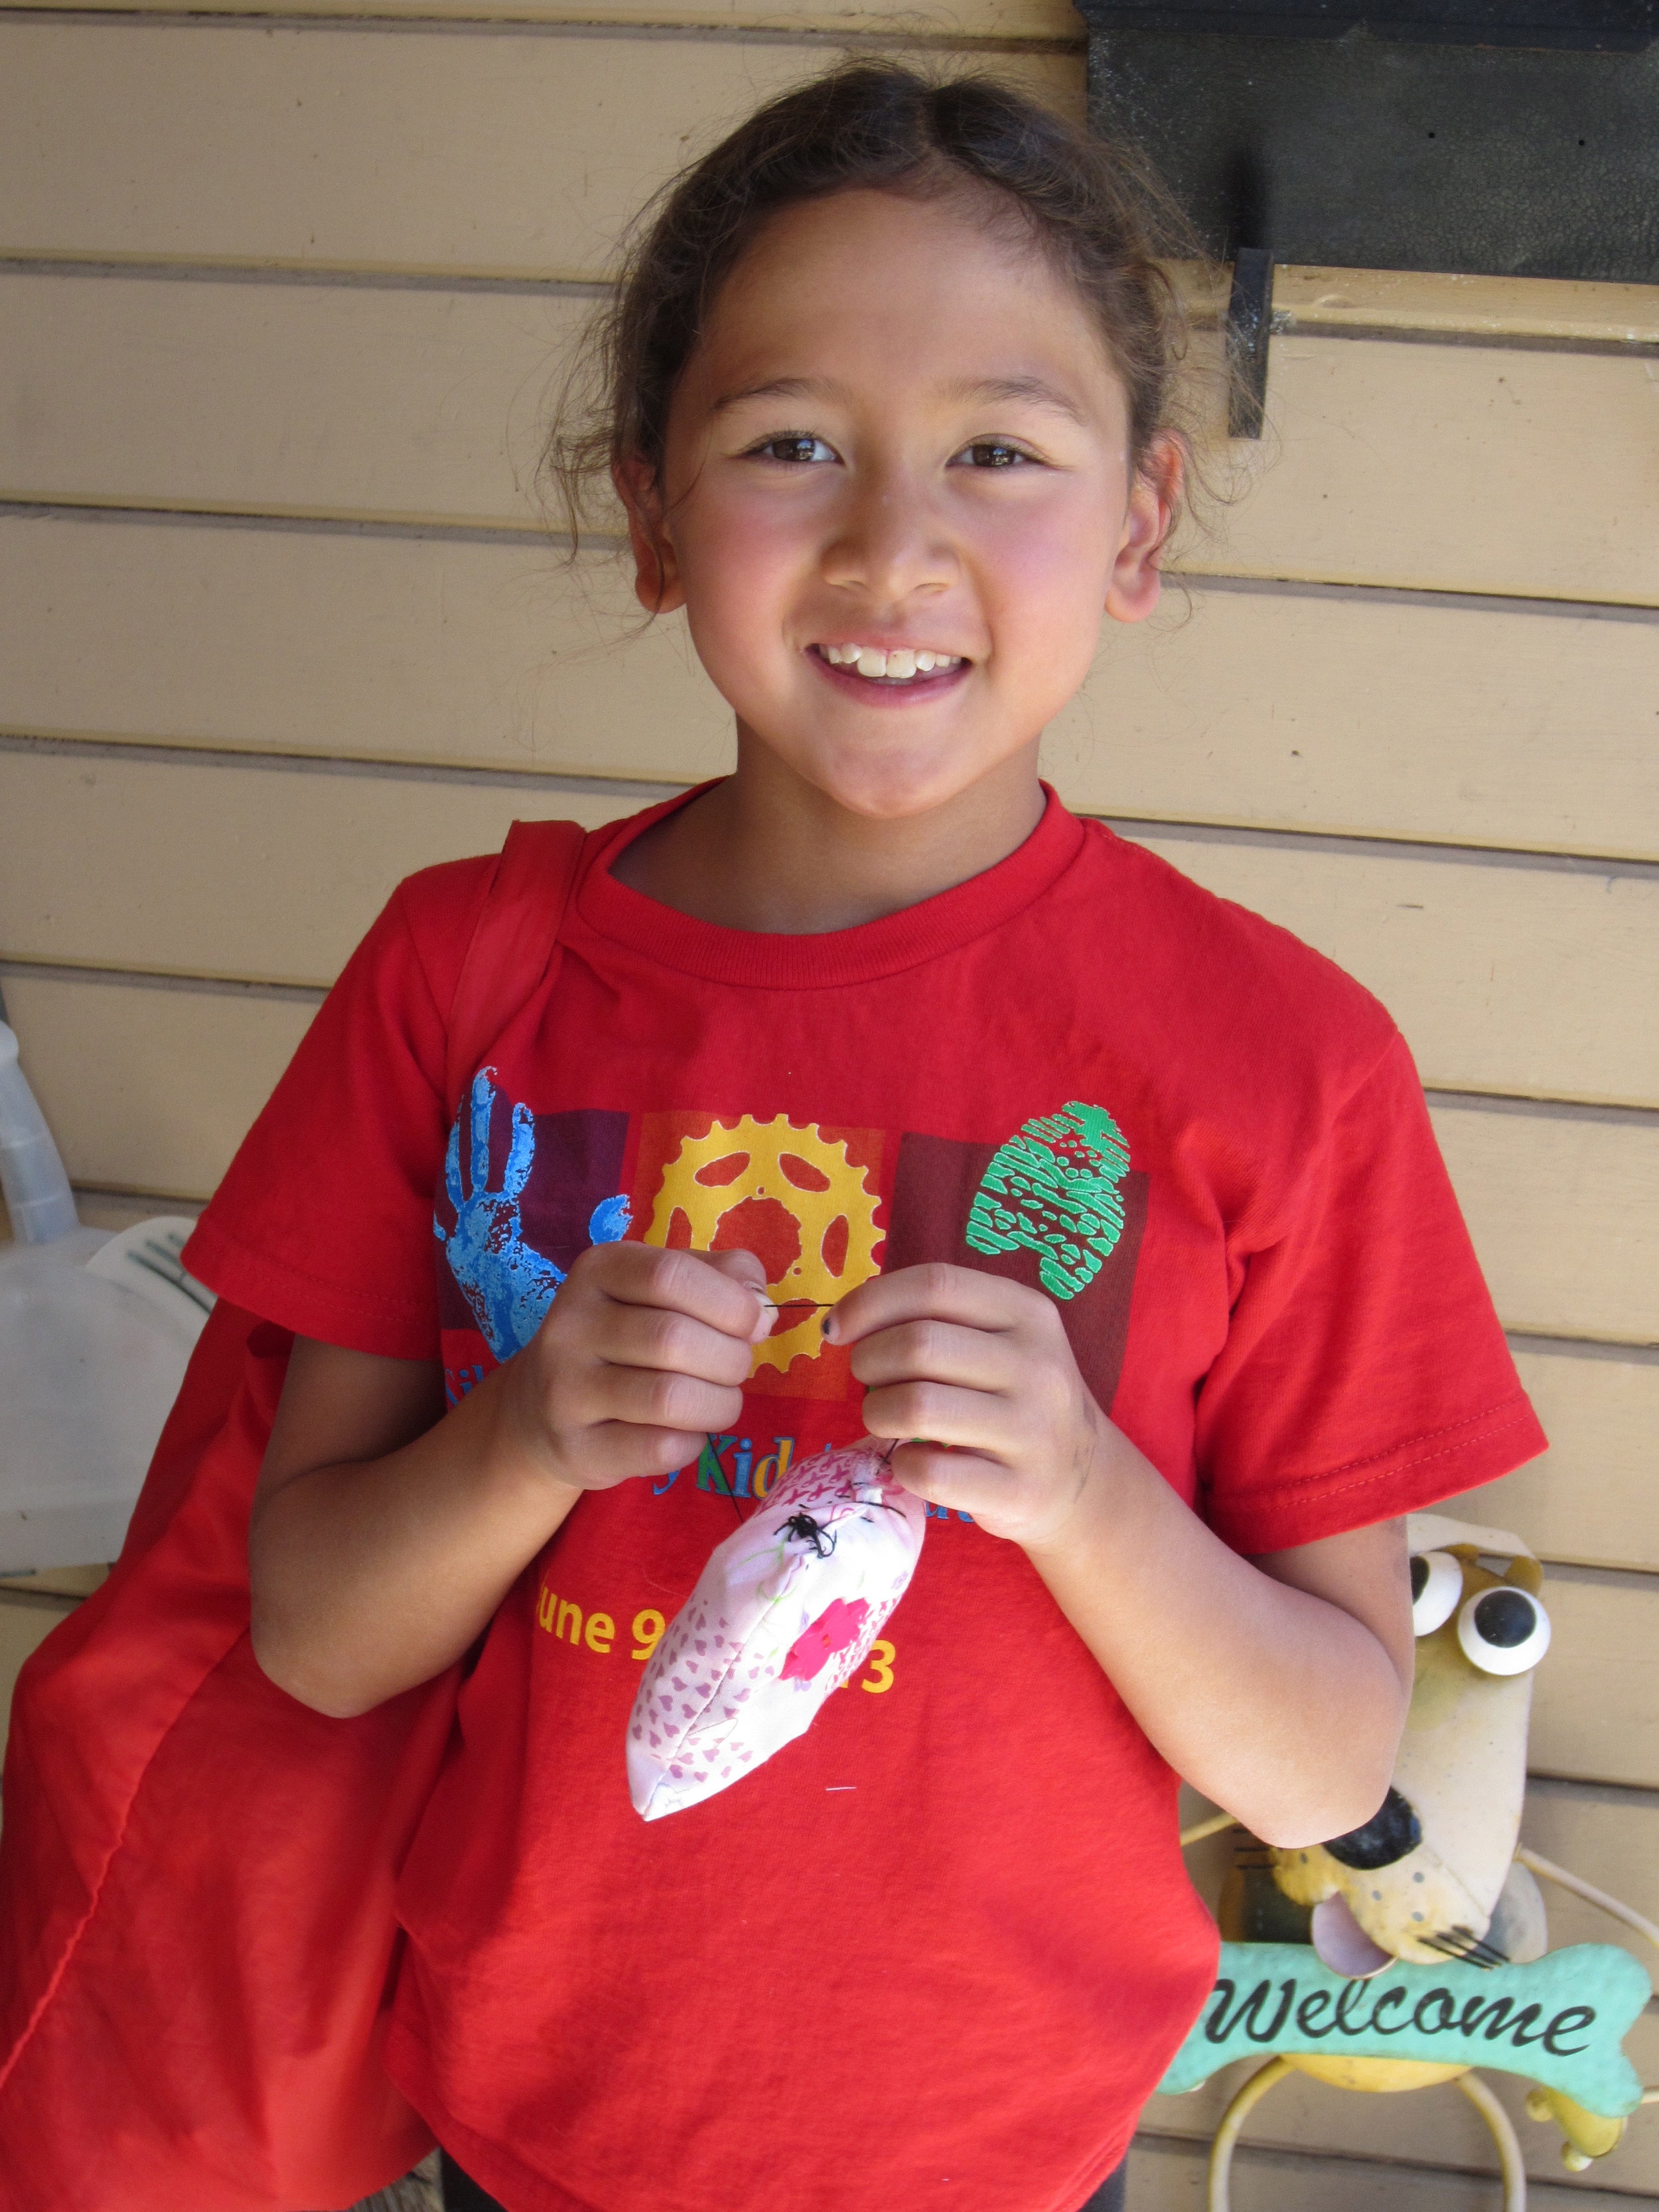
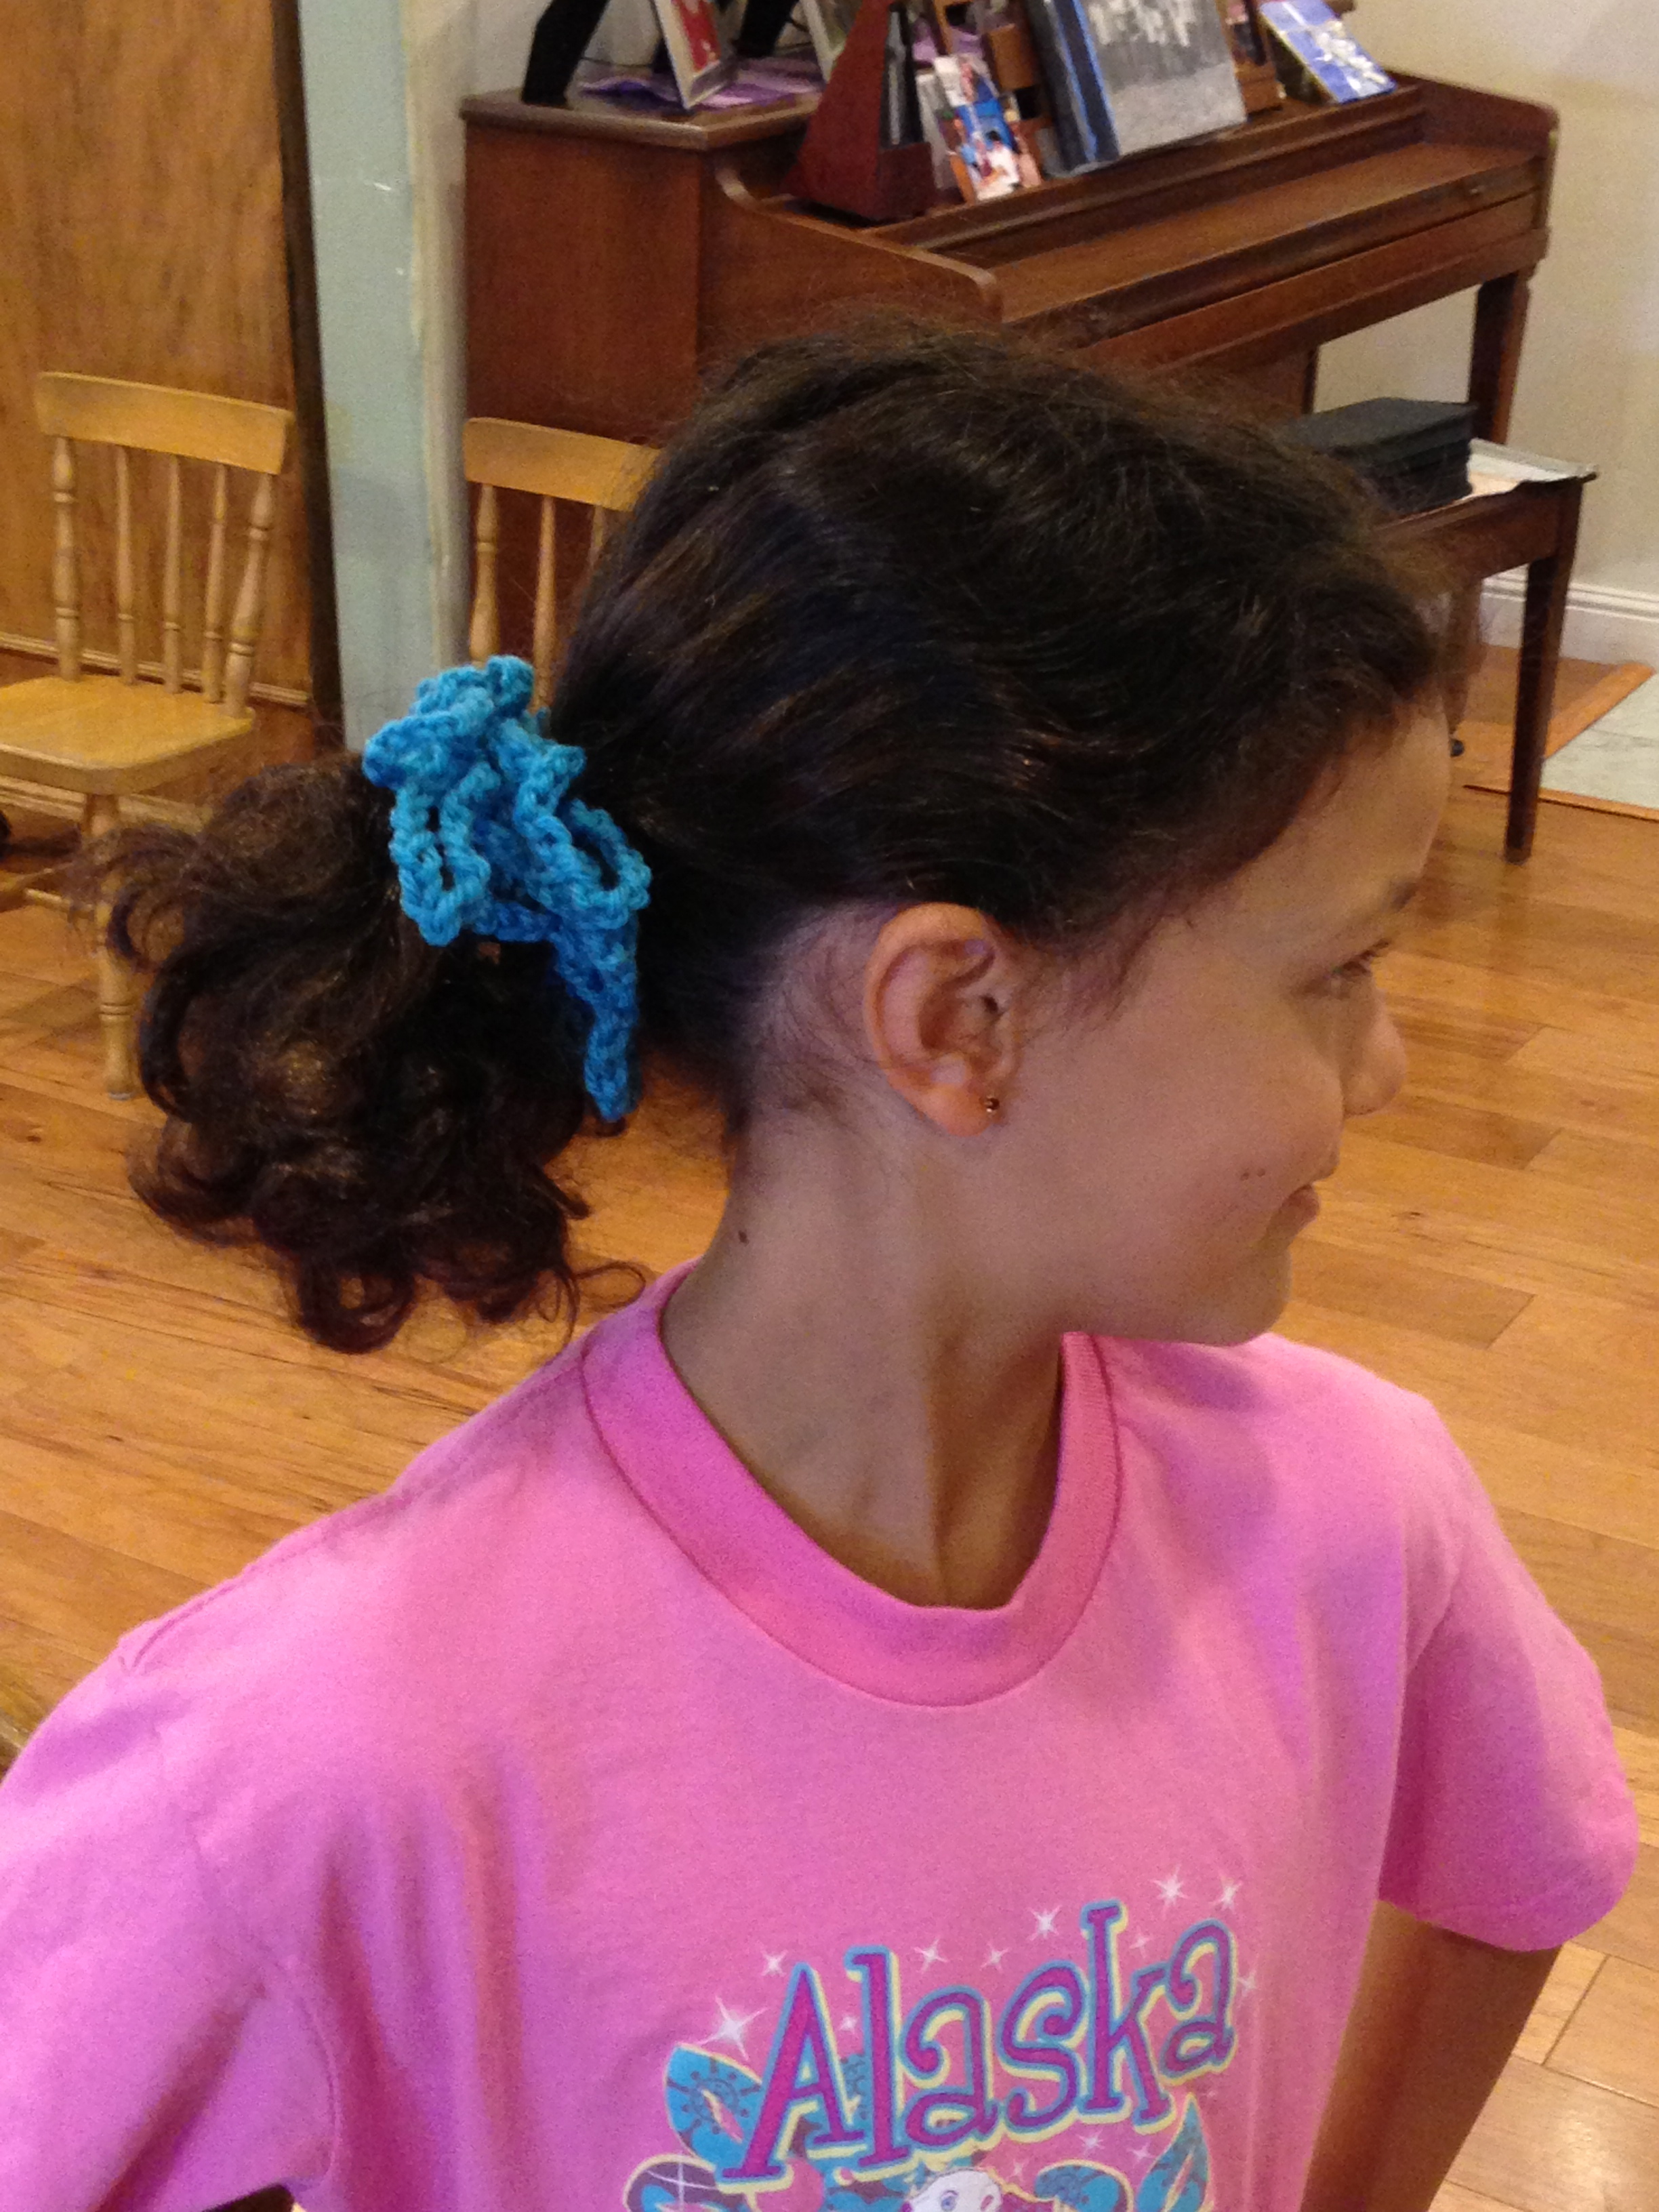
First up, we had a big finish - a hair scrunchie for this camper!  She did so great.  It is not easy to connect this yarn to the hair tie and it takes a long time to make all those chain stitches!  Good Job!IMG_0090Doesn't it look adorable on her??IMG_0091I can't believe a 10 year old can crochet this.  These are tiny stitches and make up the body part of an amigurumi elephant.  This camper is now working on the head.  What an accomplishment!IMG_0092Another camper started an amigurumi penguin and this is part of the head - almost complete!IMG_0093Our youngest crochet camper threading beads onto her yarn to make a beaded headband.  I can't believe tomorrow is our last day of this week's camp!  I will be winding yarn for the campers to take home with them so that they can finish their projects.


Amazing students!

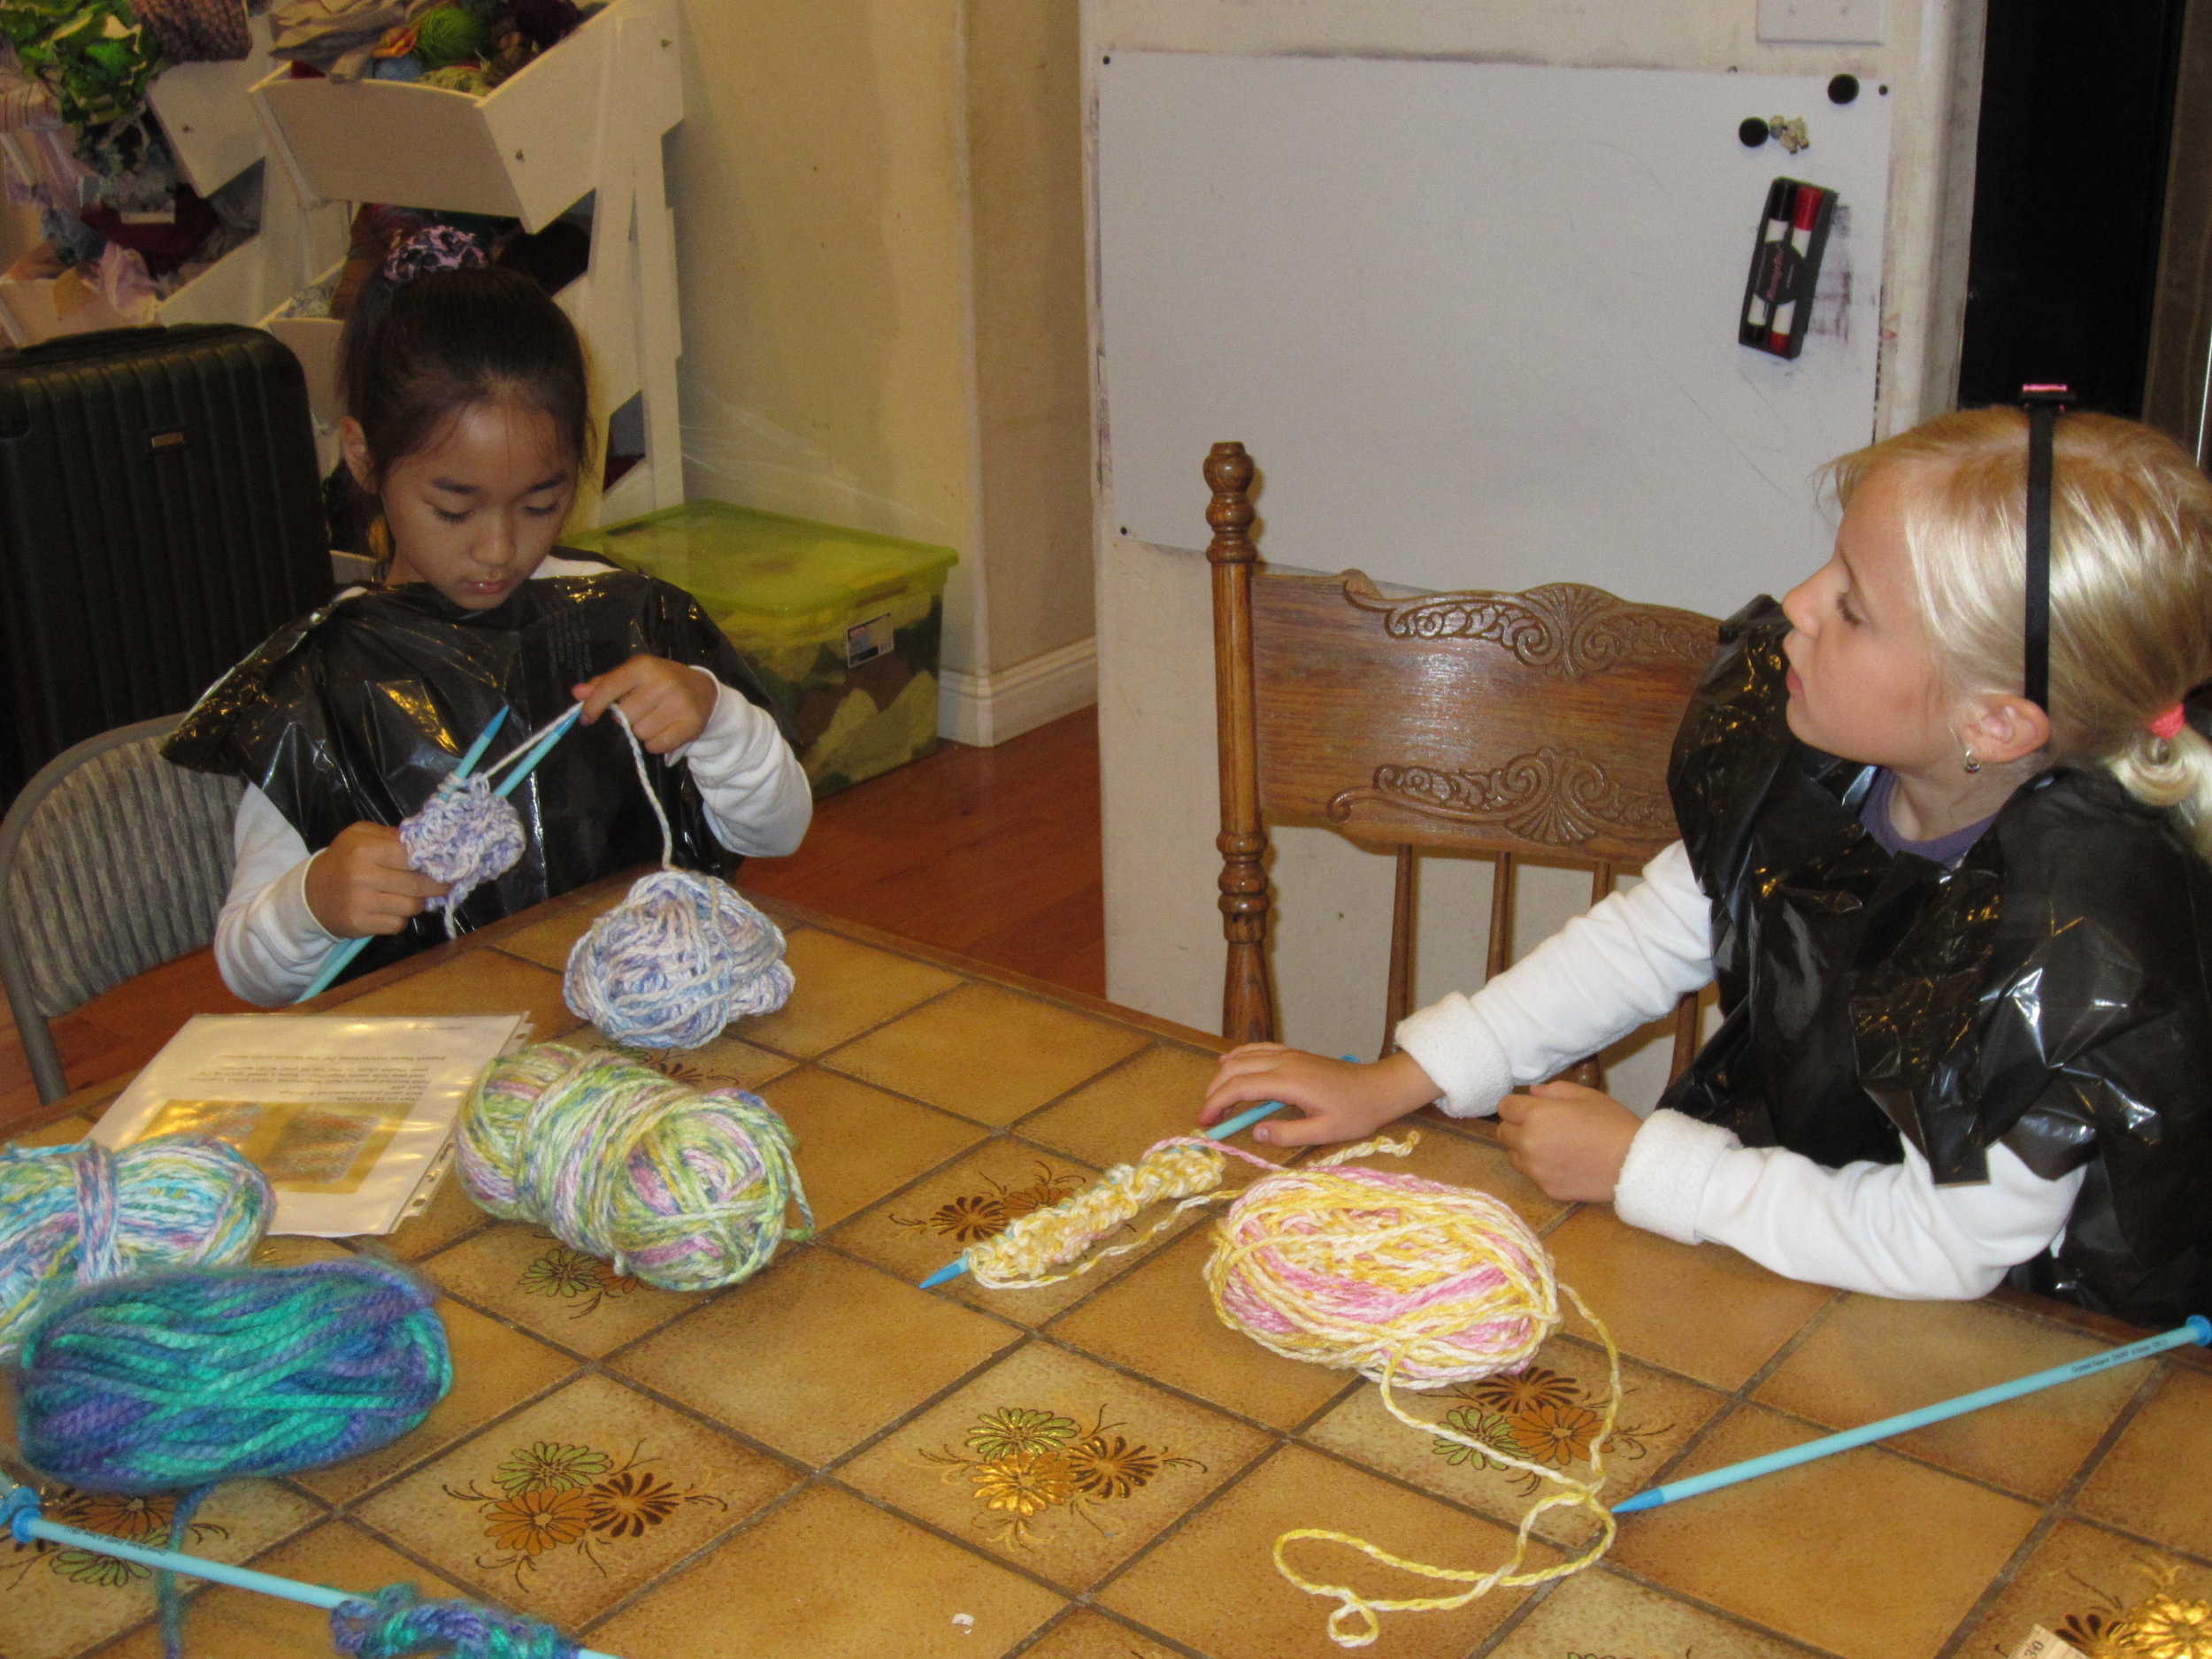
Today, crochet camp was amazing!IMG_0085As soon as the campers arrived, they got right down to work.IMG_0086A beautiful headband was created!IMG_0087And another beautiful beaded headband was created!  I can't believe what these kids accomplish in such a short amount of time.IMG_0088Two of the campers want to make some amigurumi stuffed animals - so that is what we started.  This is the start of an elephant.  There will be a start of a penguin tomorrow for the other camper.  In the upper corner you can just see a barely 7 year old crocheting her hair scrunchie.IMG_0089Such lovely, small, perfect crochet stitches for her stuffed elephant!

Second Day of Crochet Camp

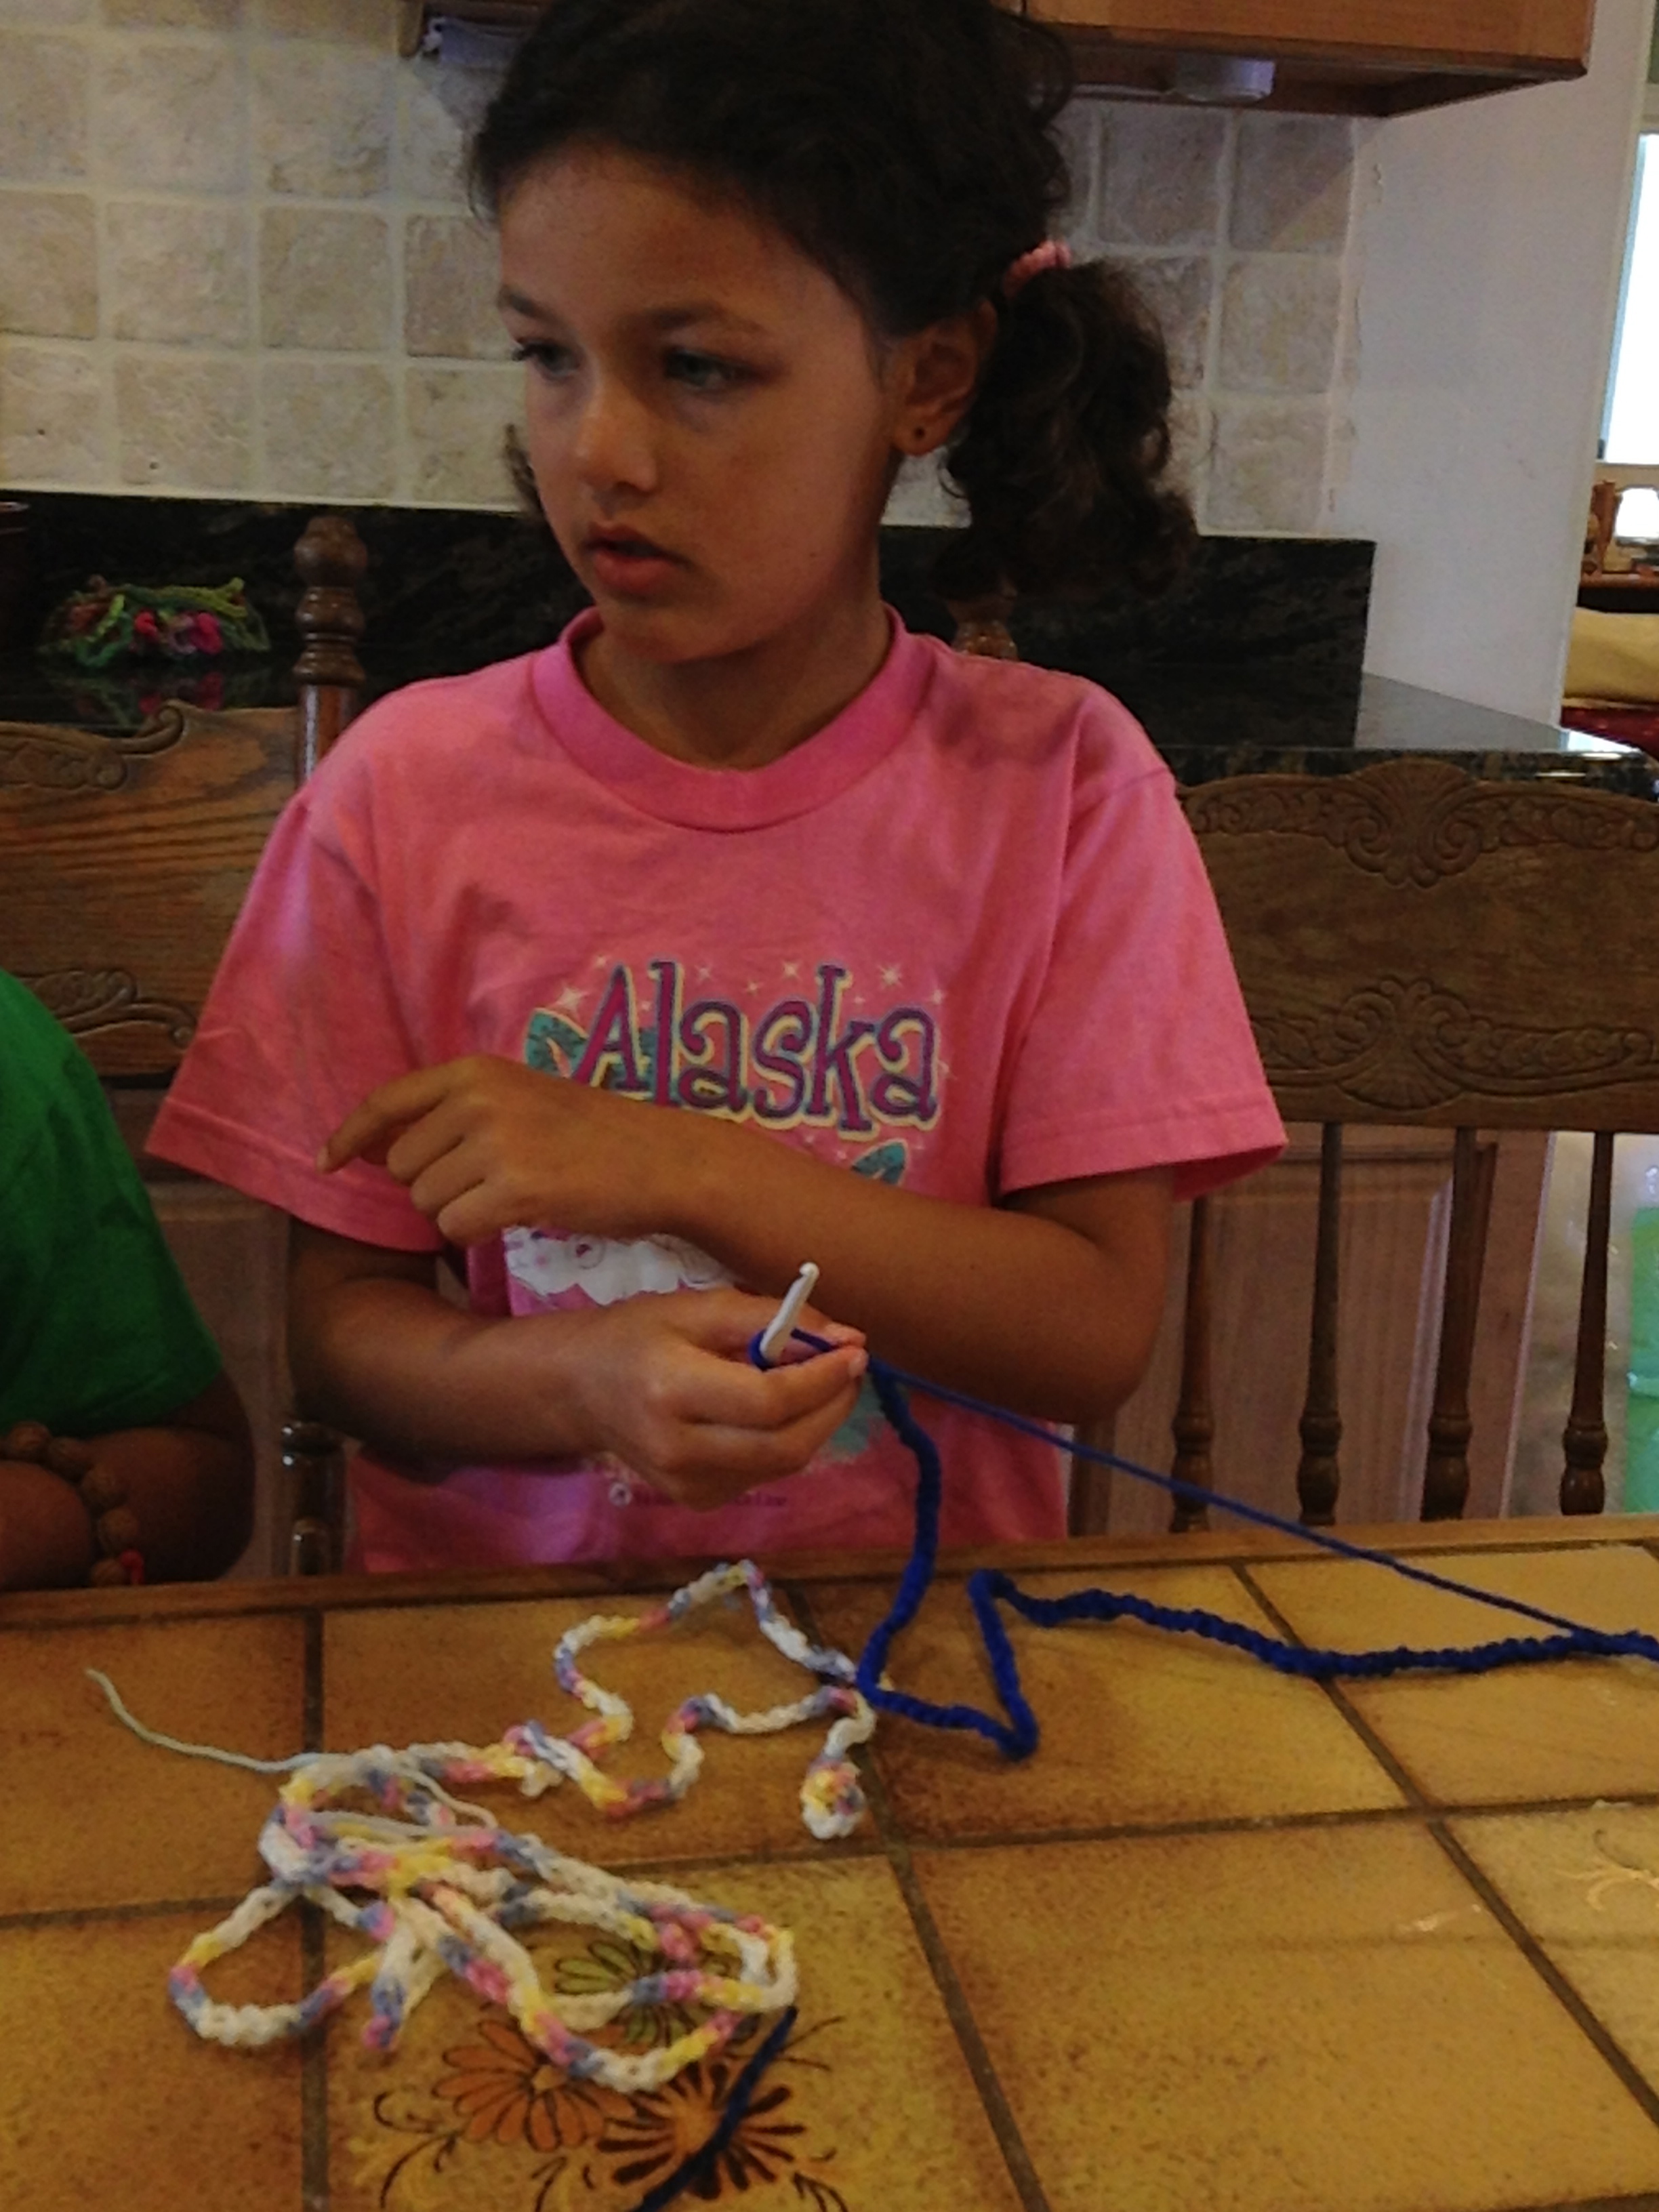
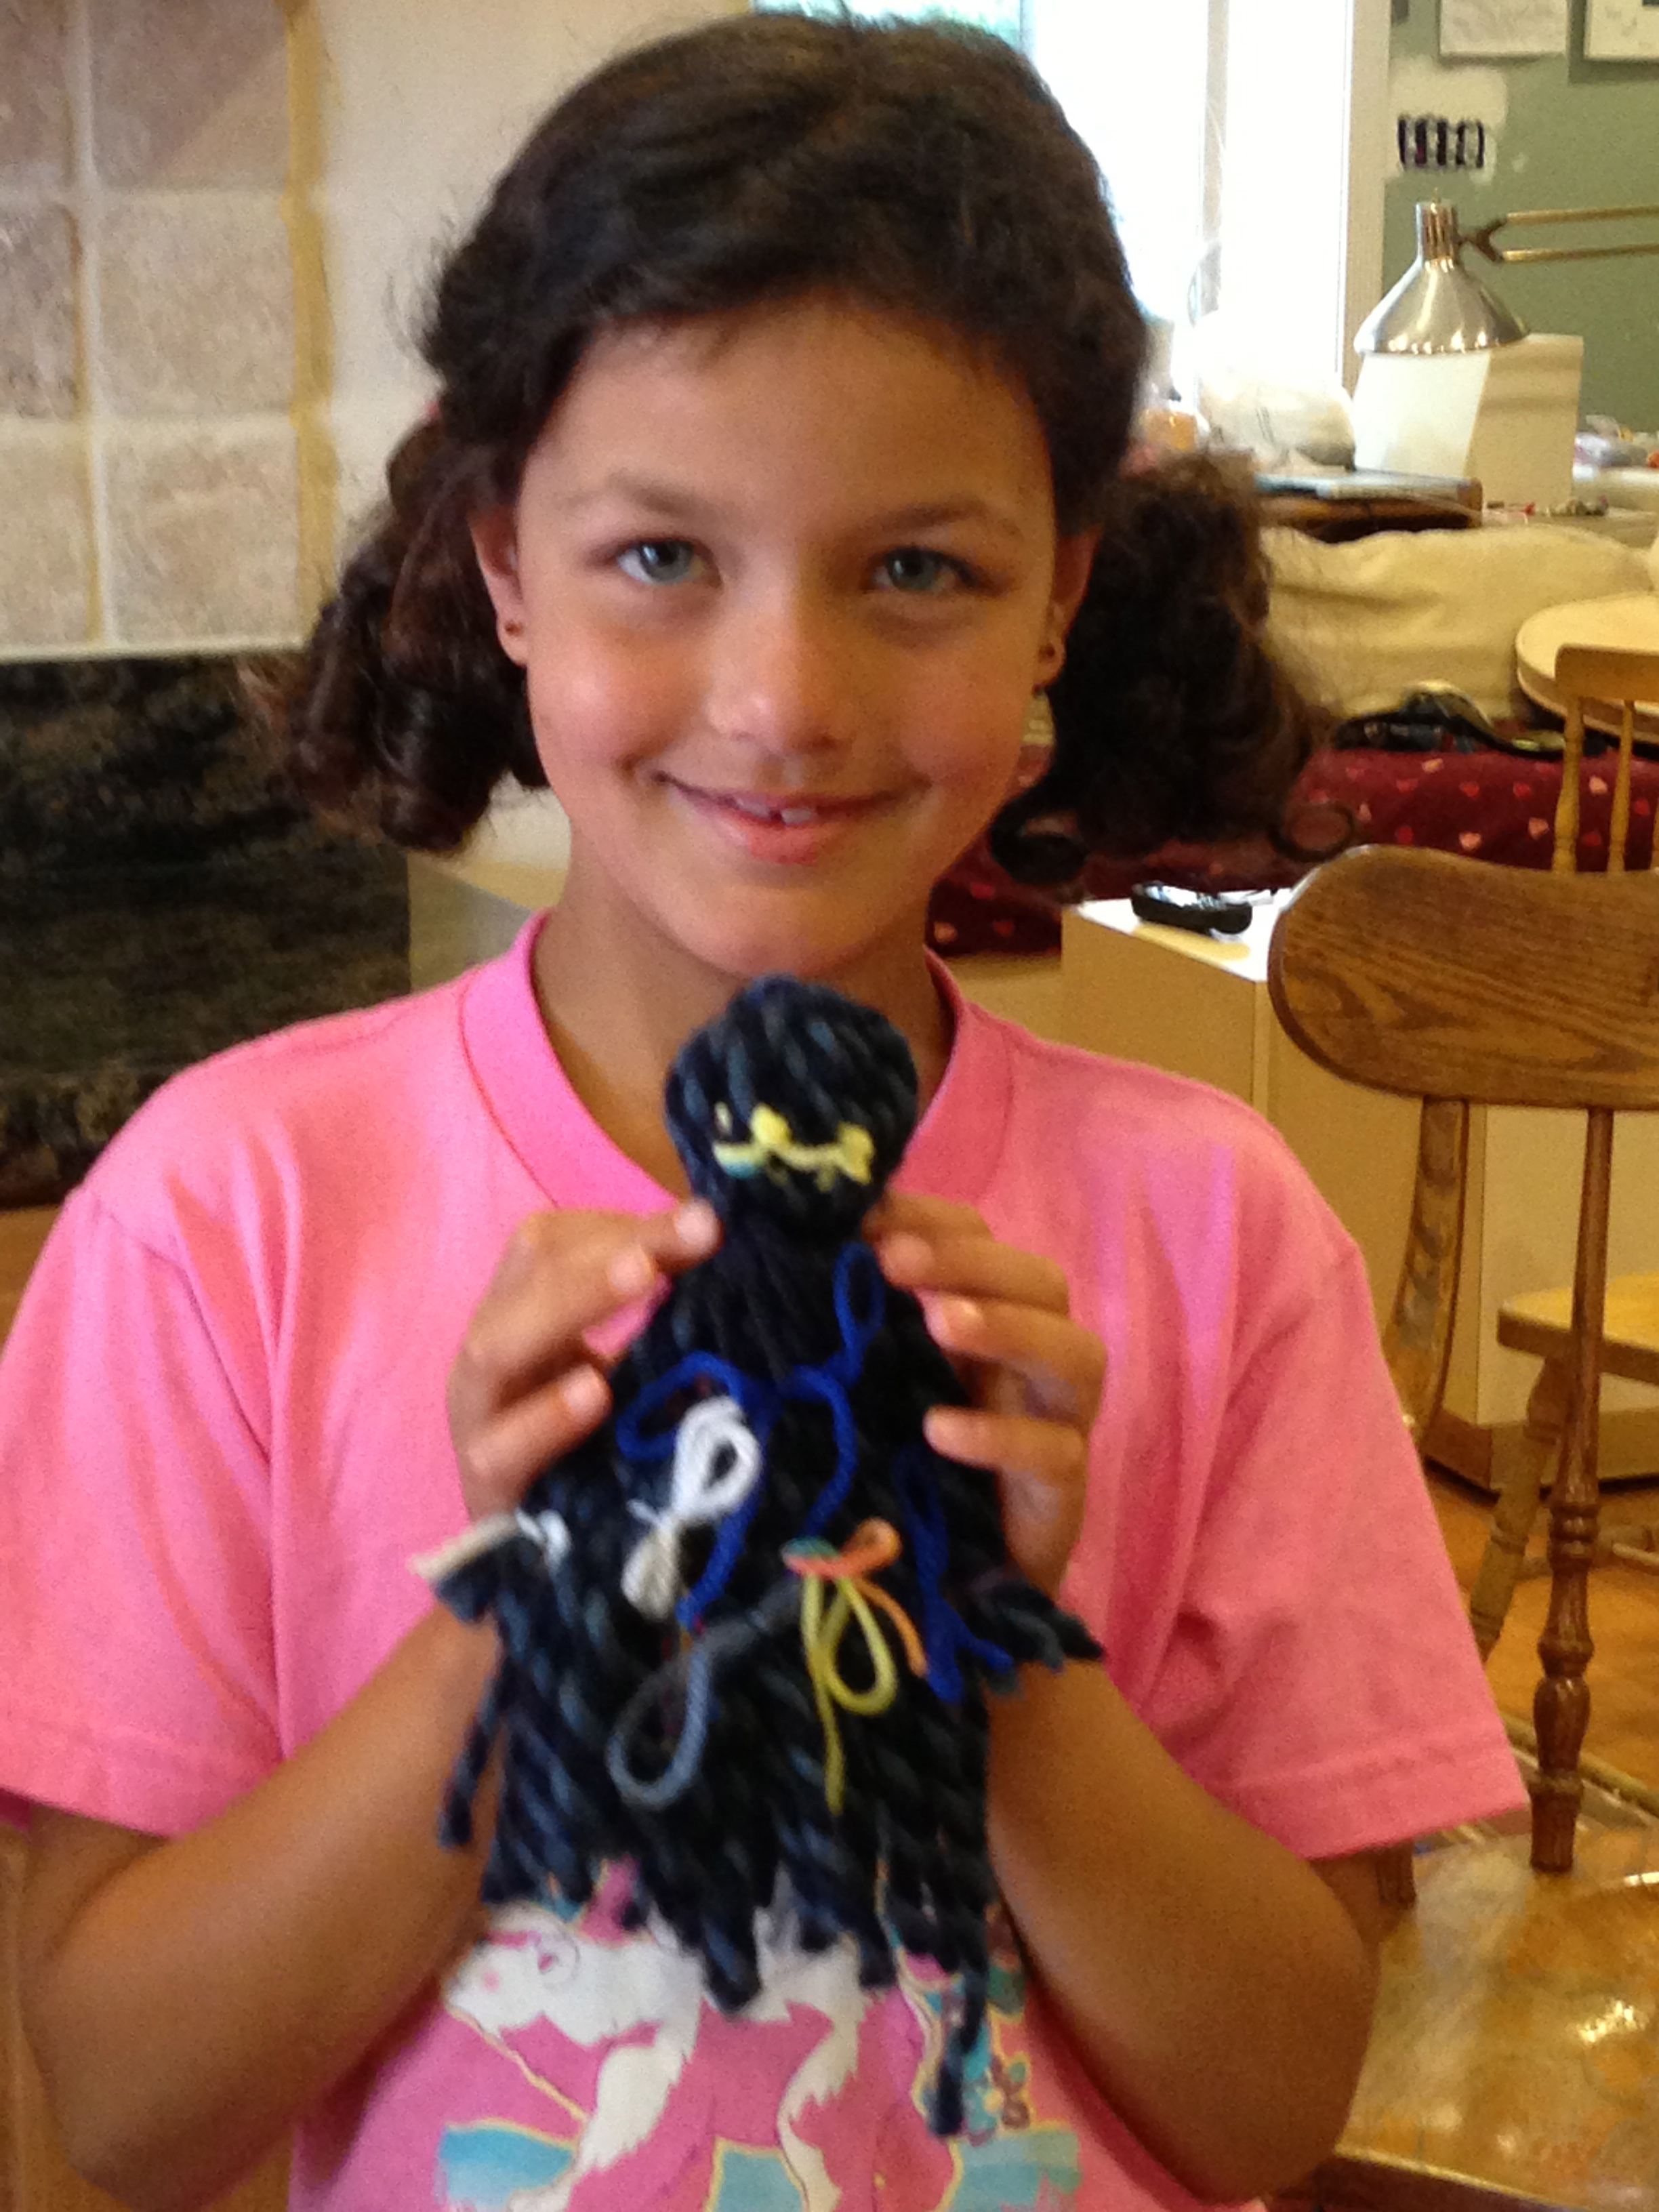
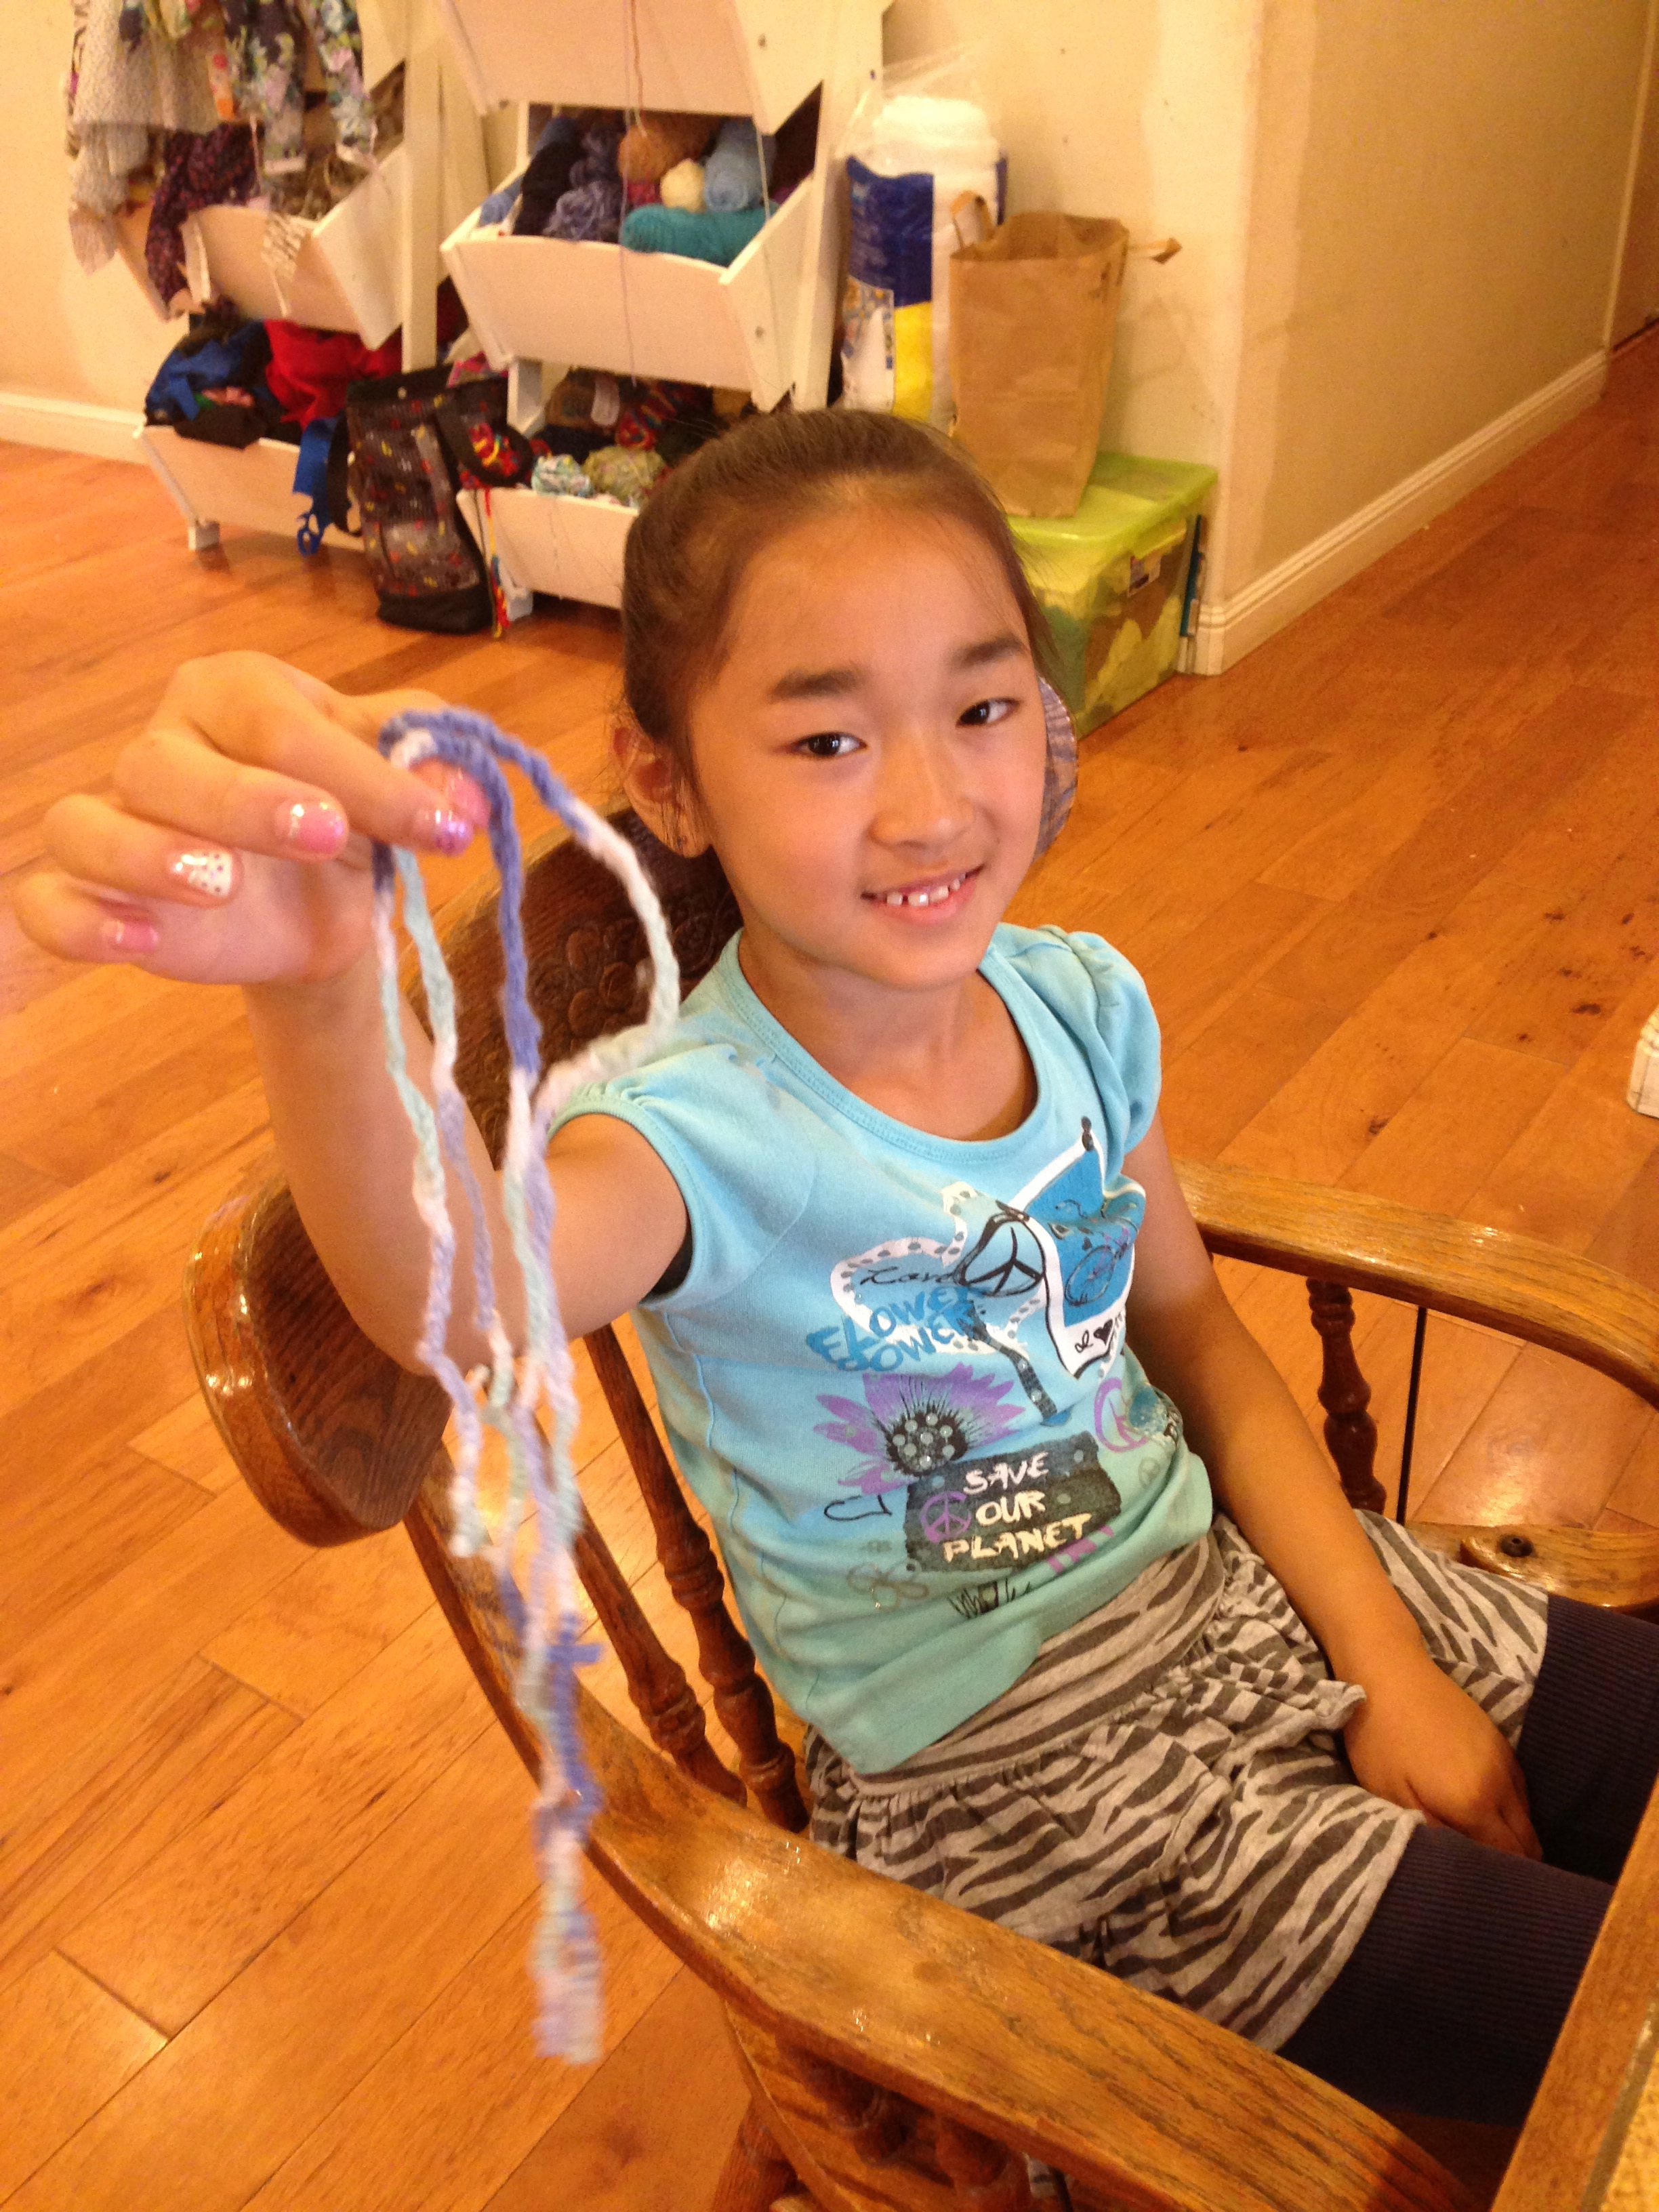
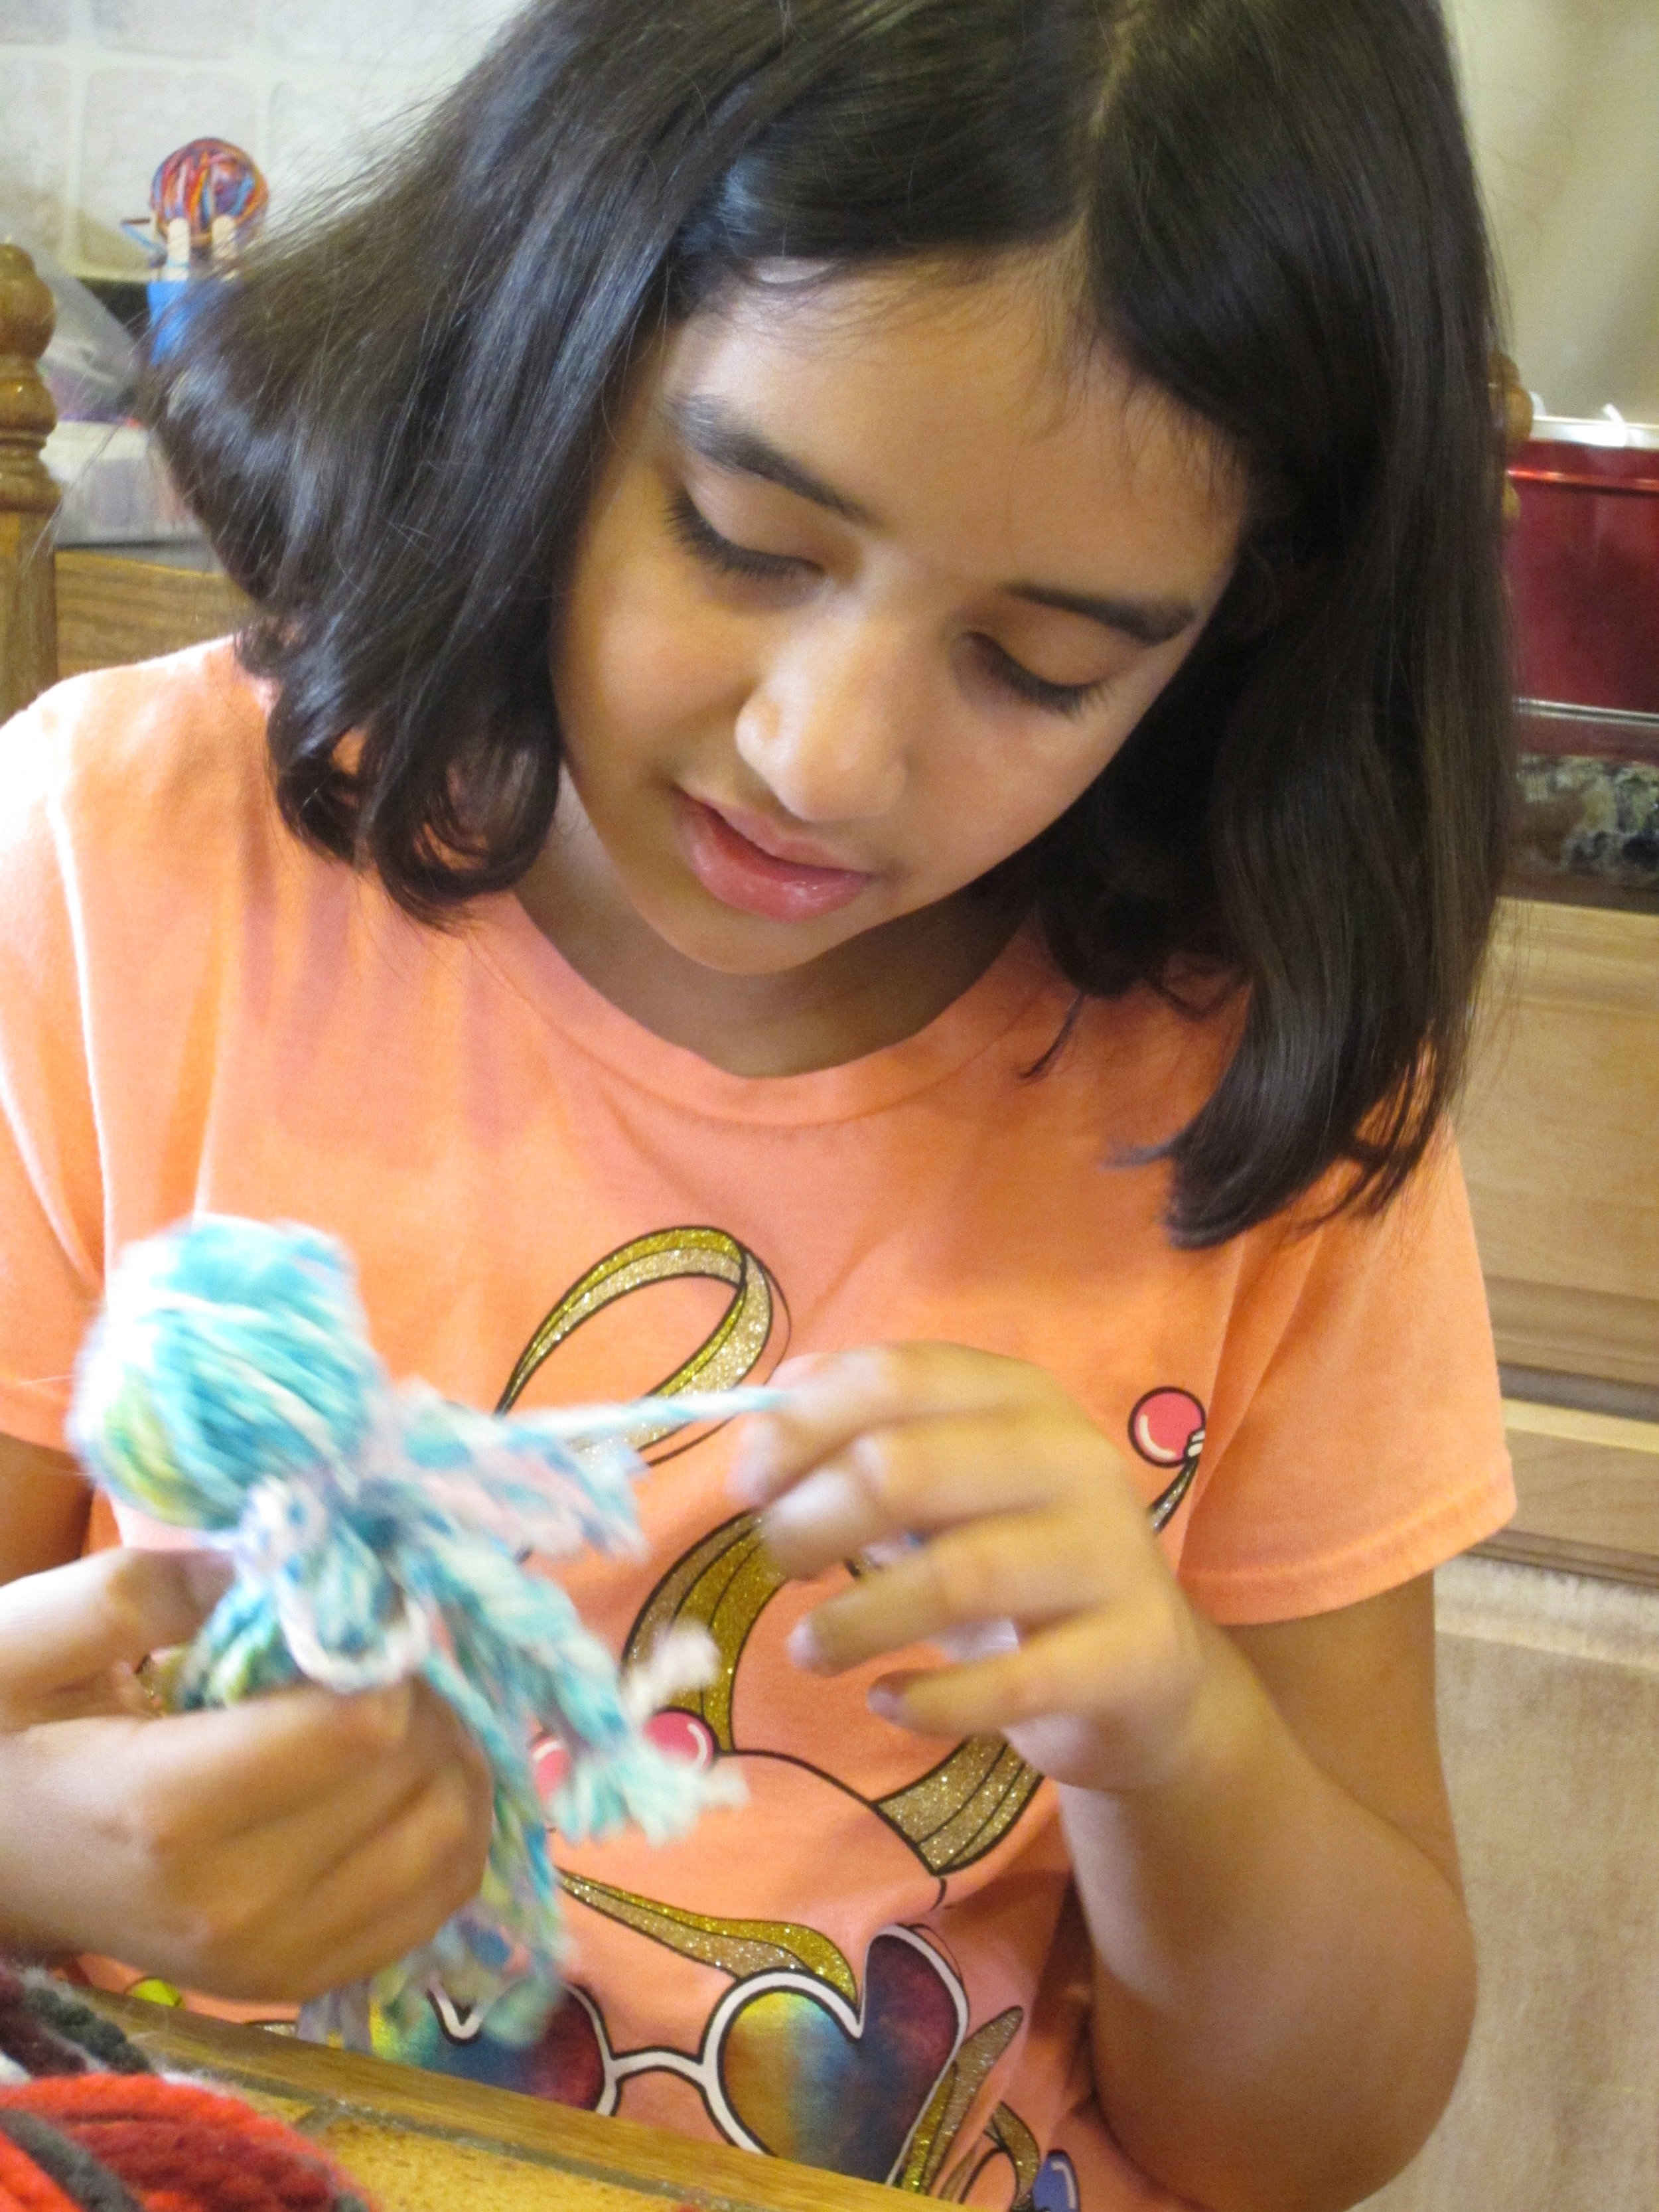
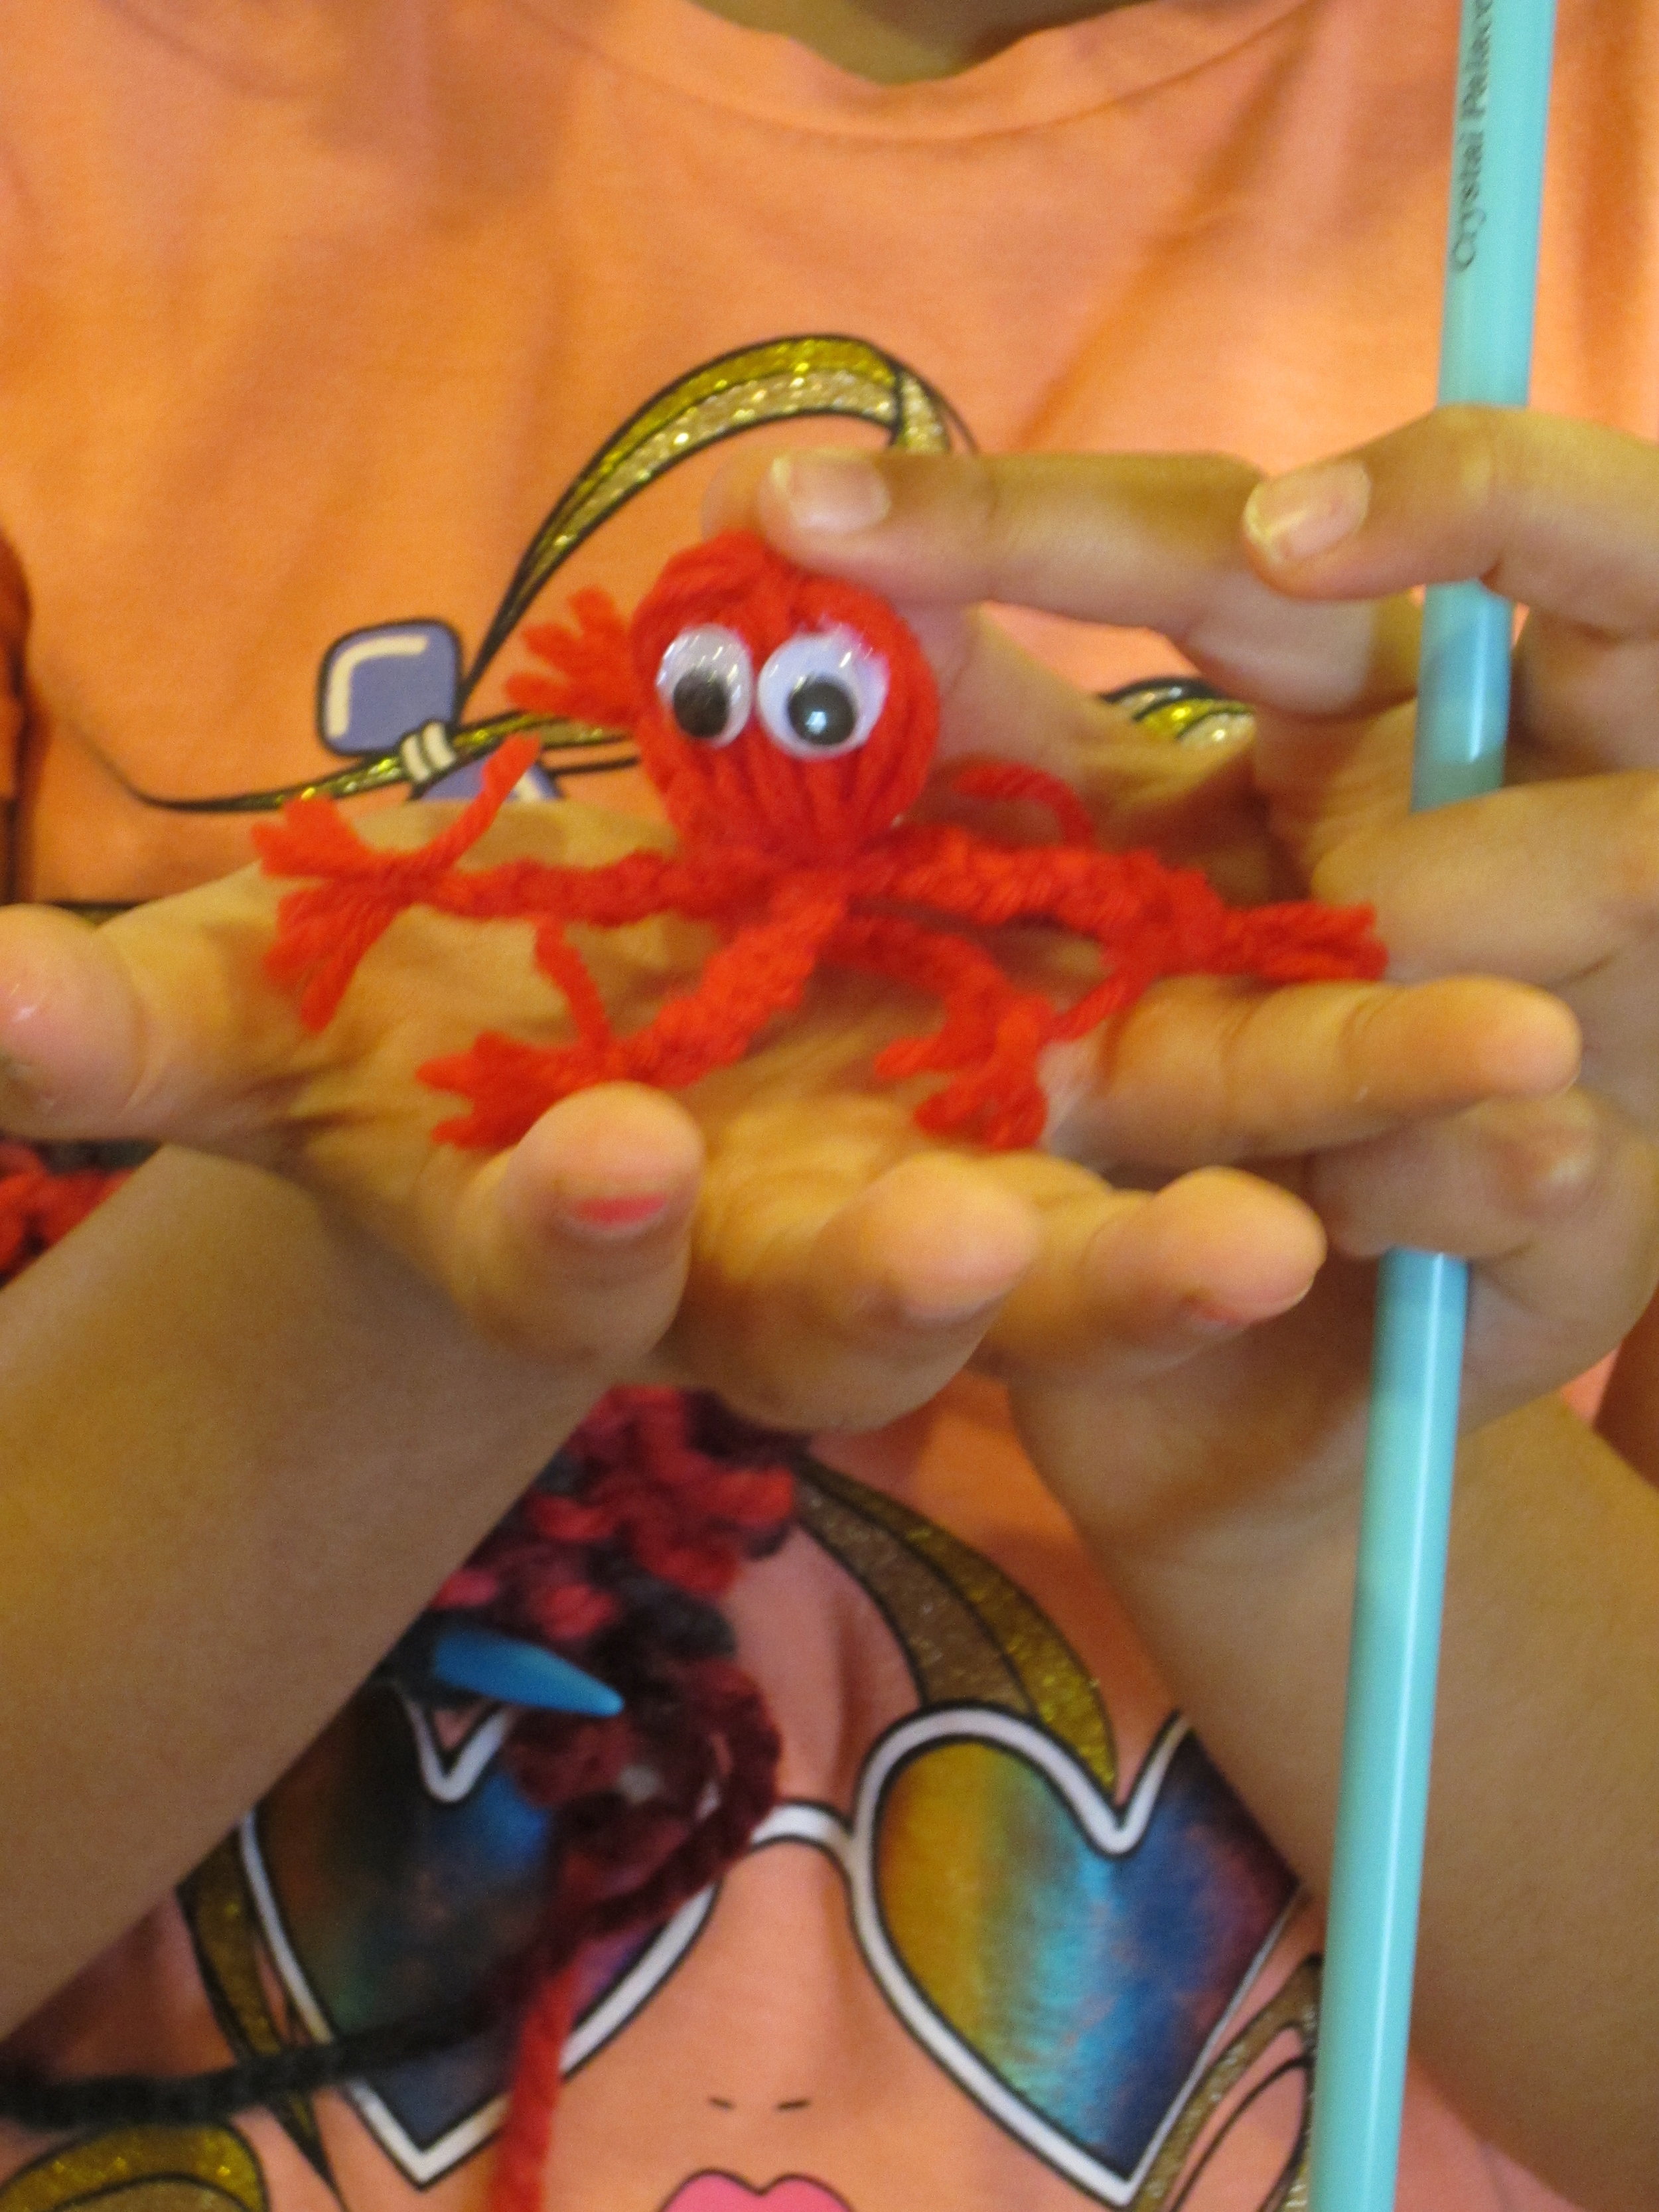
I can't believe how hungry these campers are to learn and create!  It is music to my ears!IMG_0081This camper kept diligently crocheting along until she had mastered the chain stitch and completed her shoelaces!  It takes determination to get it right.IMG_0083And here they are.  She has her own sense of style - the shoelaces are different colors on purpose!IMG_0082This camper was so excited to learn more that she brought her work home with her yesterday and finished up her hair scrunchie.   It's just perfect!  Now she has moved onto a beaded headband (which she will finish tomorrow) and on her list to make is an amigurumi stuffed animal.  I know she can do it!IMG_0084We also made a yarn octopus complete with embroidered face and bows everywhere!  Tomorrow this young camper will make her hair scrunchie. 

Crochet Camp is this week!

Our first day of crochet camp was today and boy are these kids quick learners!IMG_0073We always start out with shoelaces.  It's a quick way to learn the chain stitch and to also learn how to make your tension even.IMG_0075

Finished shoelaces!!

IMG_0076And another pair of finished shoelaces!

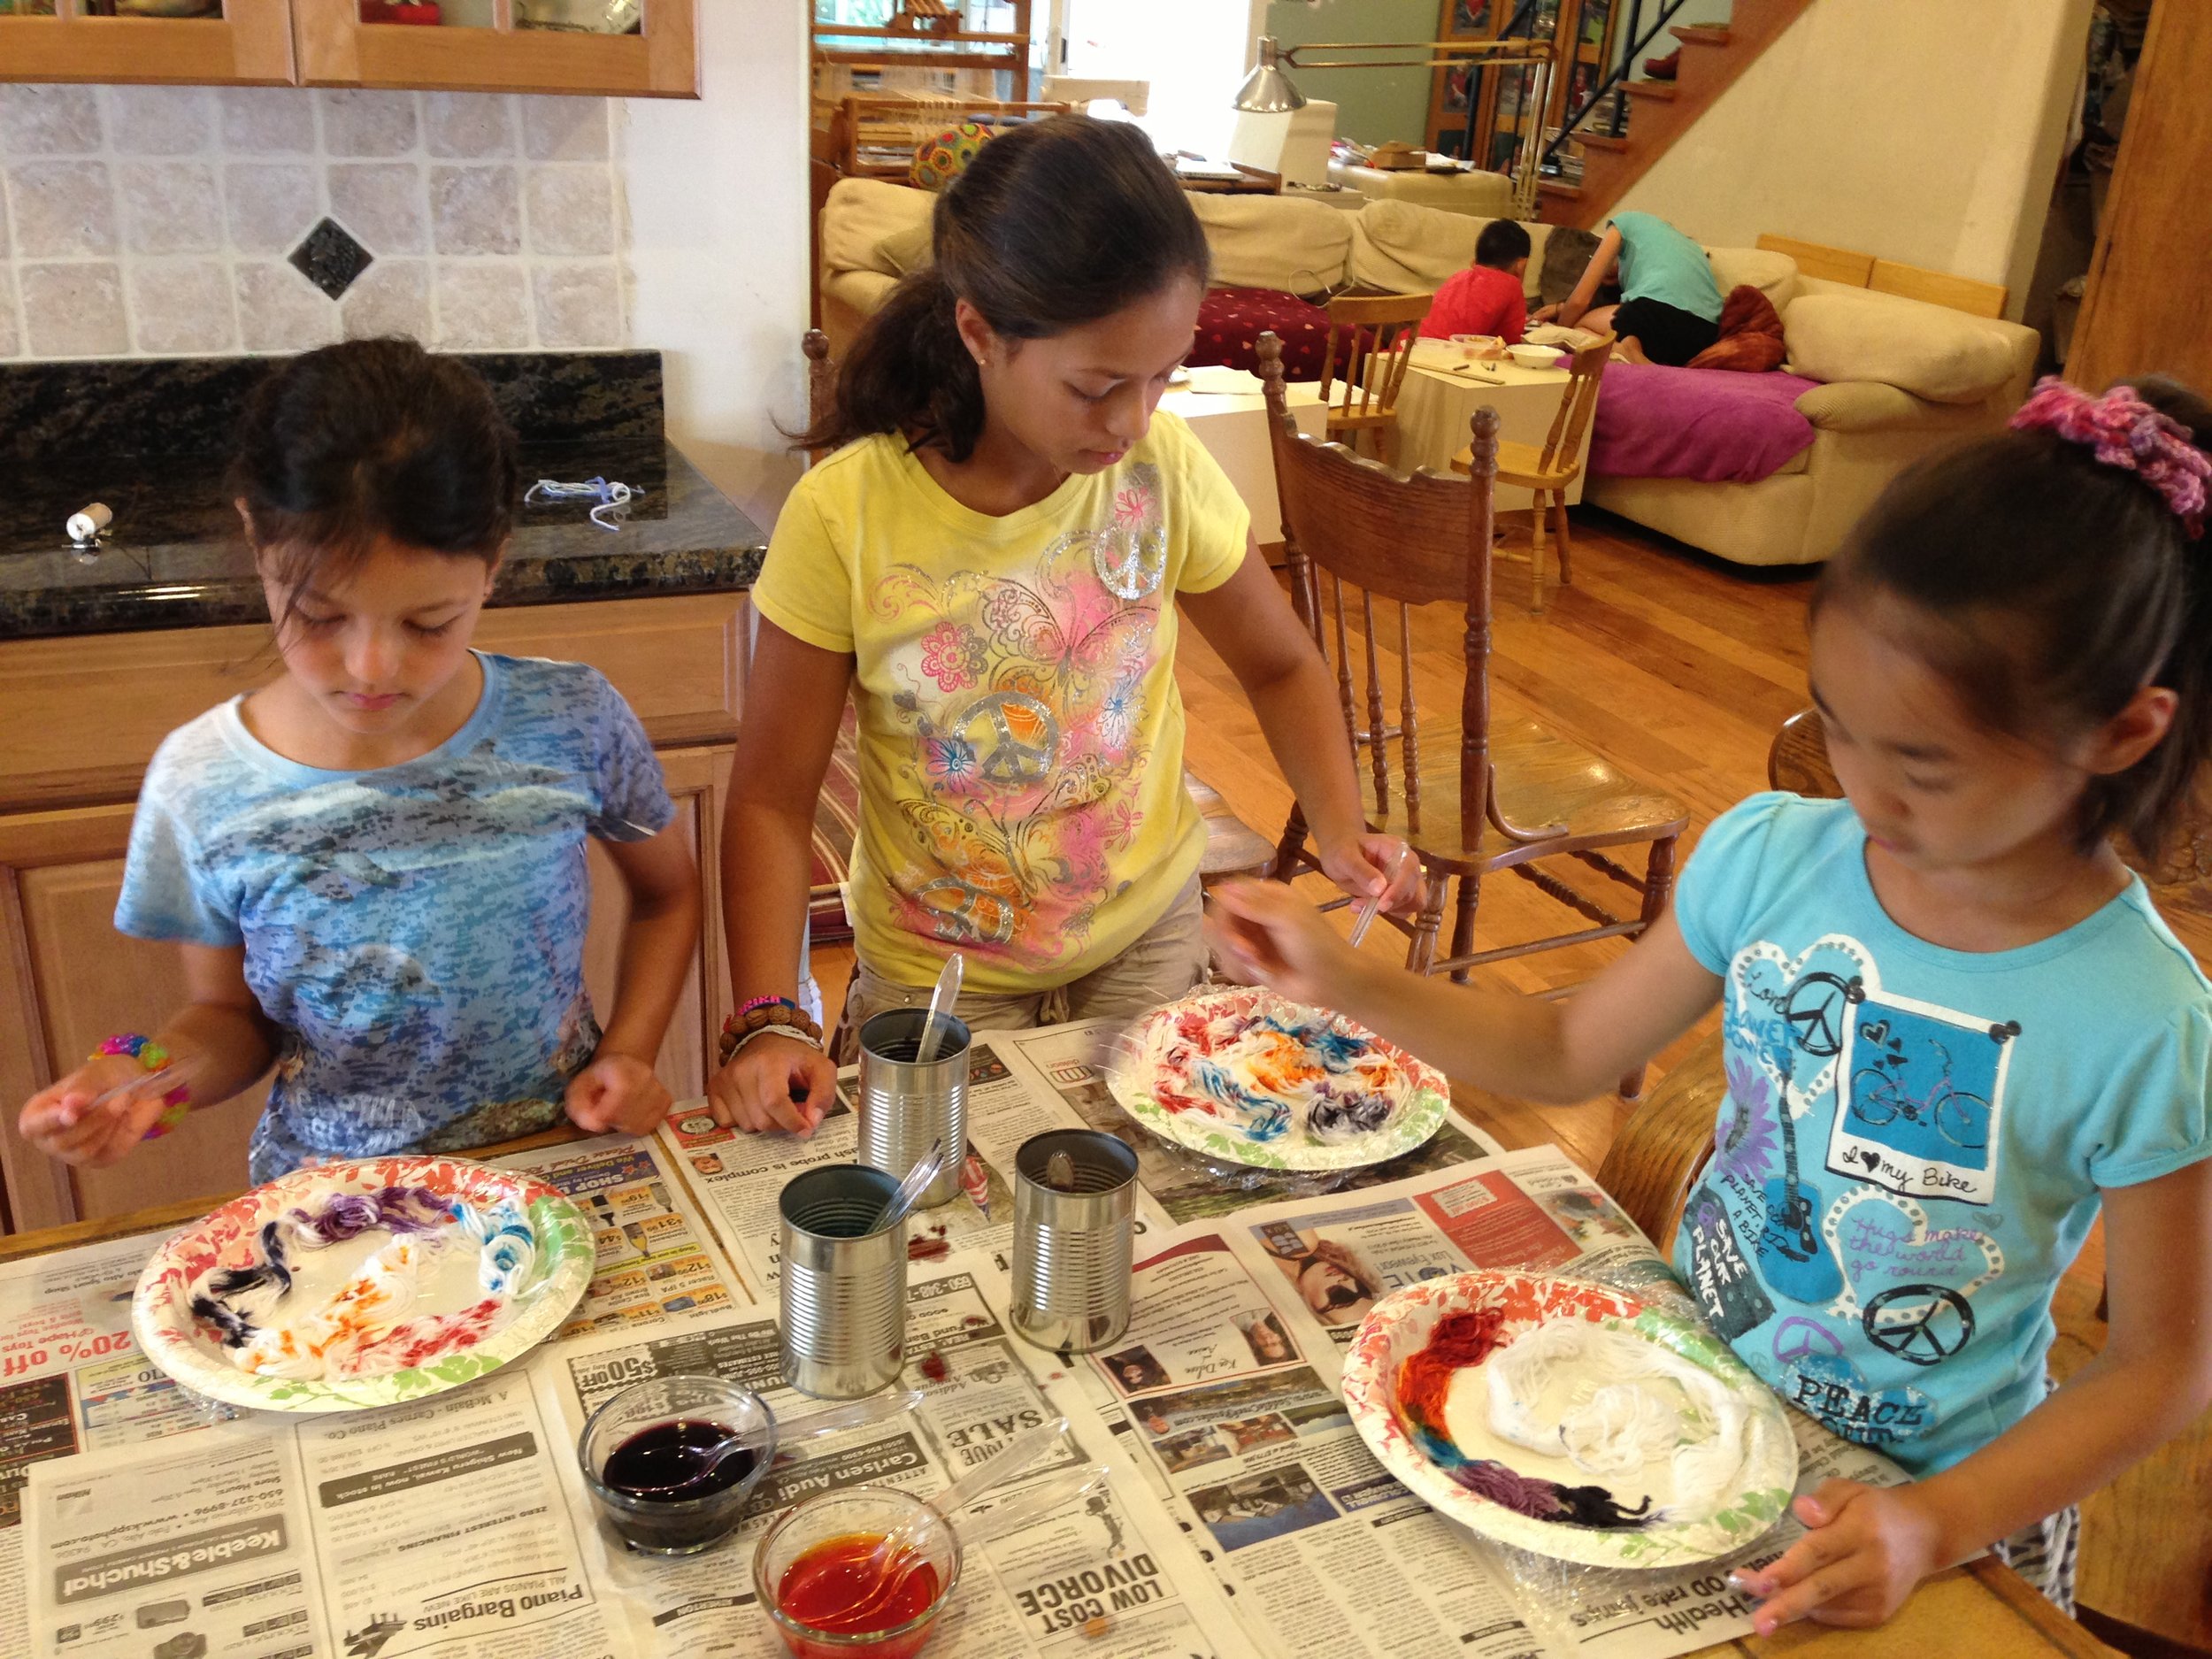
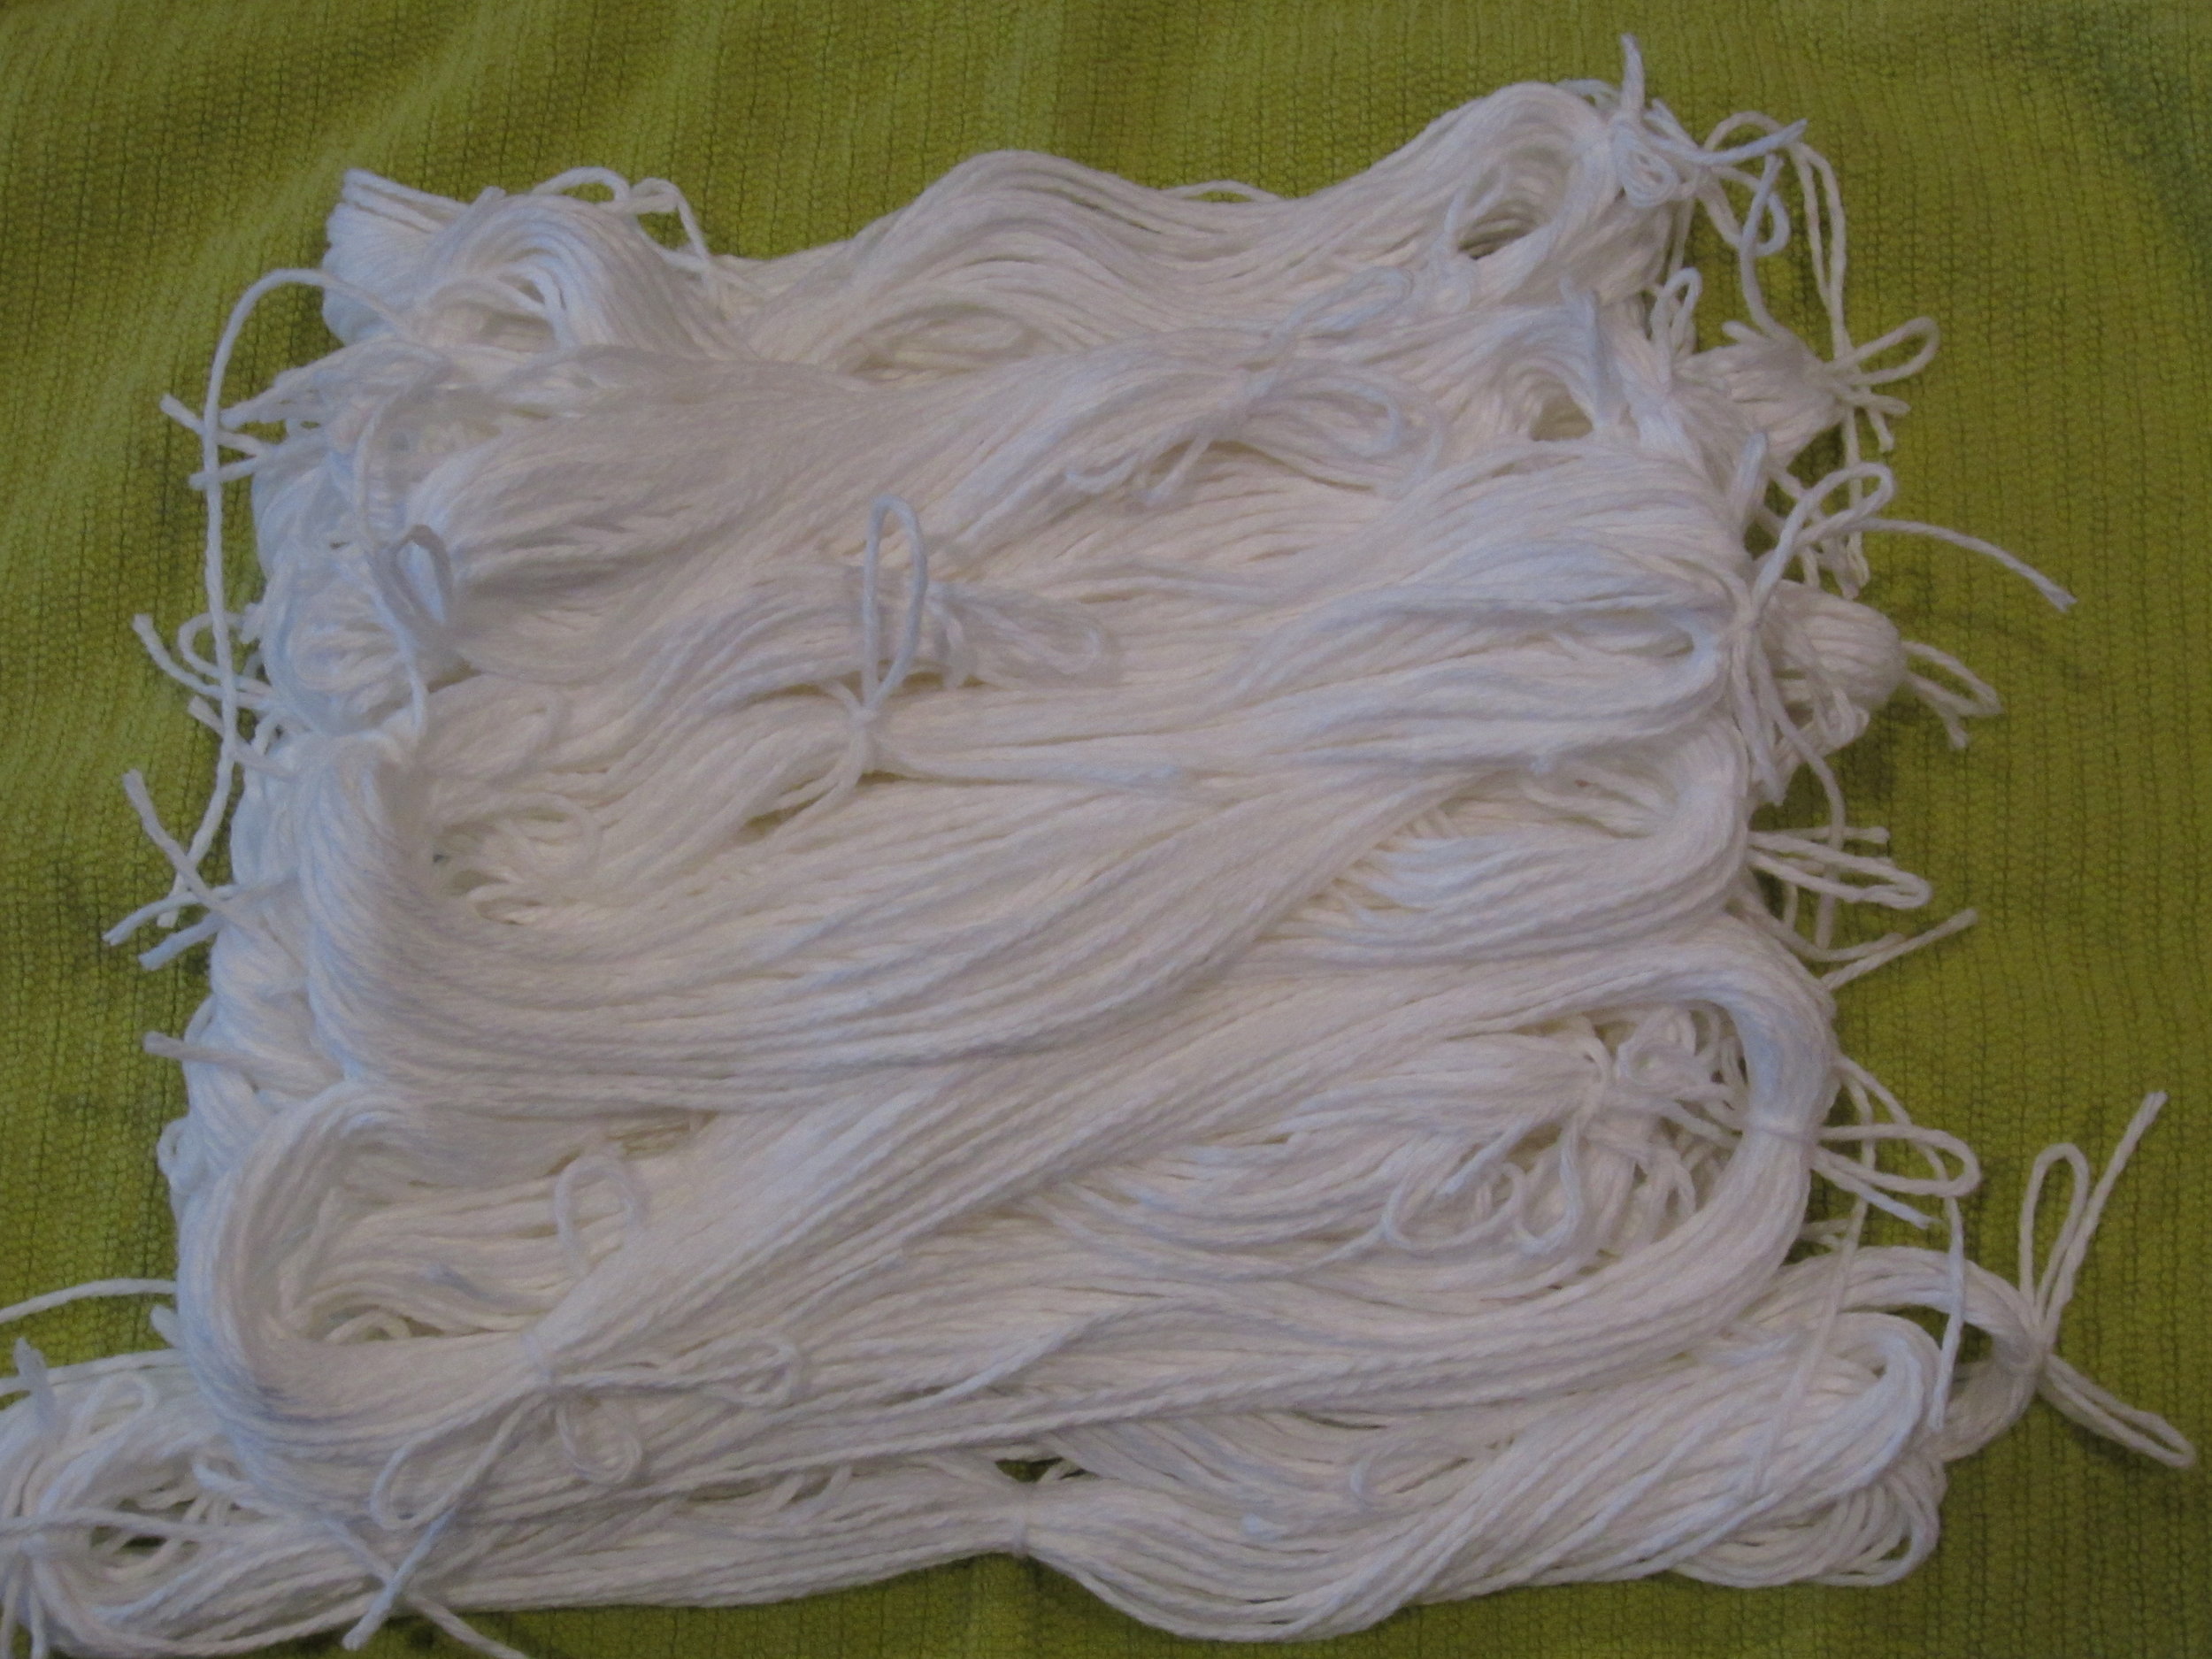
IMG_0078We also dyed yarn.  I love having the kids do this.  They have such a great time and it will be exciting for them tomorrow to roll up the yarn into balls and make something with it.

IMG_0080Each hank is different.  Some like just a smattering of dye...

IMG_0079while others like lots of dark vibrant colors.  Either way, the resulting yarn will be beautiful.

IMG_0077This camper even finished a hair scrunchie!  Then she started a beaded head band.

These camps are so fun!  I can't wait until tomorrow to see what each camper makes.

Knitting Camp Recap

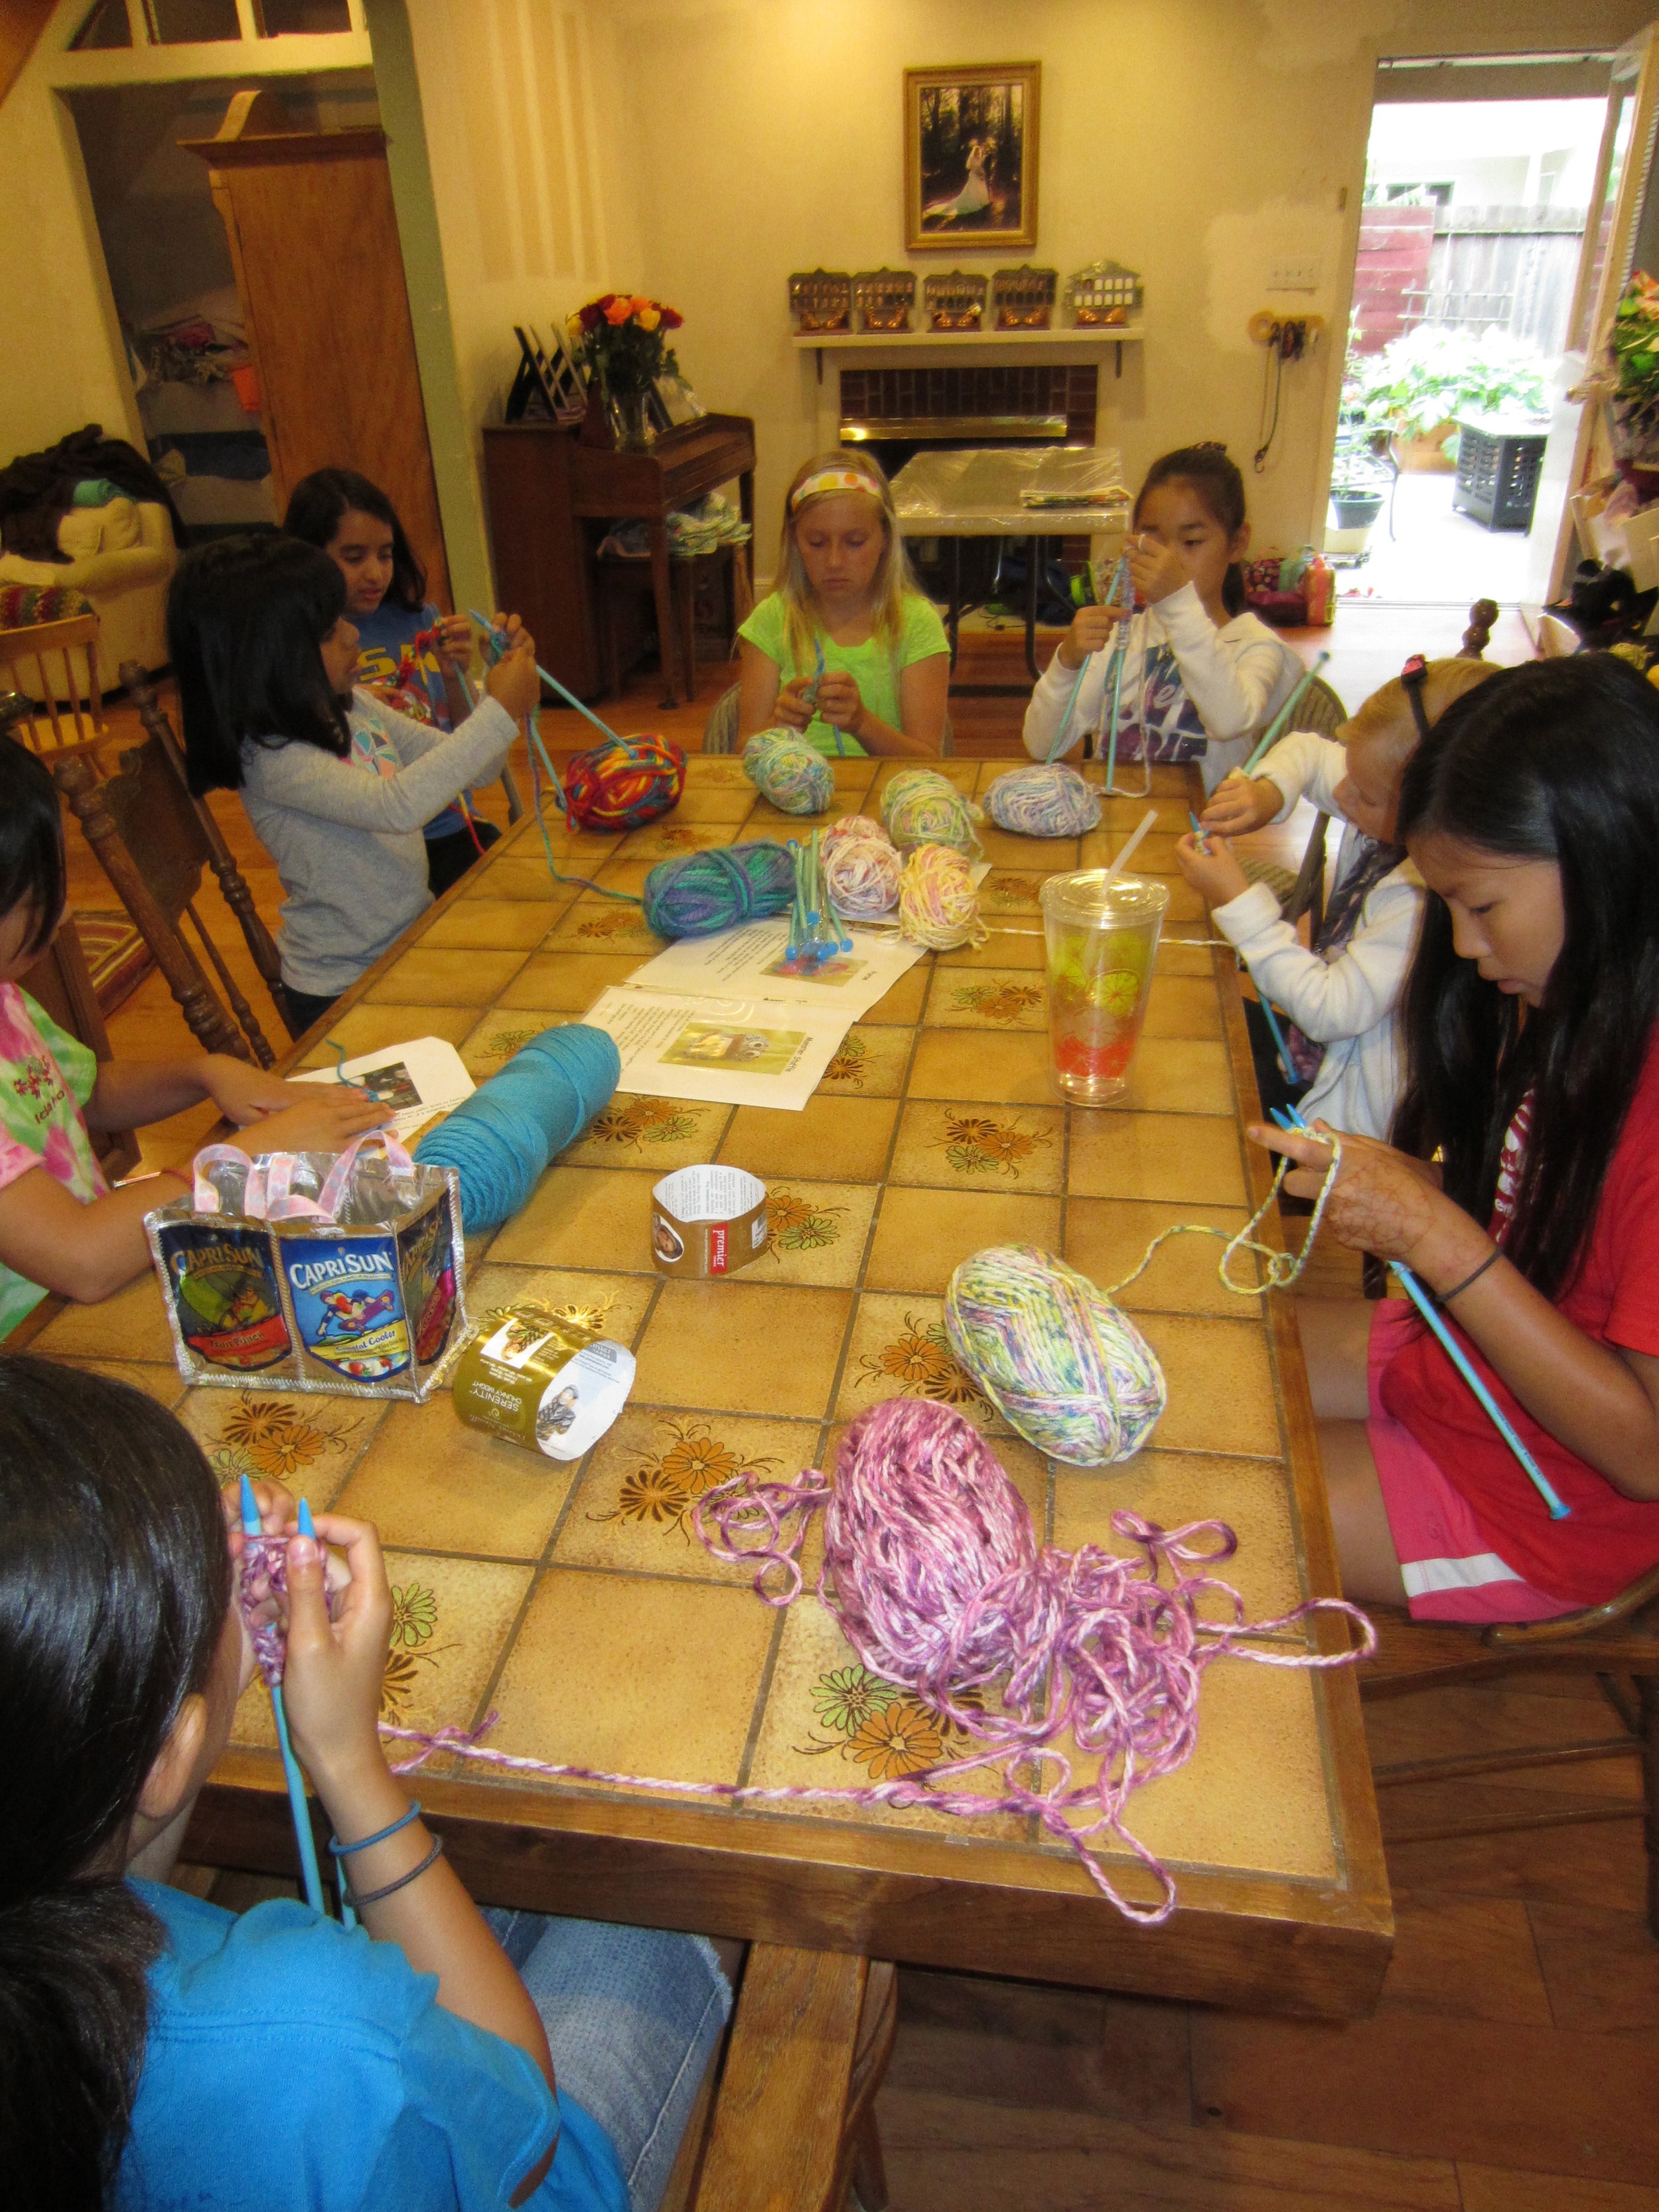
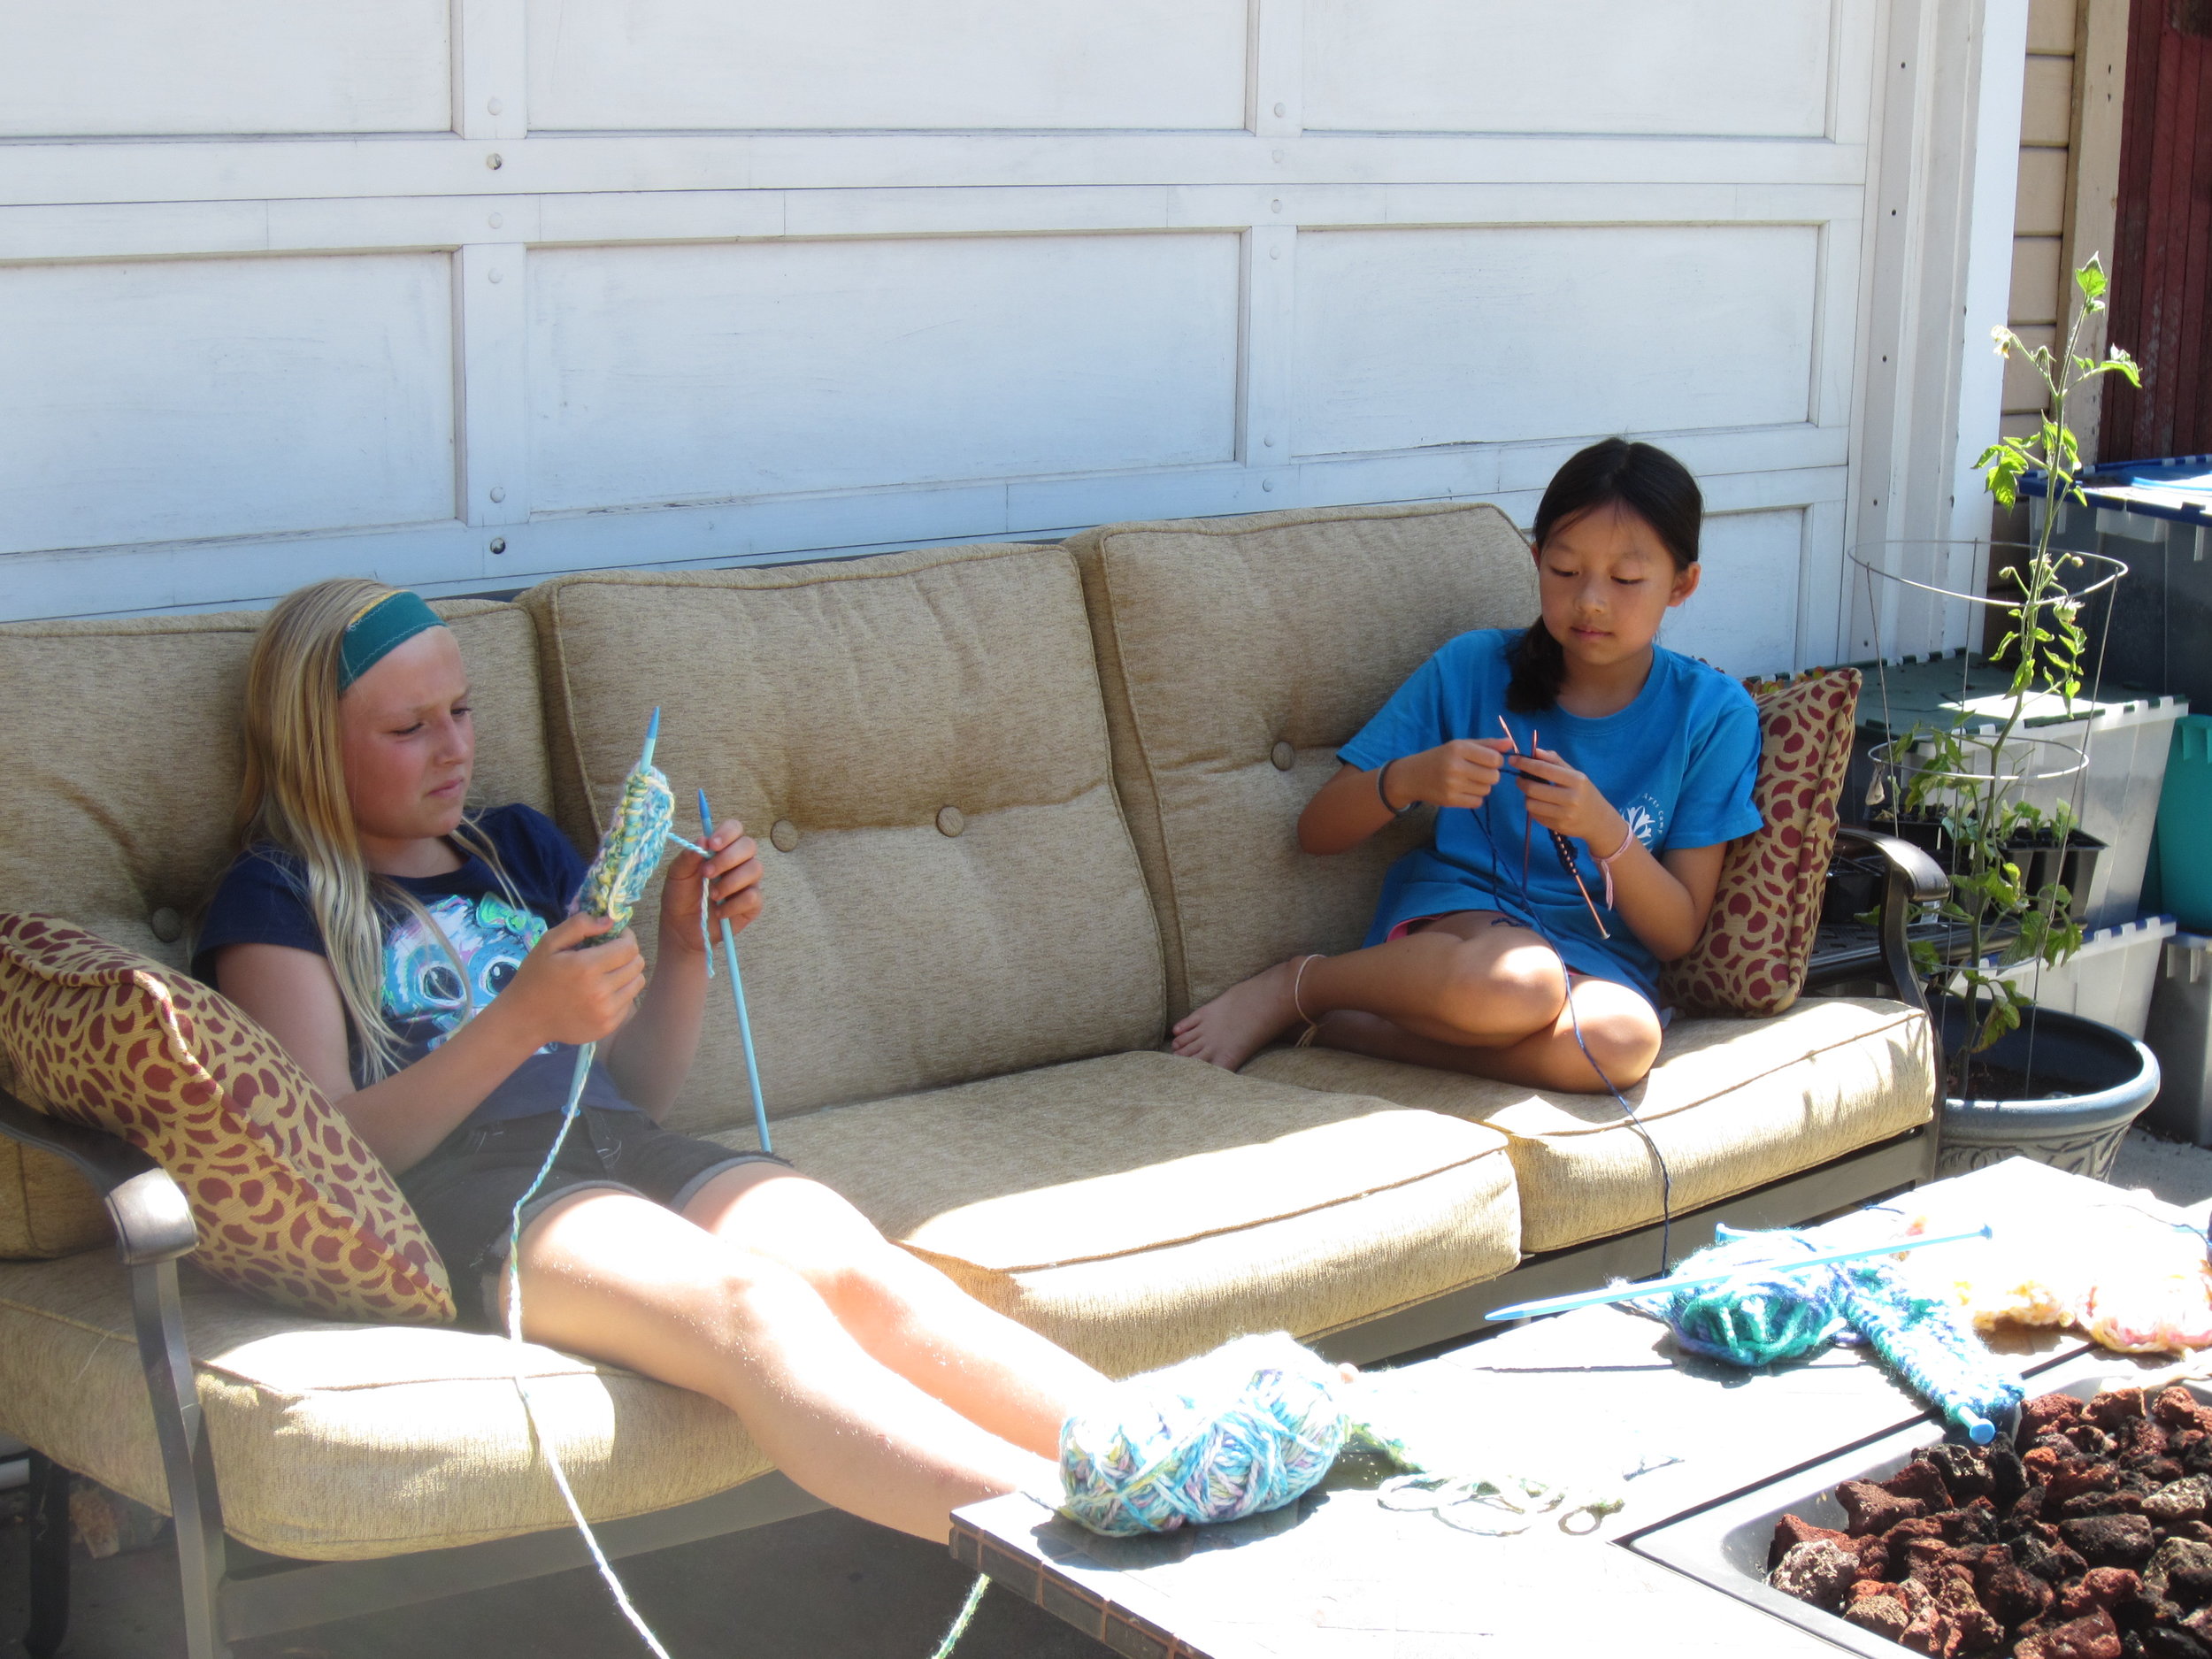
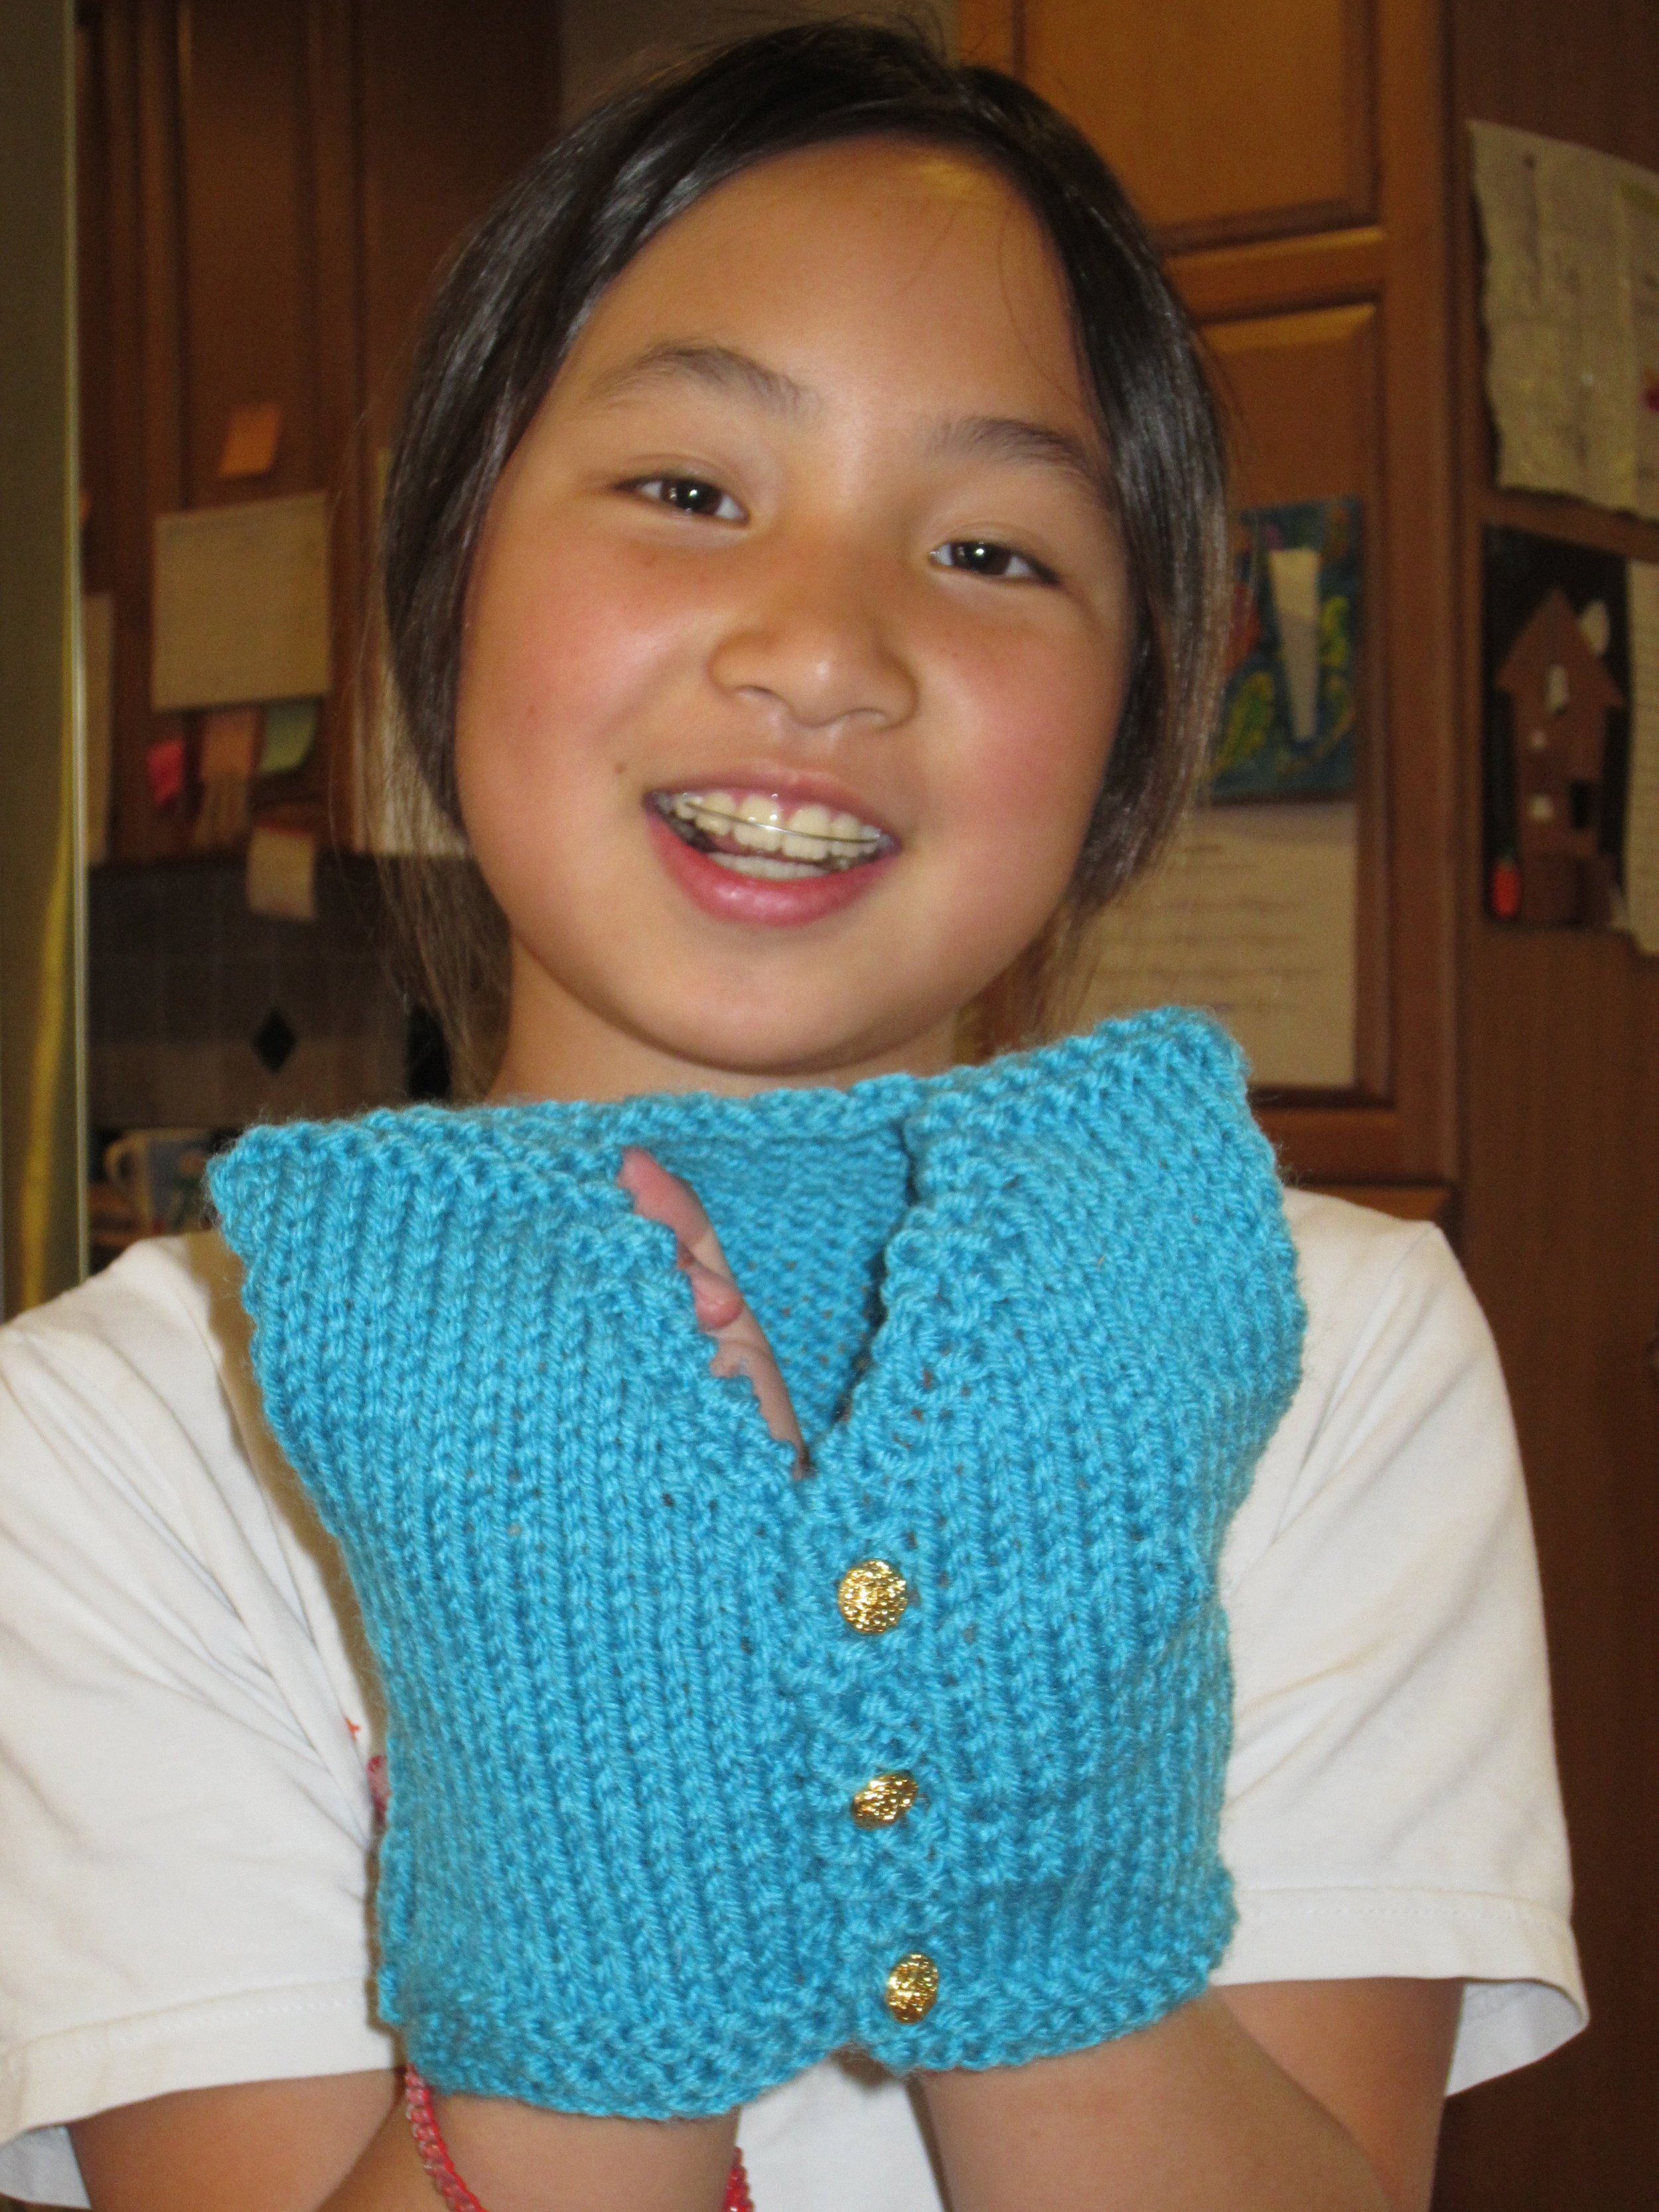
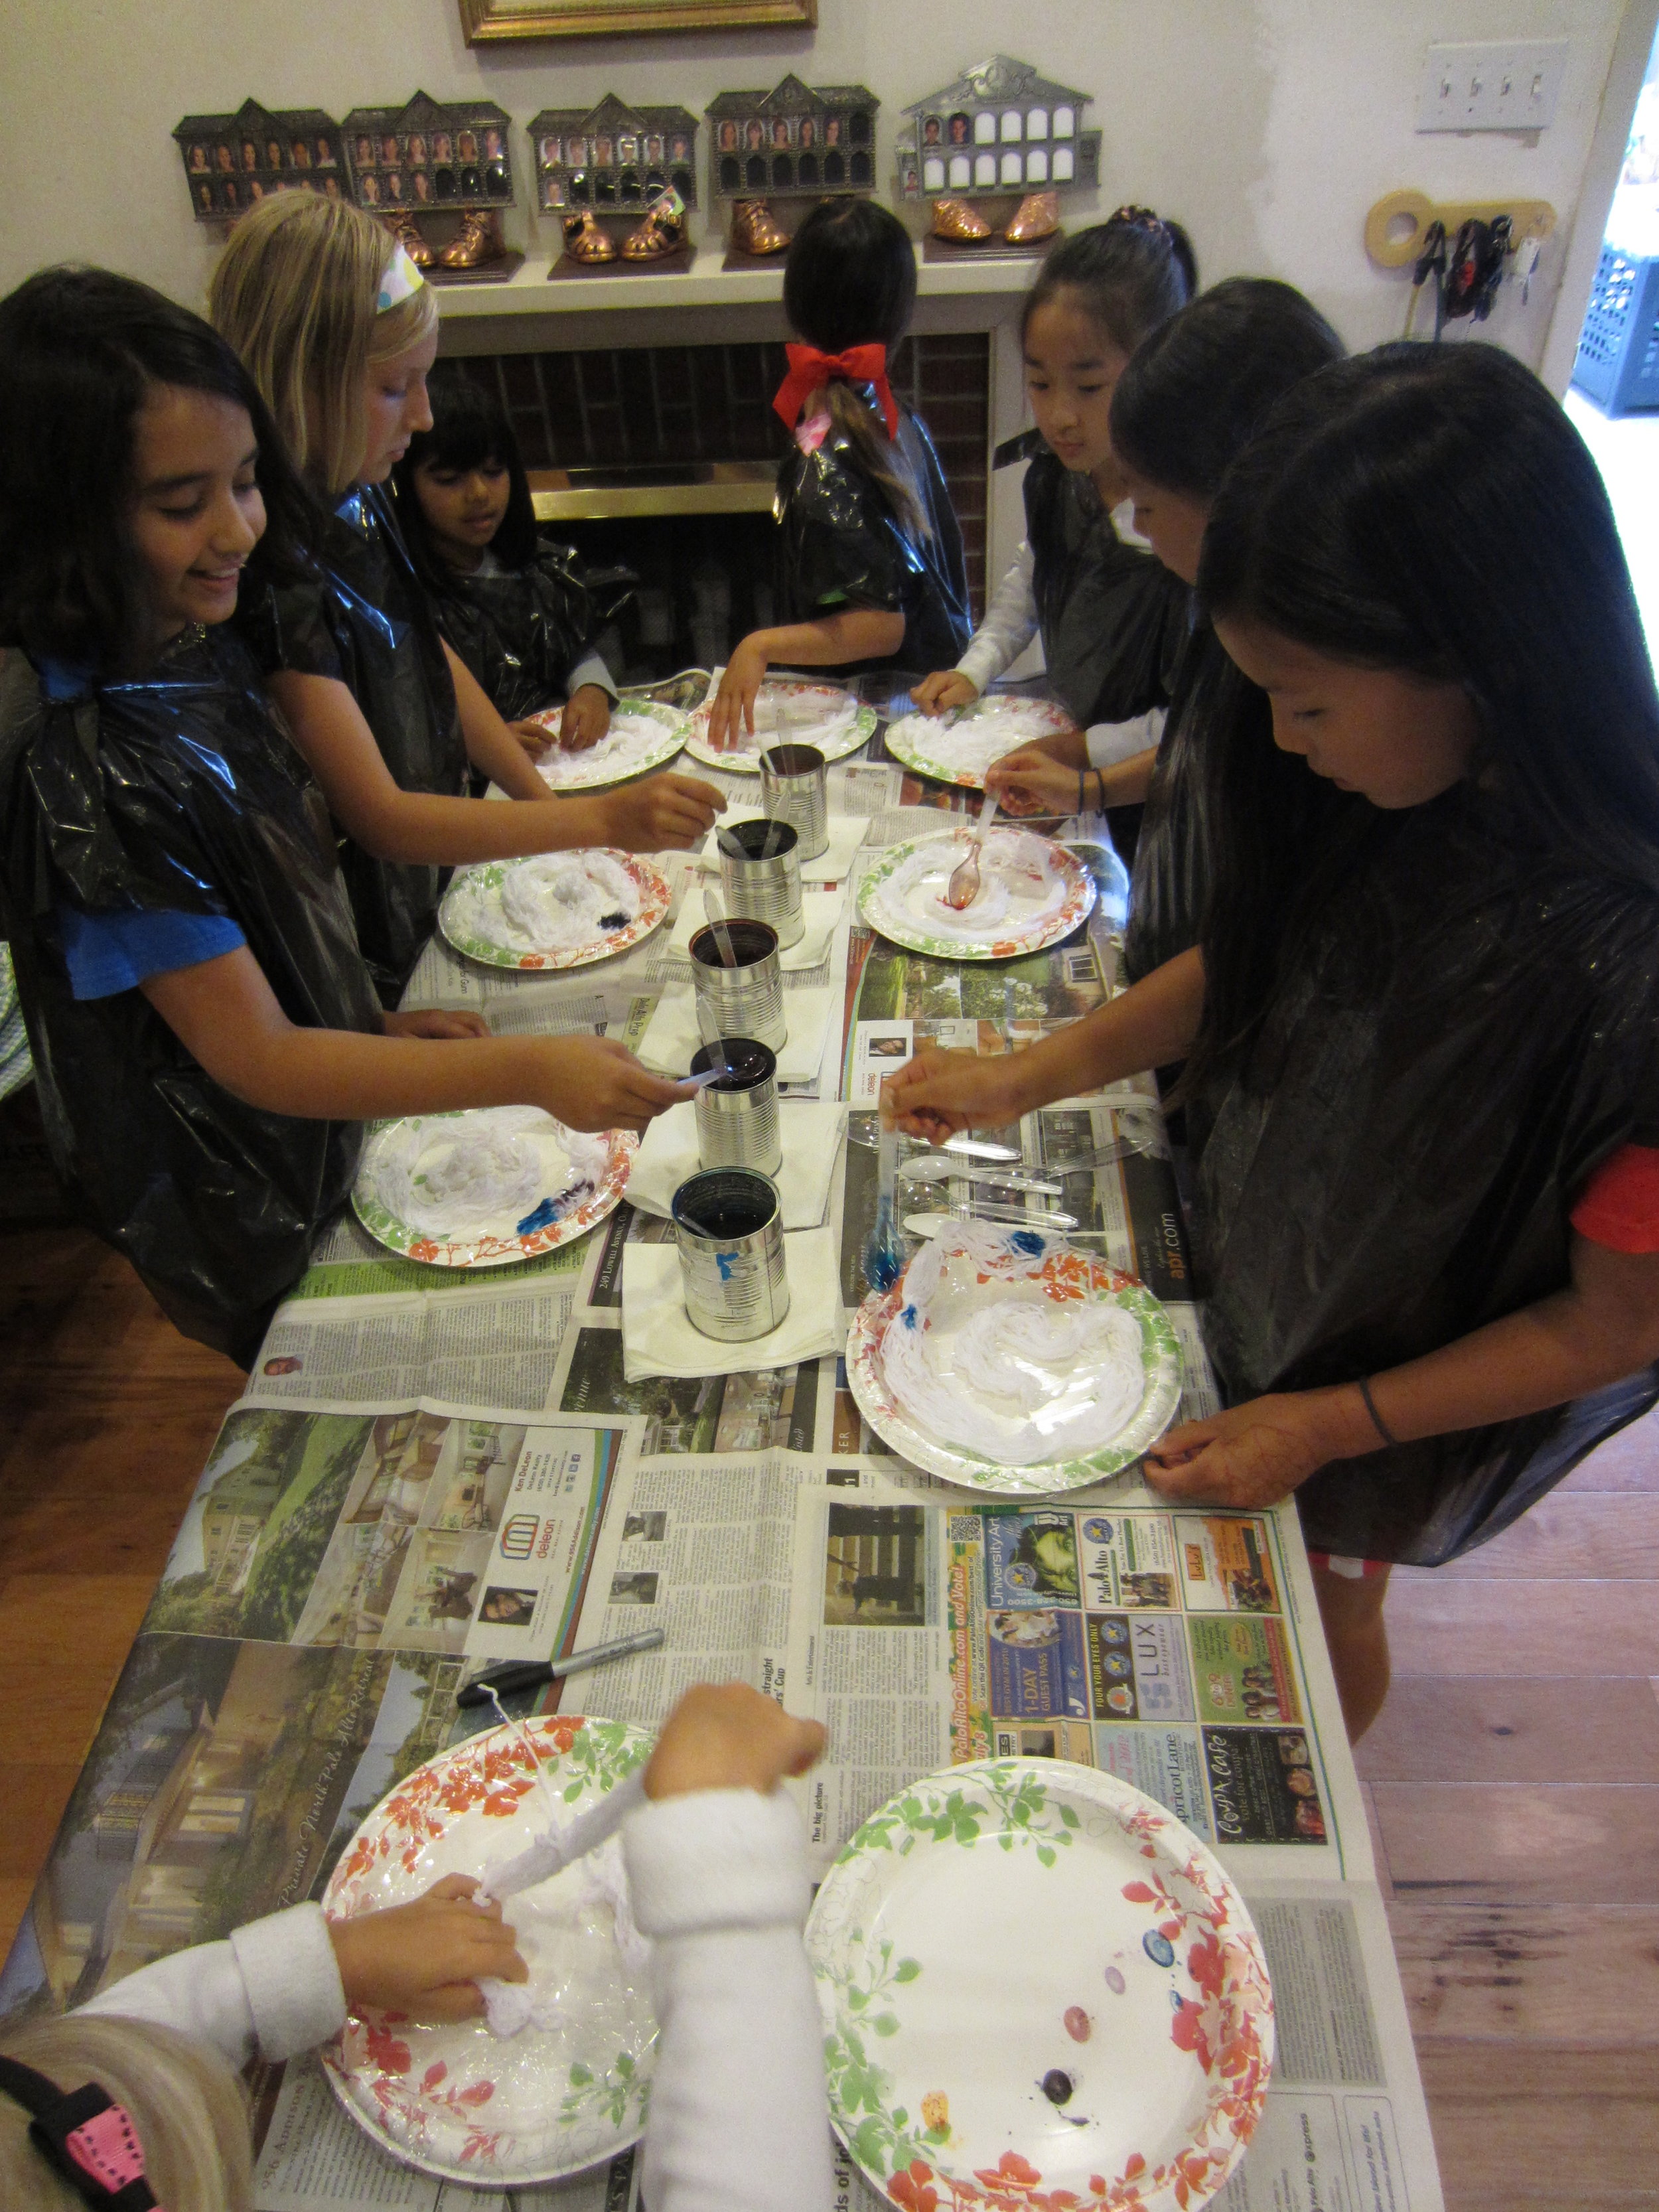
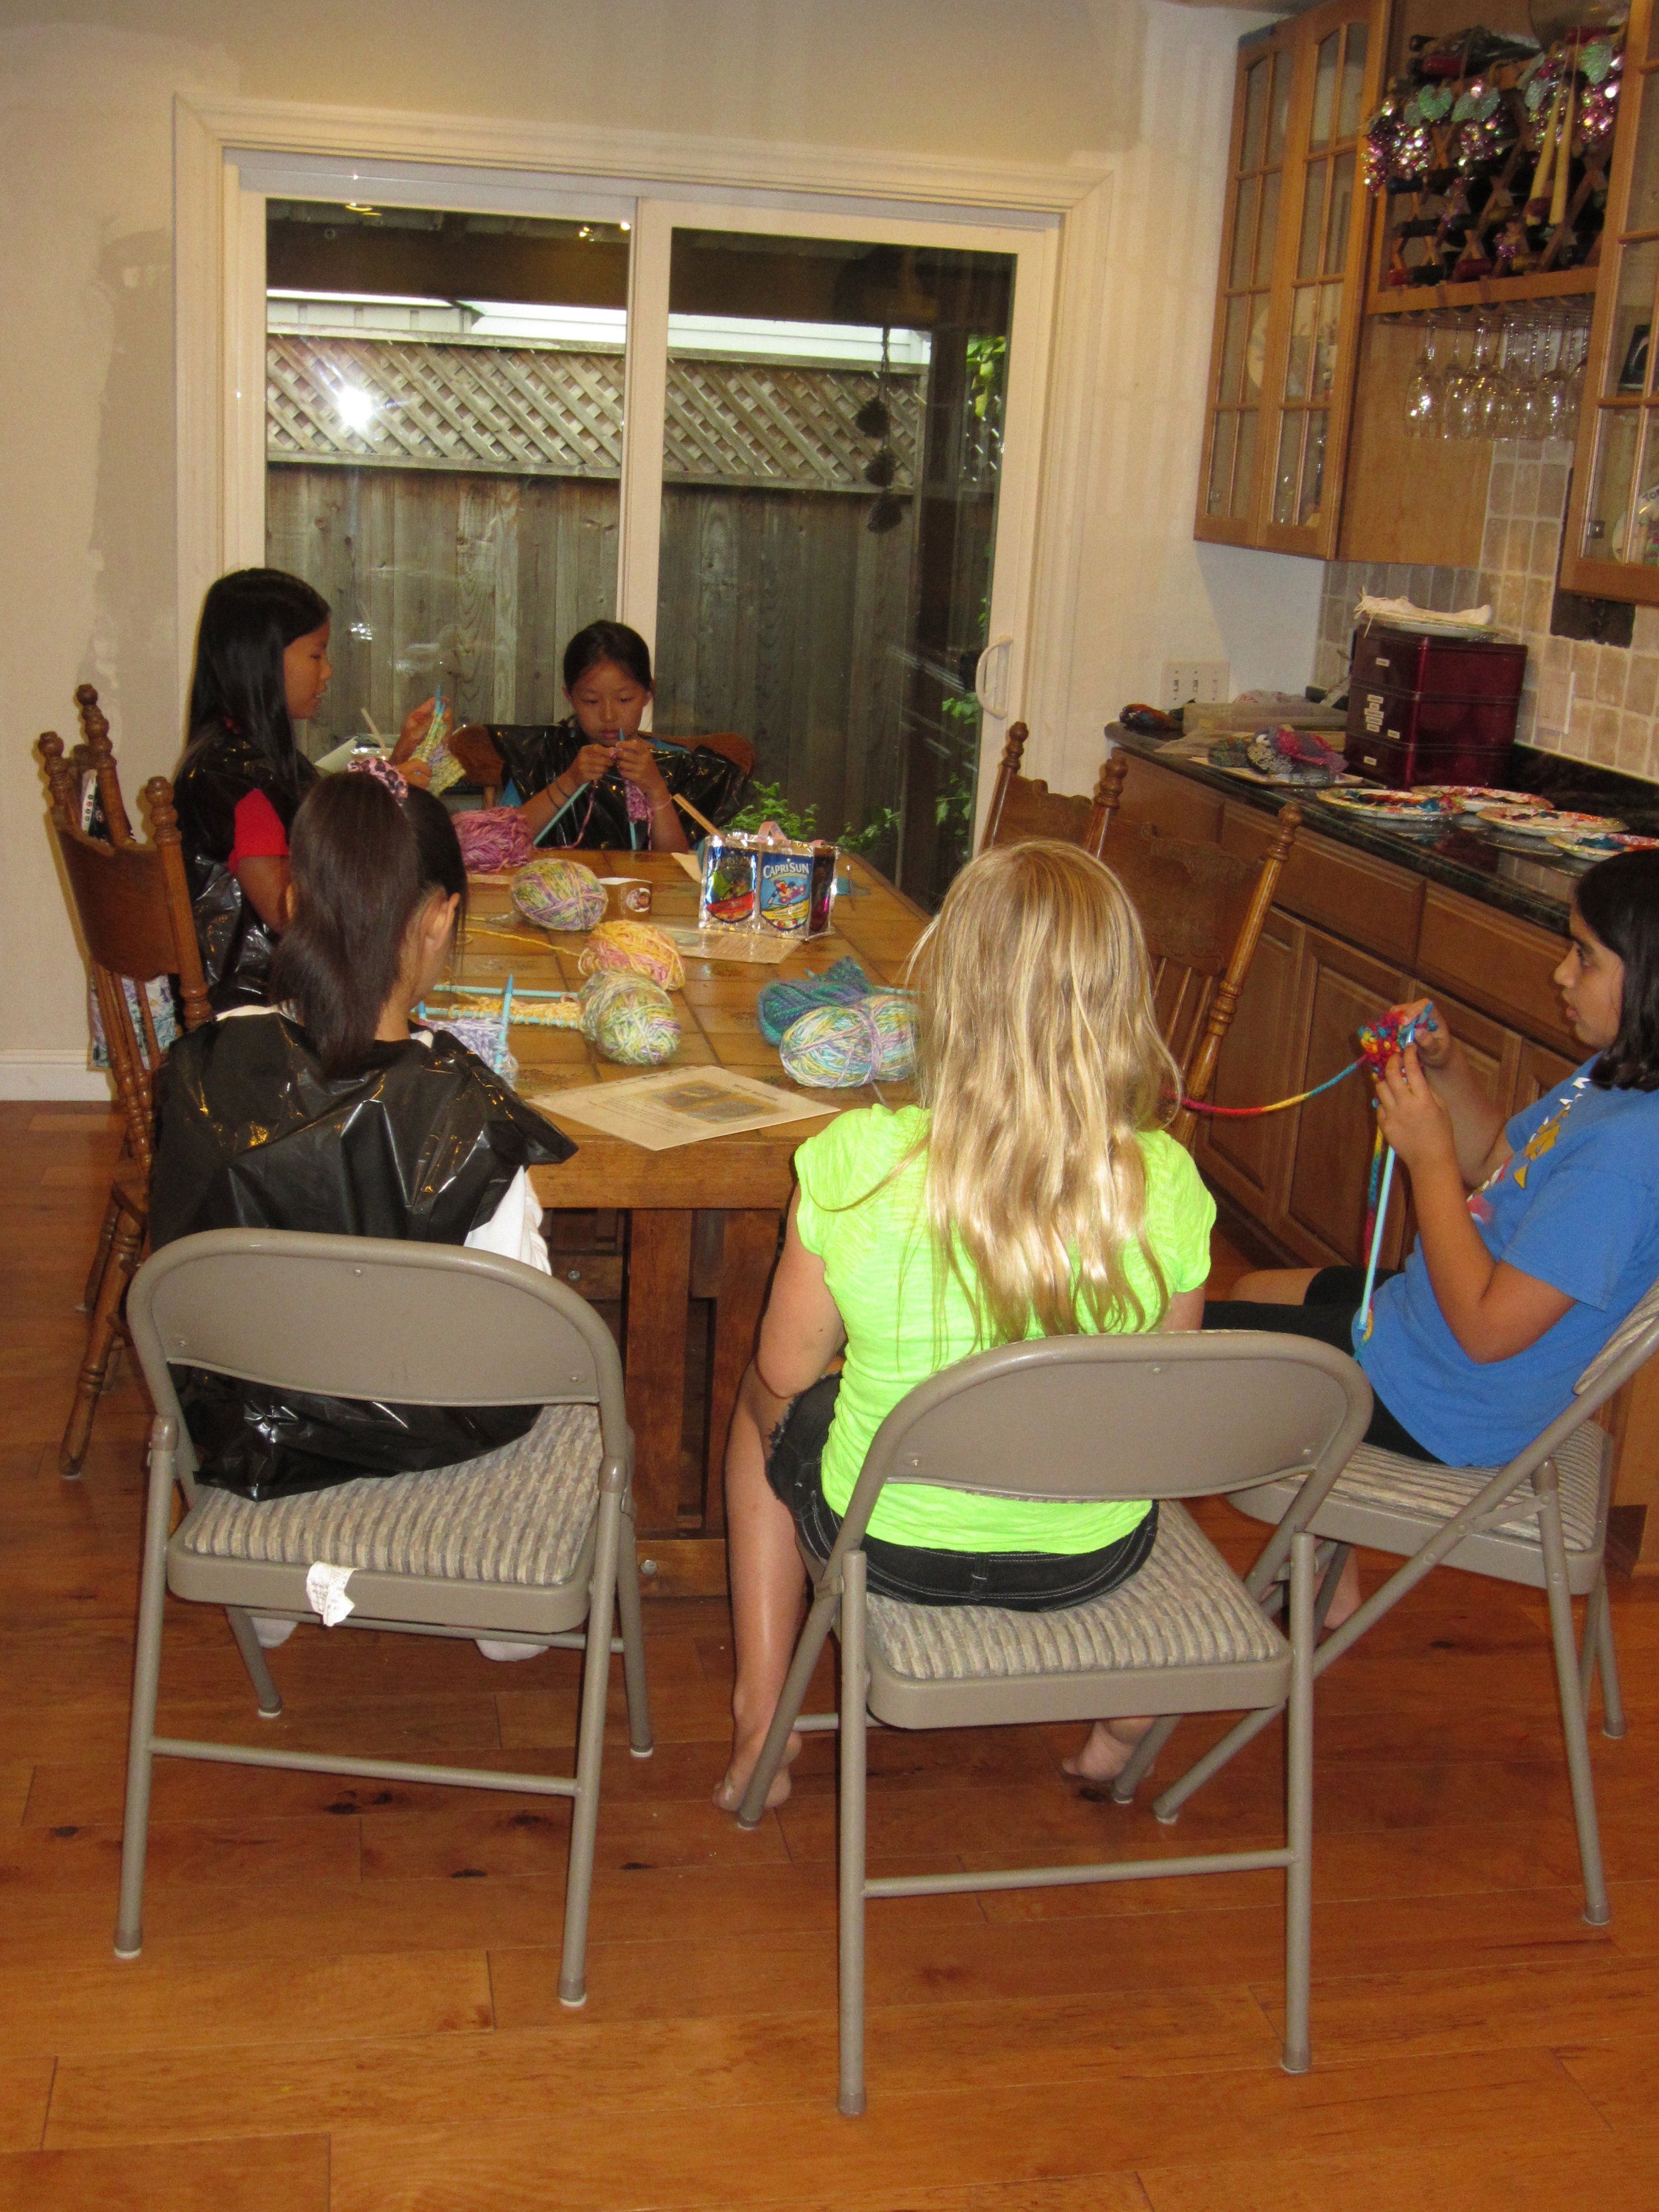
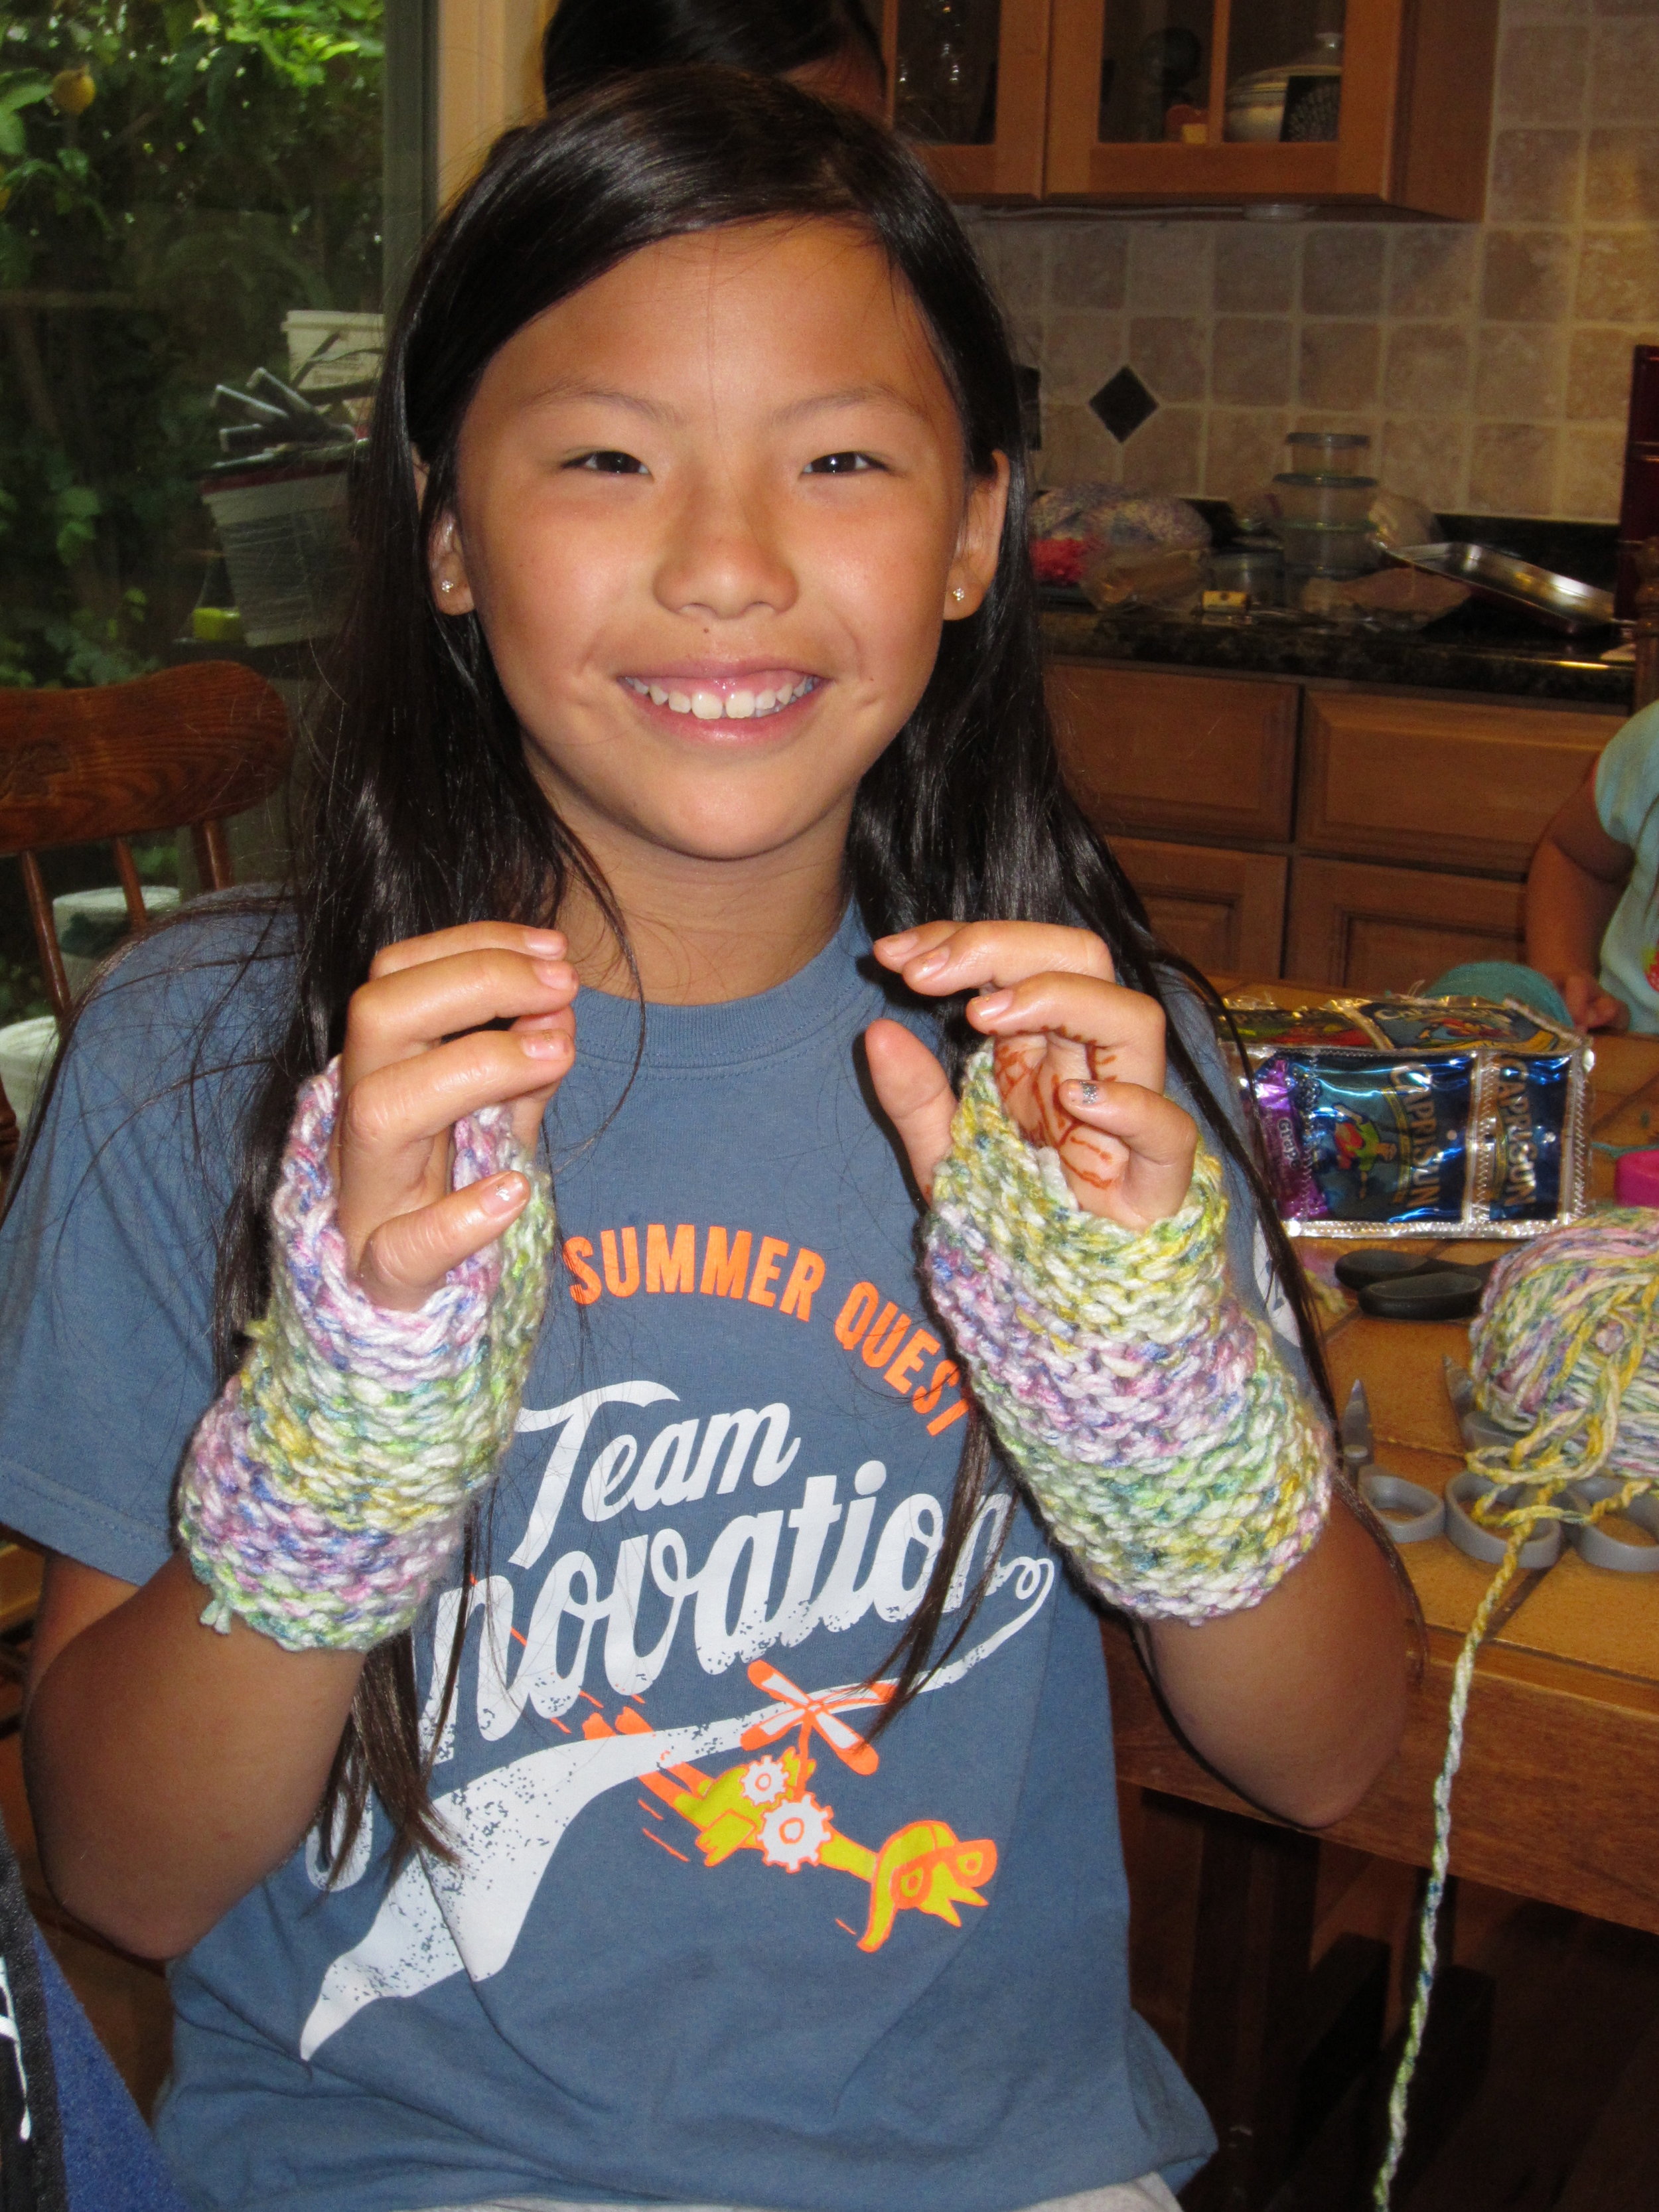
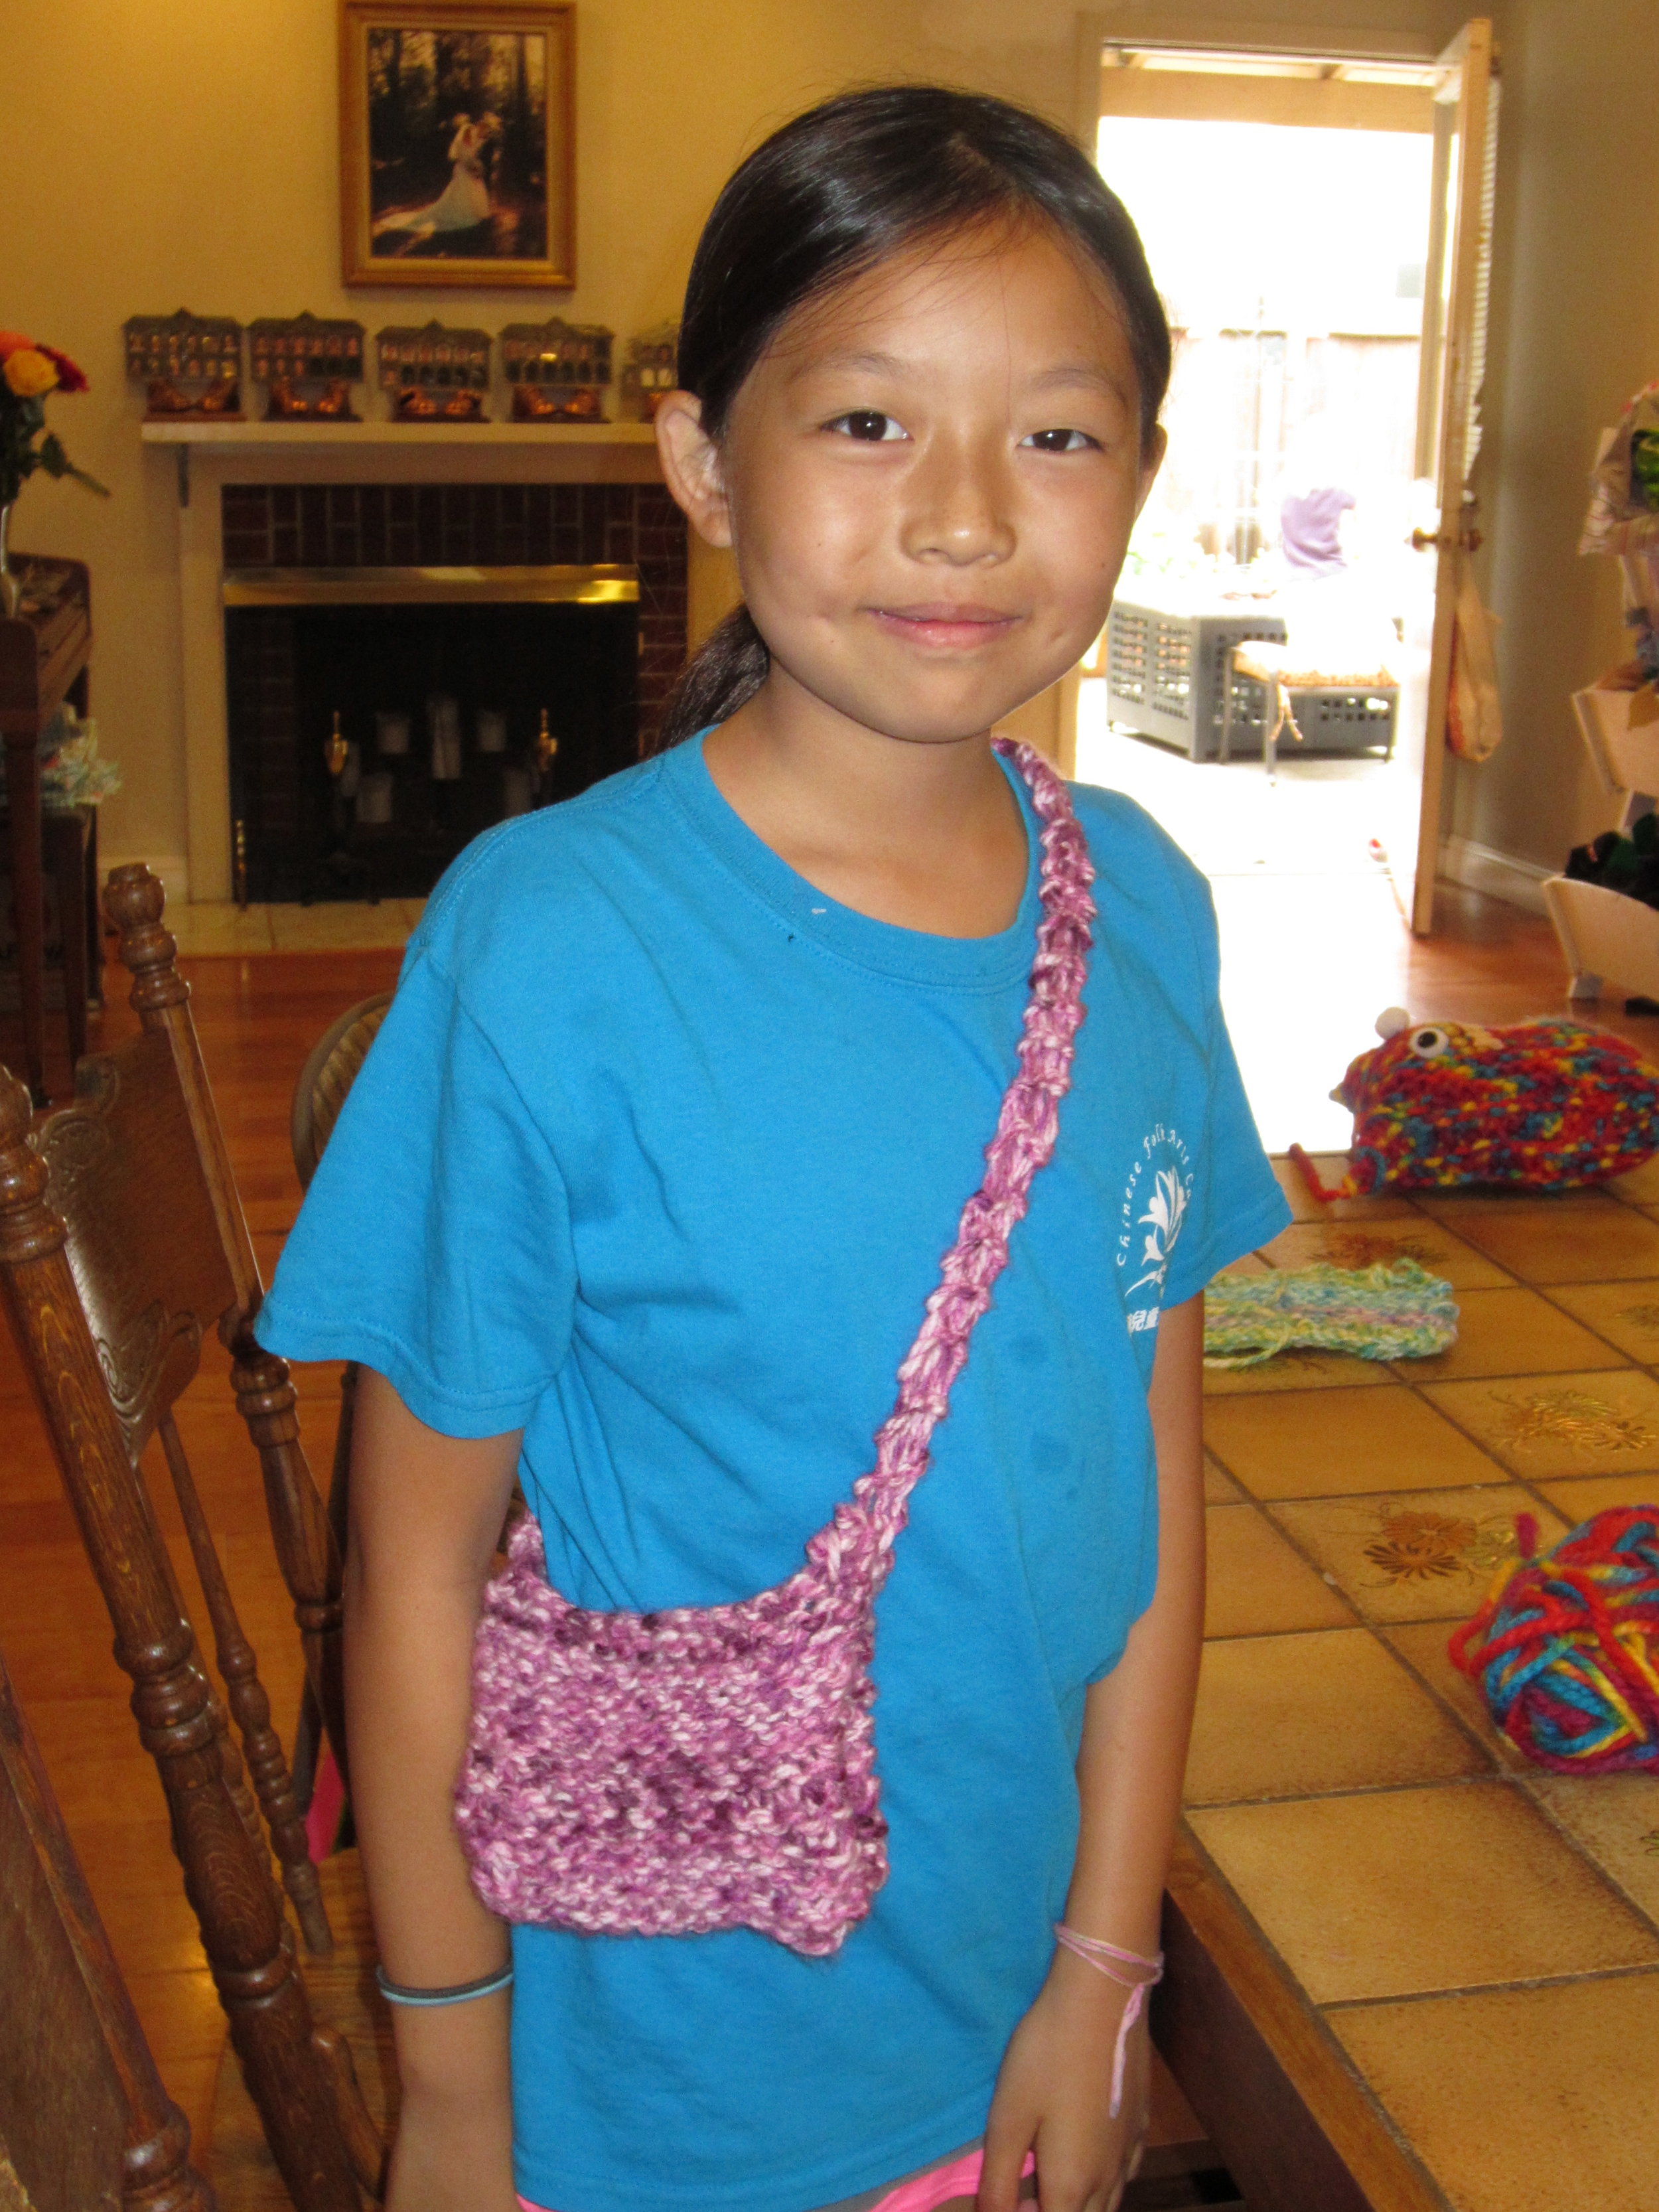
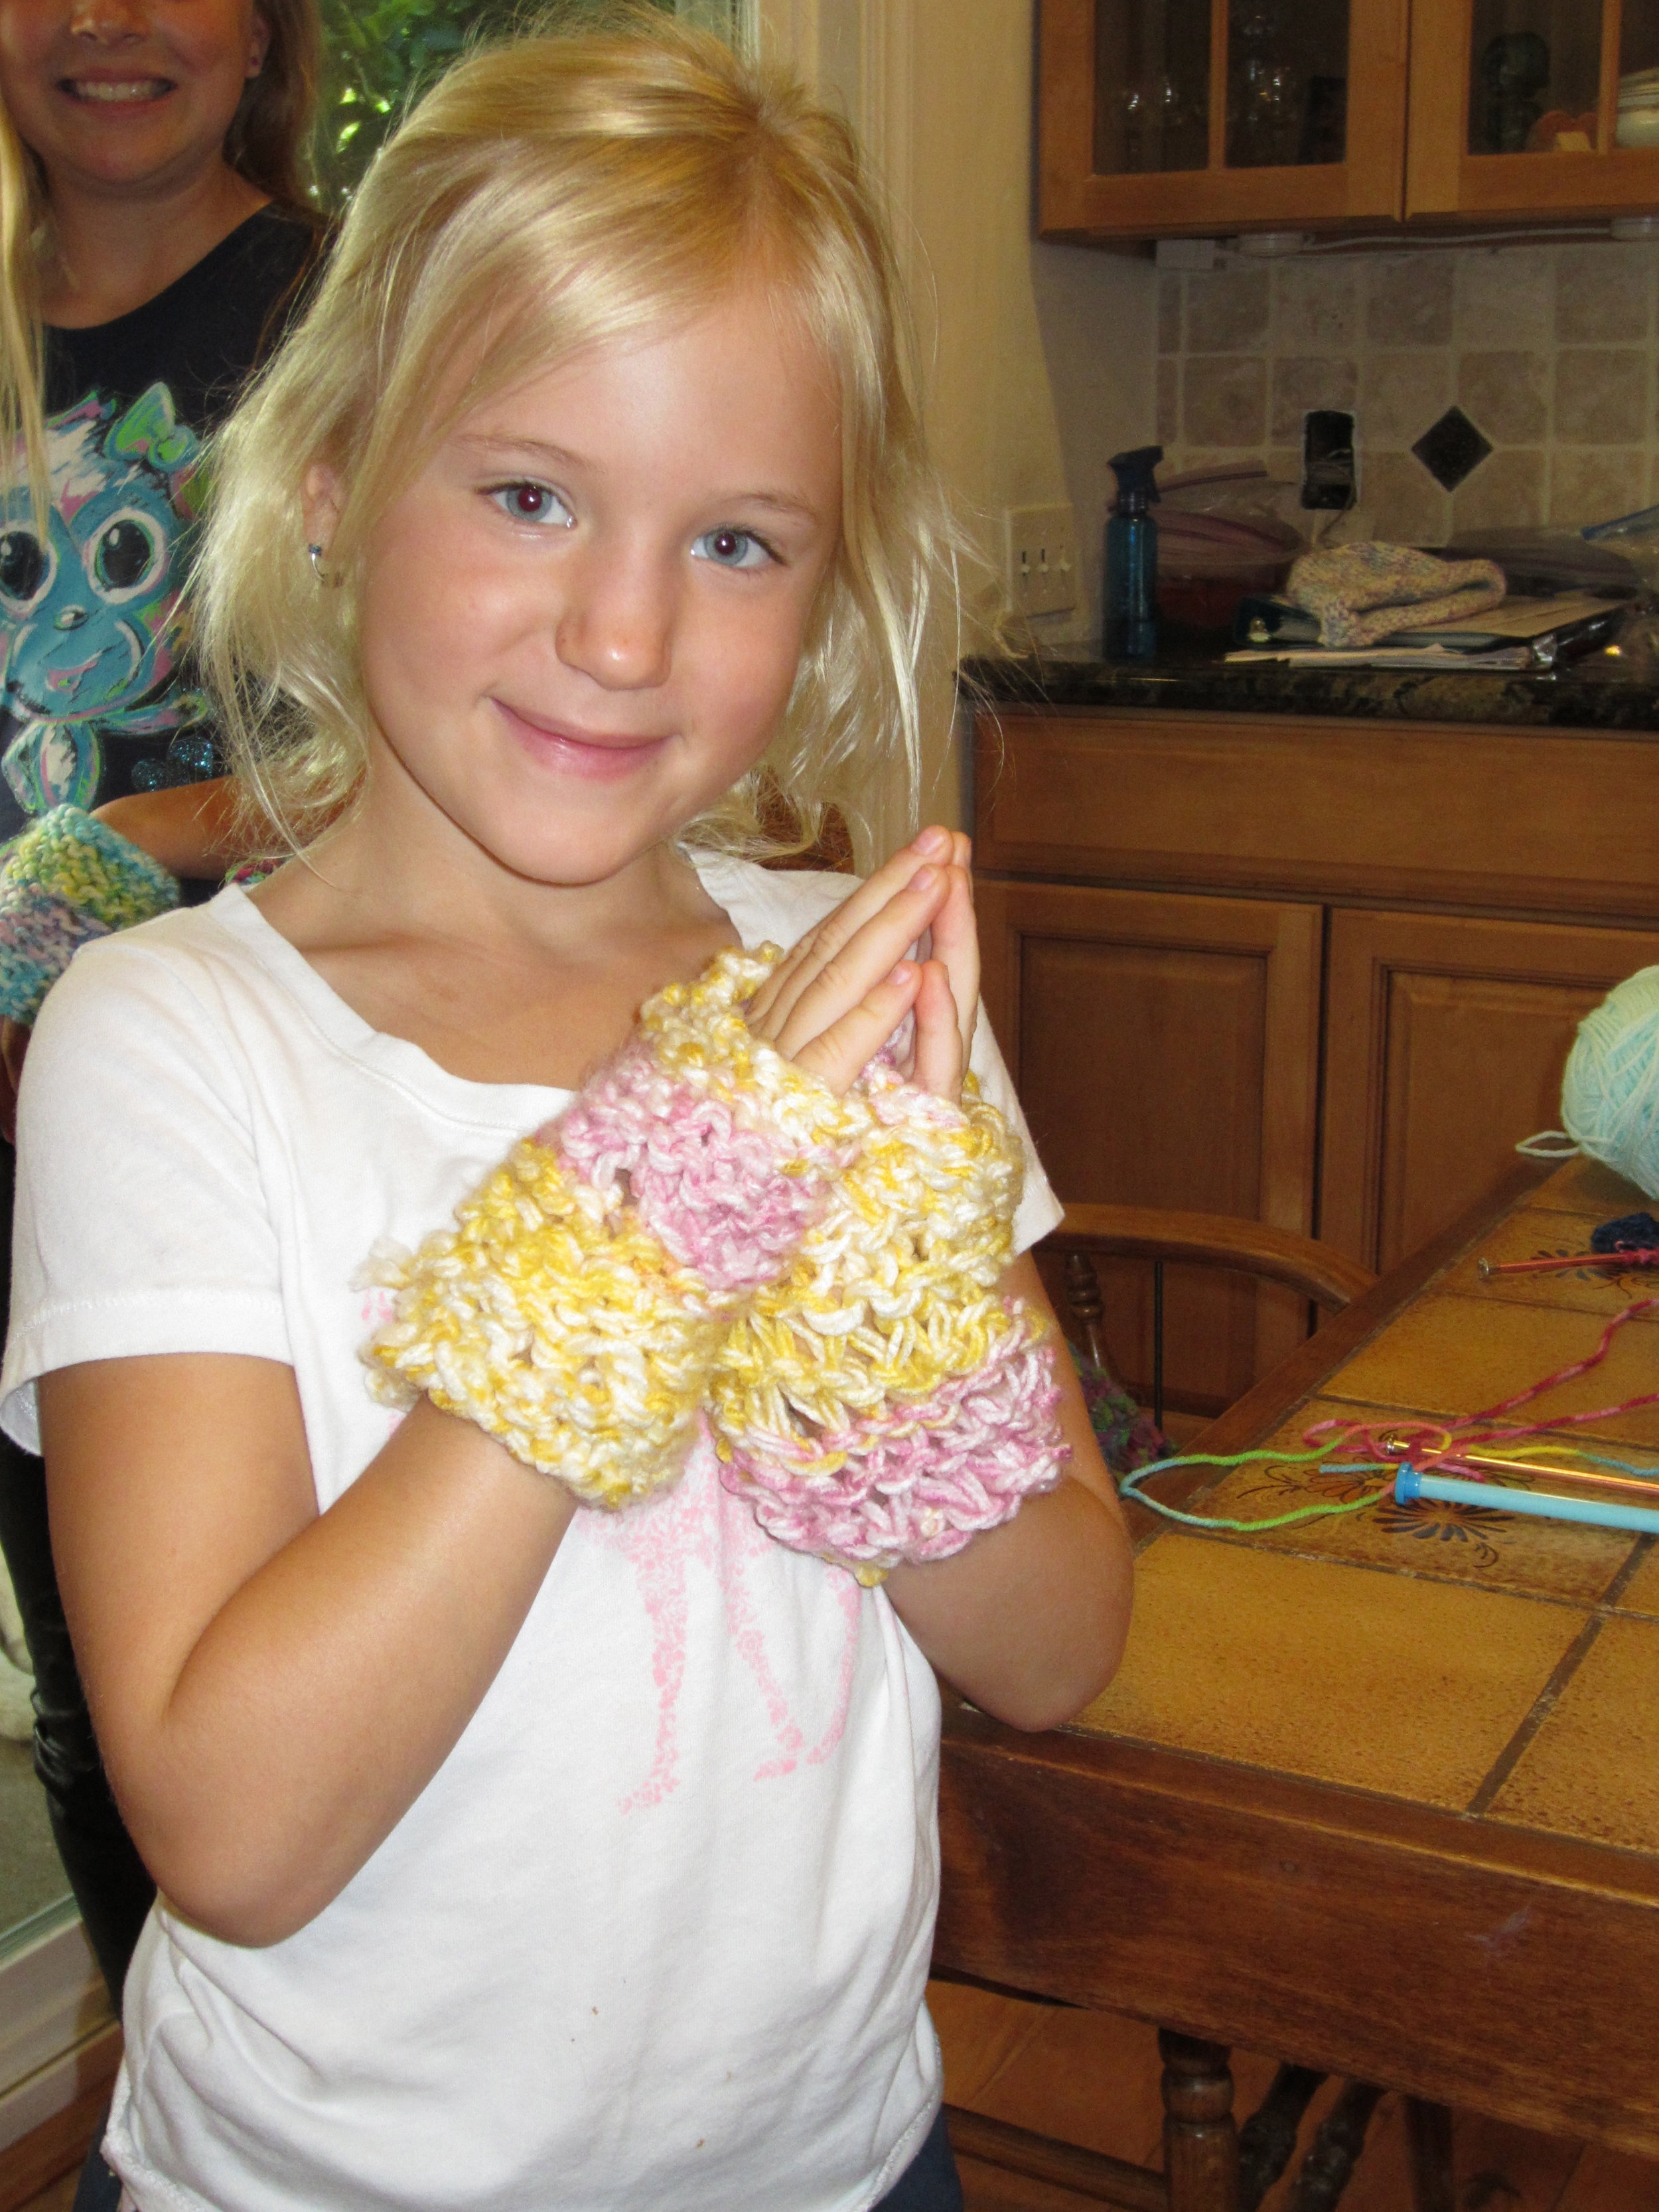
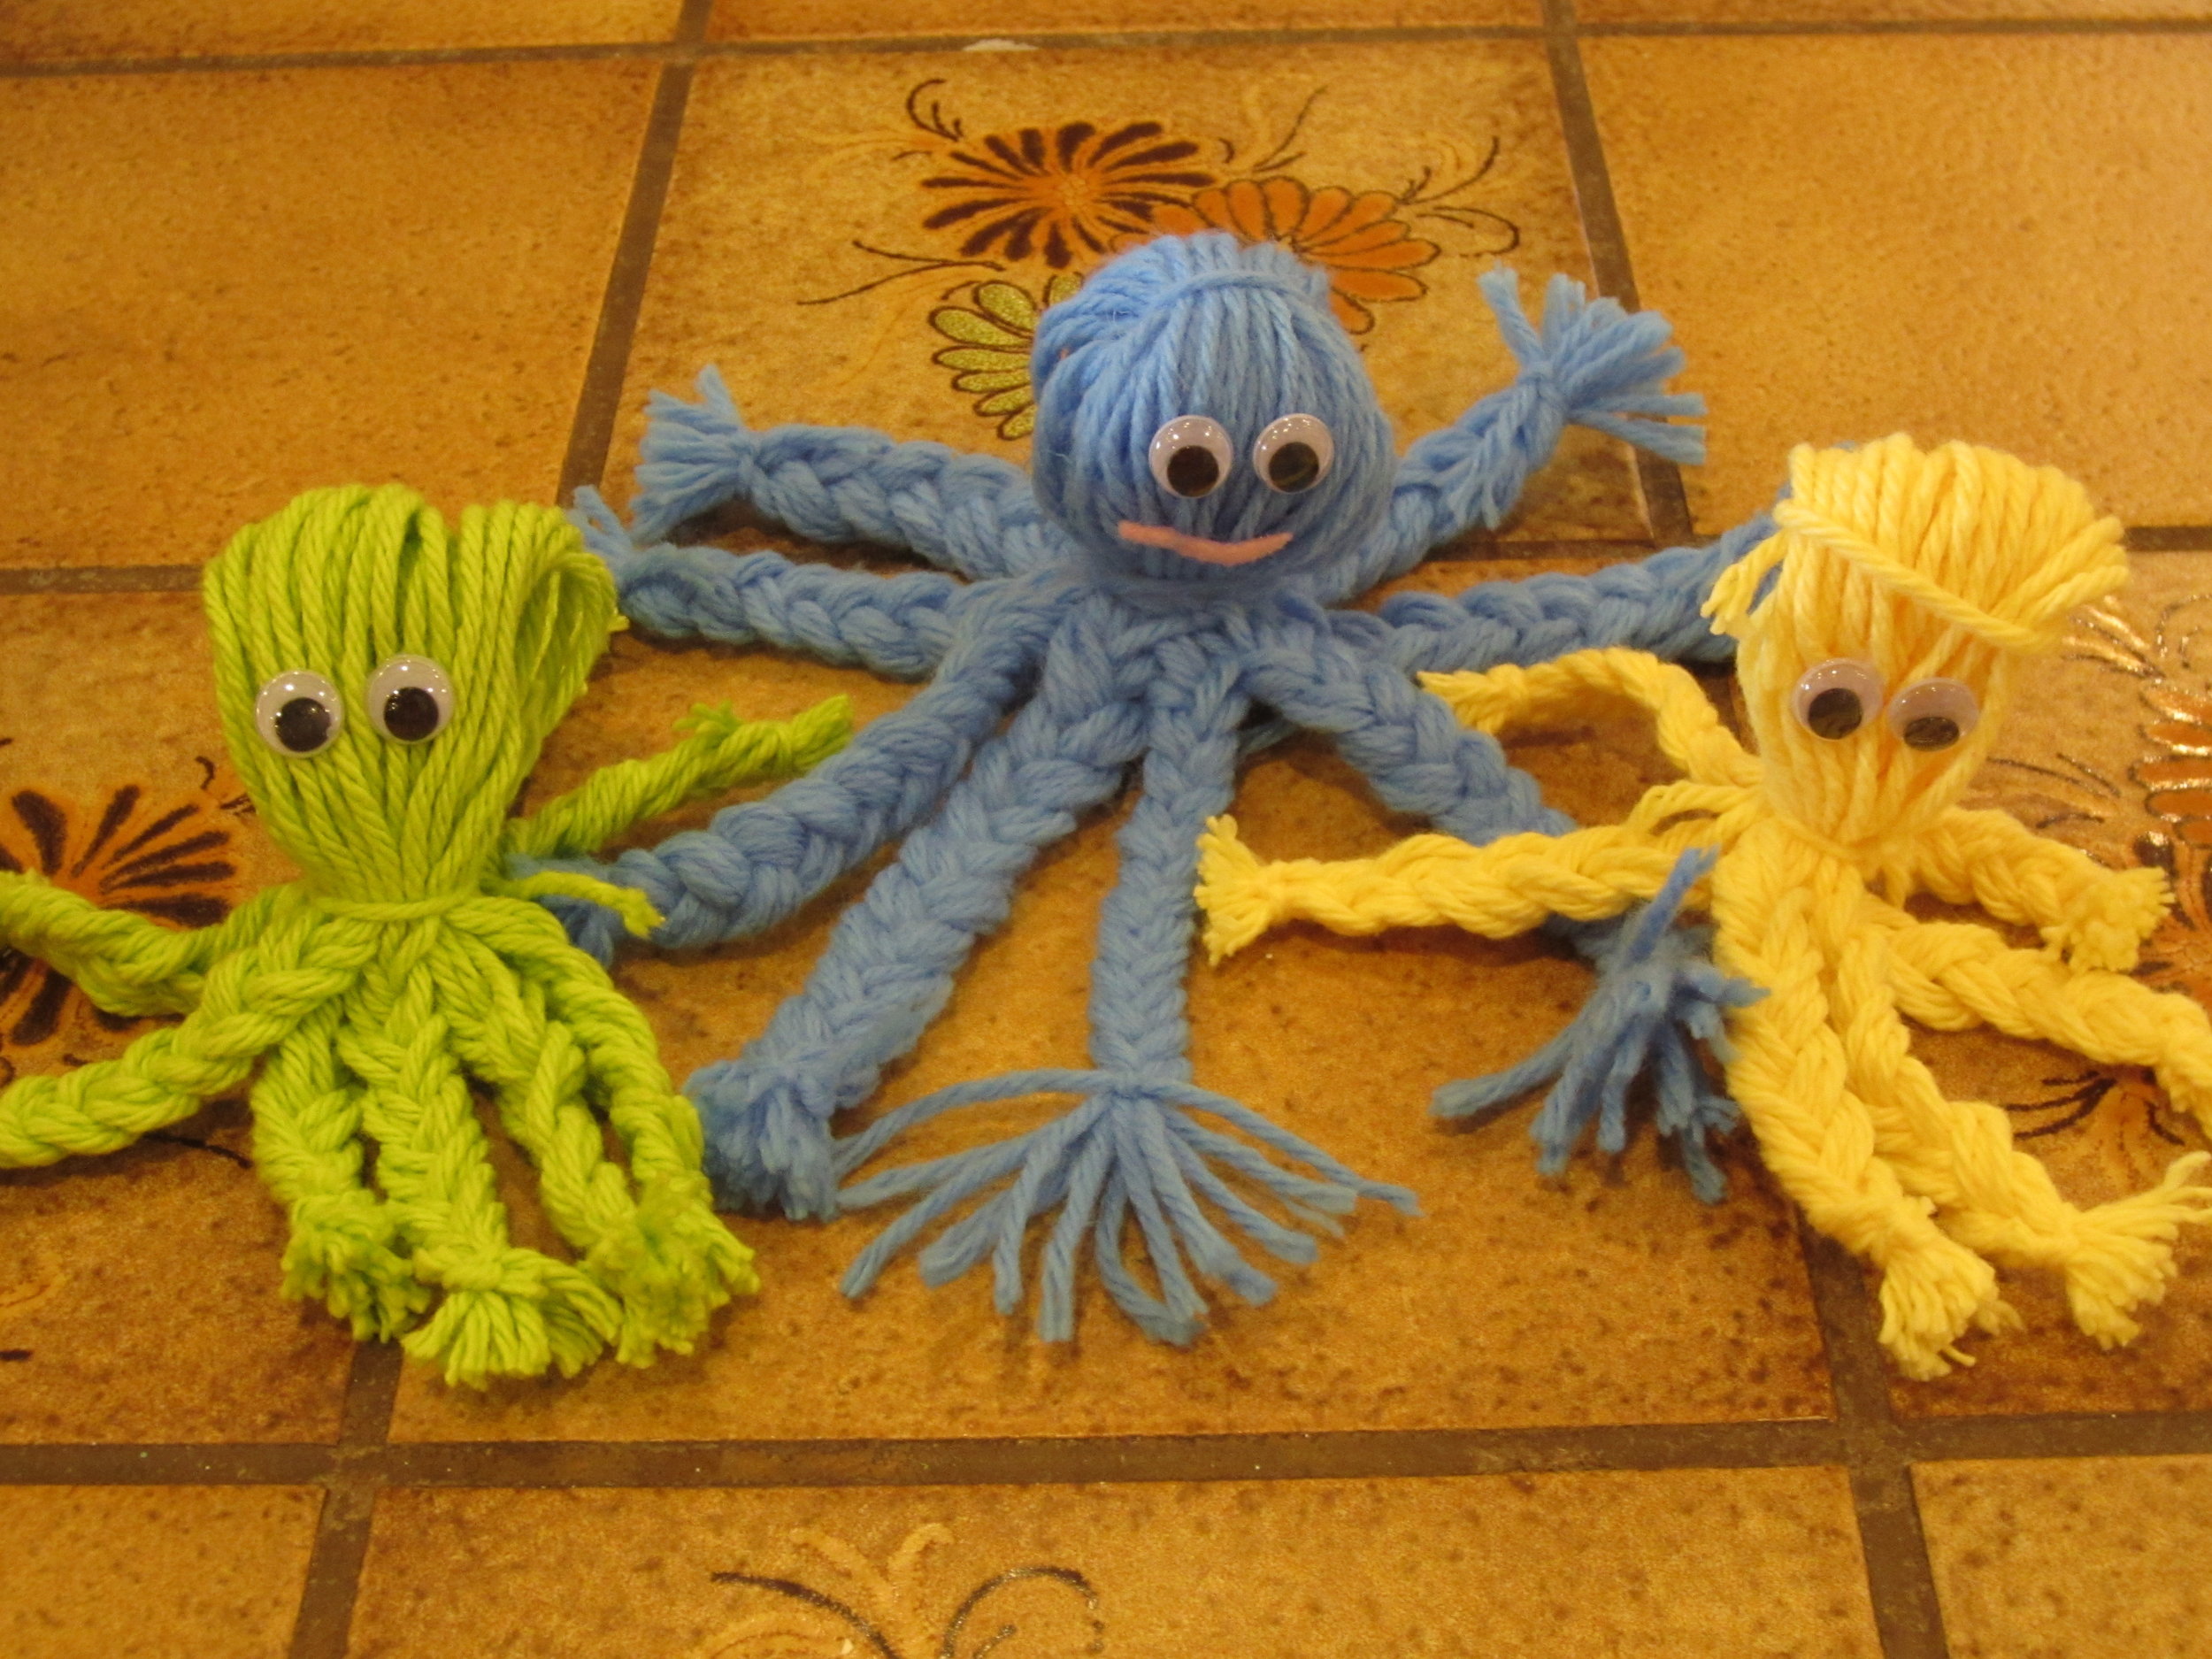
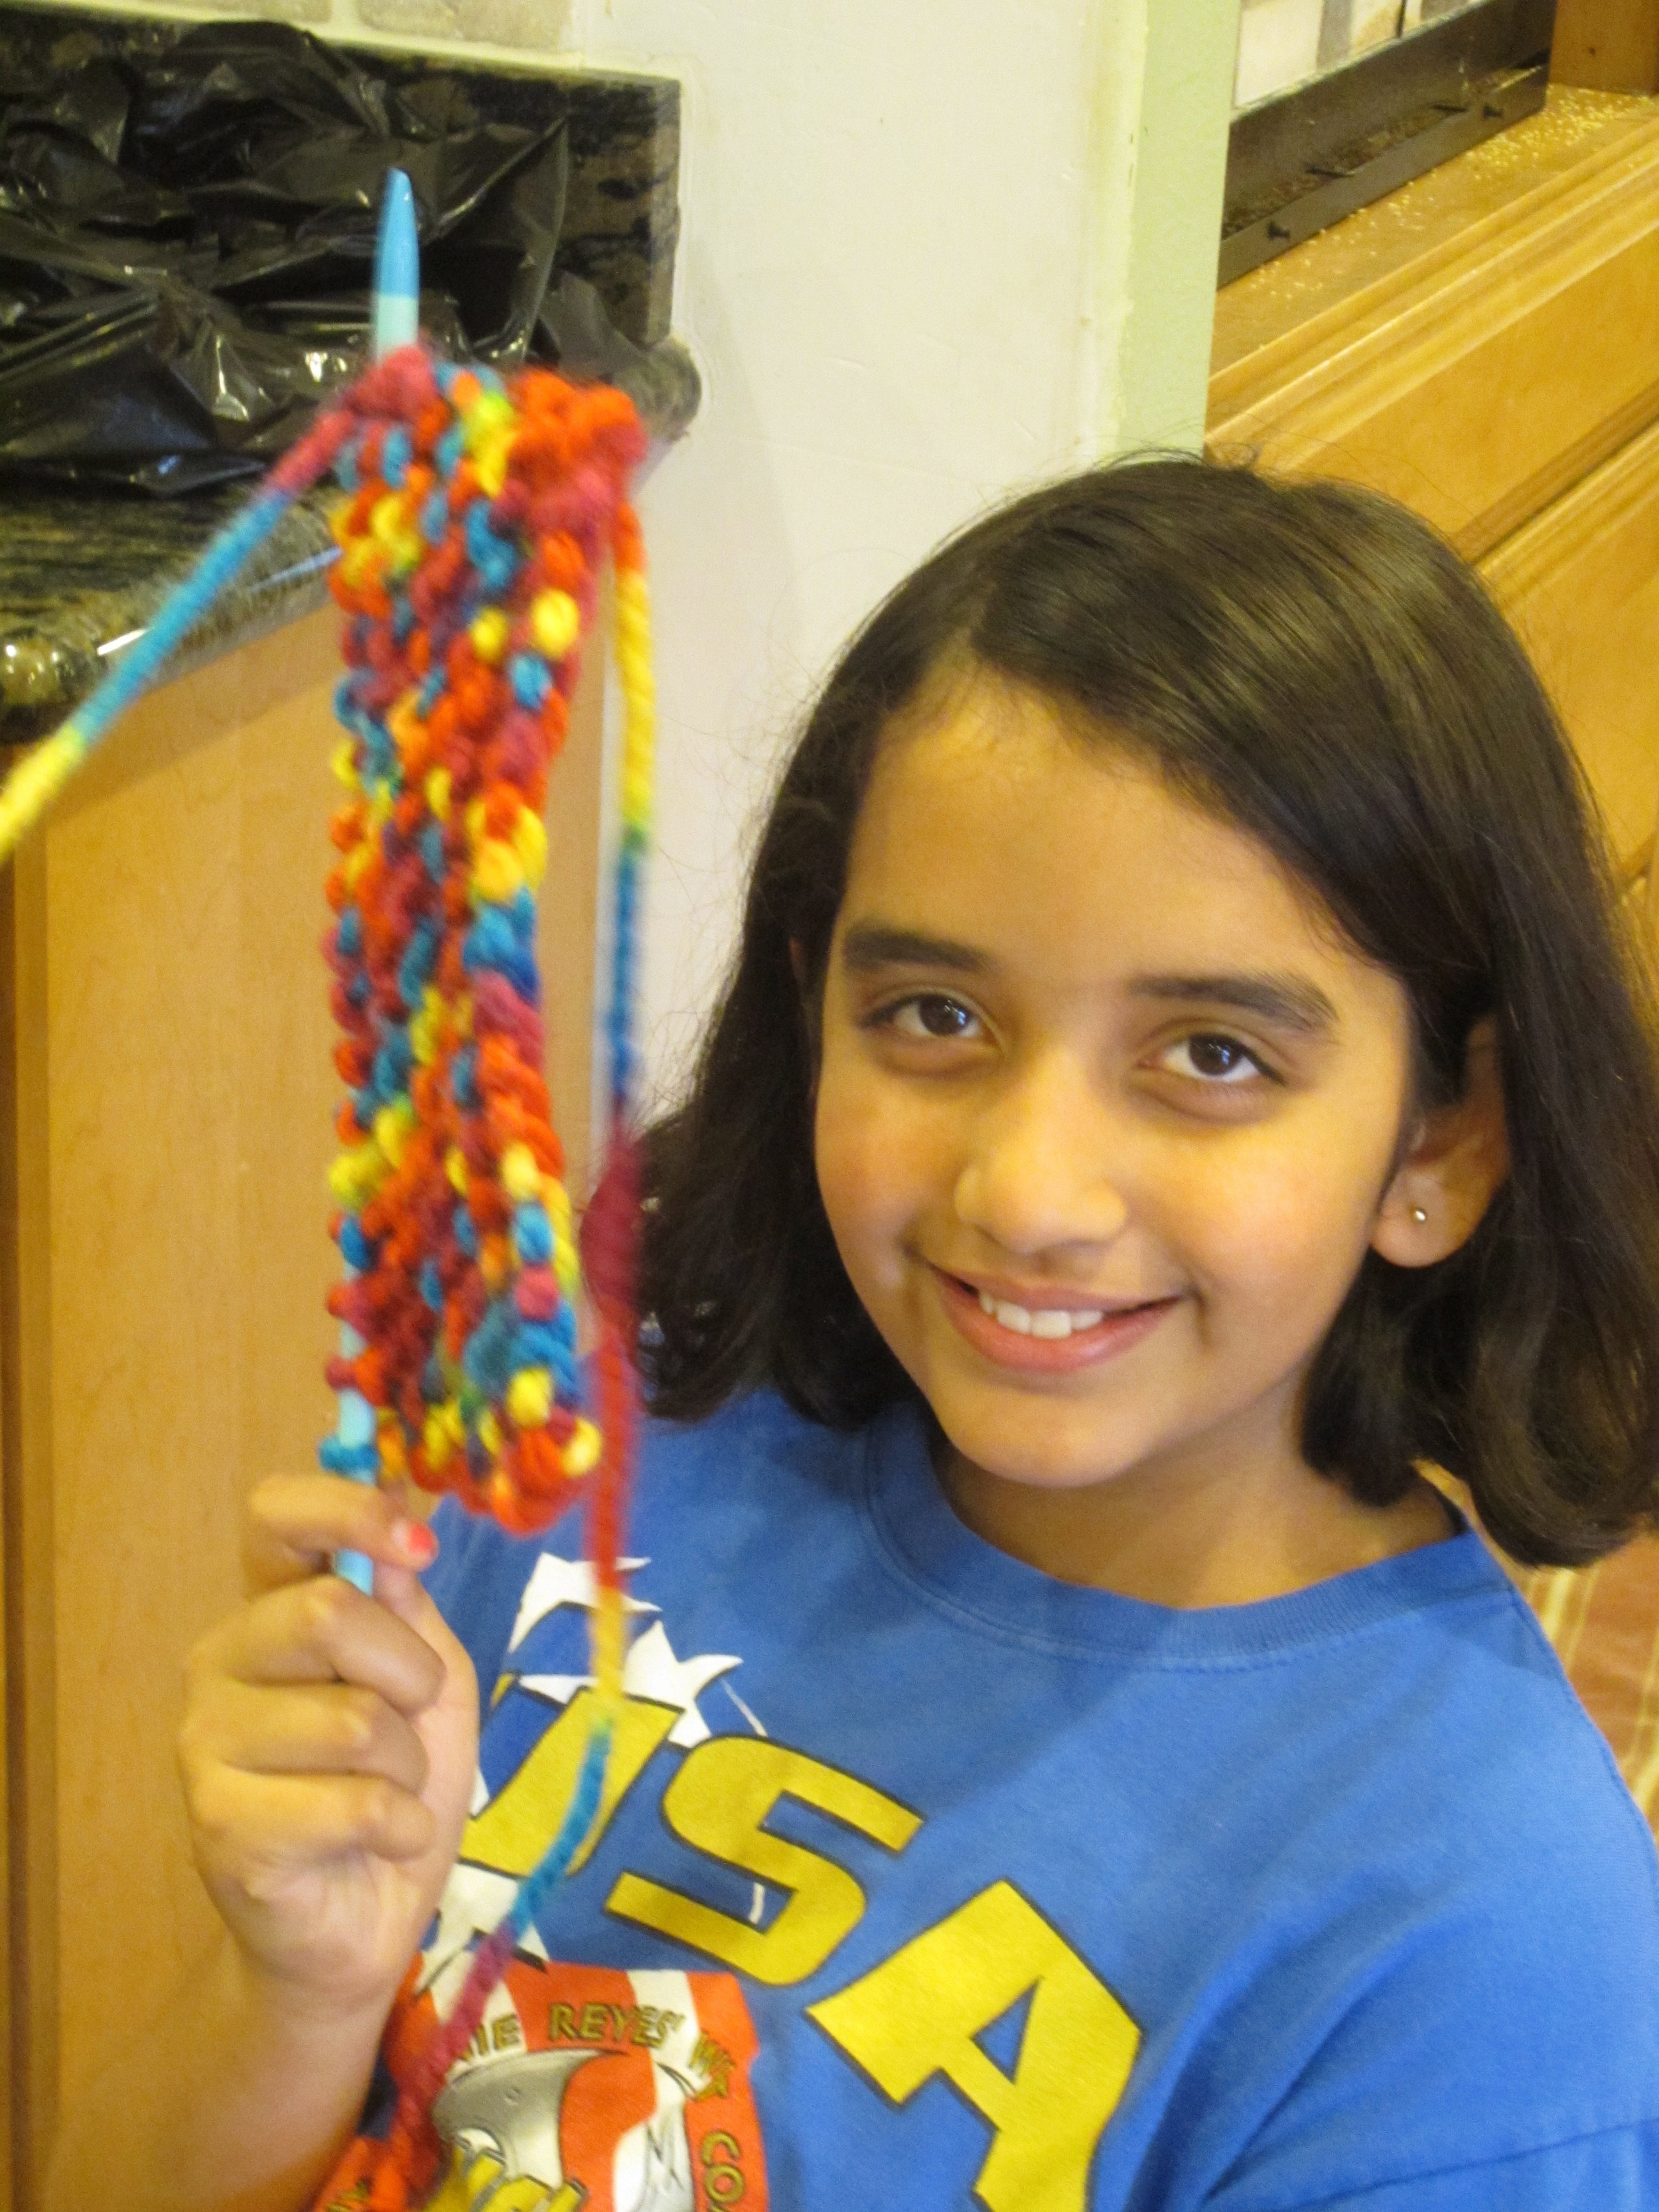
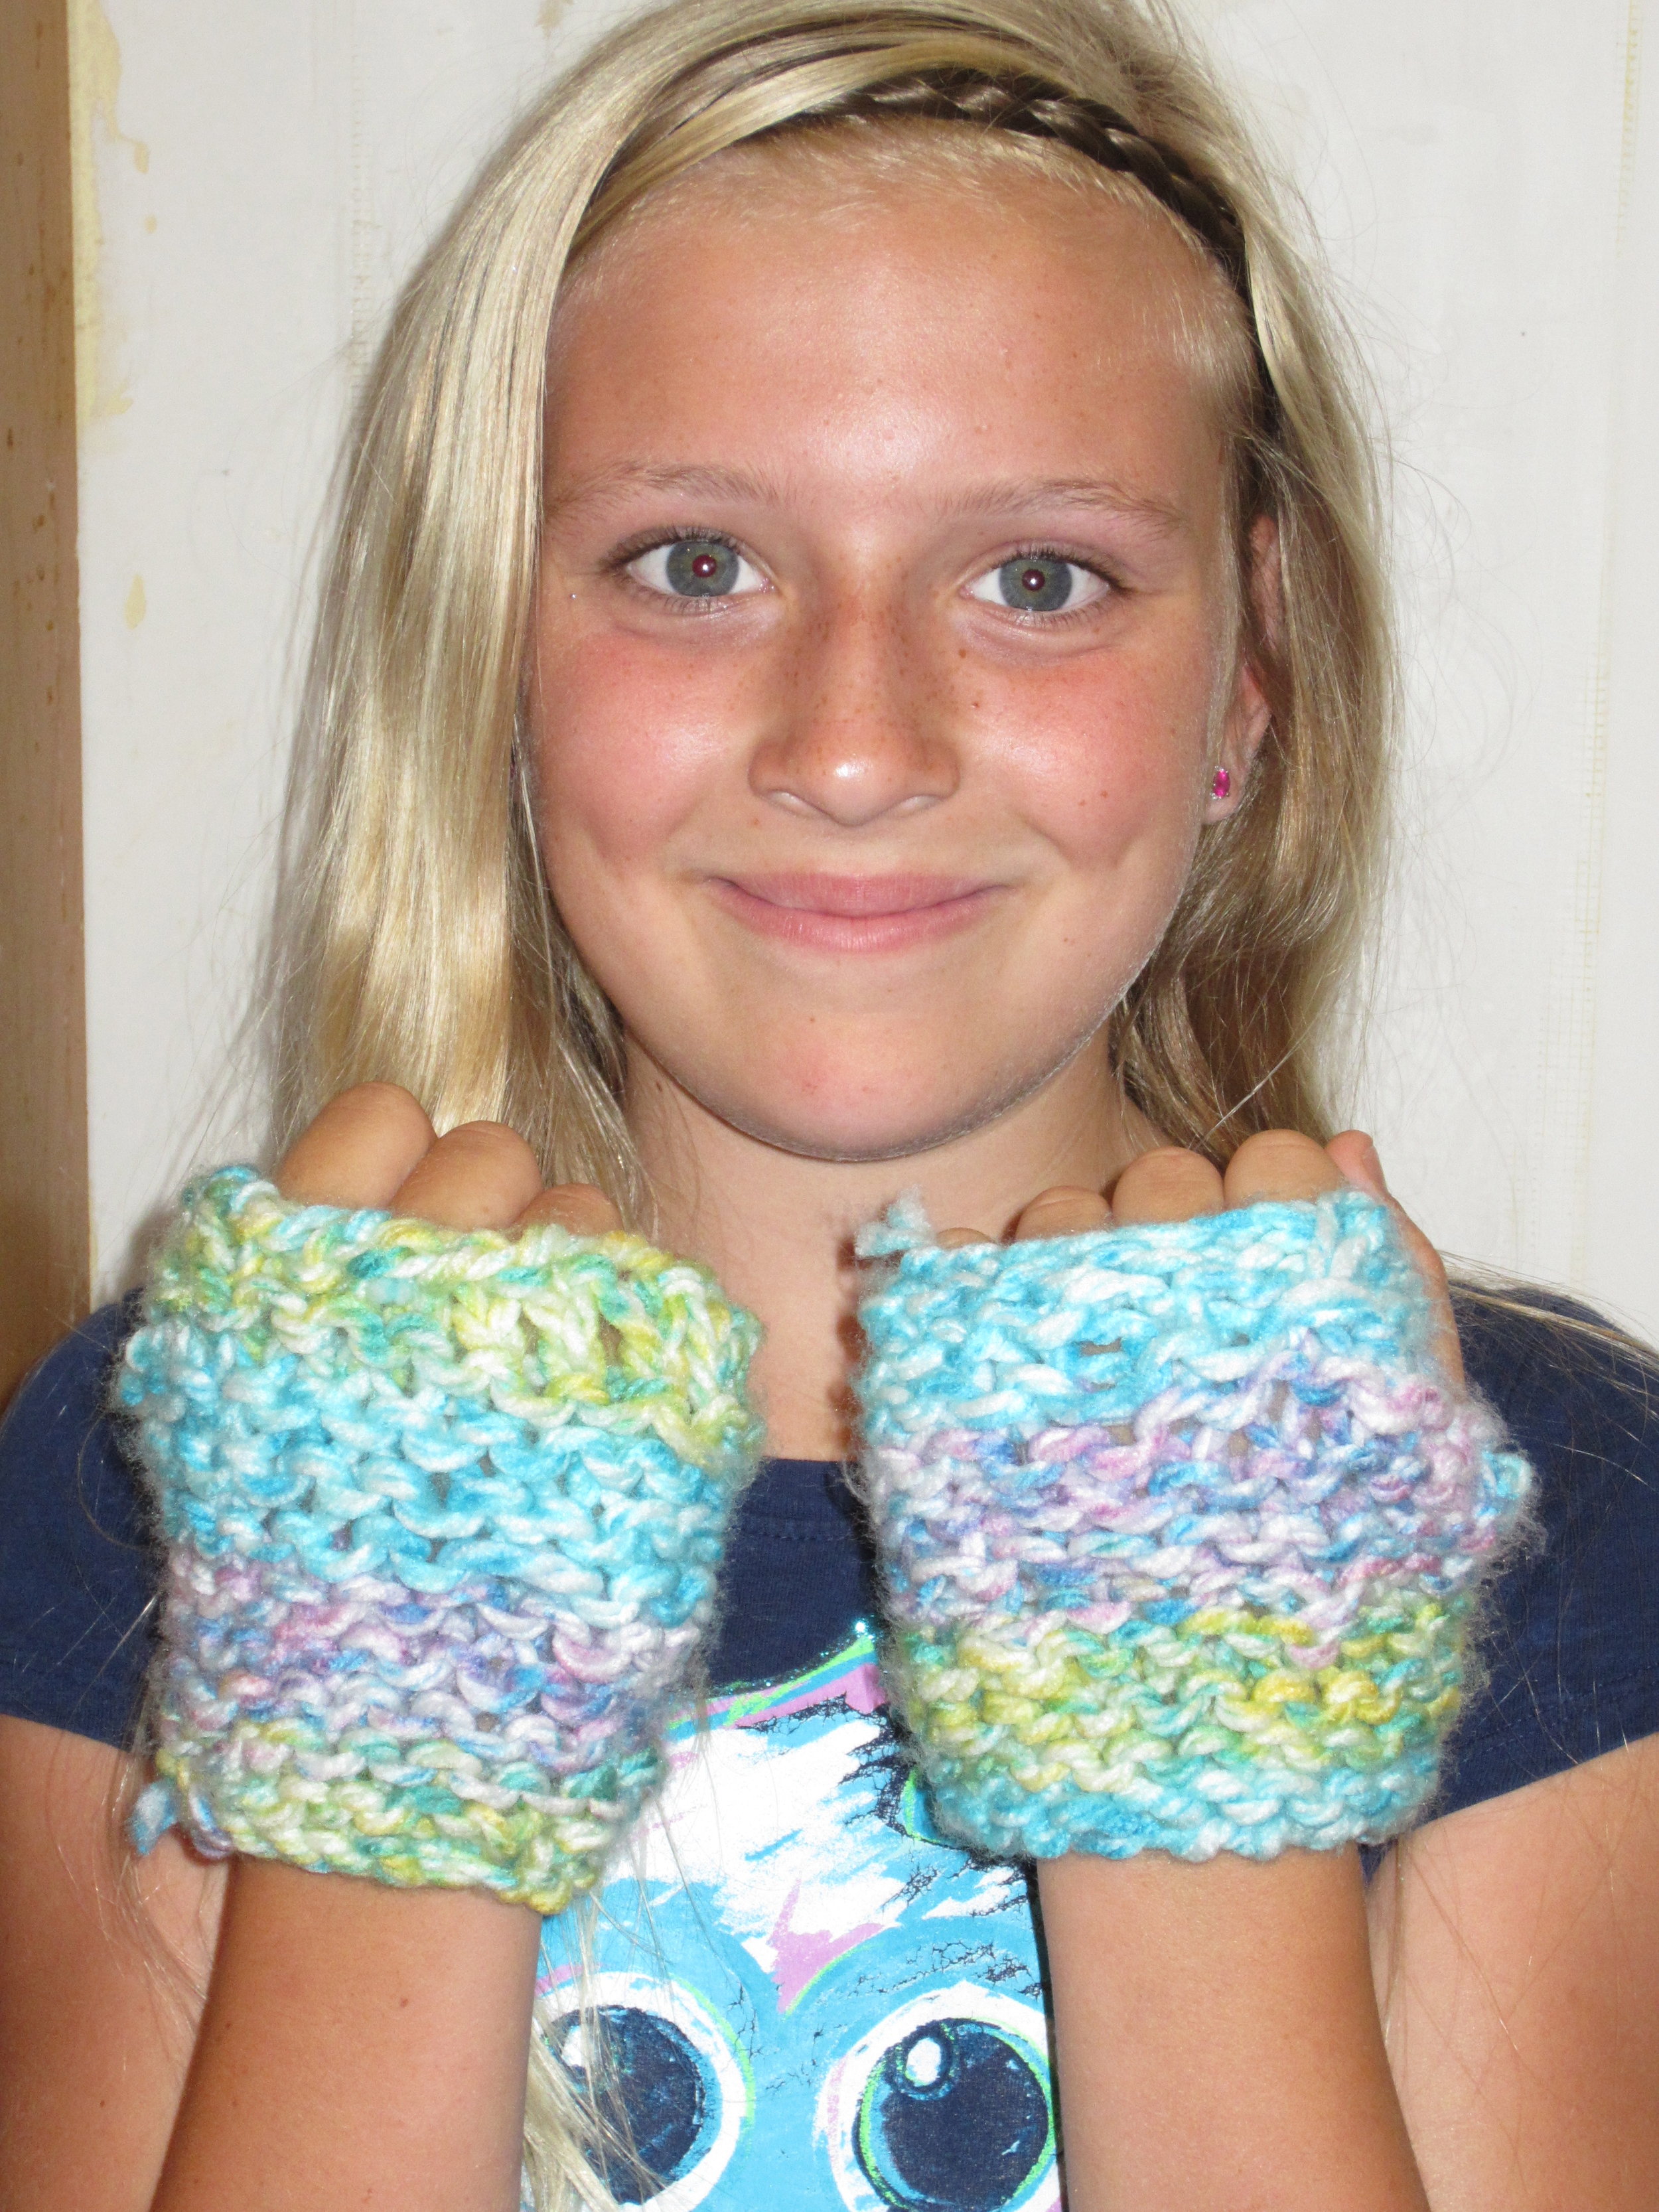
Boy, we had a lot of fun this past week!!  Lots of knitting was done and new friendships were forged.  Knitting always seems to bring people together, both kids and adults.ImageOne of the camper's favorite places to knit is around the kitchen table.  They knit and chat and laugh and have a great time.ImageAnother favorite place was on the couch.ImageHowever, knitting outside was their very favorite place to knit.  Unfortunately, the first two days of this past week saw rain and we had to stay inside.  Thankfully, by Wednesday, things had cleared up and we were outside again!ImageThe abilities of our campers was also varied.  We had campers who were brand new to knitting and...ImageKnitters who had been with us for awhile.  This camper made a vest for her bear.  The bear she had made during knitting class after school during the year.ImageIsn't that vest so cute?!!  It fits her bear perfectly and look at that great knitted fabric - job well done!!ImageSuch concentration!ImageDuring camp this week, we learned how to dye our yarn!  See those extremely fancy garbage bag aprons?ImageWe placed the yarn on a plastic wrapped paper plate and used spoons to get the dye in just the right place.ImageEach hank of yarn was unique and beautiful.ImageLots of very vibrant colors.ImageThen back to their knitting!ImageImageProud of progress!ImageHaving so much fun!ImageThis camper finished her wrist warmers in a day and a half!  Then she started a scarf.   Amazing!ImageHer first knitted project and it looks fabulous.  Such a lovely bag!  This camper went on to knit several cat toys to donate to our local animal shelter.ImageMeet Stella Stuffmore, the name given to this monster bag knitted by this extremely creative camper.IMG_3826Gotta love that colorful yarn!  Isn't Stella Stuffmore cute?ImageThis camper is entering 2nd grade in the fall and completed these wrist warmers before the end of the week.  Her knitting improved so much and I am so proud of her!!  Now she is working on a stuffed toy.ImageMore wrist warmers - a very nice first project for this camper.ImageA mini-monster stuffed with beans and with an embroidered face.  So cute.ImageHer very first knitted project - VERY nice!ImageOctopus dolls.  These are so fun to make.ImageAnother octopus doll in the works!ImageNot only did this camper finish her wrist warmers (her first ever knitted project), but she made this little phone holder for her phone.ImageA very mini octopus.  I have to say, I think this is the cutest!ImageAnother set of wrist warmers made by an entering 2nd grader.  That is a lot of knitting for a 2nd grader!!

Knitting Camp and Arts & Crafts Camp is coming!

We are ready and excited for knitting camp this week!!  Lots of fun things to learn and do.ImageHere you see yarn that has been measured and tied so that we can learn how to dye!  You can make all kinds of colors of yarn this way.ImageAll the yarn bundles are ready for our campers.ImageOur sample dyed yarn.  Isn't that so pretty??  Can you imagine how fun it will be to knit with this yarn?!And stay tuned tomorrow to see what fabulous crafts we create in the afternoon!While our morning camp is full this week, we still have spaces available in the afternoon.  Give us a call if you would like to join us!

Additional week of sewing camp!!

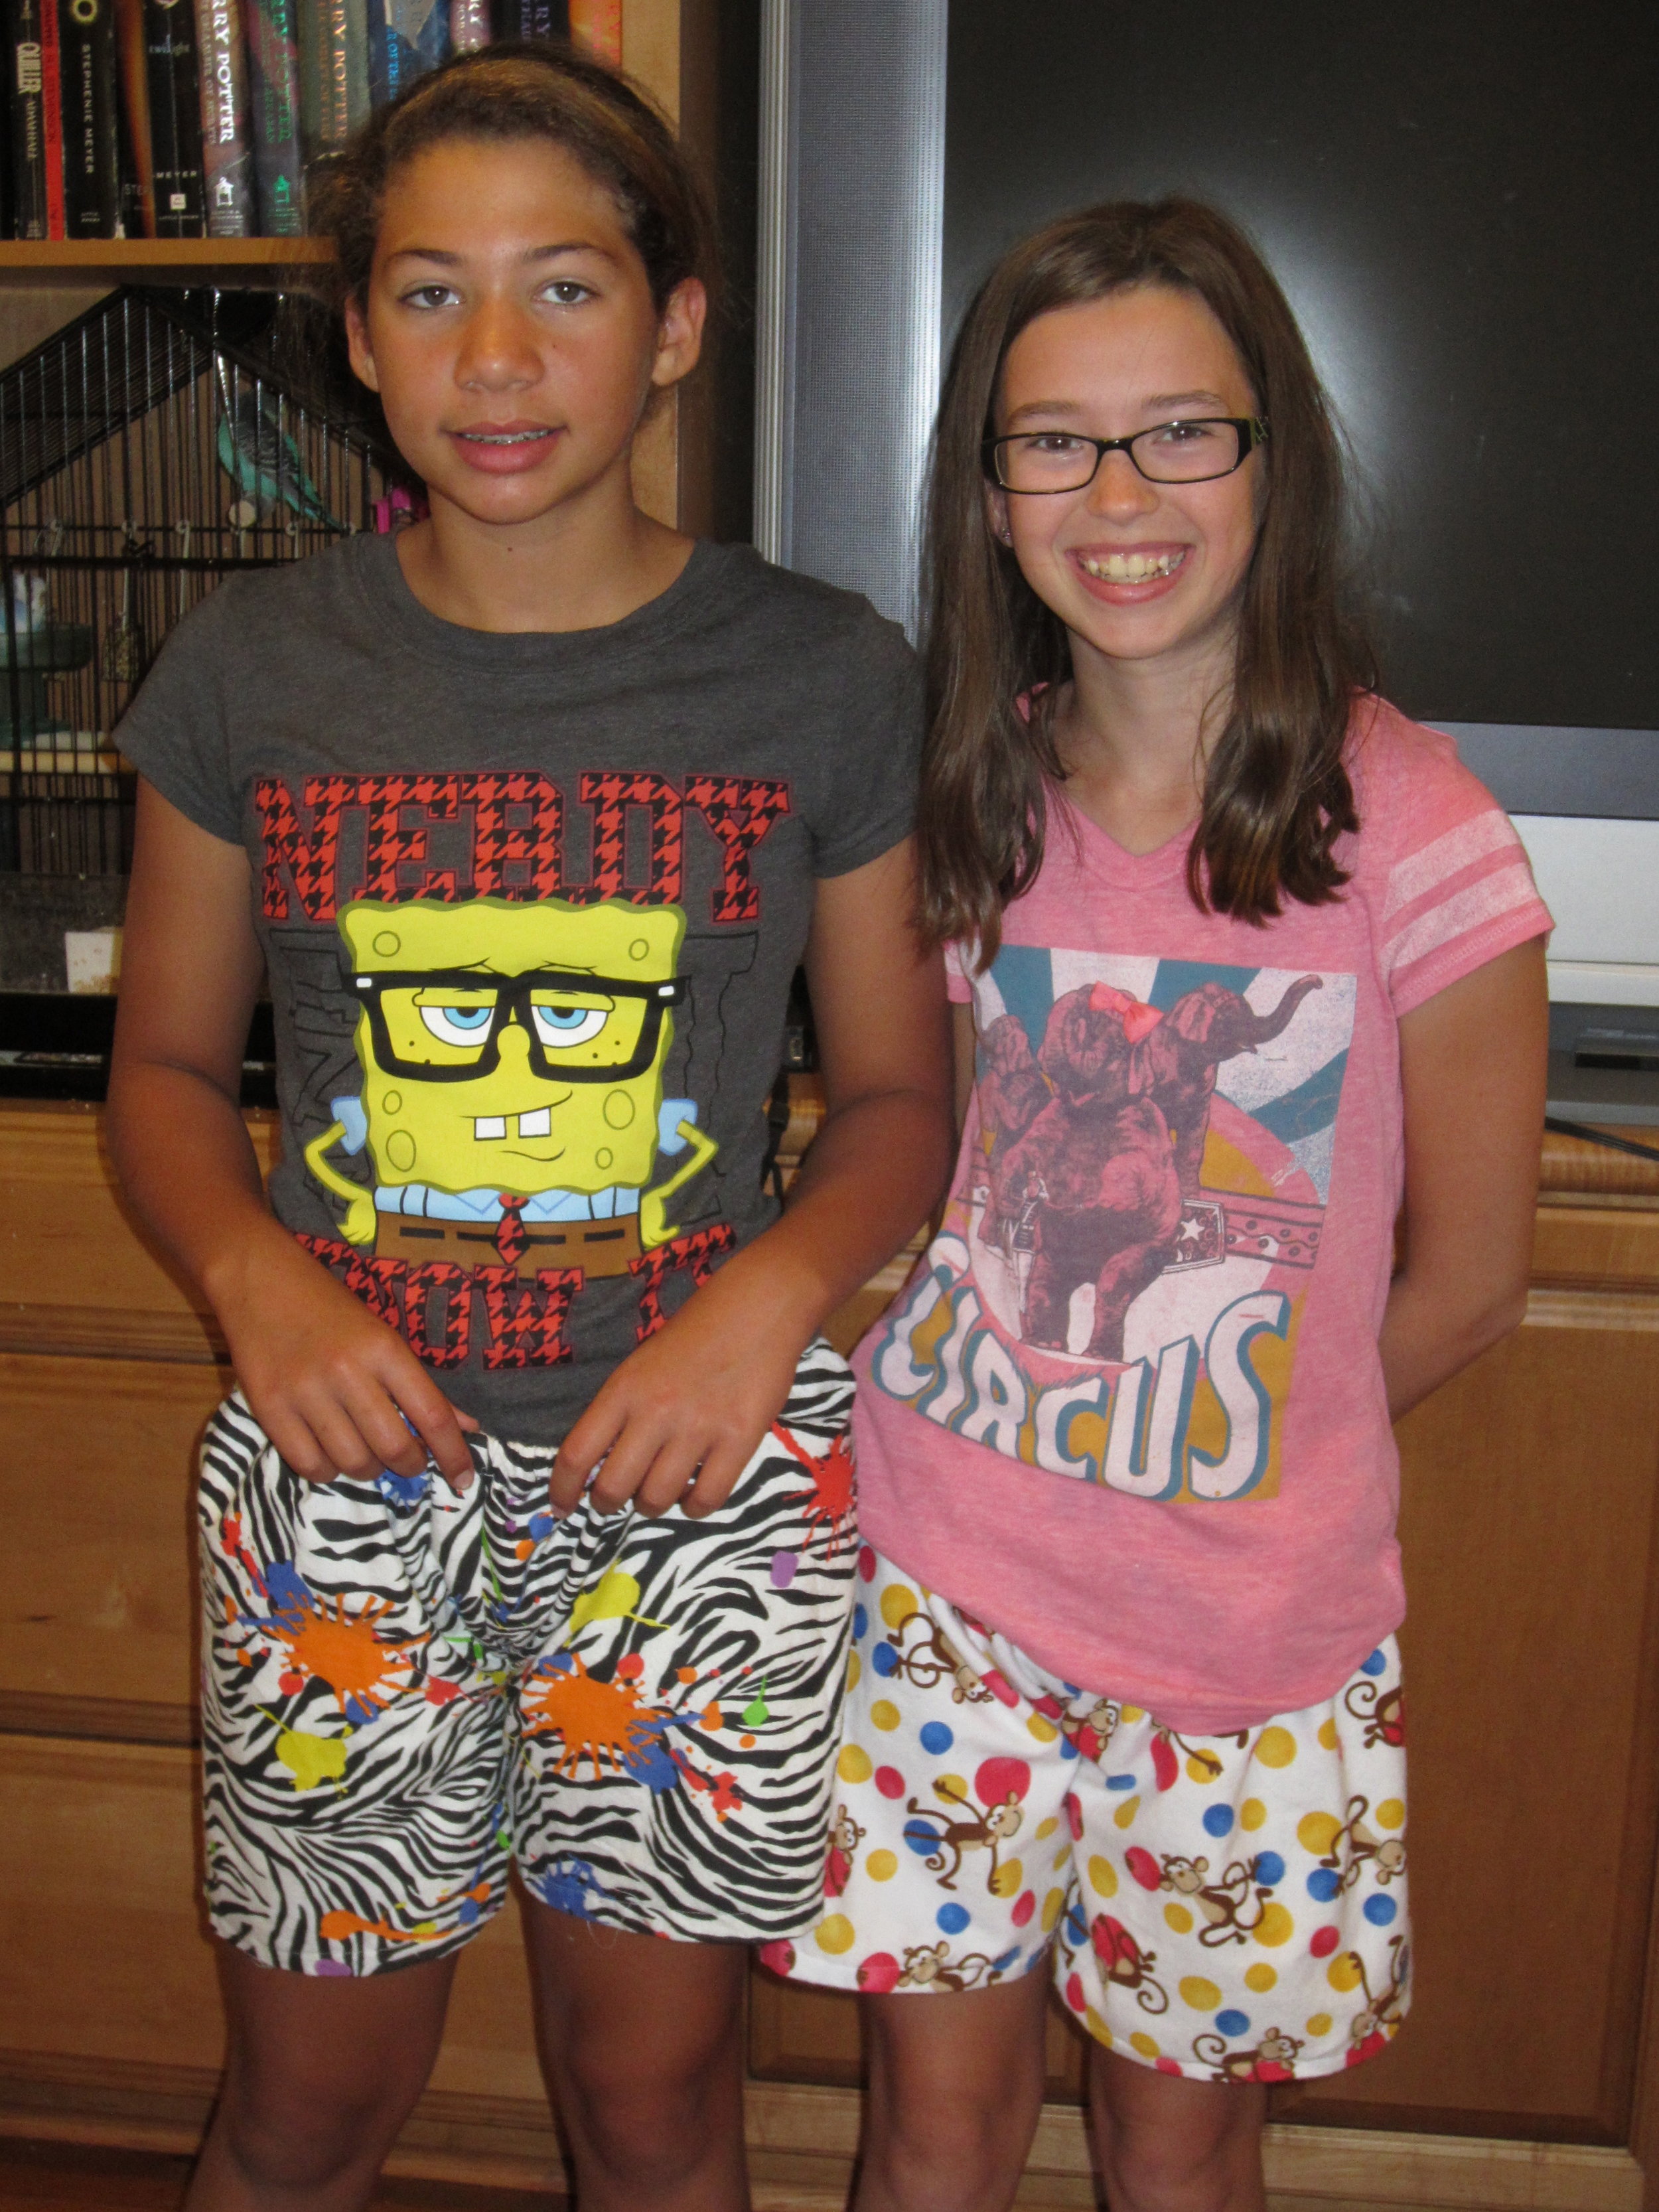
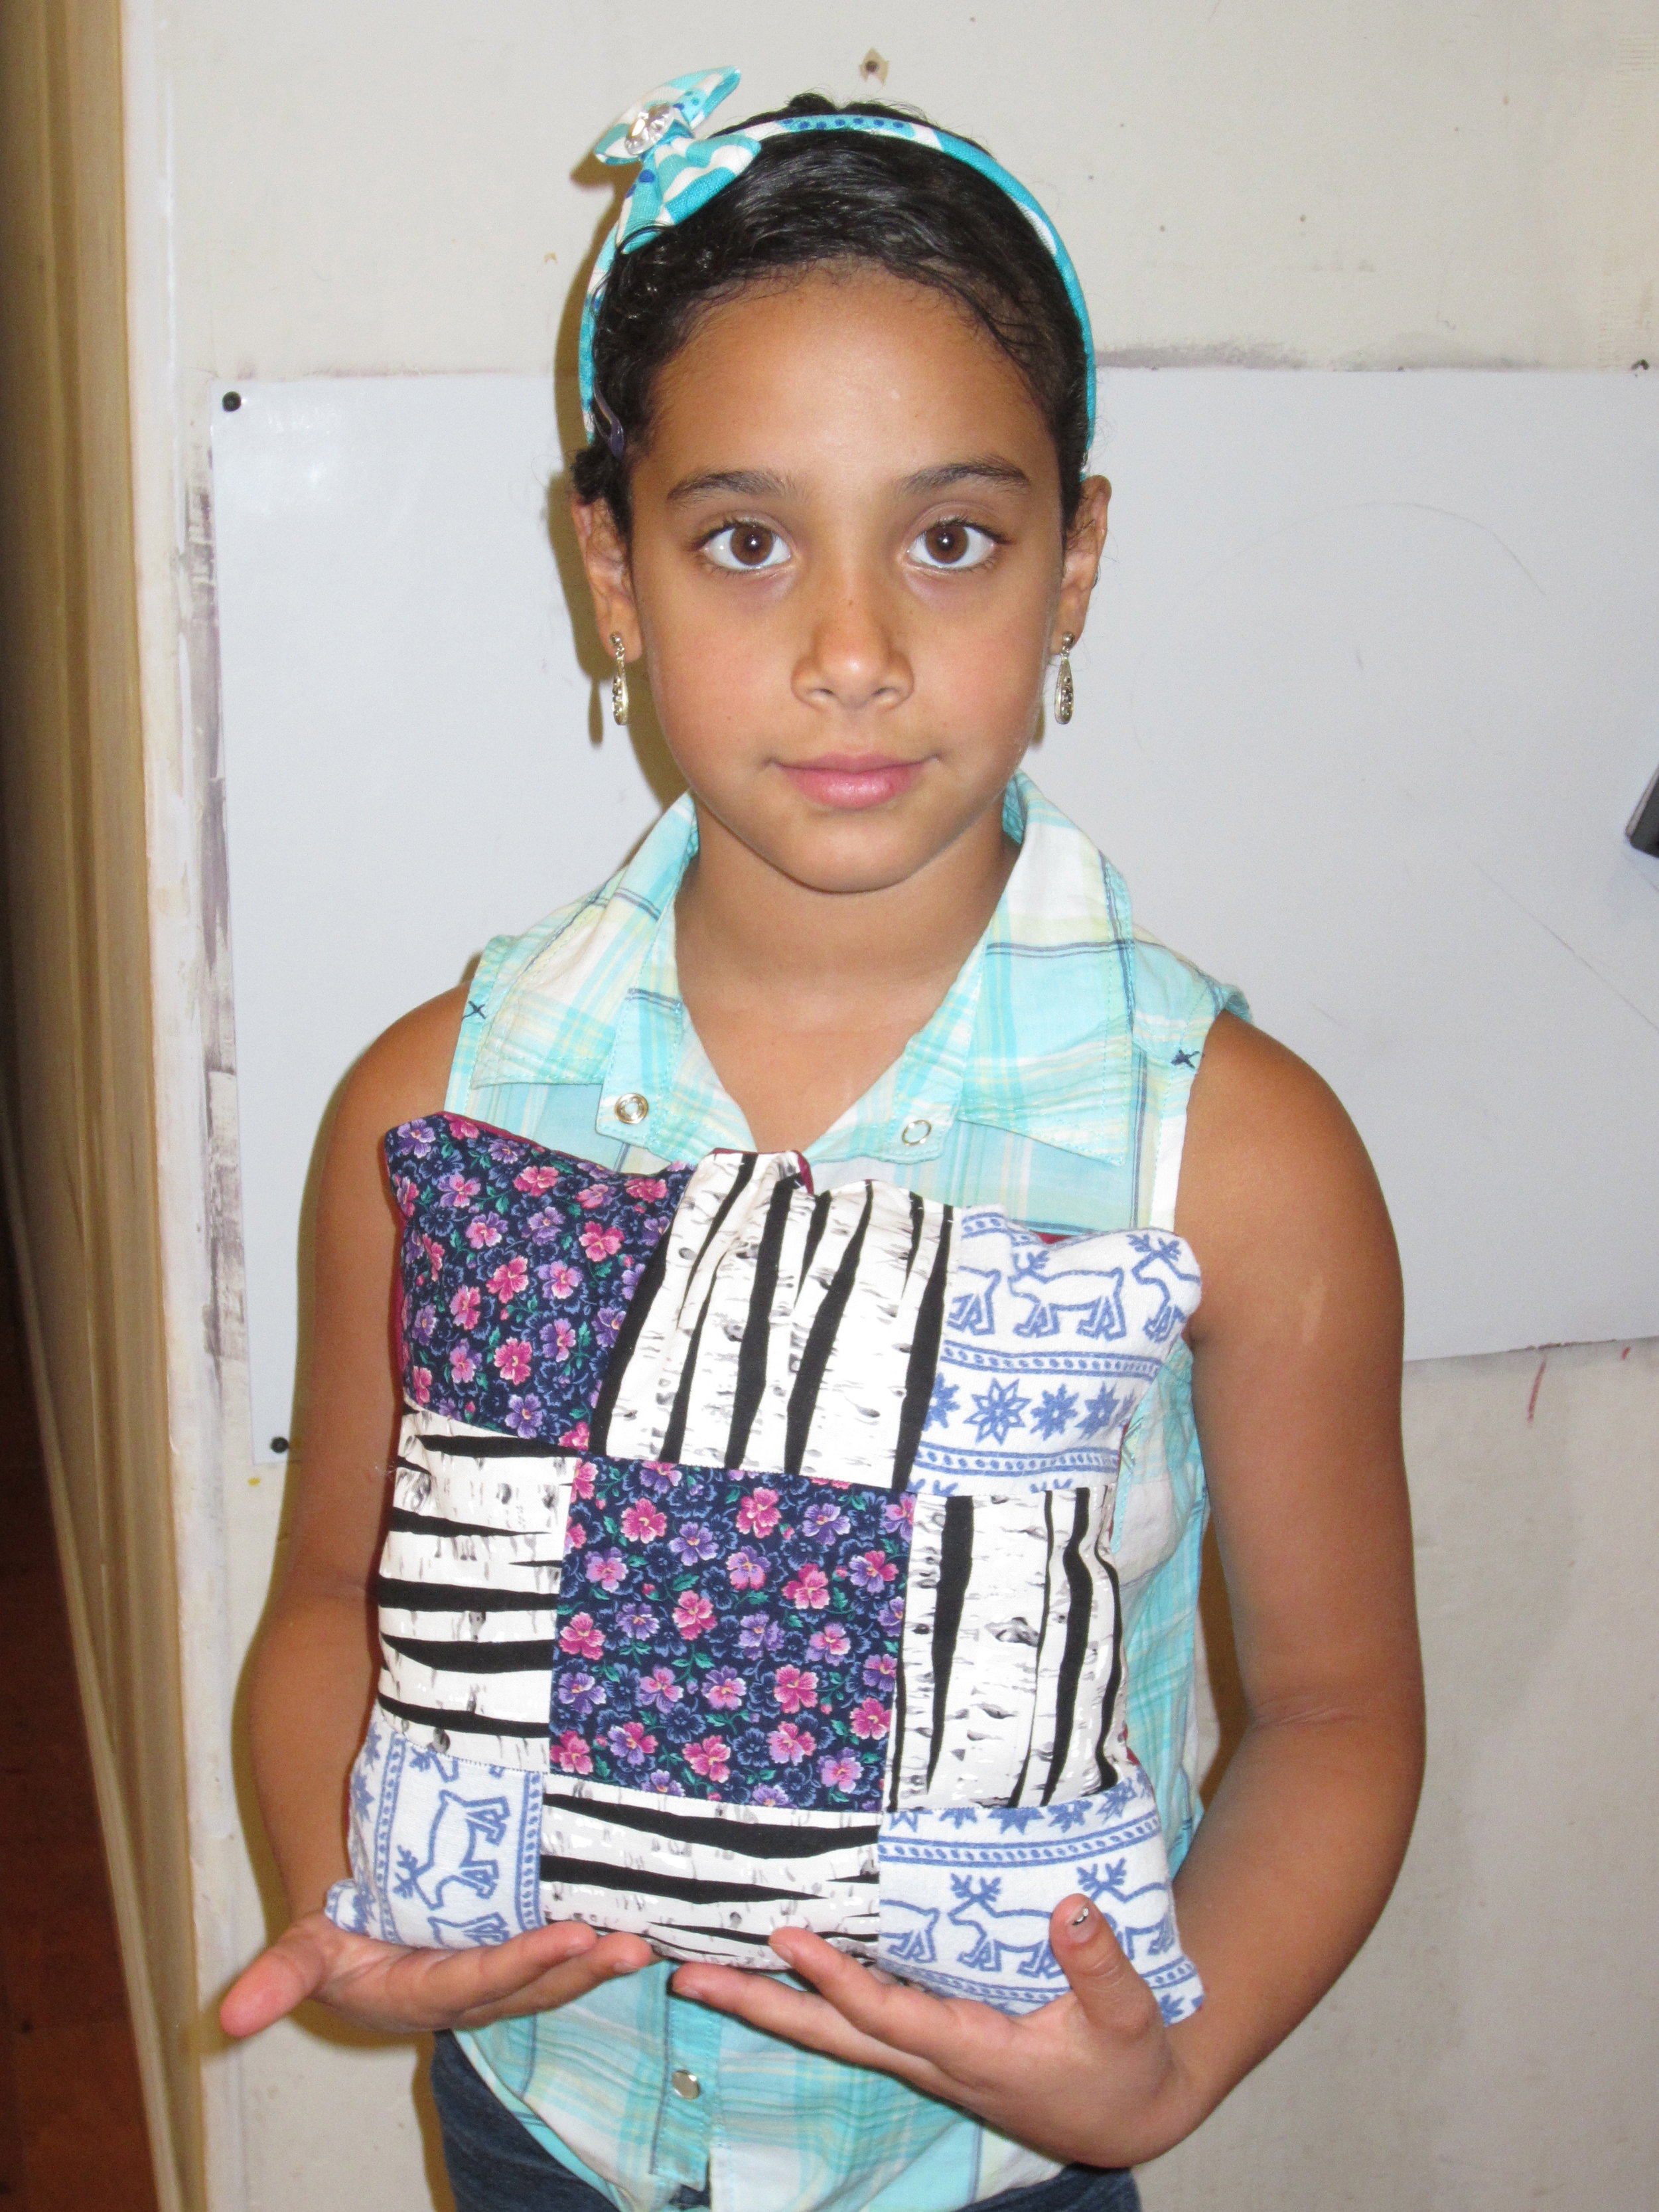
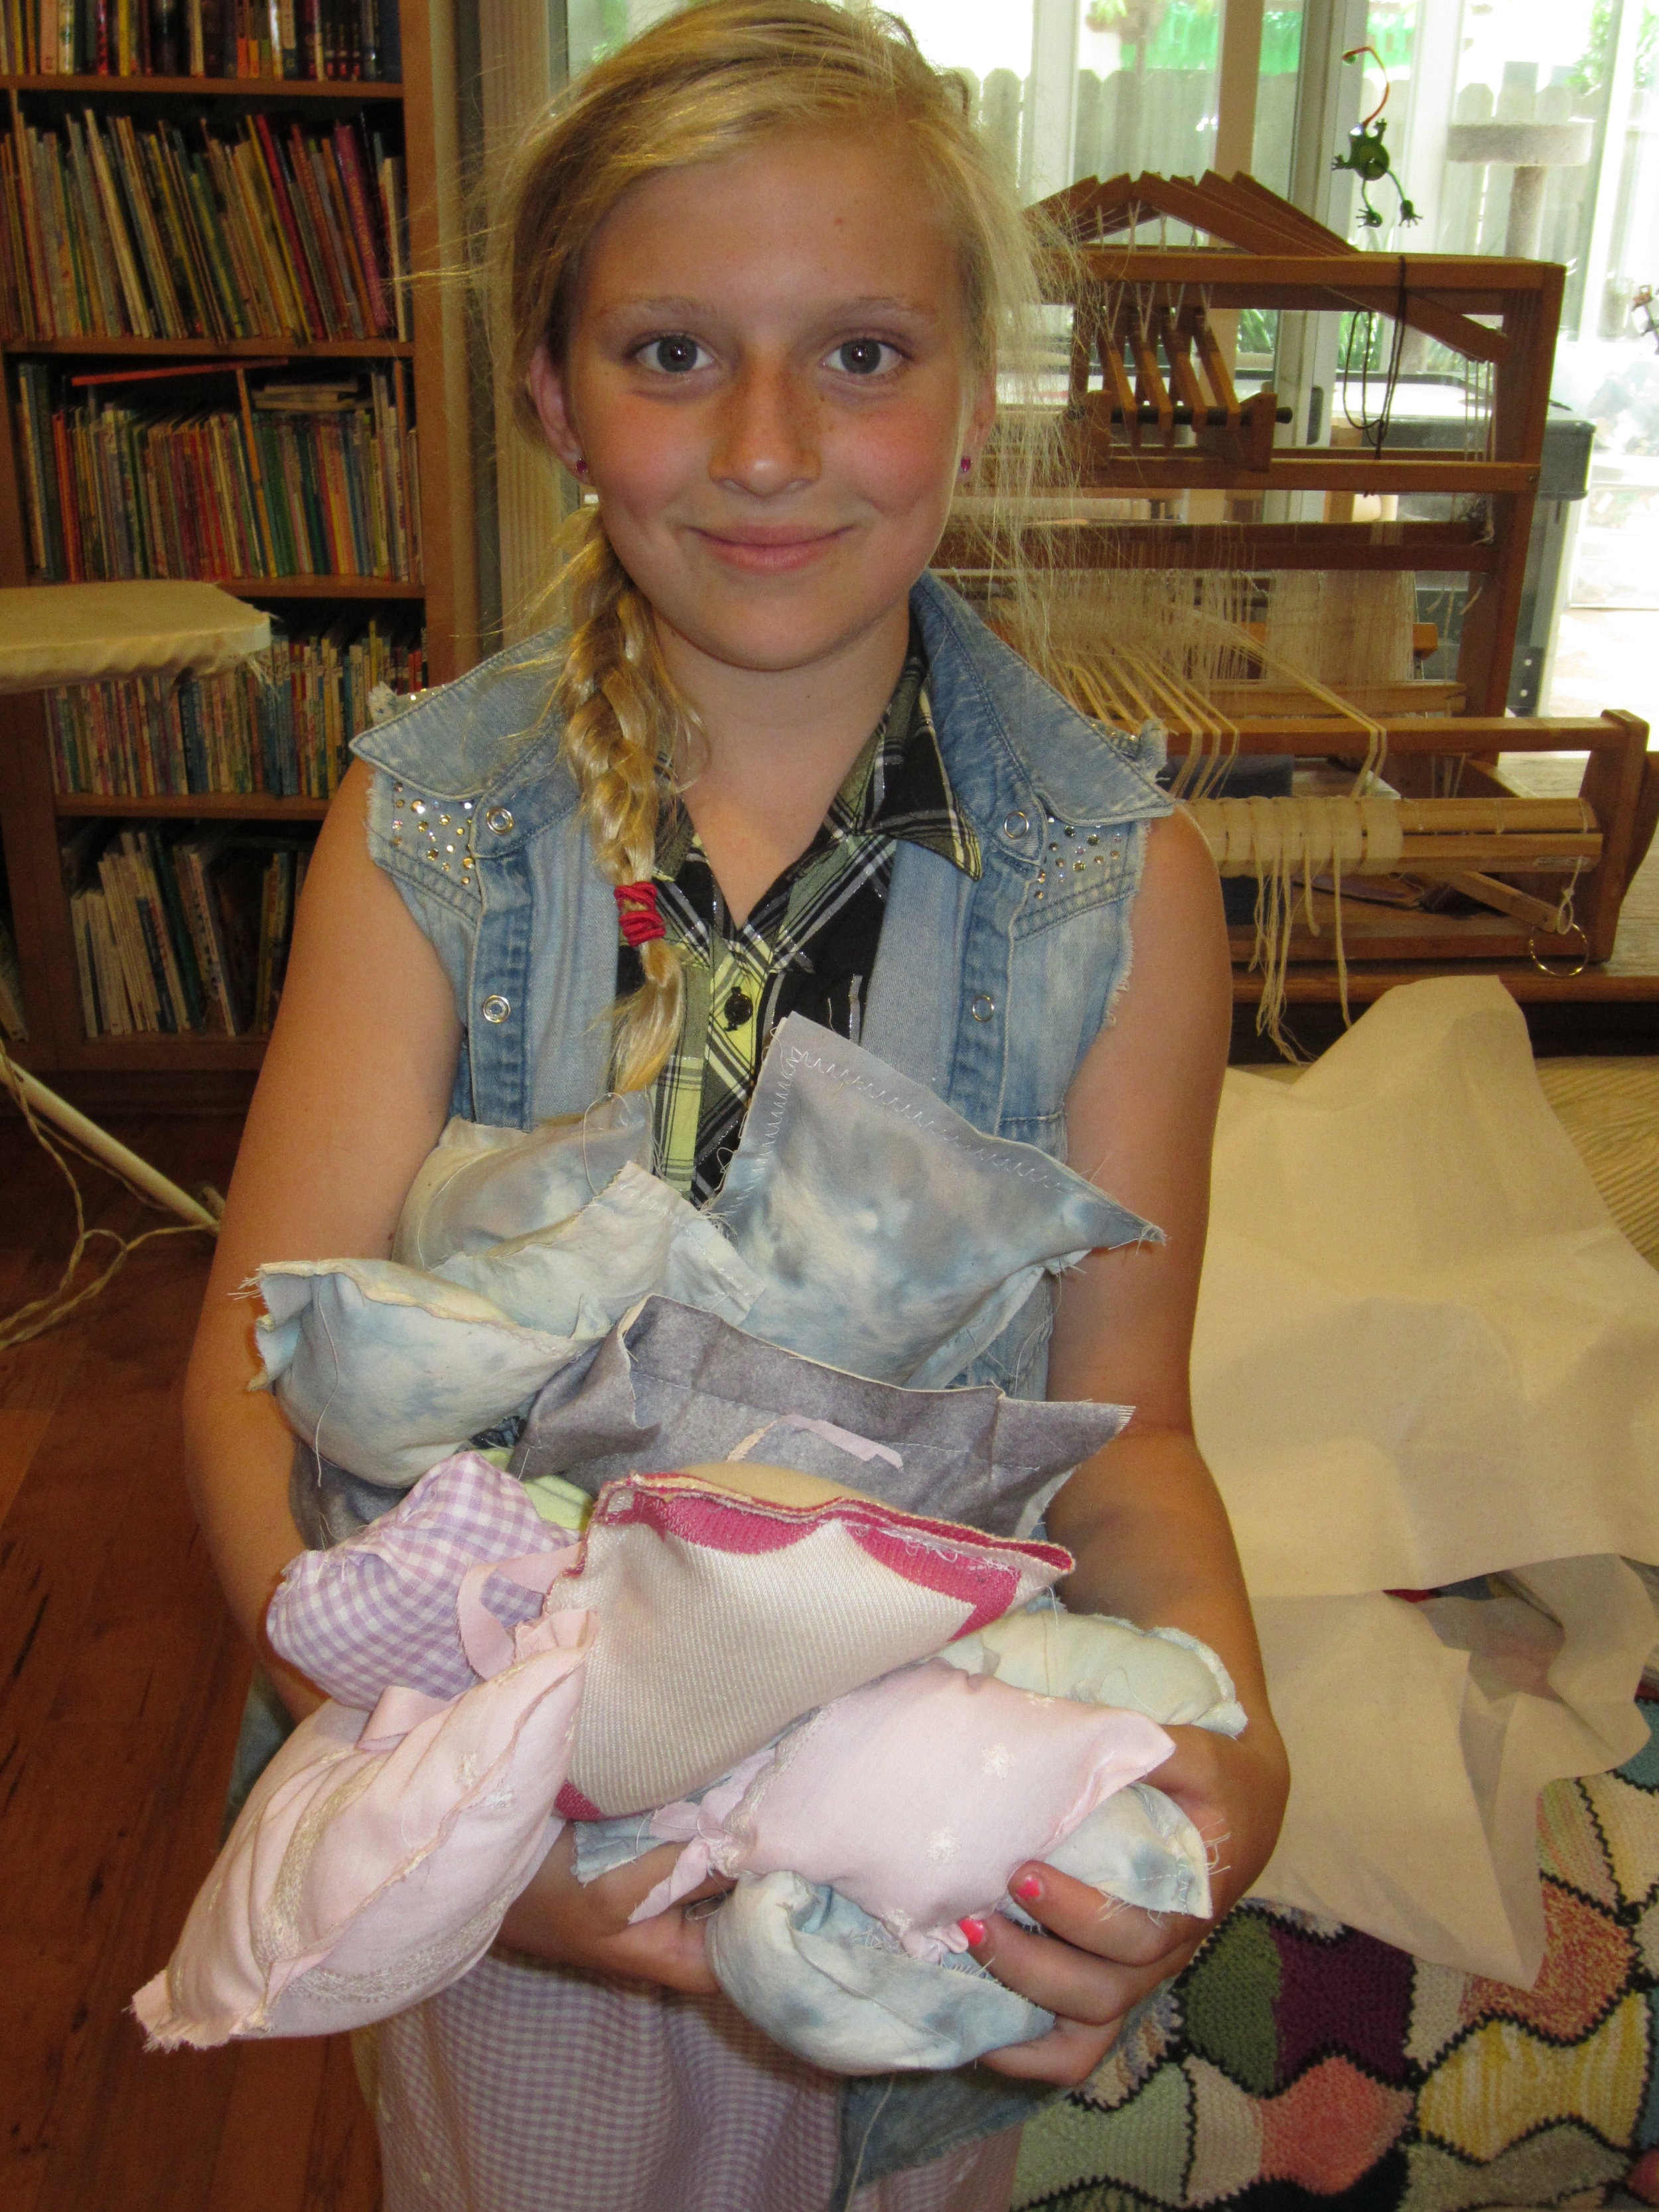
Exciting news!!  Sewing Camp has been such a big hit, I have added another morning session from July 22nd through July 26th!  I'm so glad because I am going to miss teaching sewing.Today was the last day of sewing camp for this week.  And boy, what a great day we had!  Lots of laughter and chatting and sewing - the perfect way to round out the week.ImageAnother finished skirt!  I don't think I have mentioned how amazing it is that these campers can make these skirts.In order for them to have the nice gathered waistline, the fabric must be twice as wide as their own waists. So for example, if the waist measurement of the camper is 22 inches, then the skirt fabric will be cut 44 inches wide.  Then we measure down from their waist to find out how long the skirt should be and add 4 inches.The campers sew up the back seam, then measure down from the top of the skirt 1/2", pin, iron and sew.  This is the facing - then they again turn under 1" from that fold, pin, iron and sew - then insert the elastic.The hem at the bottom is done about the same way - measure 1/2", pin, iron, sew - measure 1", pin, iron and sew.  WHEW!!  That takes a lot of concentration and time!!  Simply amazing!ImageDiligent work on a pillow case.ImageAnd the finished pillow case!  It's so fun to be a part of the learning process.ImageTwo campers having fun working on their projects.IMG_3734Batik pillow.  These always turn out so nicely and we leave the sewing up for the last day.IMG_3736Finished 3D cat stuffed toy.  This toy is VERY complicated!  It has a bottom gusset where the tummy is and was quite a challenge to sew together.IMG_3735However, this camper persevered and completed her project complete with felt applique eyes and embroidered nose and mouth.  Way to go!!IMG_3737A beautifully painted still life.IMG_3739Two more pairs of shorts!  These are very similar in construction to the skirts.  Same amount of measuring, pinning and sewing.  What troopers these campers are!IMG_3740IMG_3741I always find it so interesting the fabrics that are chosen.  This skirt is so pretty!IMG_3742Yet another pair of shorts.  I tell you, these campers are amazing!IMG_3743This camper decided all on her own that she wanted to make a quilt.  She took the 4" template that we used for our sachets, chose fabric and cut it out all on her own.  I asked her to lay the squares out on a flat surface so that she could organize and reorganize her squares to get the look she wanted.   This is her final choice and I LOVE it!!  More importantly, she loves it!  At the very end she chose to change her quilt into a pillow and it looks great this way as well.IMG_3744This camper chose to make a 2D stuffed cat.  Boy did she work hard sewing around those curves for the paws!!  Sewing curves is no easy task.IMG_3745Aren't those pastel colors beautiful?!  She will be joining us for our next week of sewing camp in July and has already started a 3D stuffed pig complete with head and under belly gussets.IMG_3746We had ten minutes left of camp today and this apple pincushion was created!IMG_3747I love how these pillow fronts come out.  Each one is totally different.IMG_3748IMG_3749She made a very similar drawing as her sister, but as you can see, the looks are completely different!IMG_3751The camper who drew this, ran out of time to turn it into a pillow.  She had been working on so many other fabulous projects, but I just love the arwork!See you next week for knitting camp and arts & crafts camp!!

We have been BUSY!

Image


Students new to camp worked on needle books and pincushions.

Image


New skills are hard to learn!  But this camper is such a trooper, she mastered her hand stitching by day two.

Image


This camper was with us last week as well and was completely ready to tackle a much more involved project.  She has chosen to make a summer robe.

Image


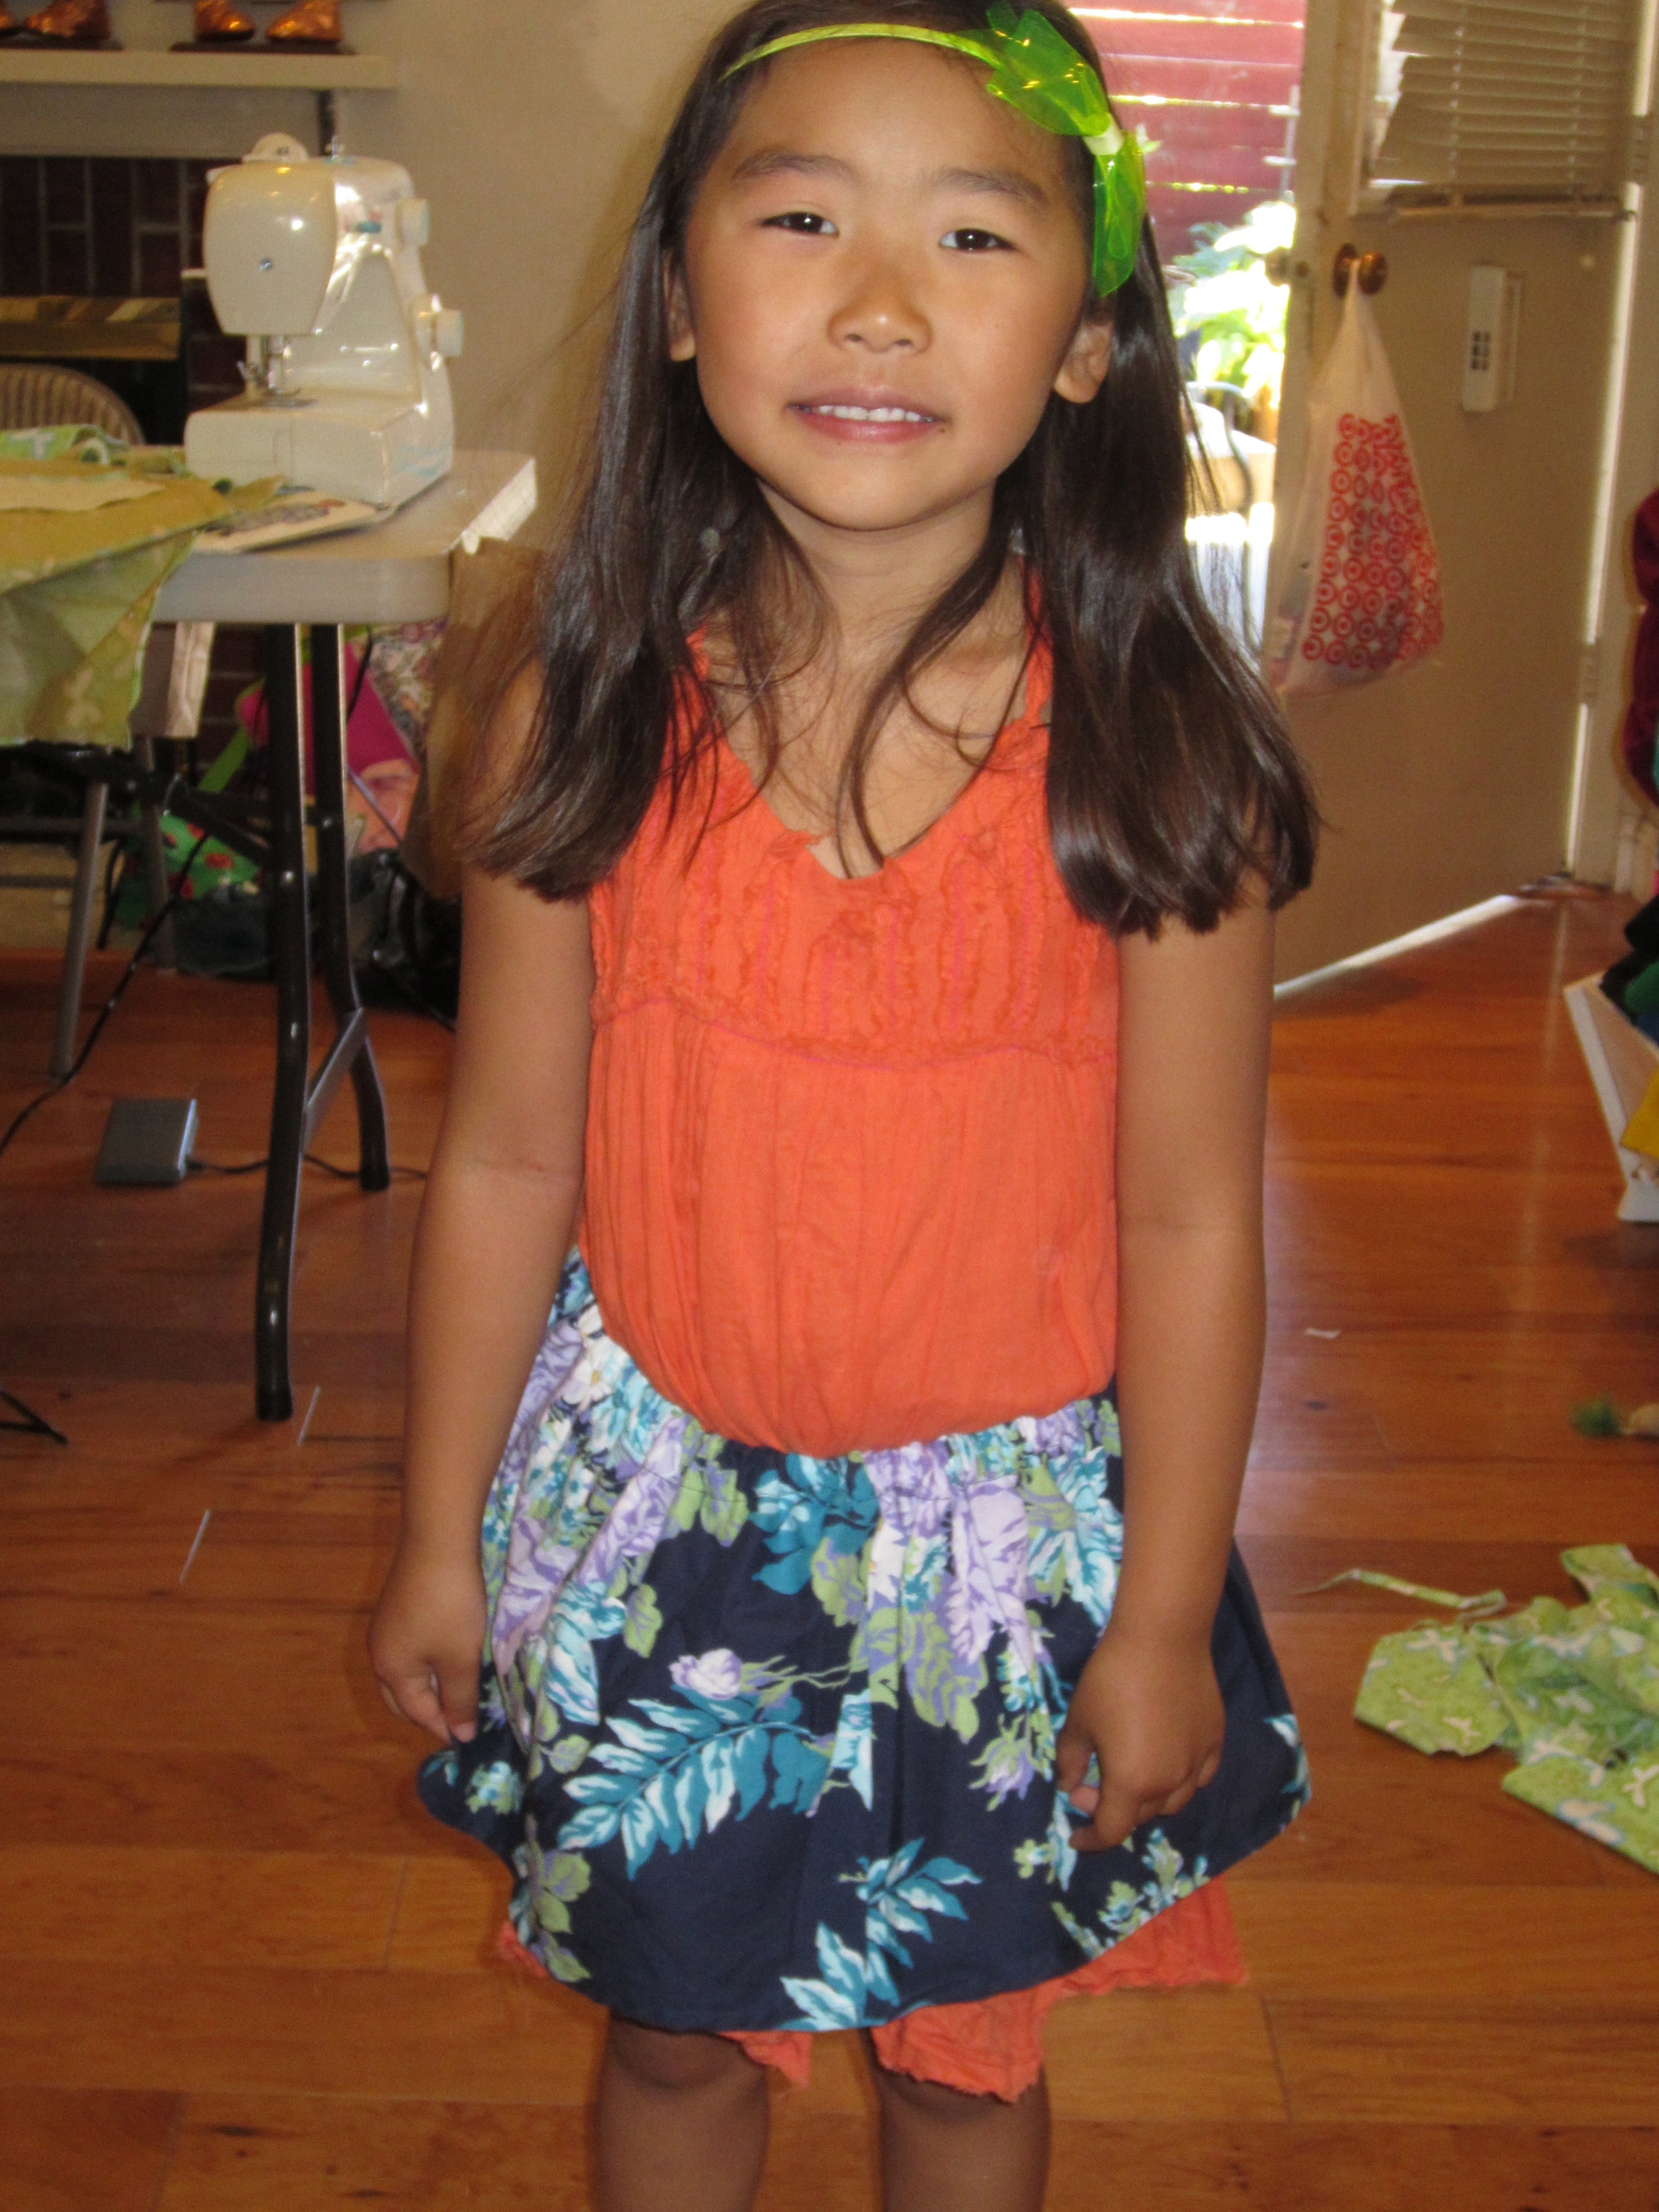
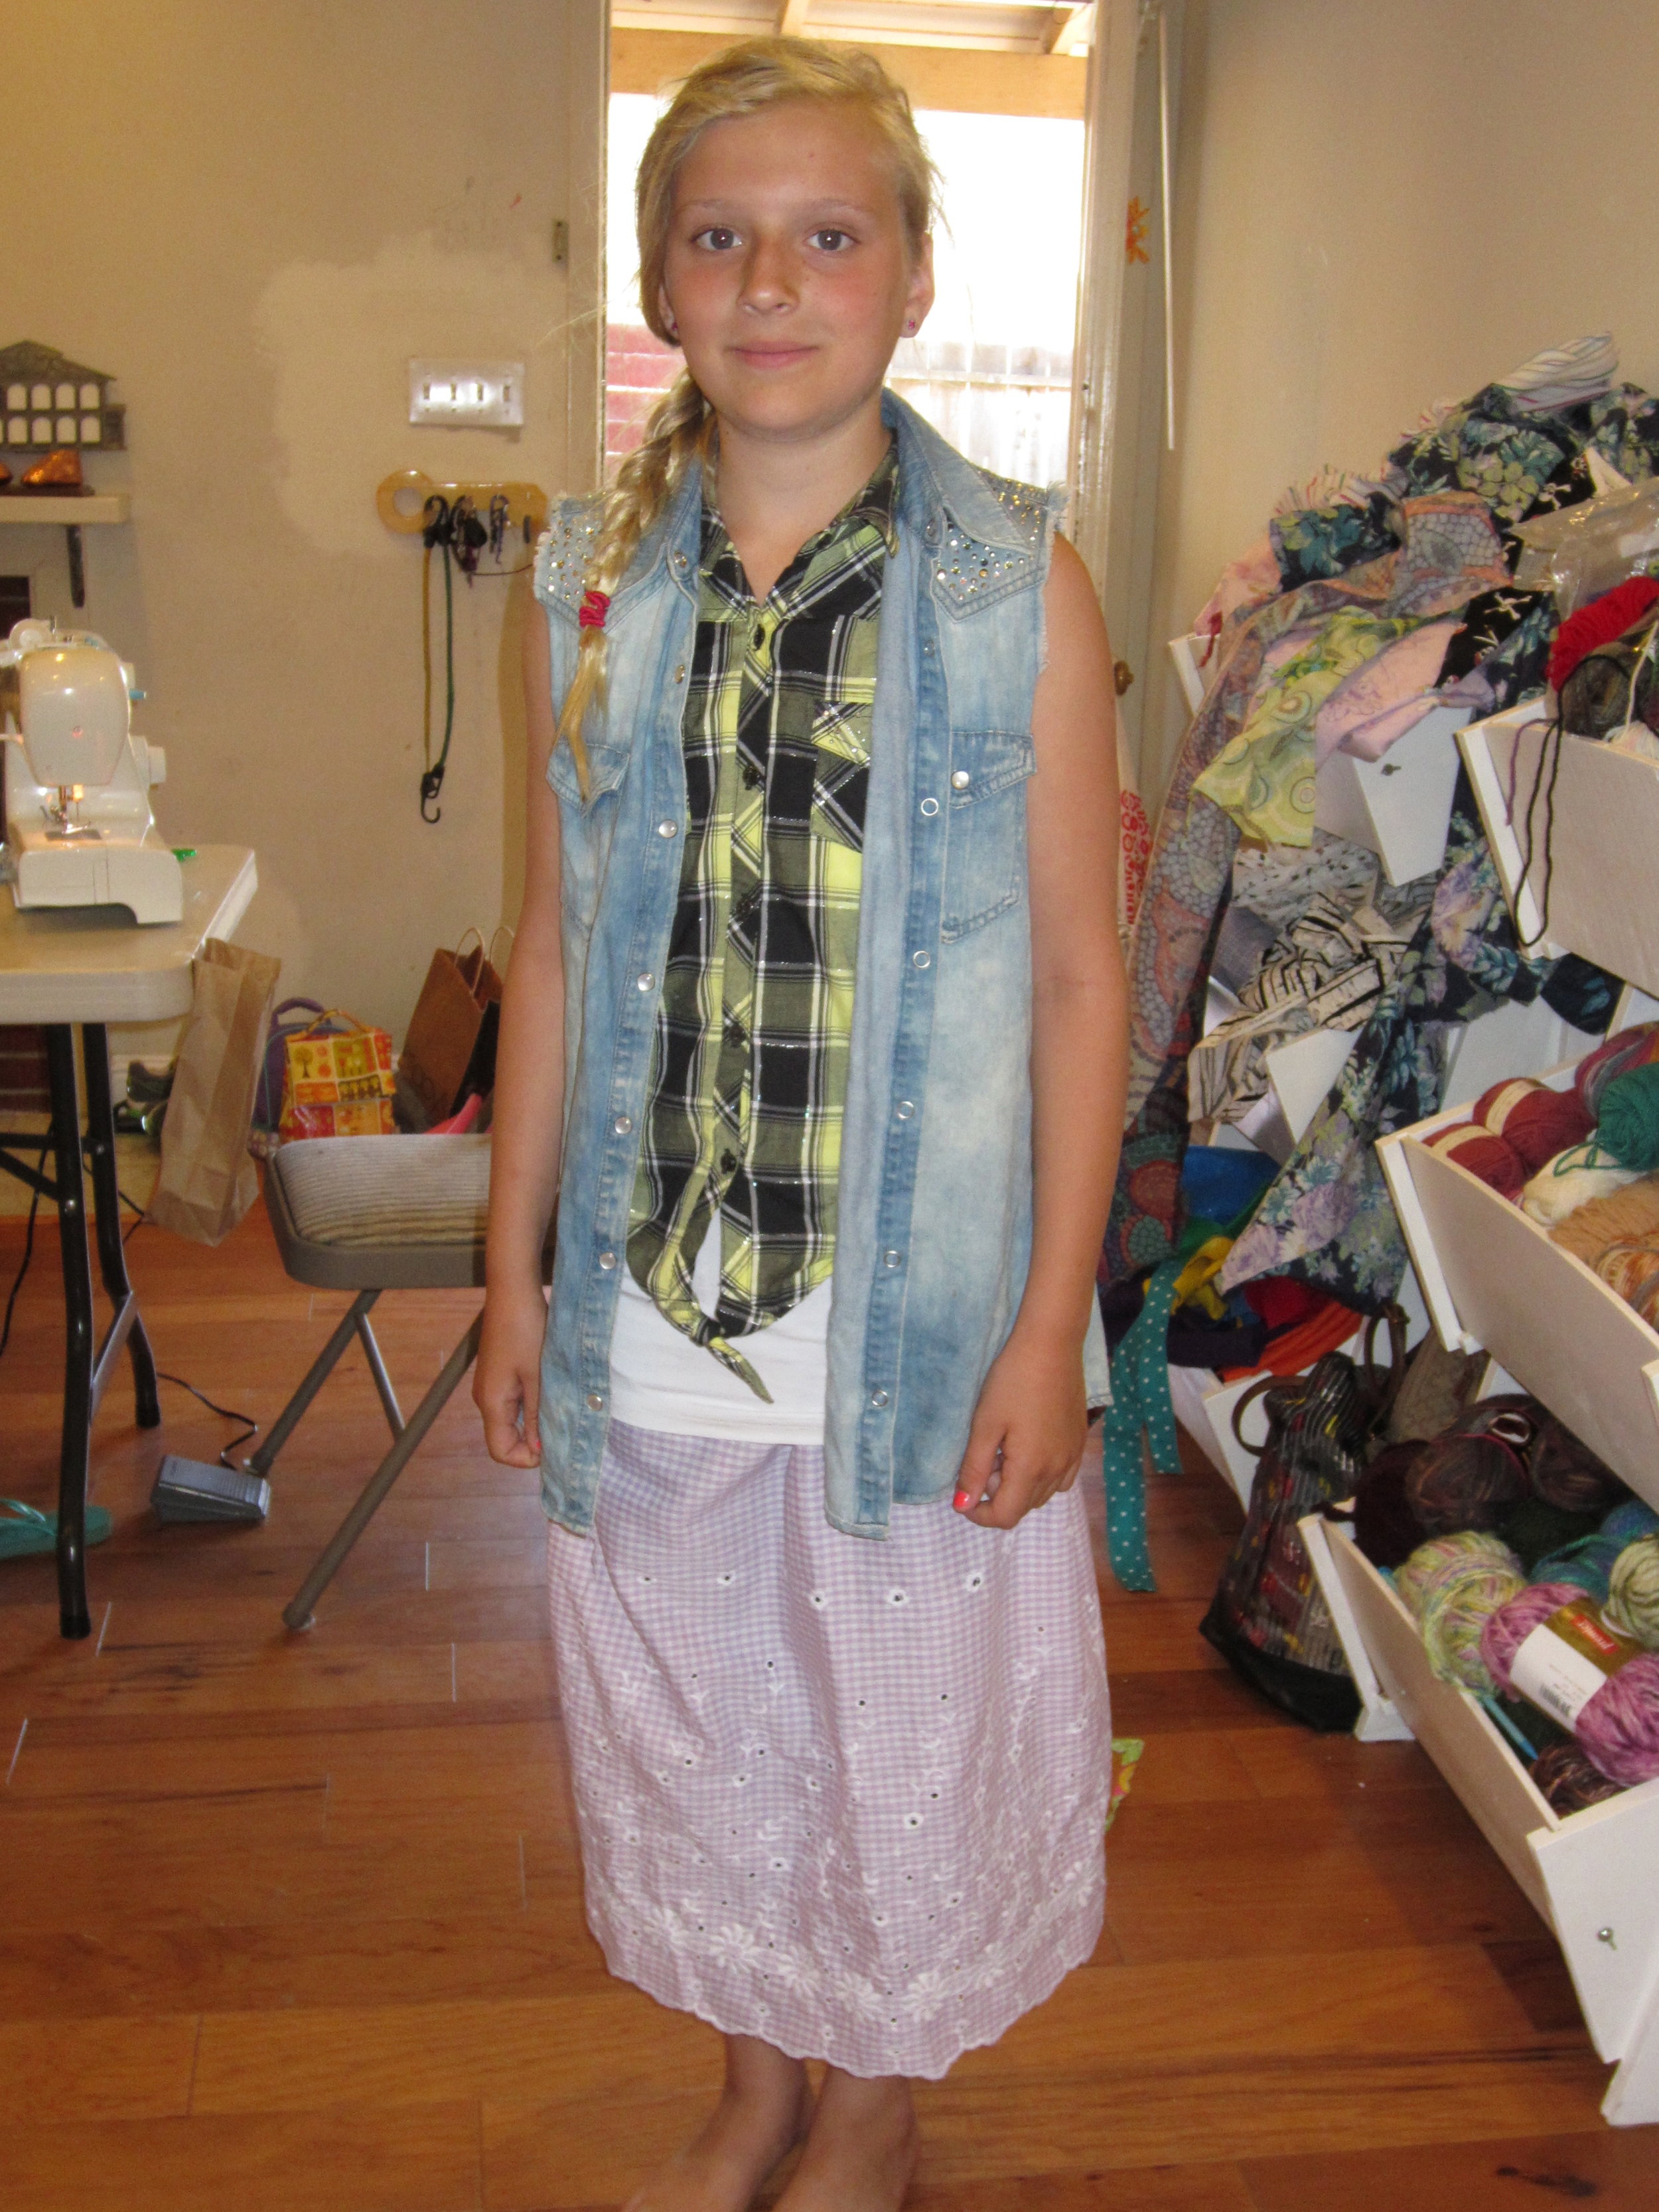
This young camper decided to make a skirt.  We measured her and she made her own pattern, cut out her fabric, and mastered ironing to create a very nice waistband and hemline.

Image


She liked it so much, she decided to wear it over her dress!!

Image


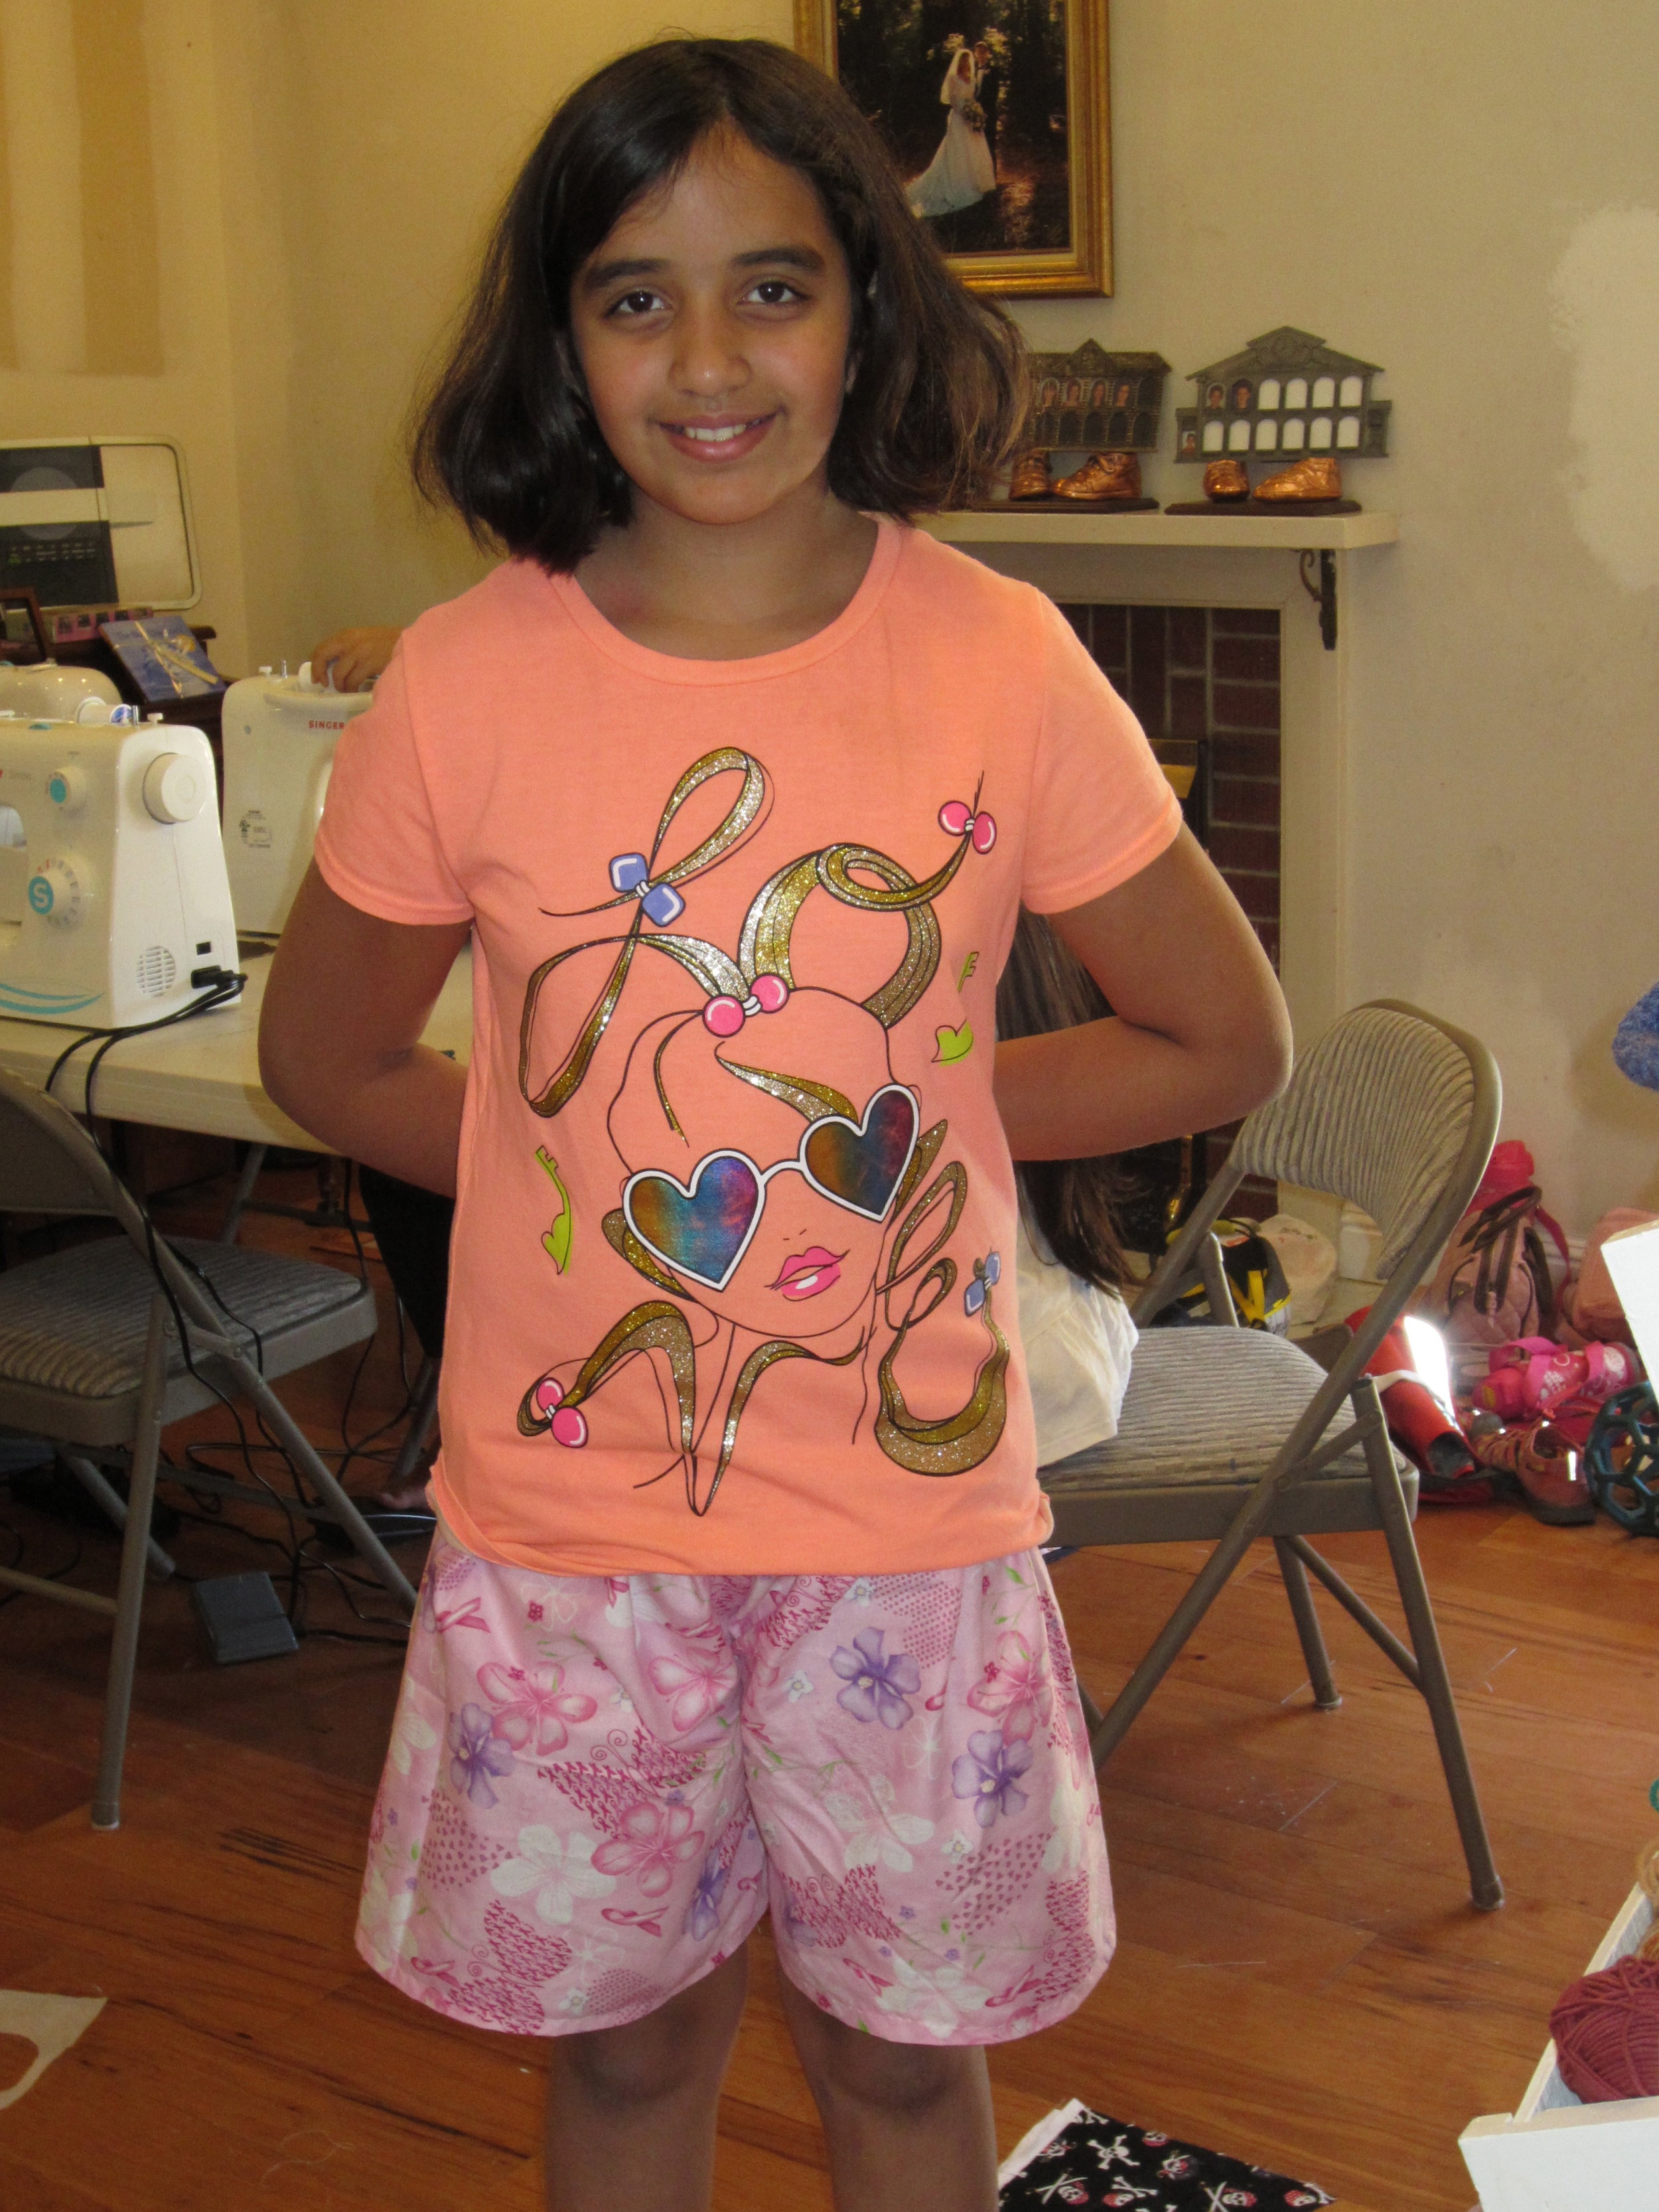
A new camper, already adept at using a sewing machine, jumped in to make shorts.

Image


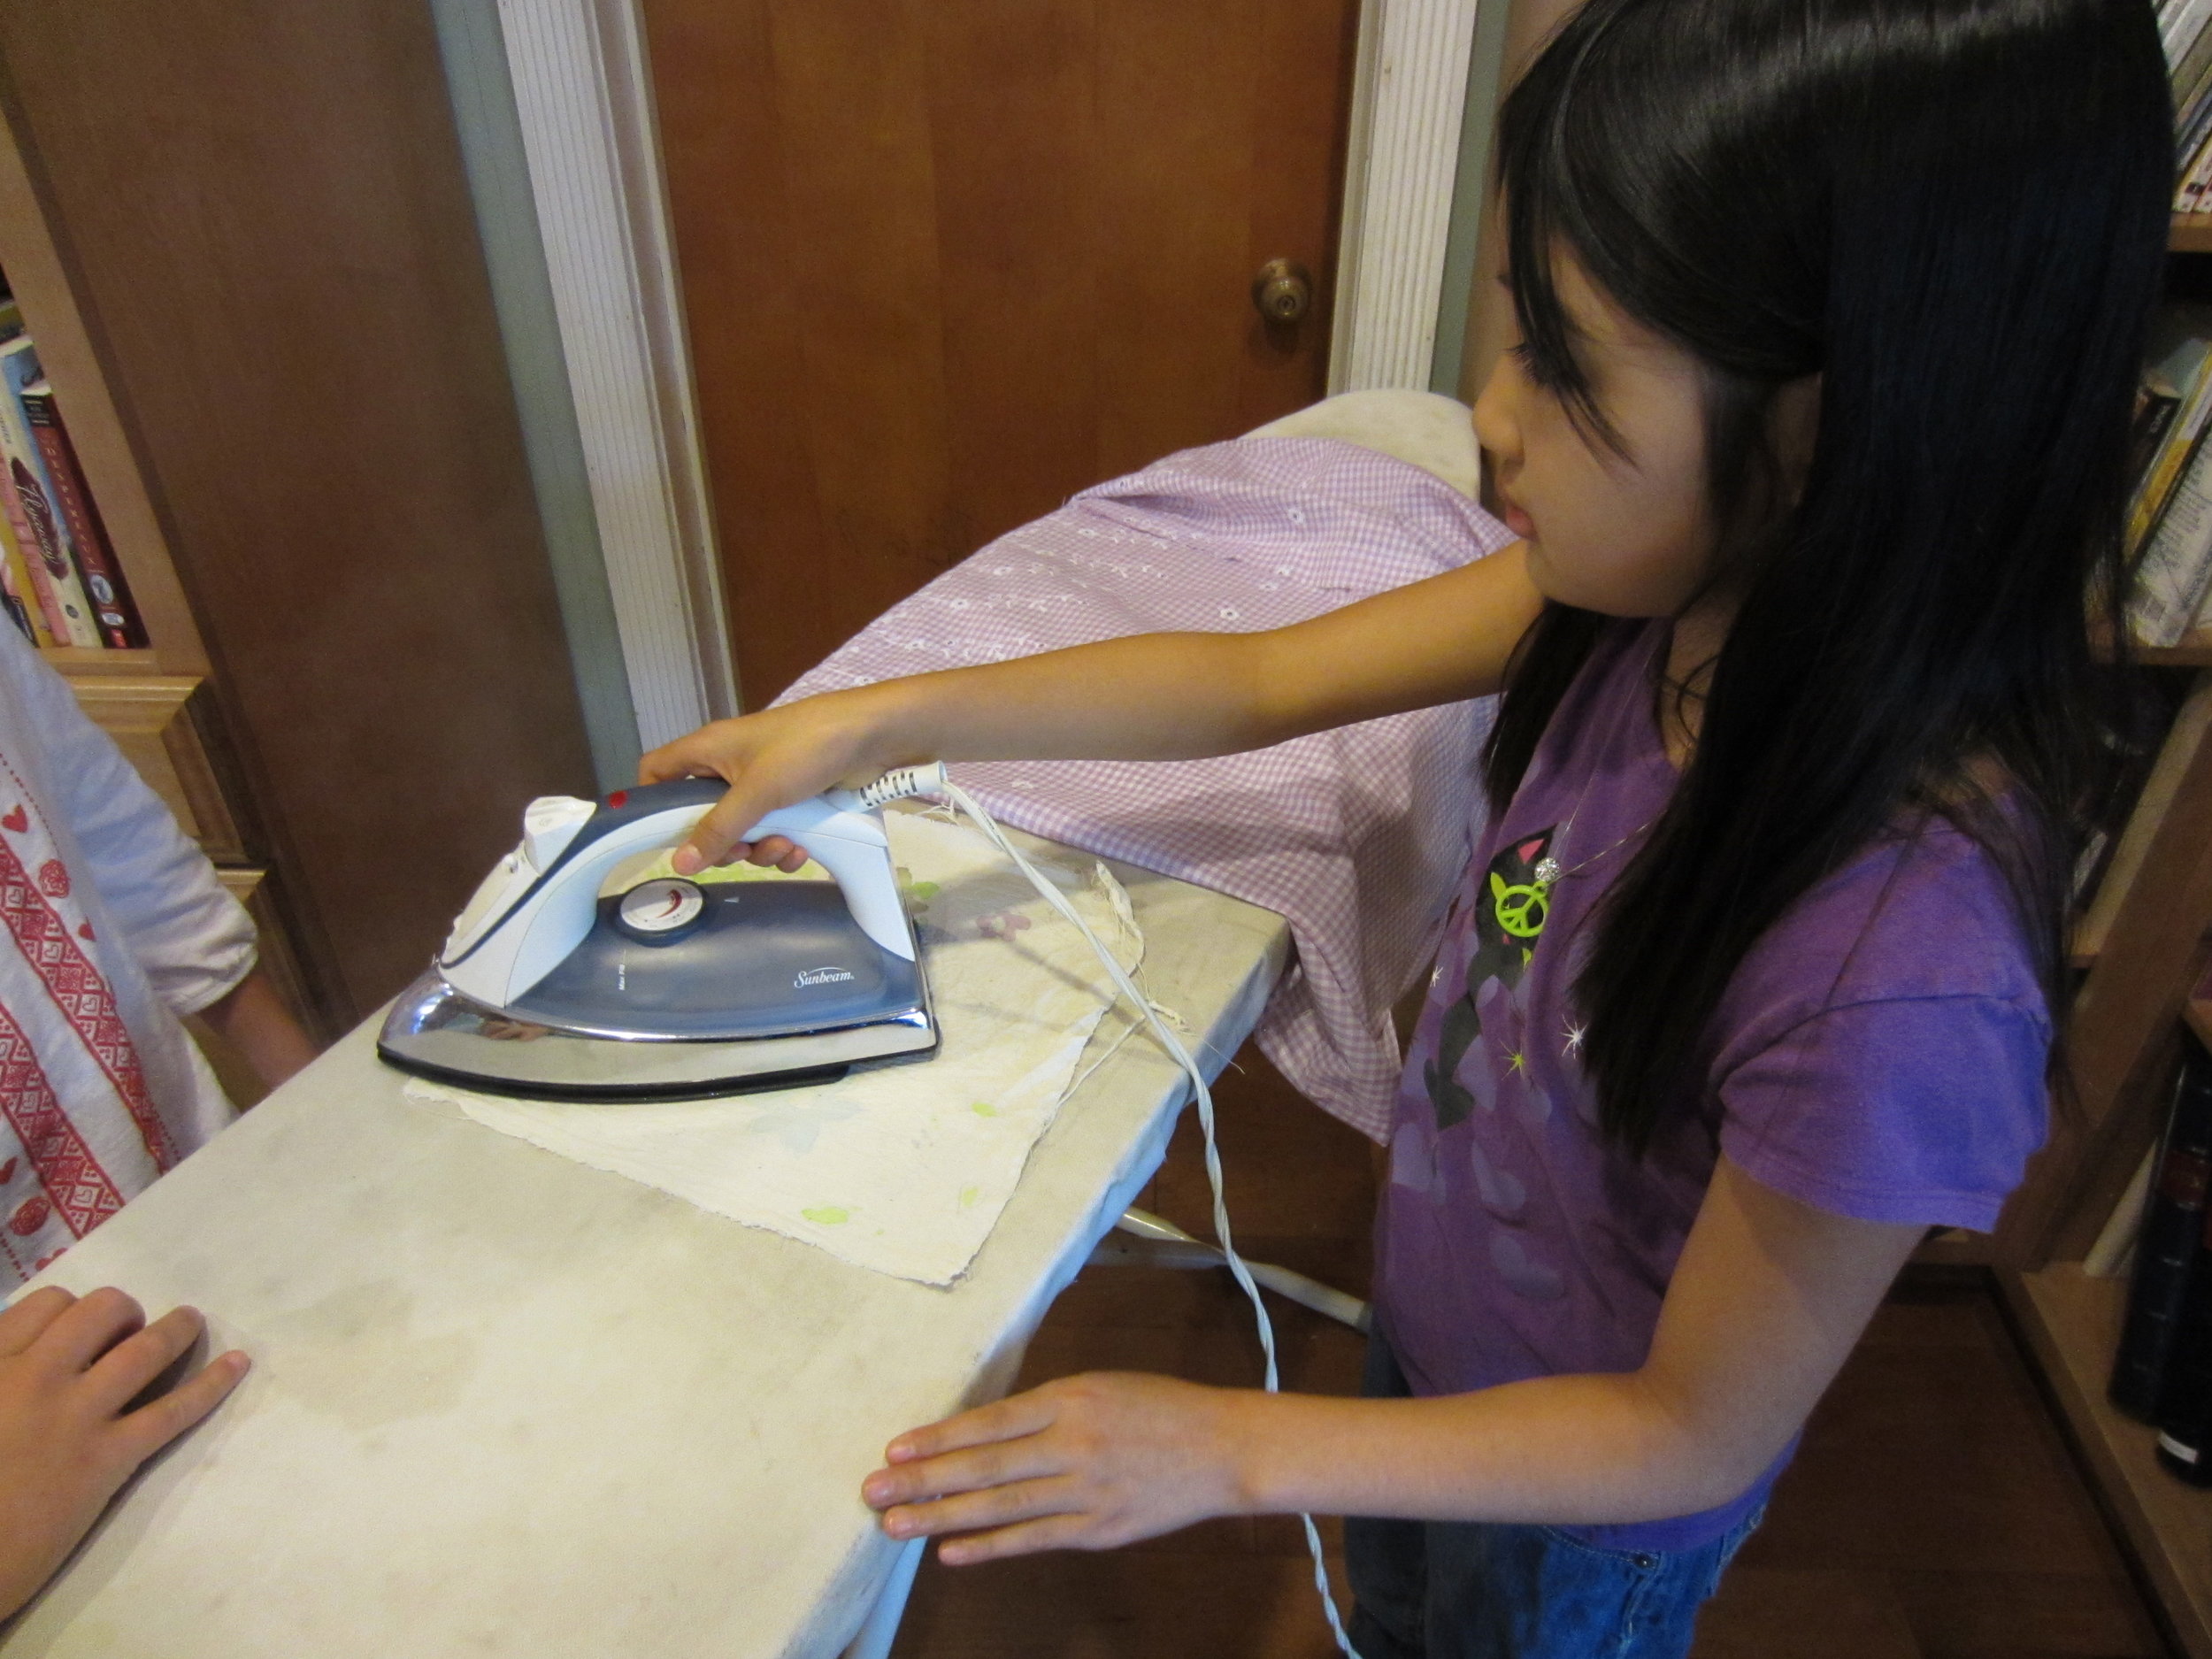
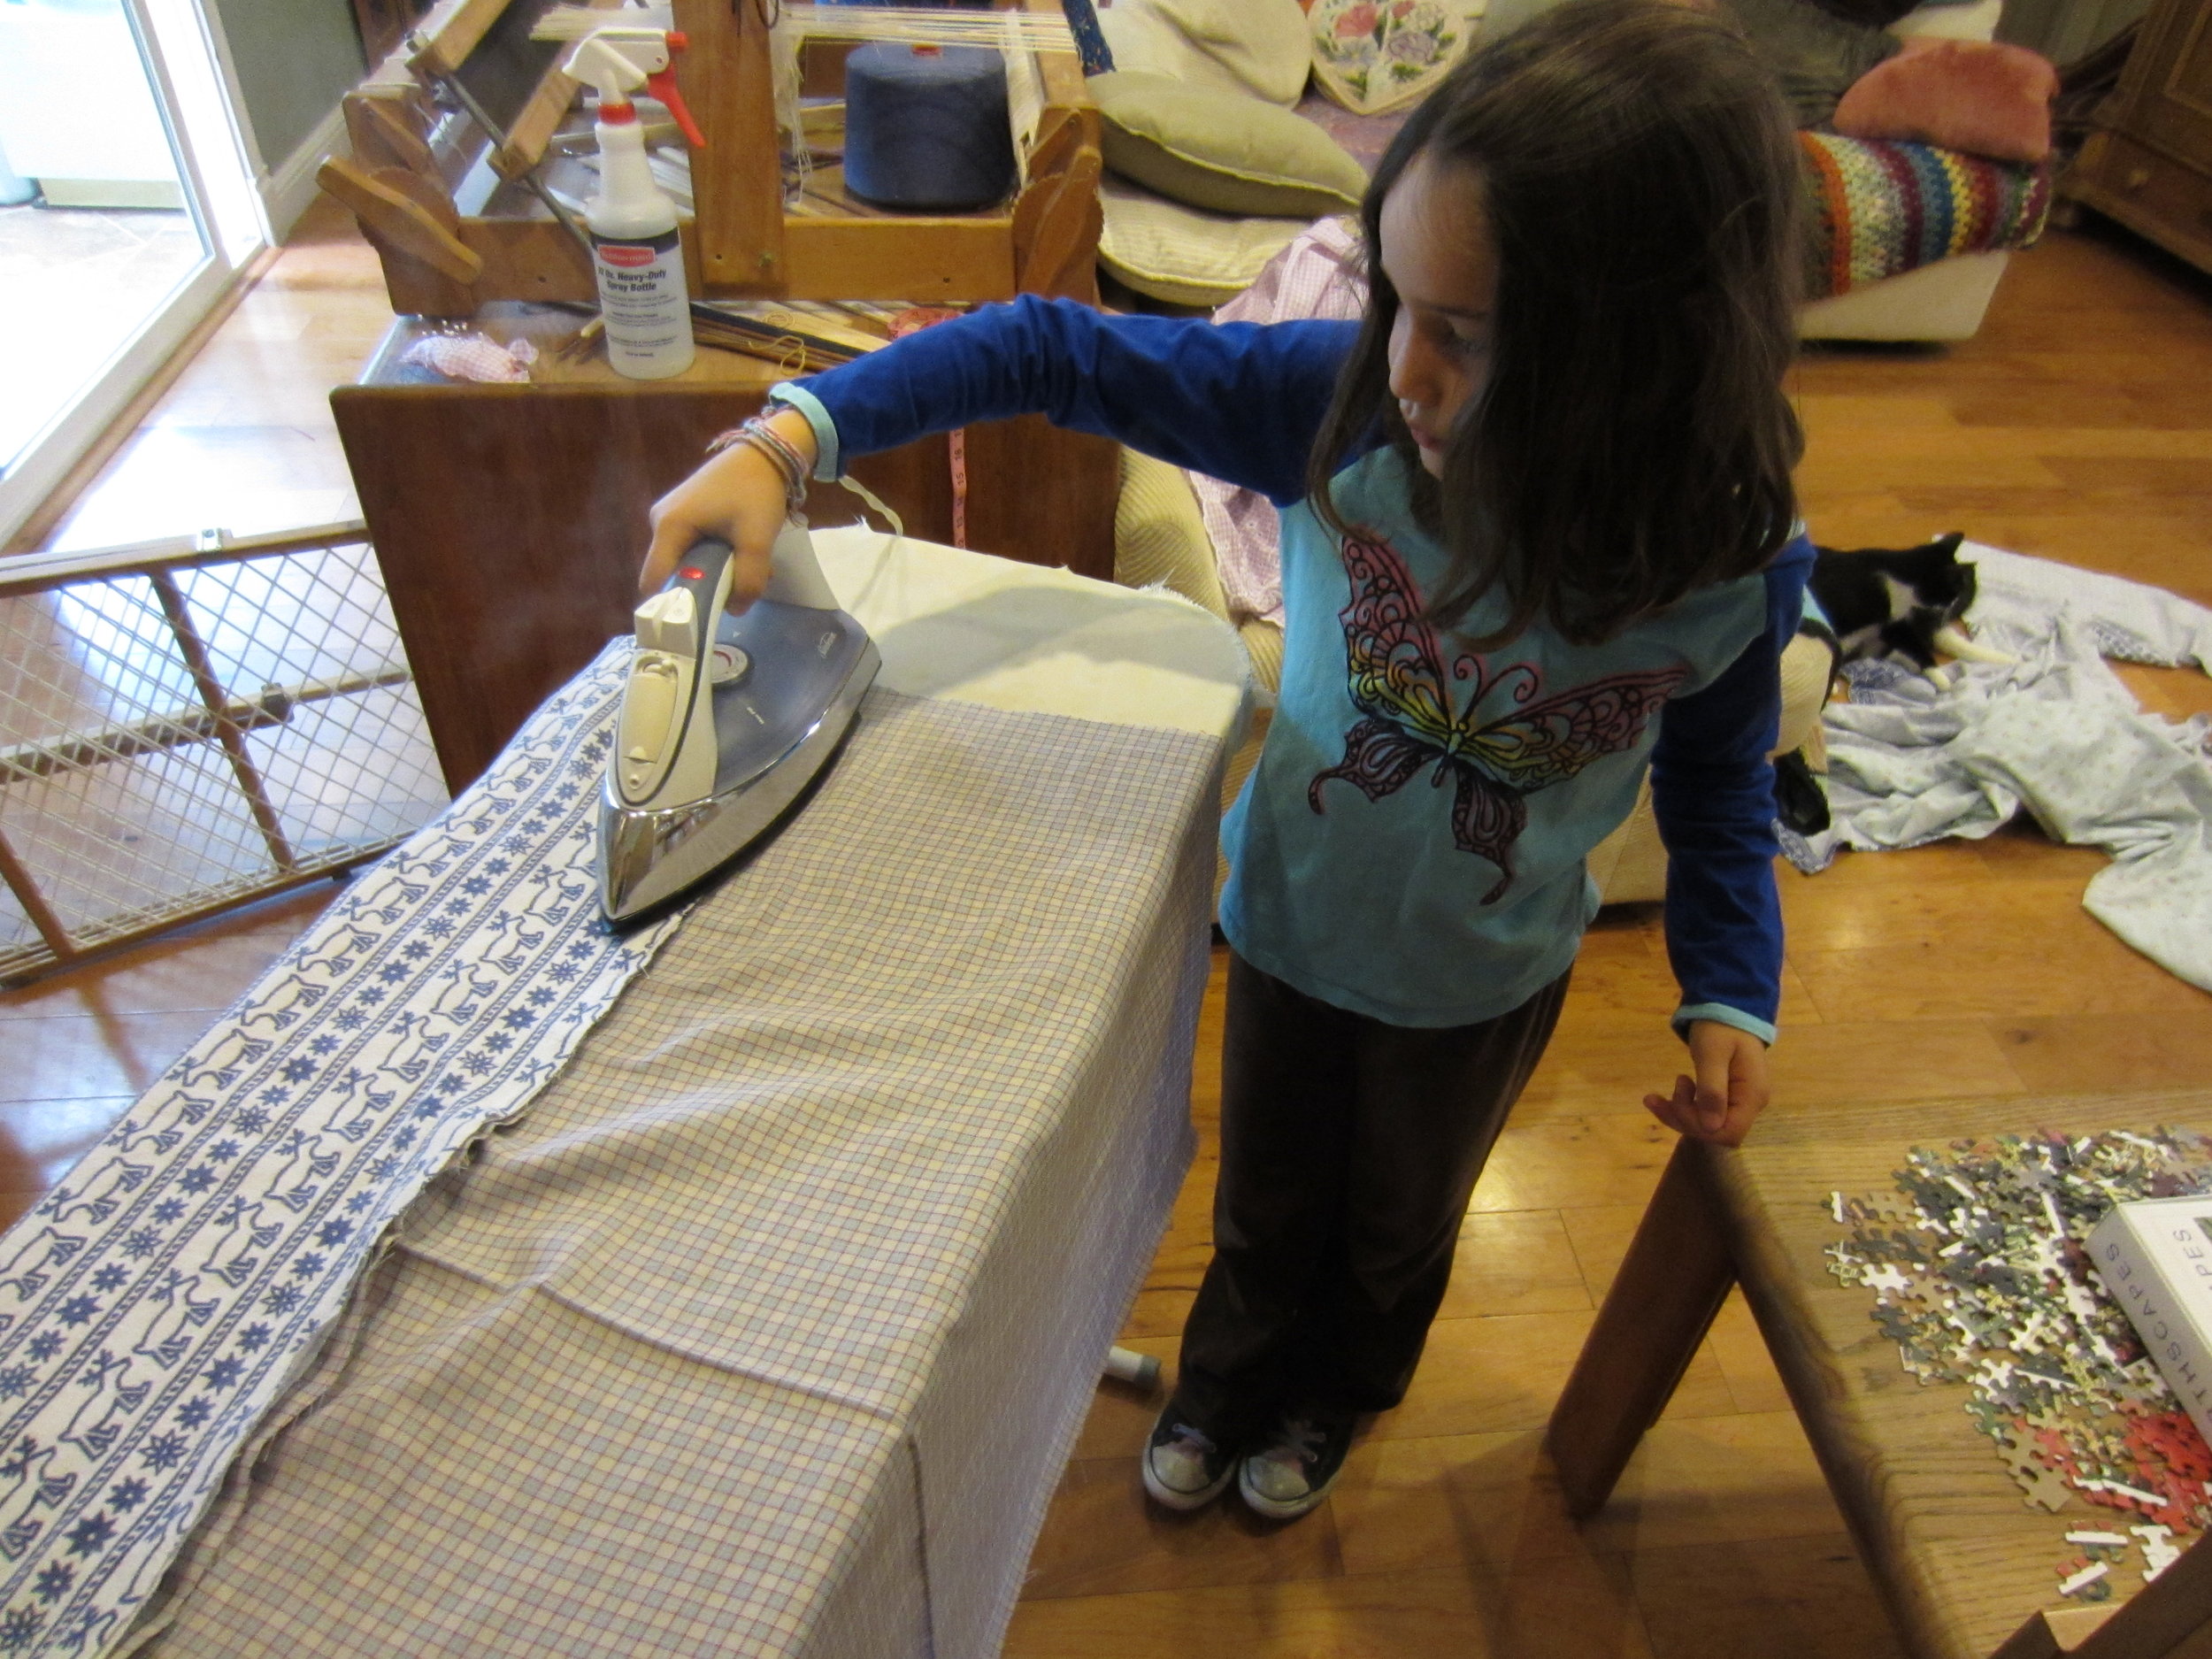
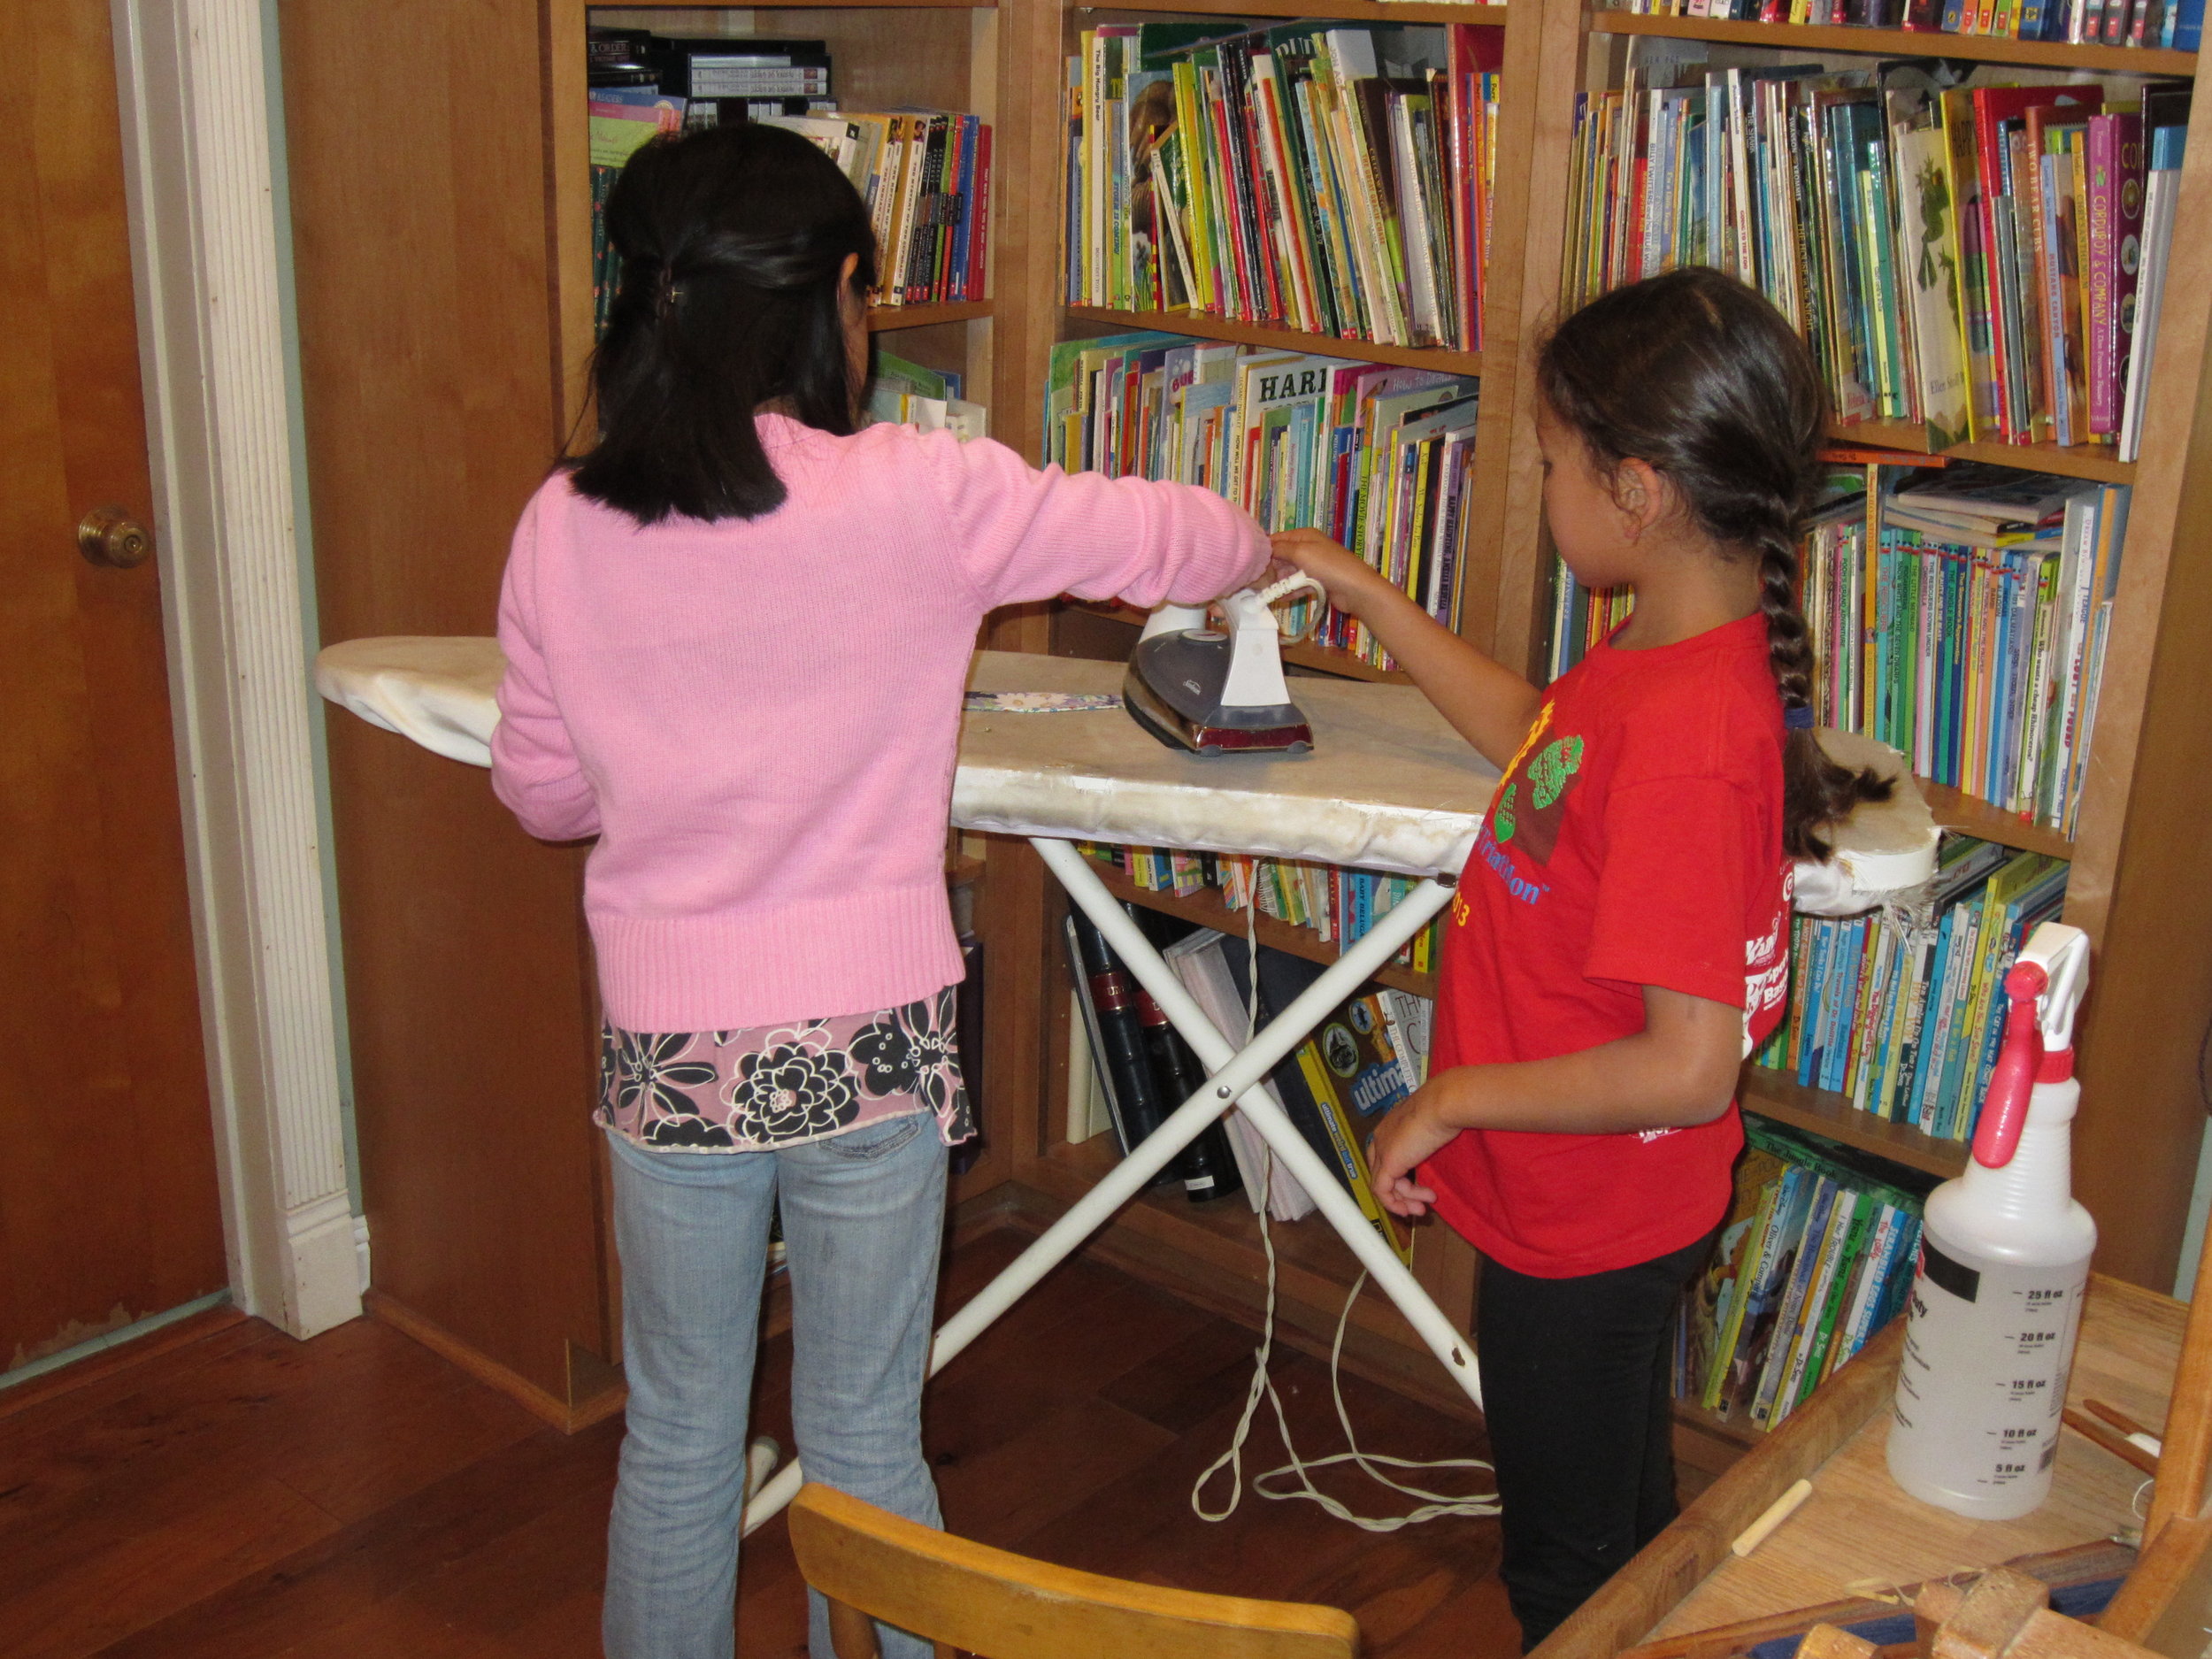
Ahhh!!  But we were able to teach her how to use the iron and she did a fabulous job!

Image


Don't they look fantastic??  She did a great job!

Image


This camper is making cat toys to donate to the local animal shelter.

Image


Figuring things out.

Image


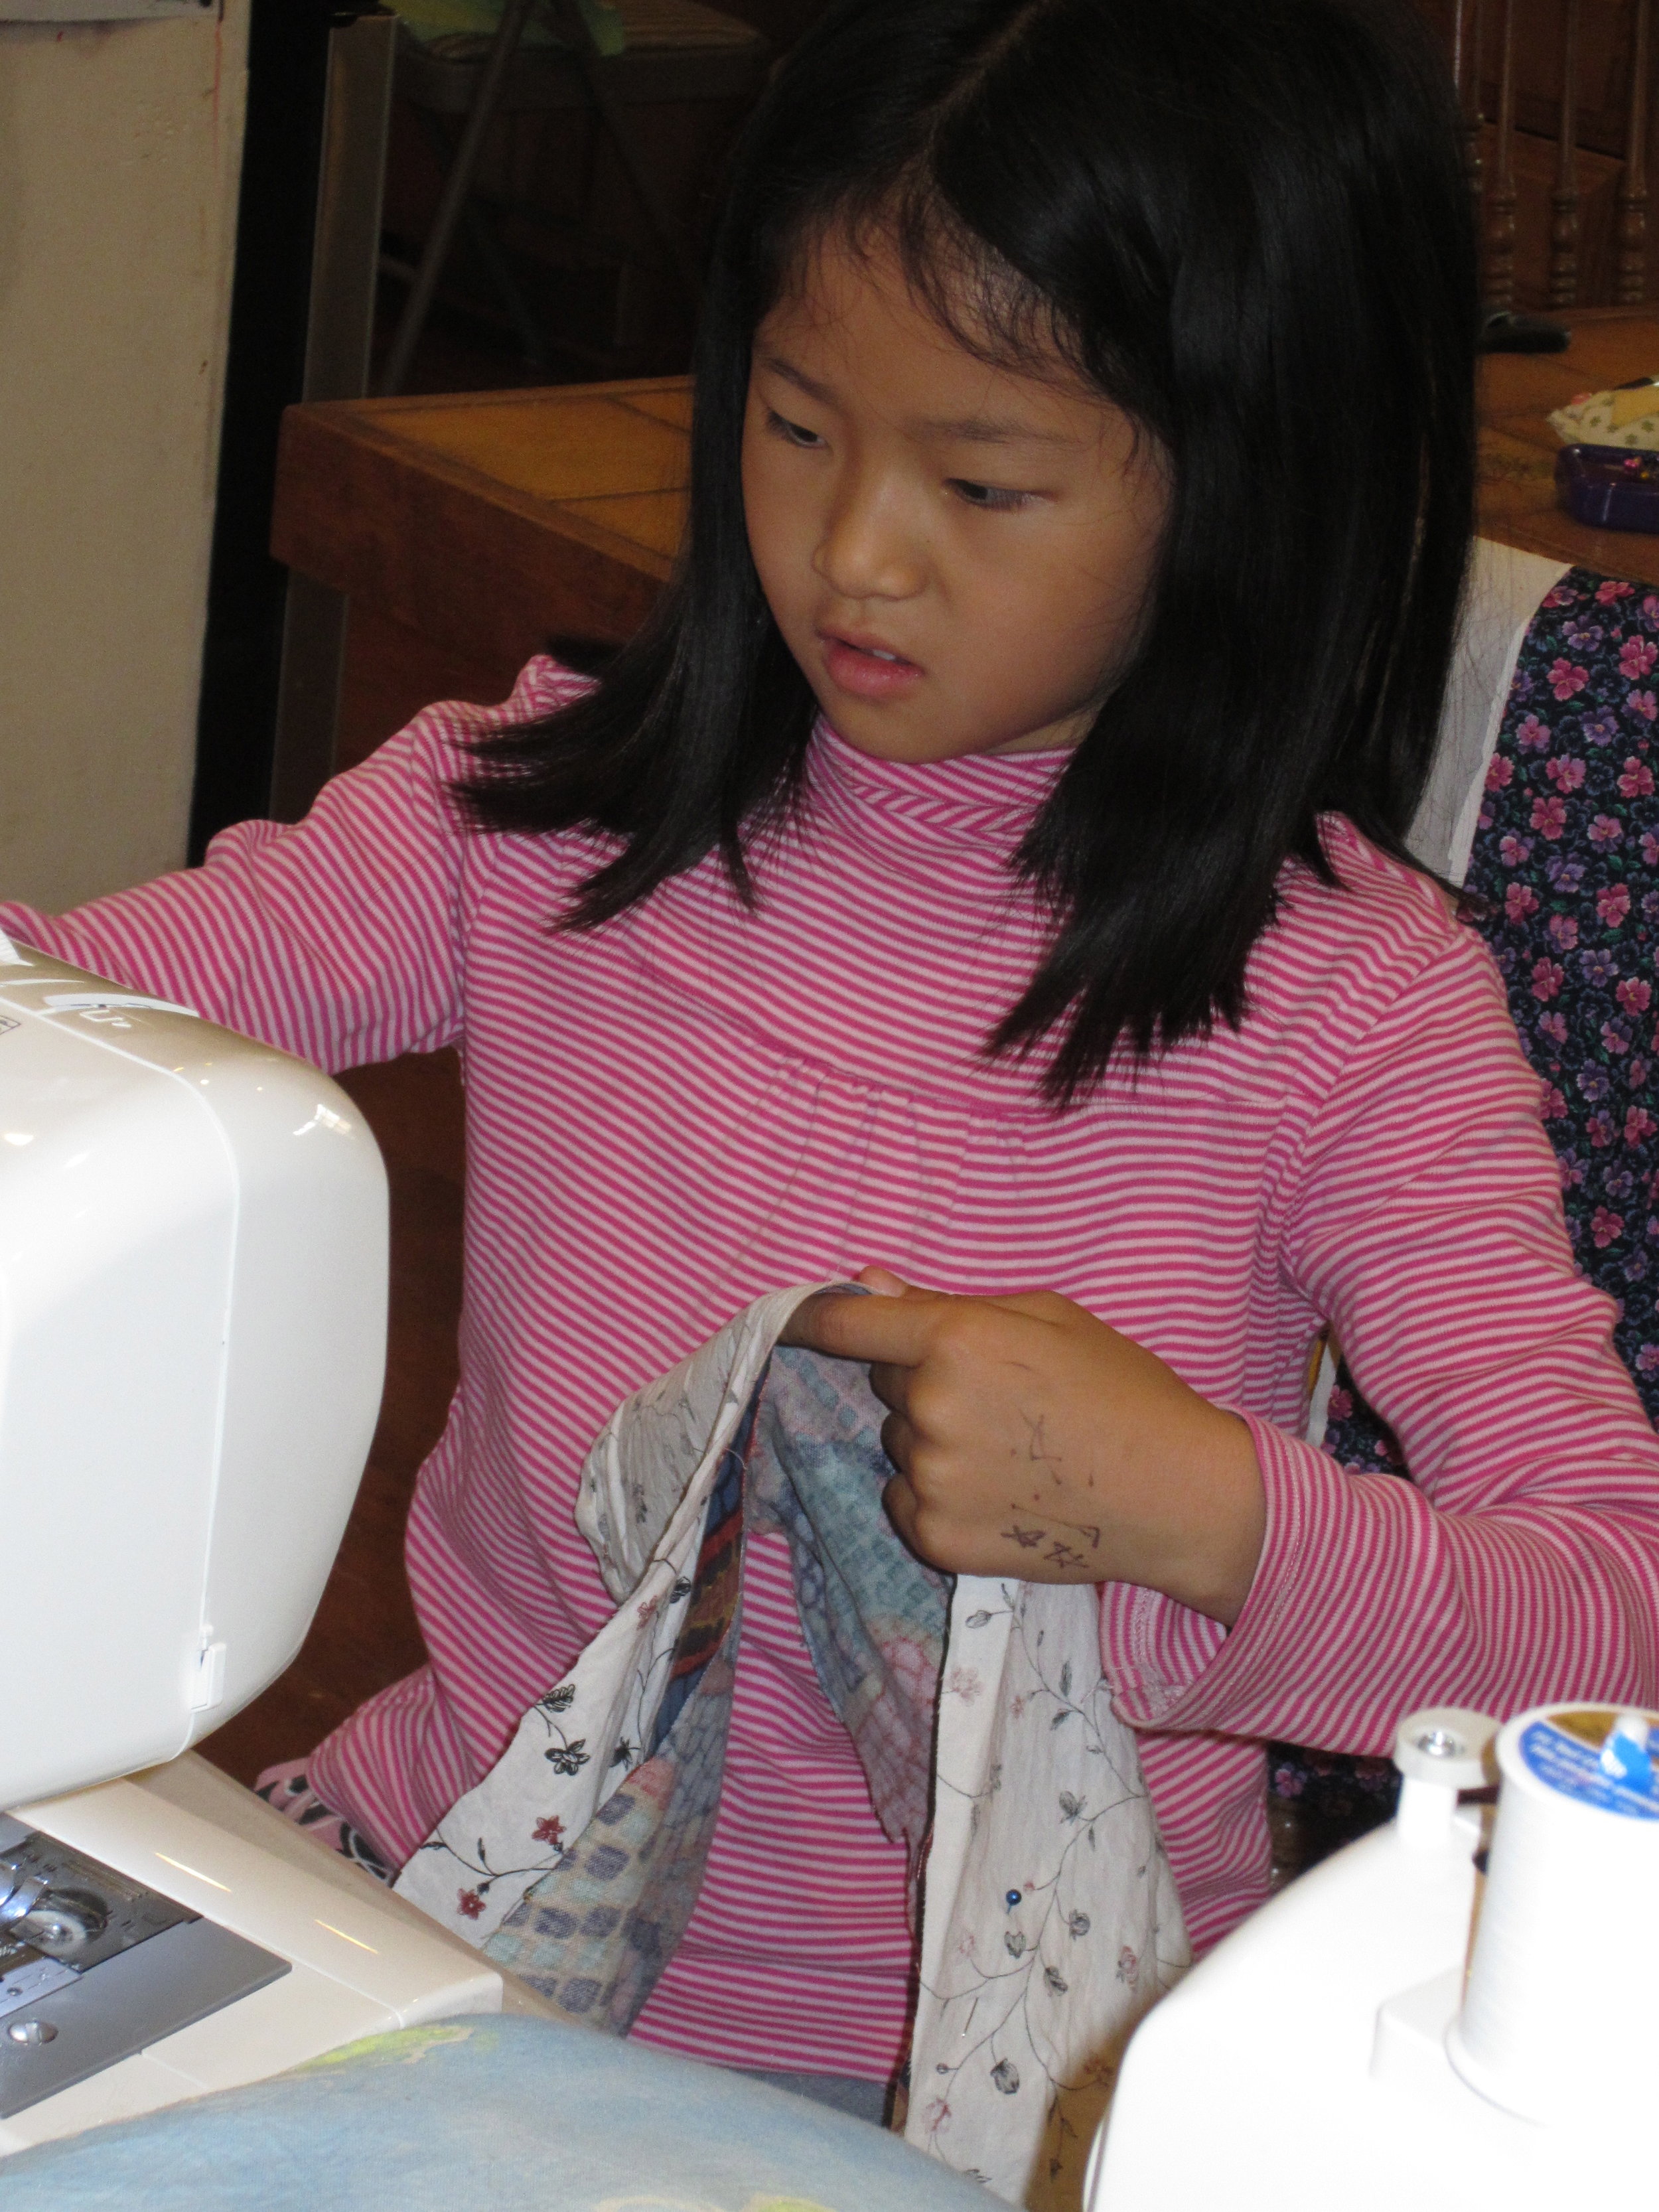
Another new sewer!

Image


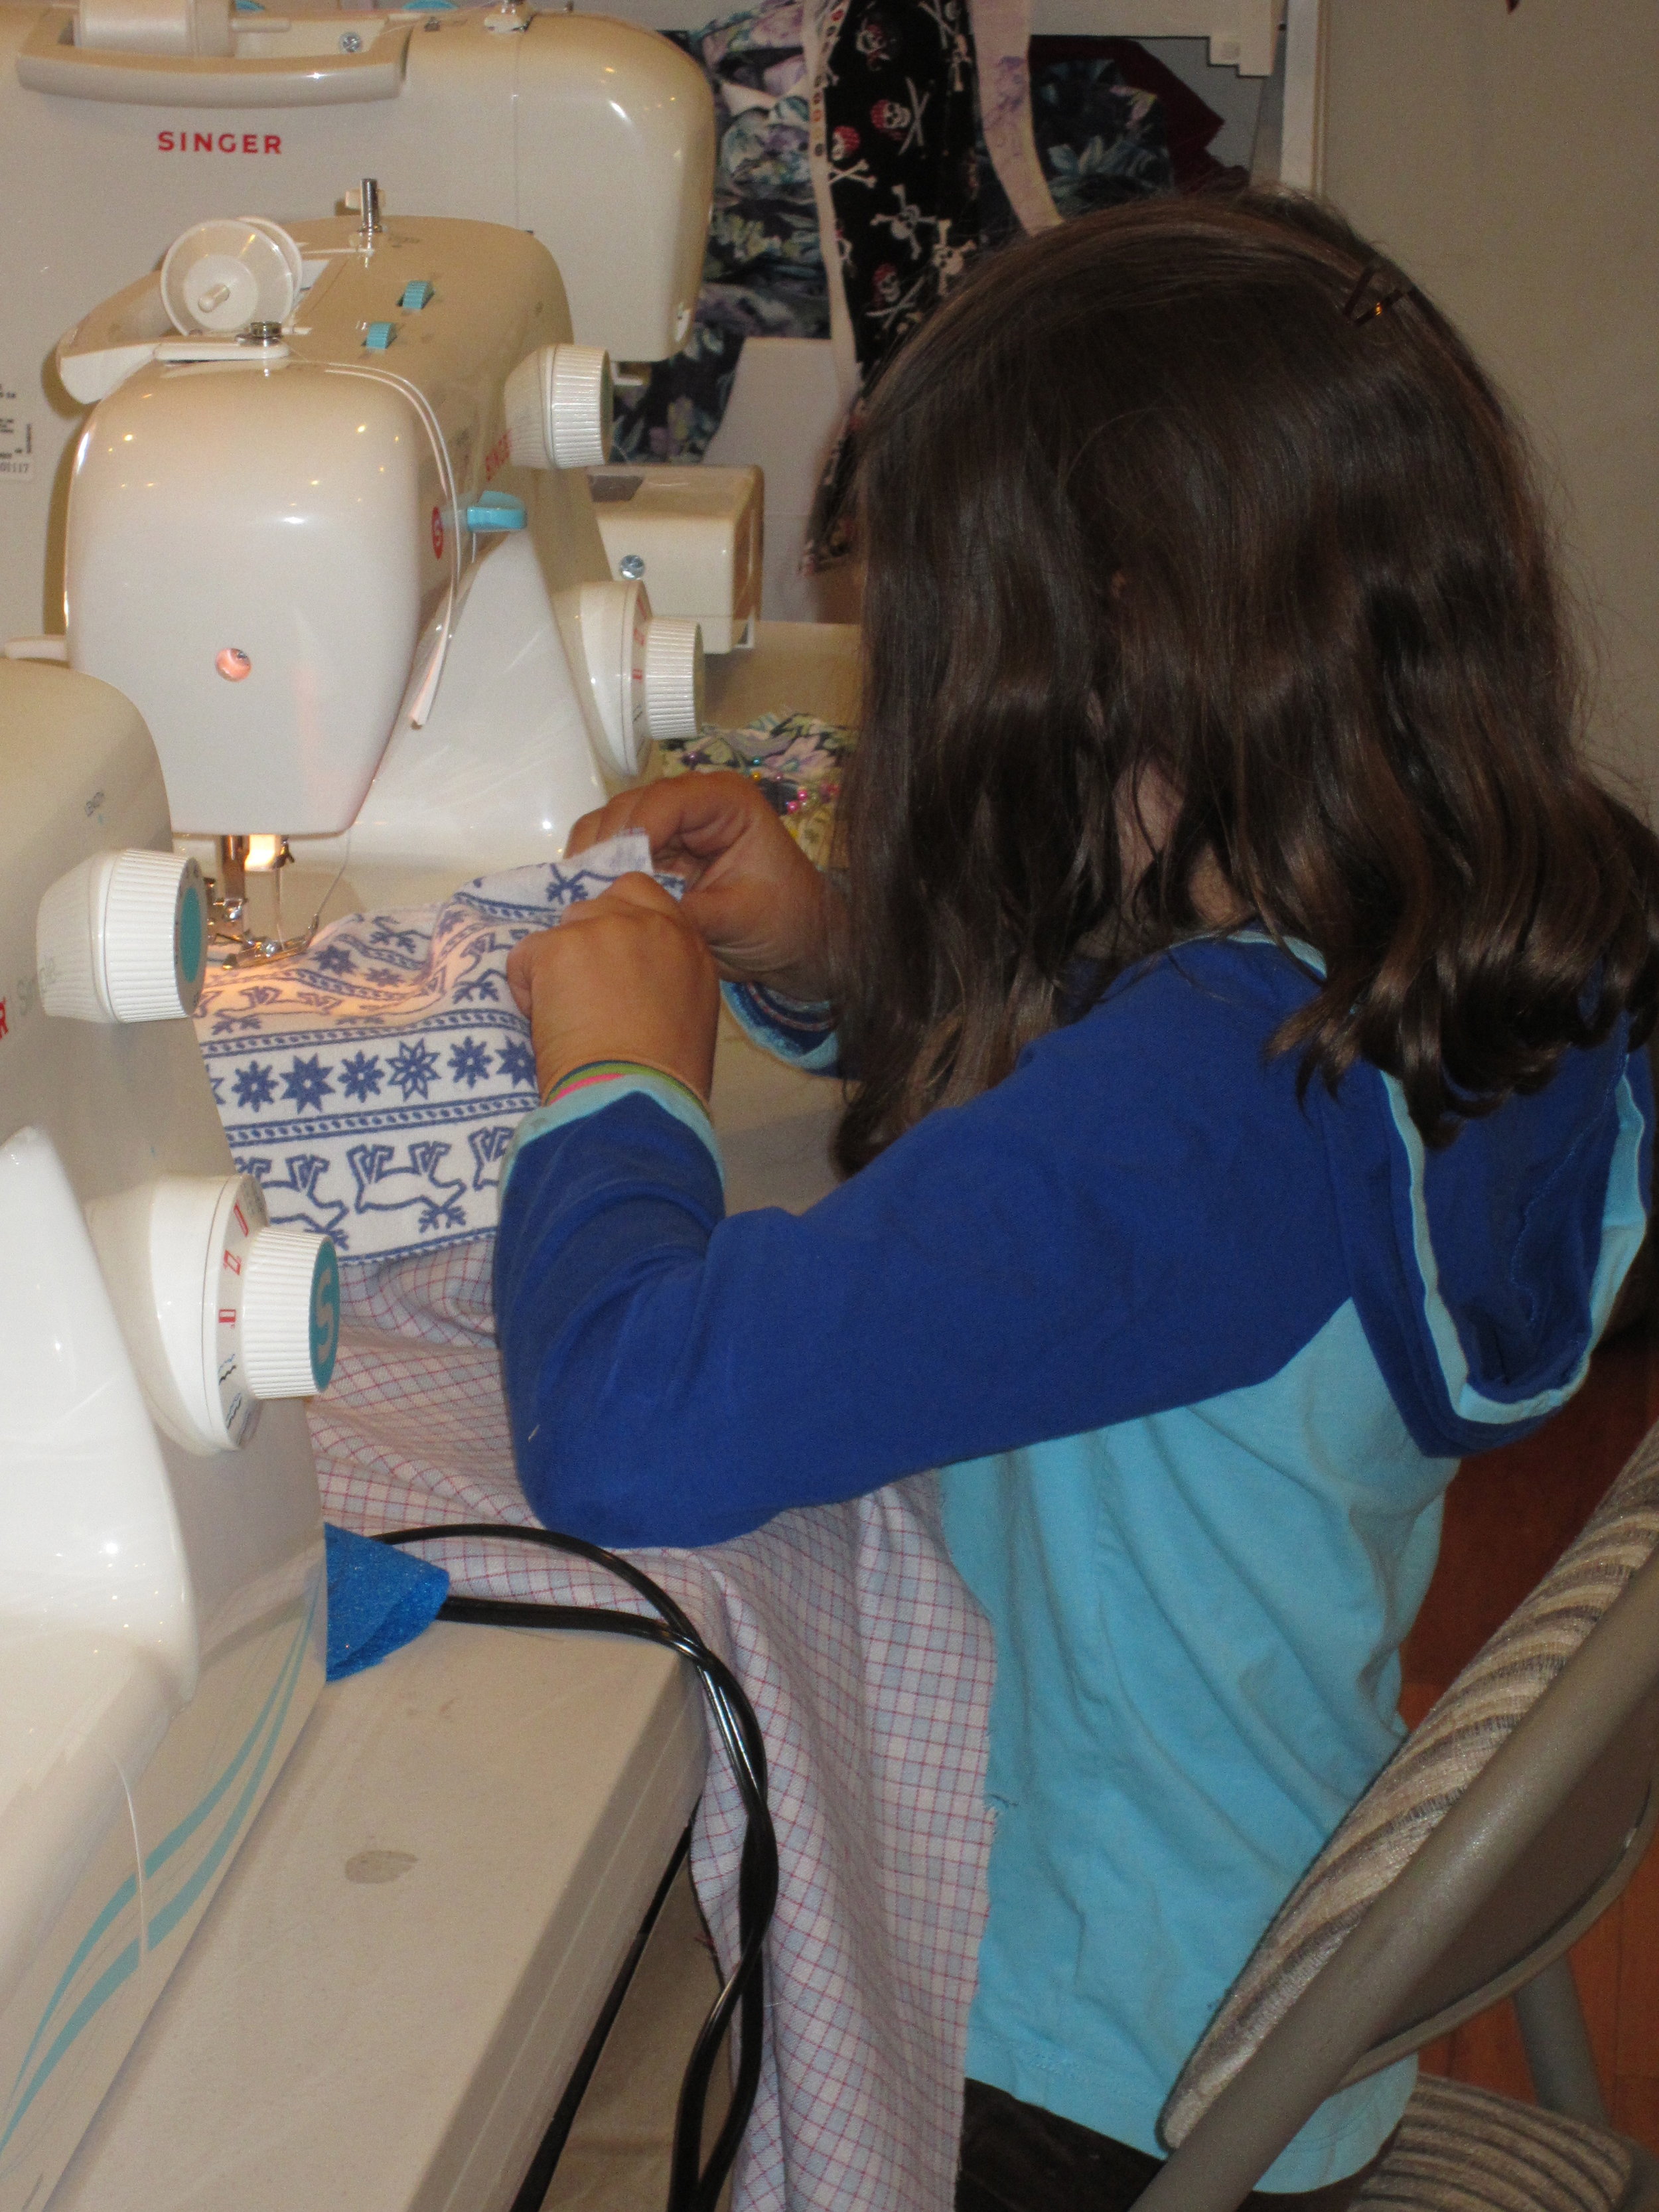
Anywhere is a good place to sew.

Image


Help comes from unexpected places.

Image


So much sewing going on this week.

Image


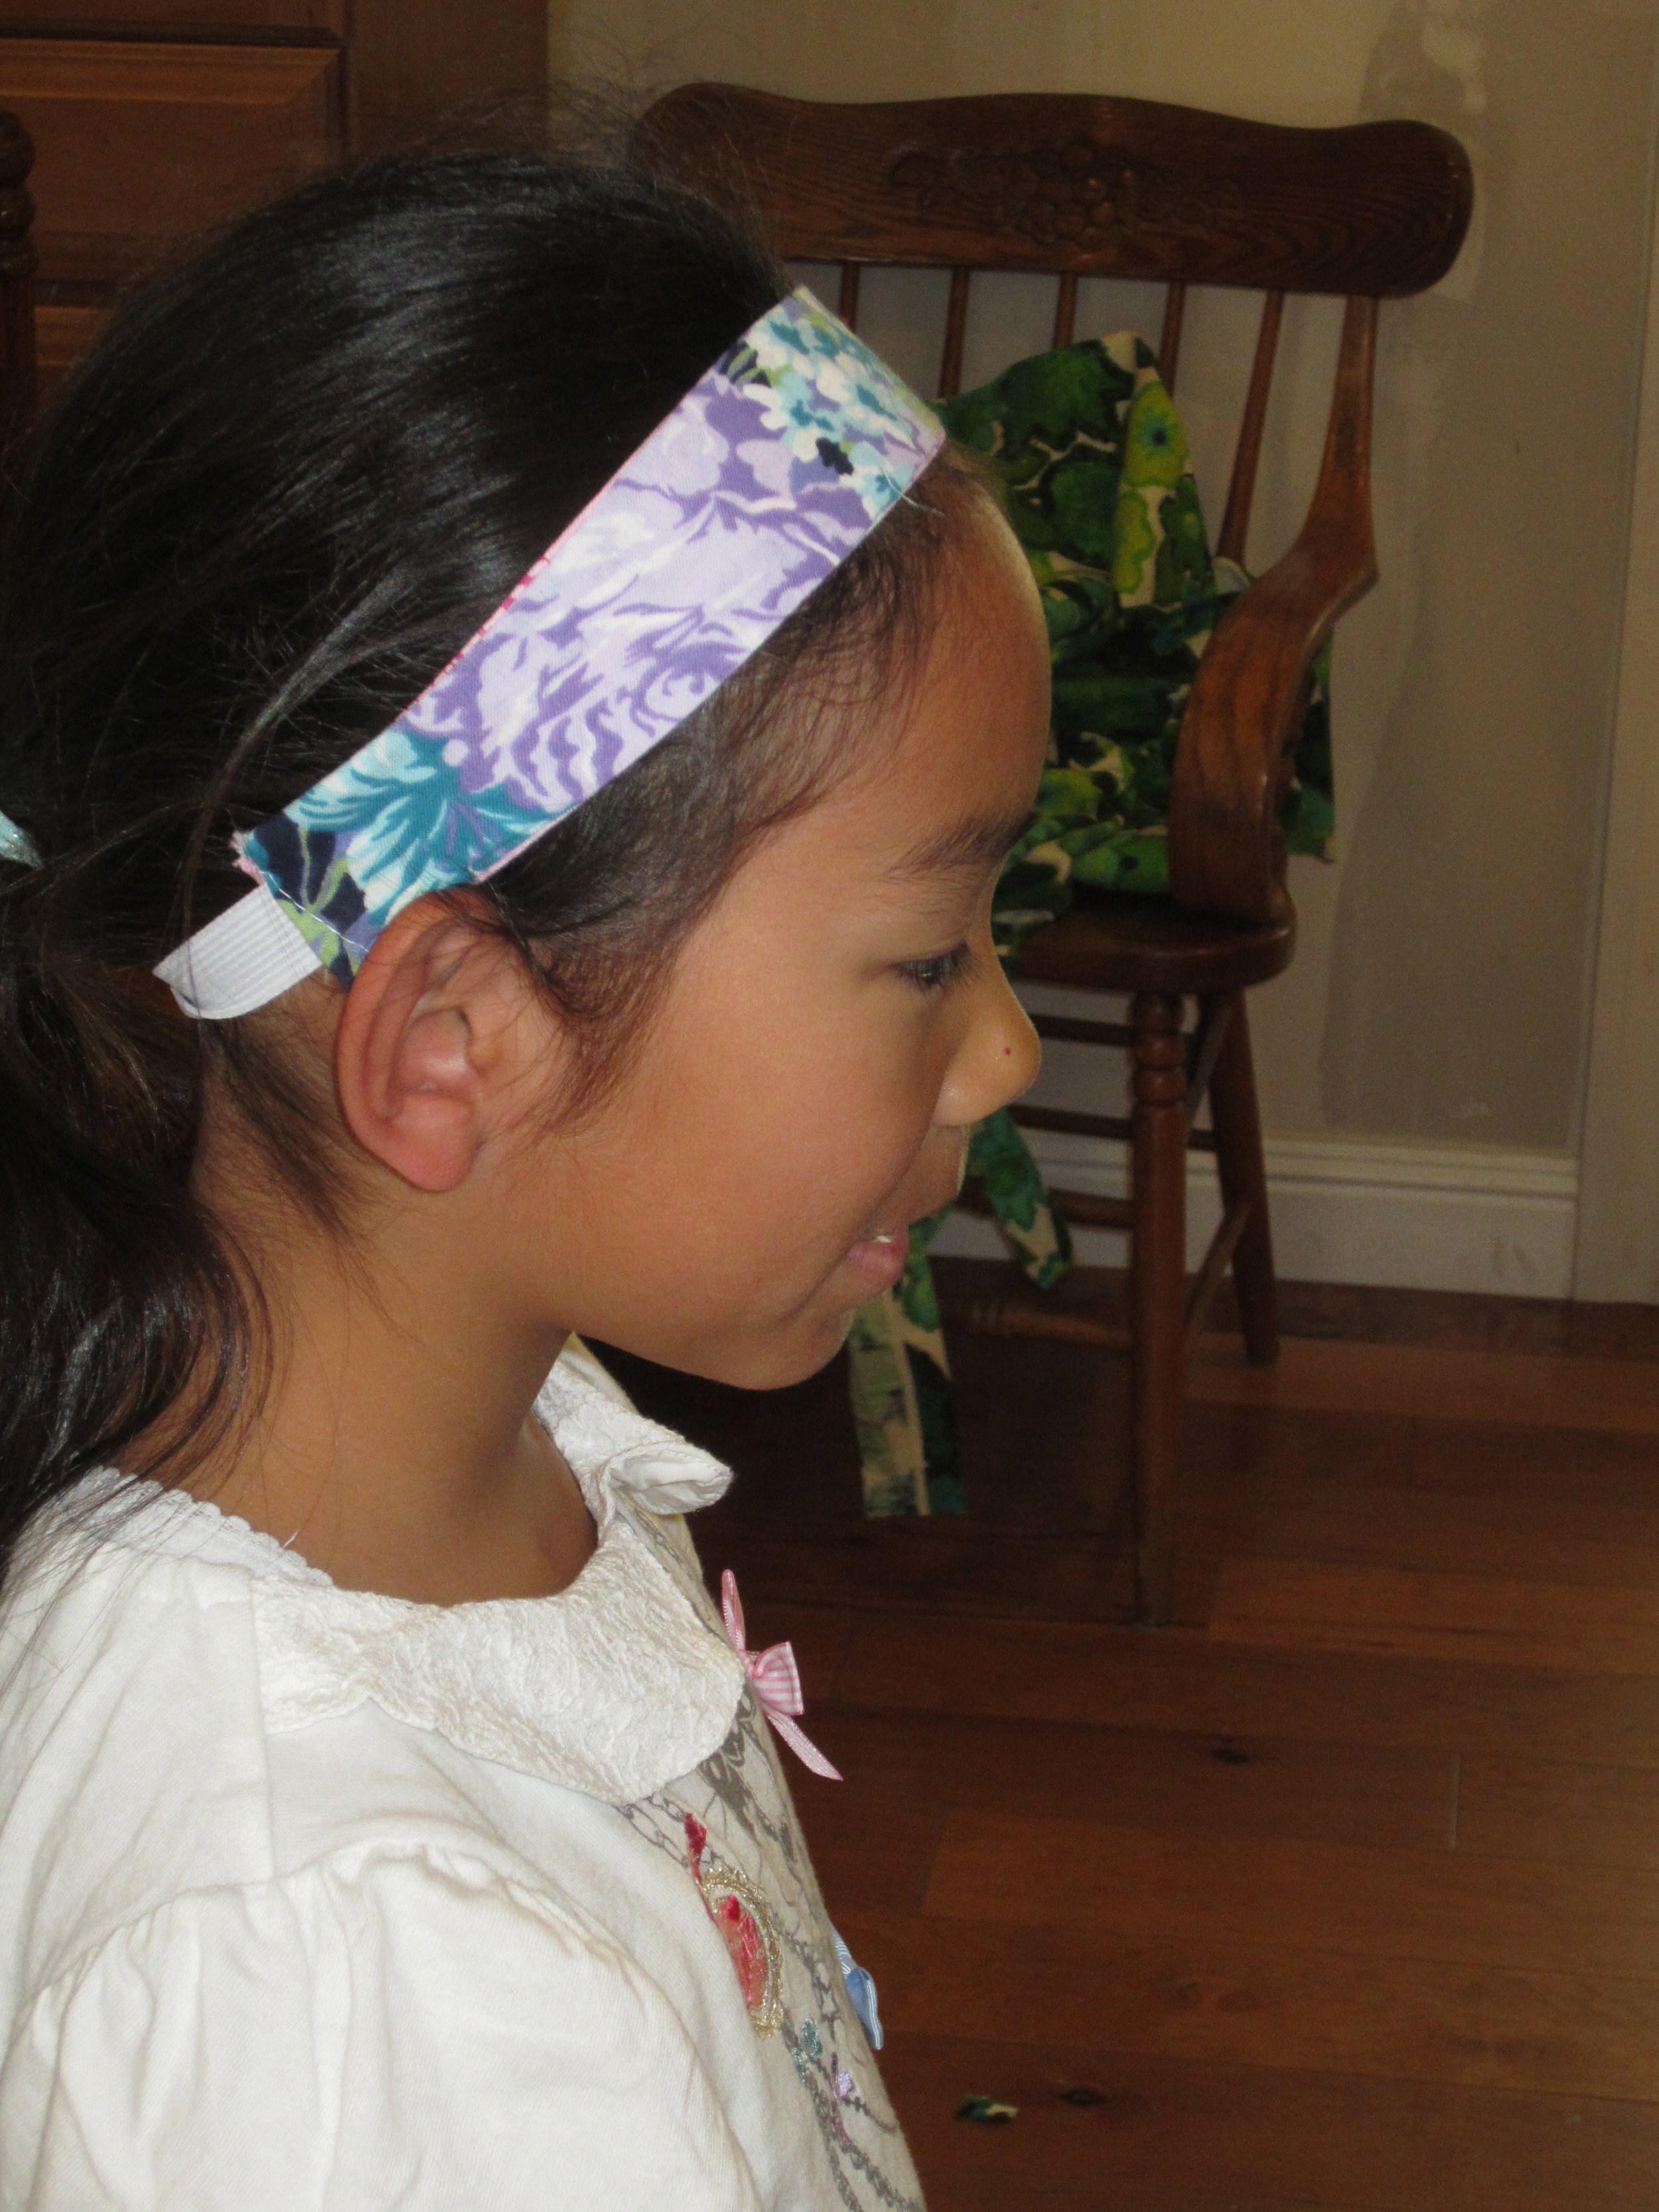
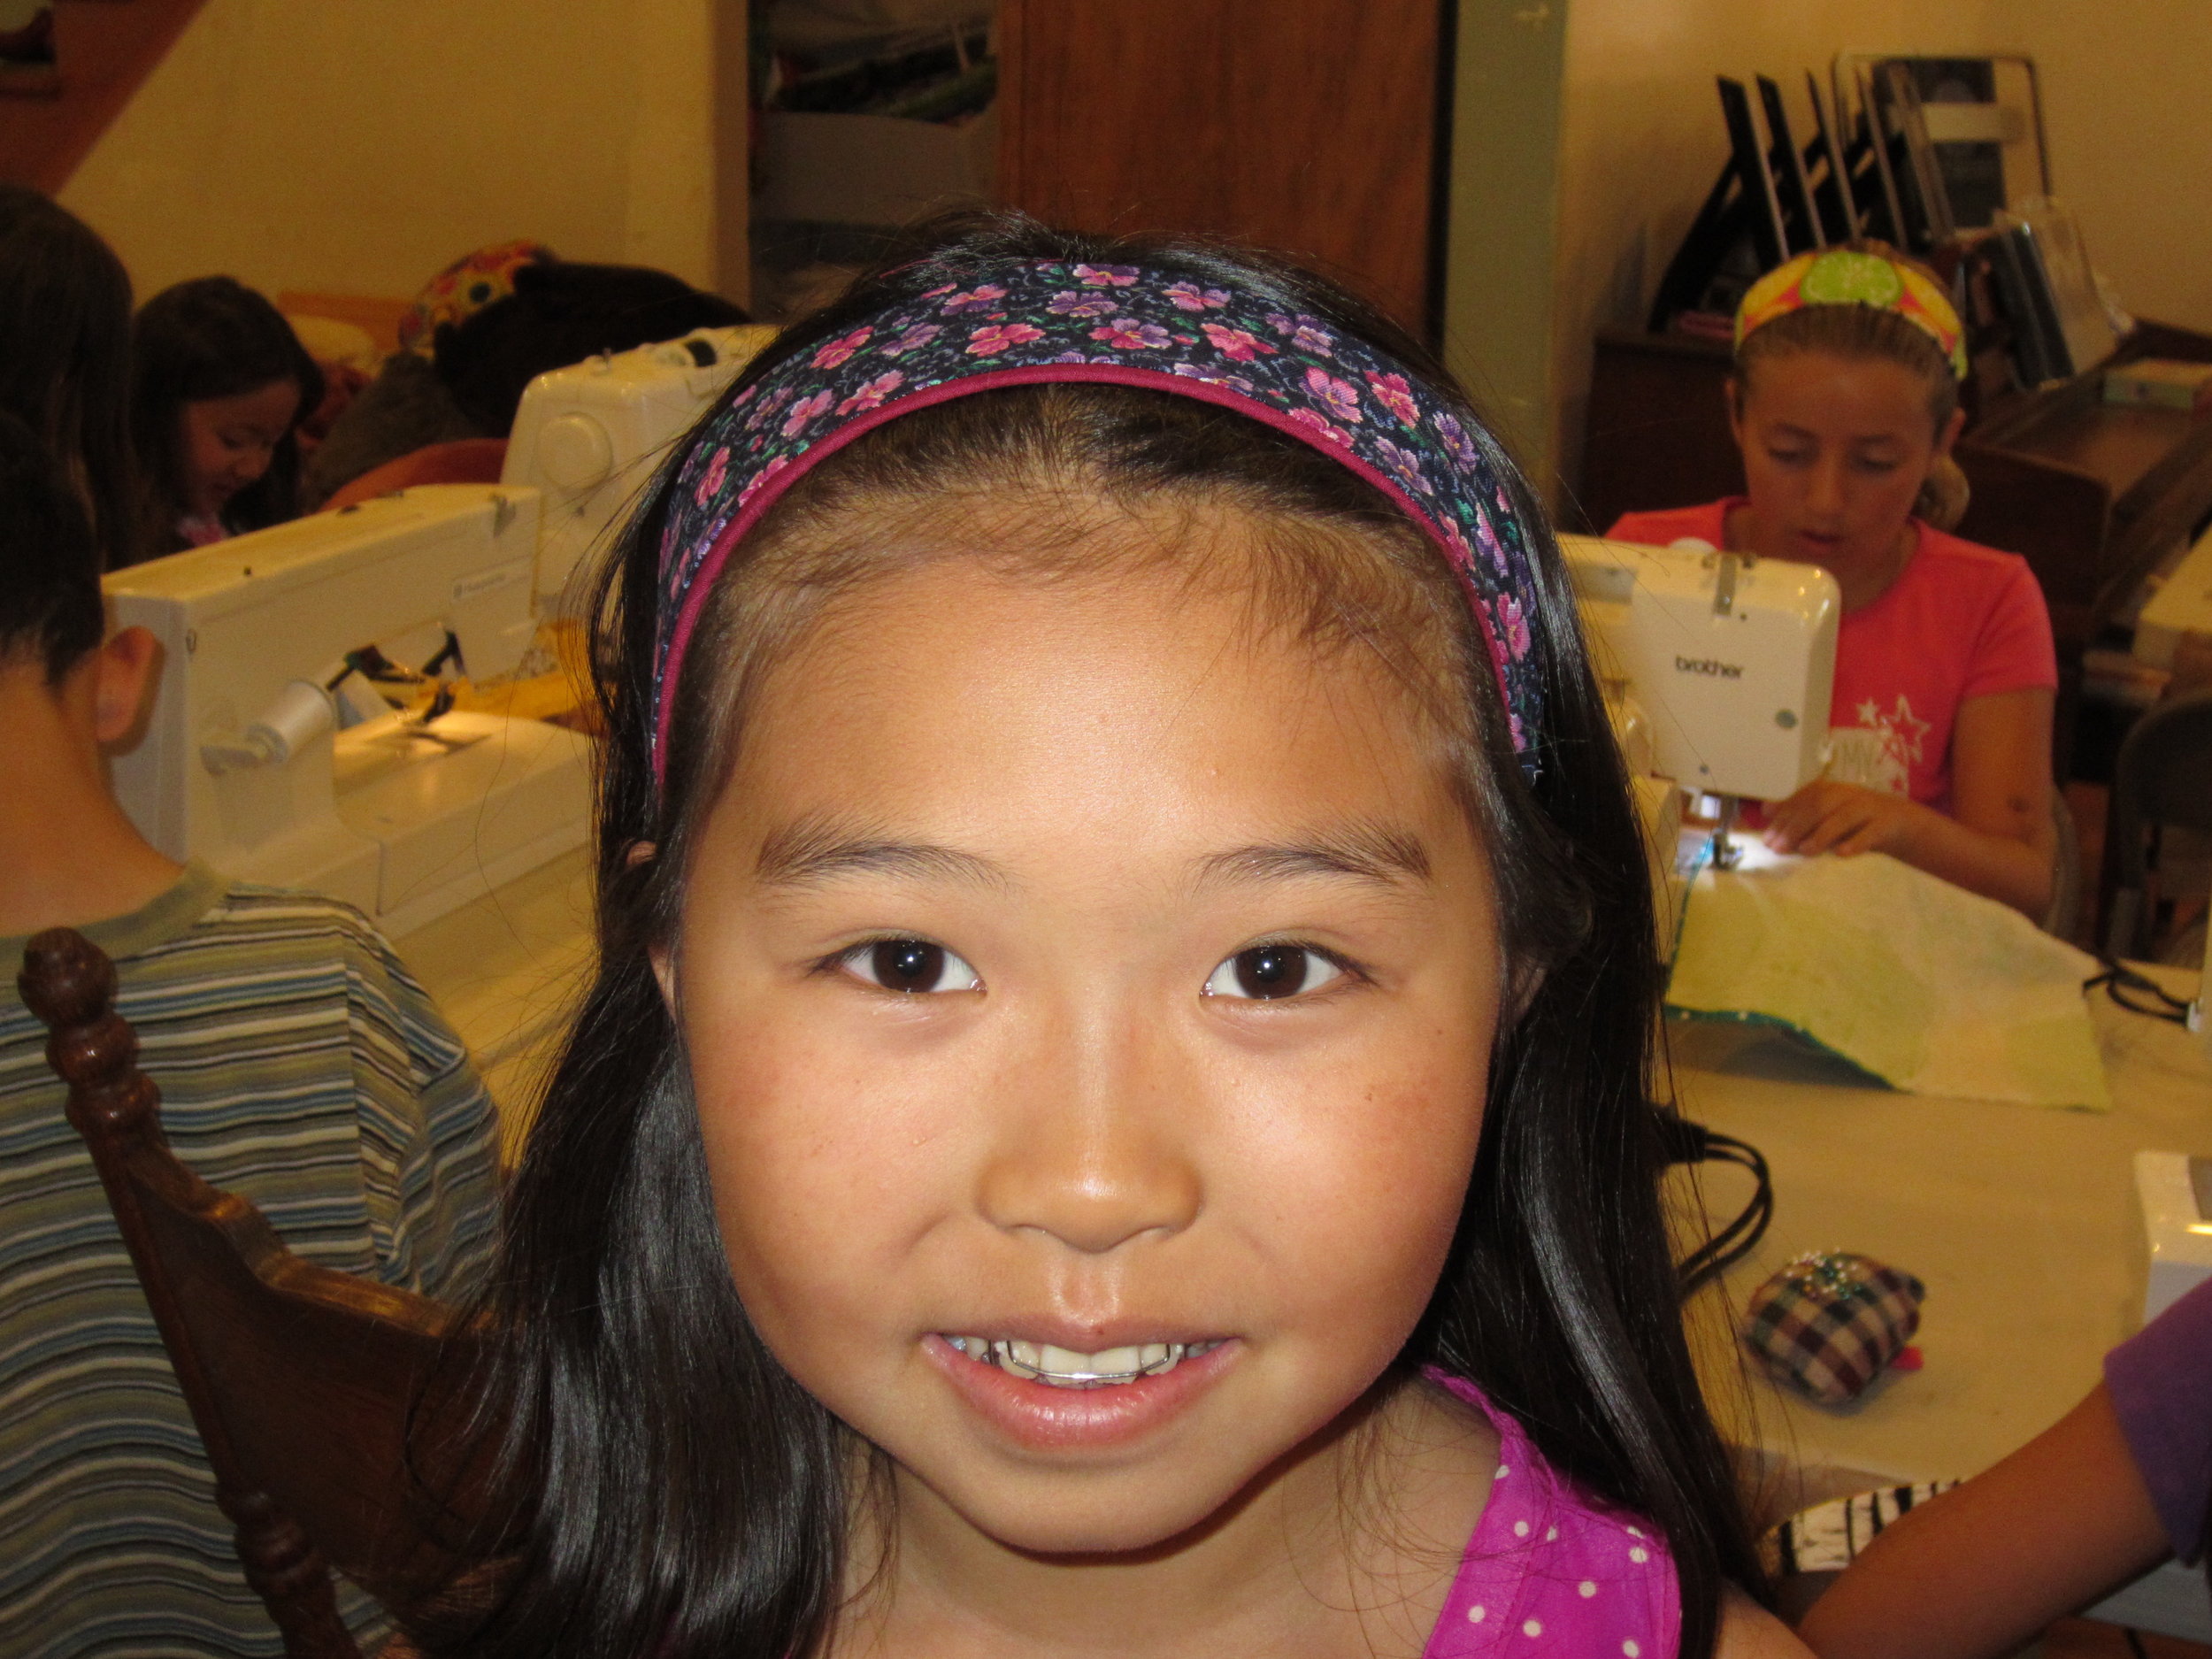
I had no idea how popular these headbands would be.  I think just about every camper decided to make these.

Image


Image


Image


So many fun finished projects!  I can't wait to see what tomorrow will bring!

Last Day of week one Sewing Camp

WHEW!!  Boy did this week go by quickly!  I think the campers felt the very same way.  Several of them were disappointed that this was their last day.  Several of them are coming back next week and are very excited to tackle some more complicated projects.


Image


This camper had so much fun today!!  She finished her skirt before our morning break and wore it for the rest of the morning.

Image


I just love the fabric she chose and it fits her well and look fabulous.

Image


These headbands were so popular!  I think almost every camper made at least one!

Image


This camper is working on a 3 tiered skirt and was so involved and wanted so much to finish before the end of camp today, she didn't even take a break at all!

Image


She wound up making mounds of pillows for her bed.  She told me she wanted to fill up her bed with pillows!

Image


Yet another headband!  Isn't this one cute!  I love the fabric so much and this camper added a decorative stitch on each side of hers - very creative.

Image


Woo Hoo!!  She did it!  She finished her skirt with time to spare.  She was so thrilled!

Image


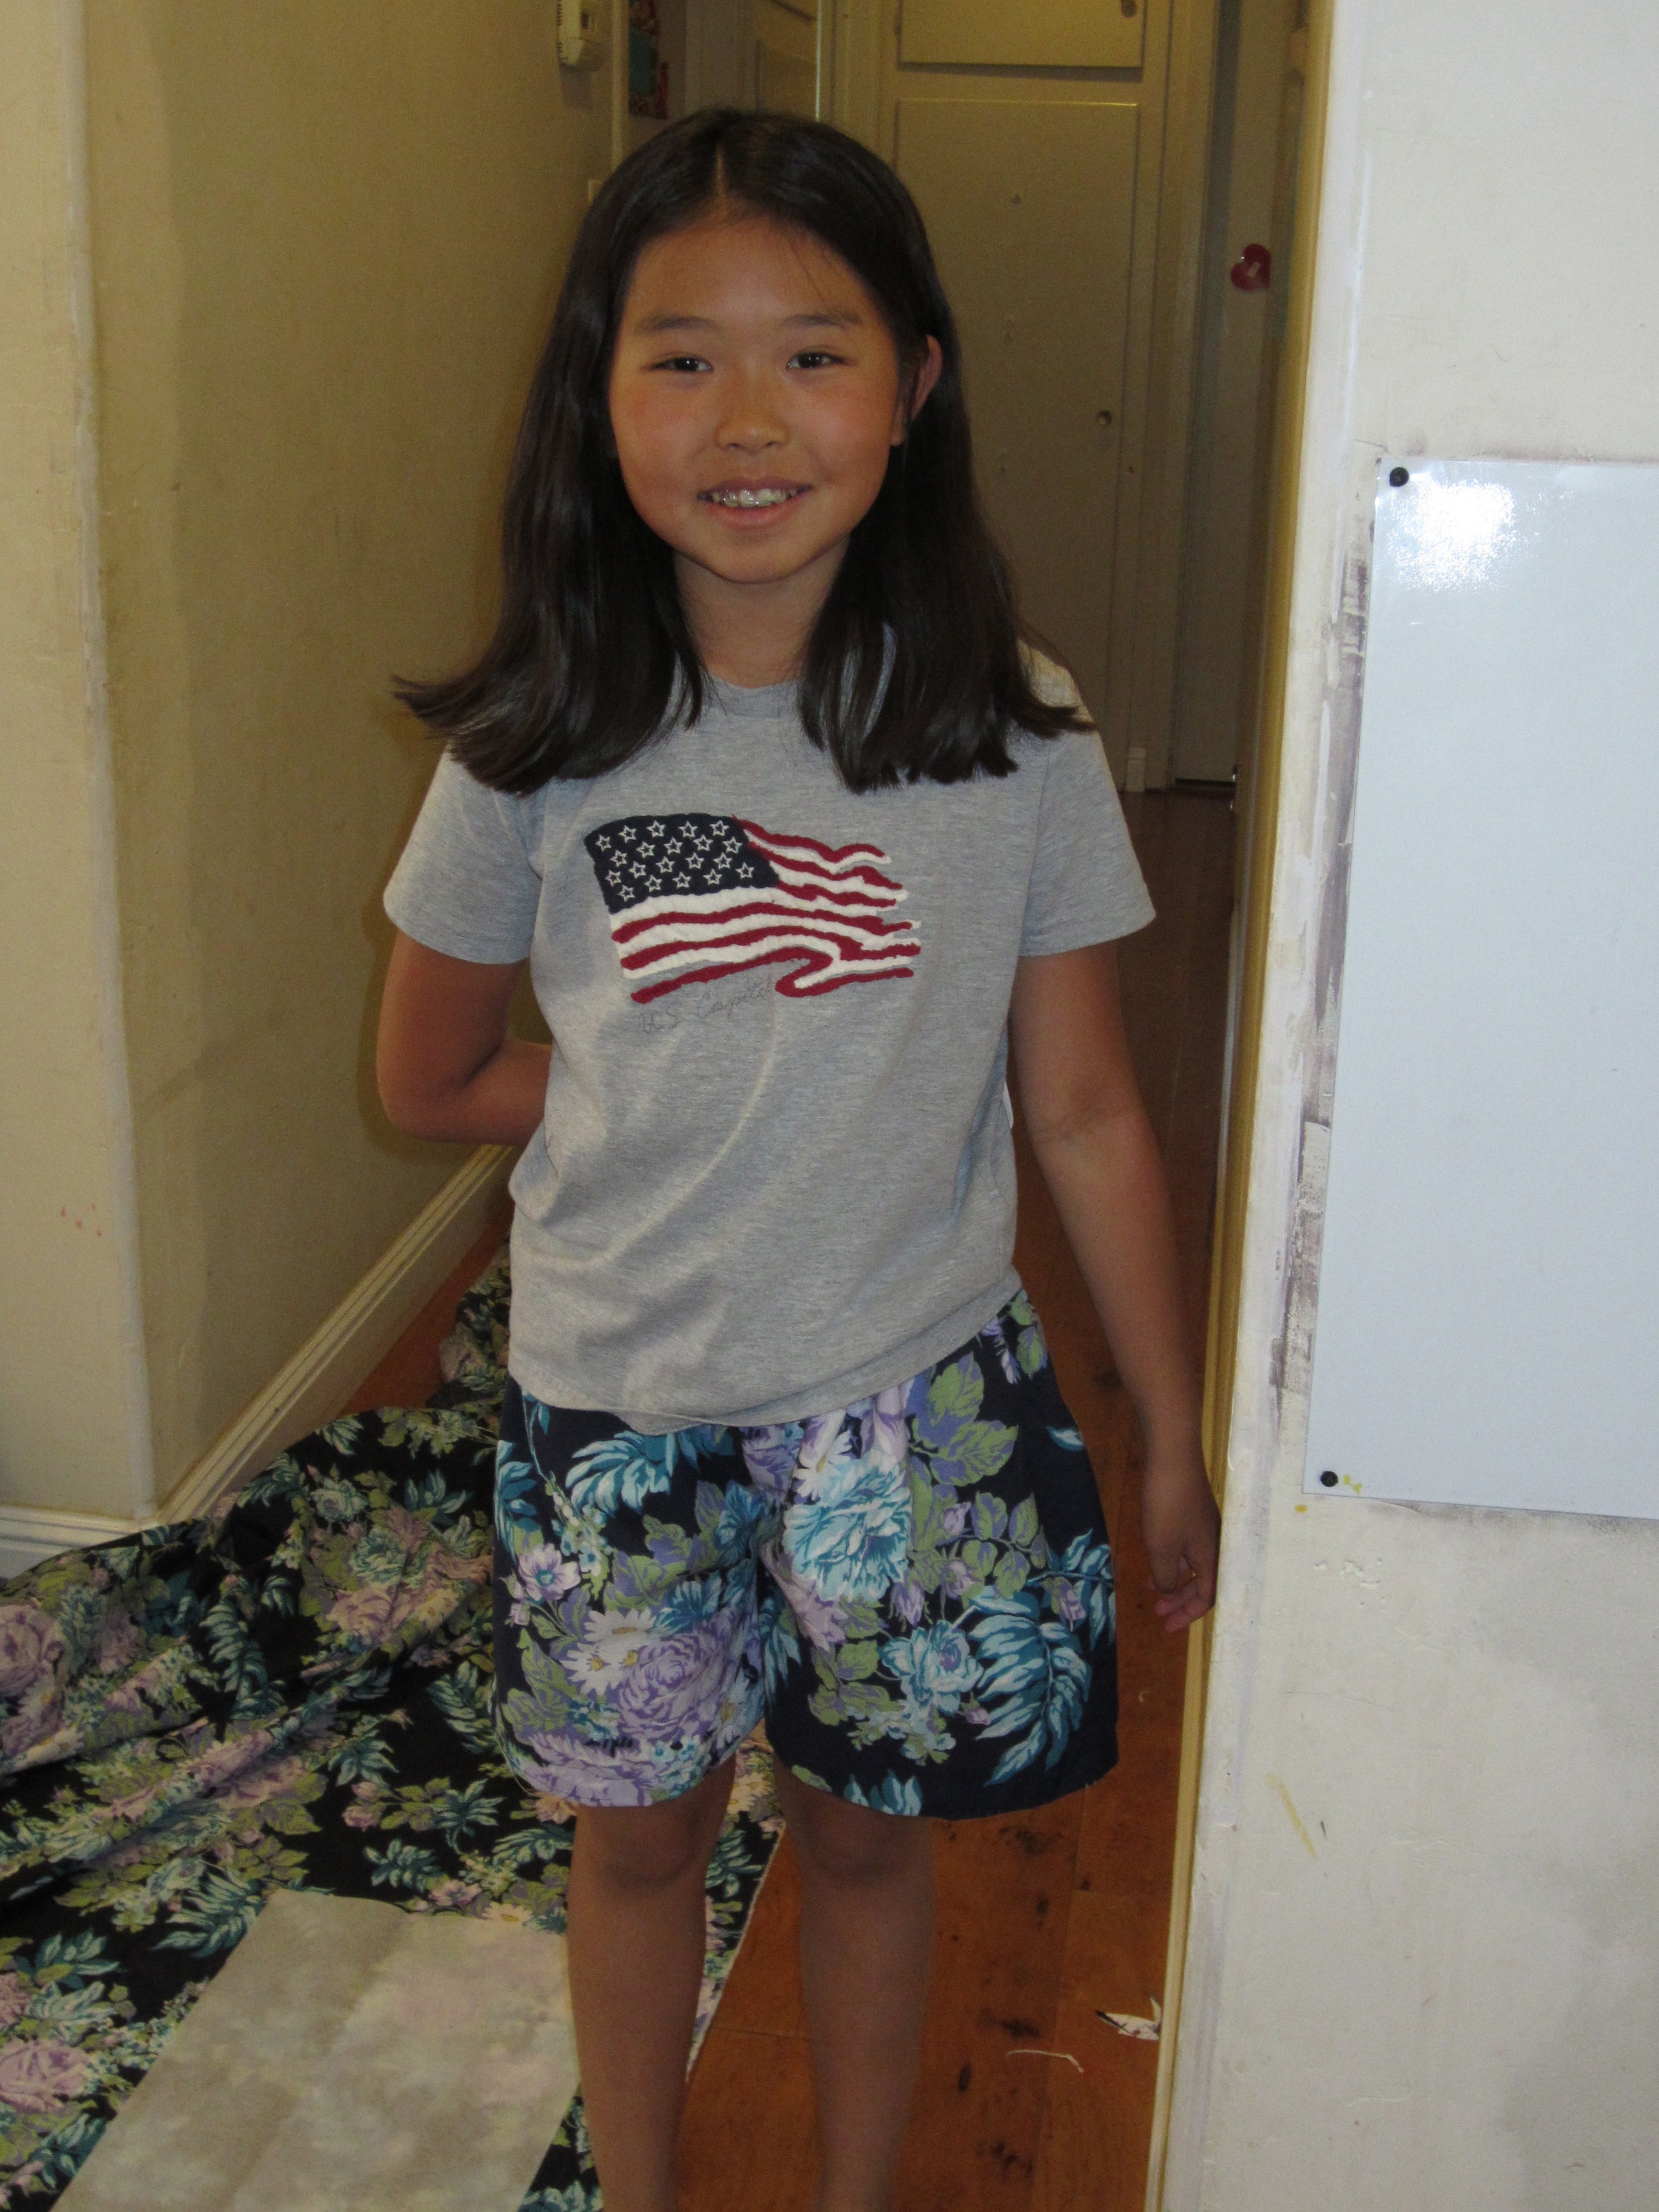
Look at those shorts!  Aren't they fantastic?  She did a great job with the waistband and also the hemline.

Image


Another lovely headband with decorative stitching on the edges.

Image


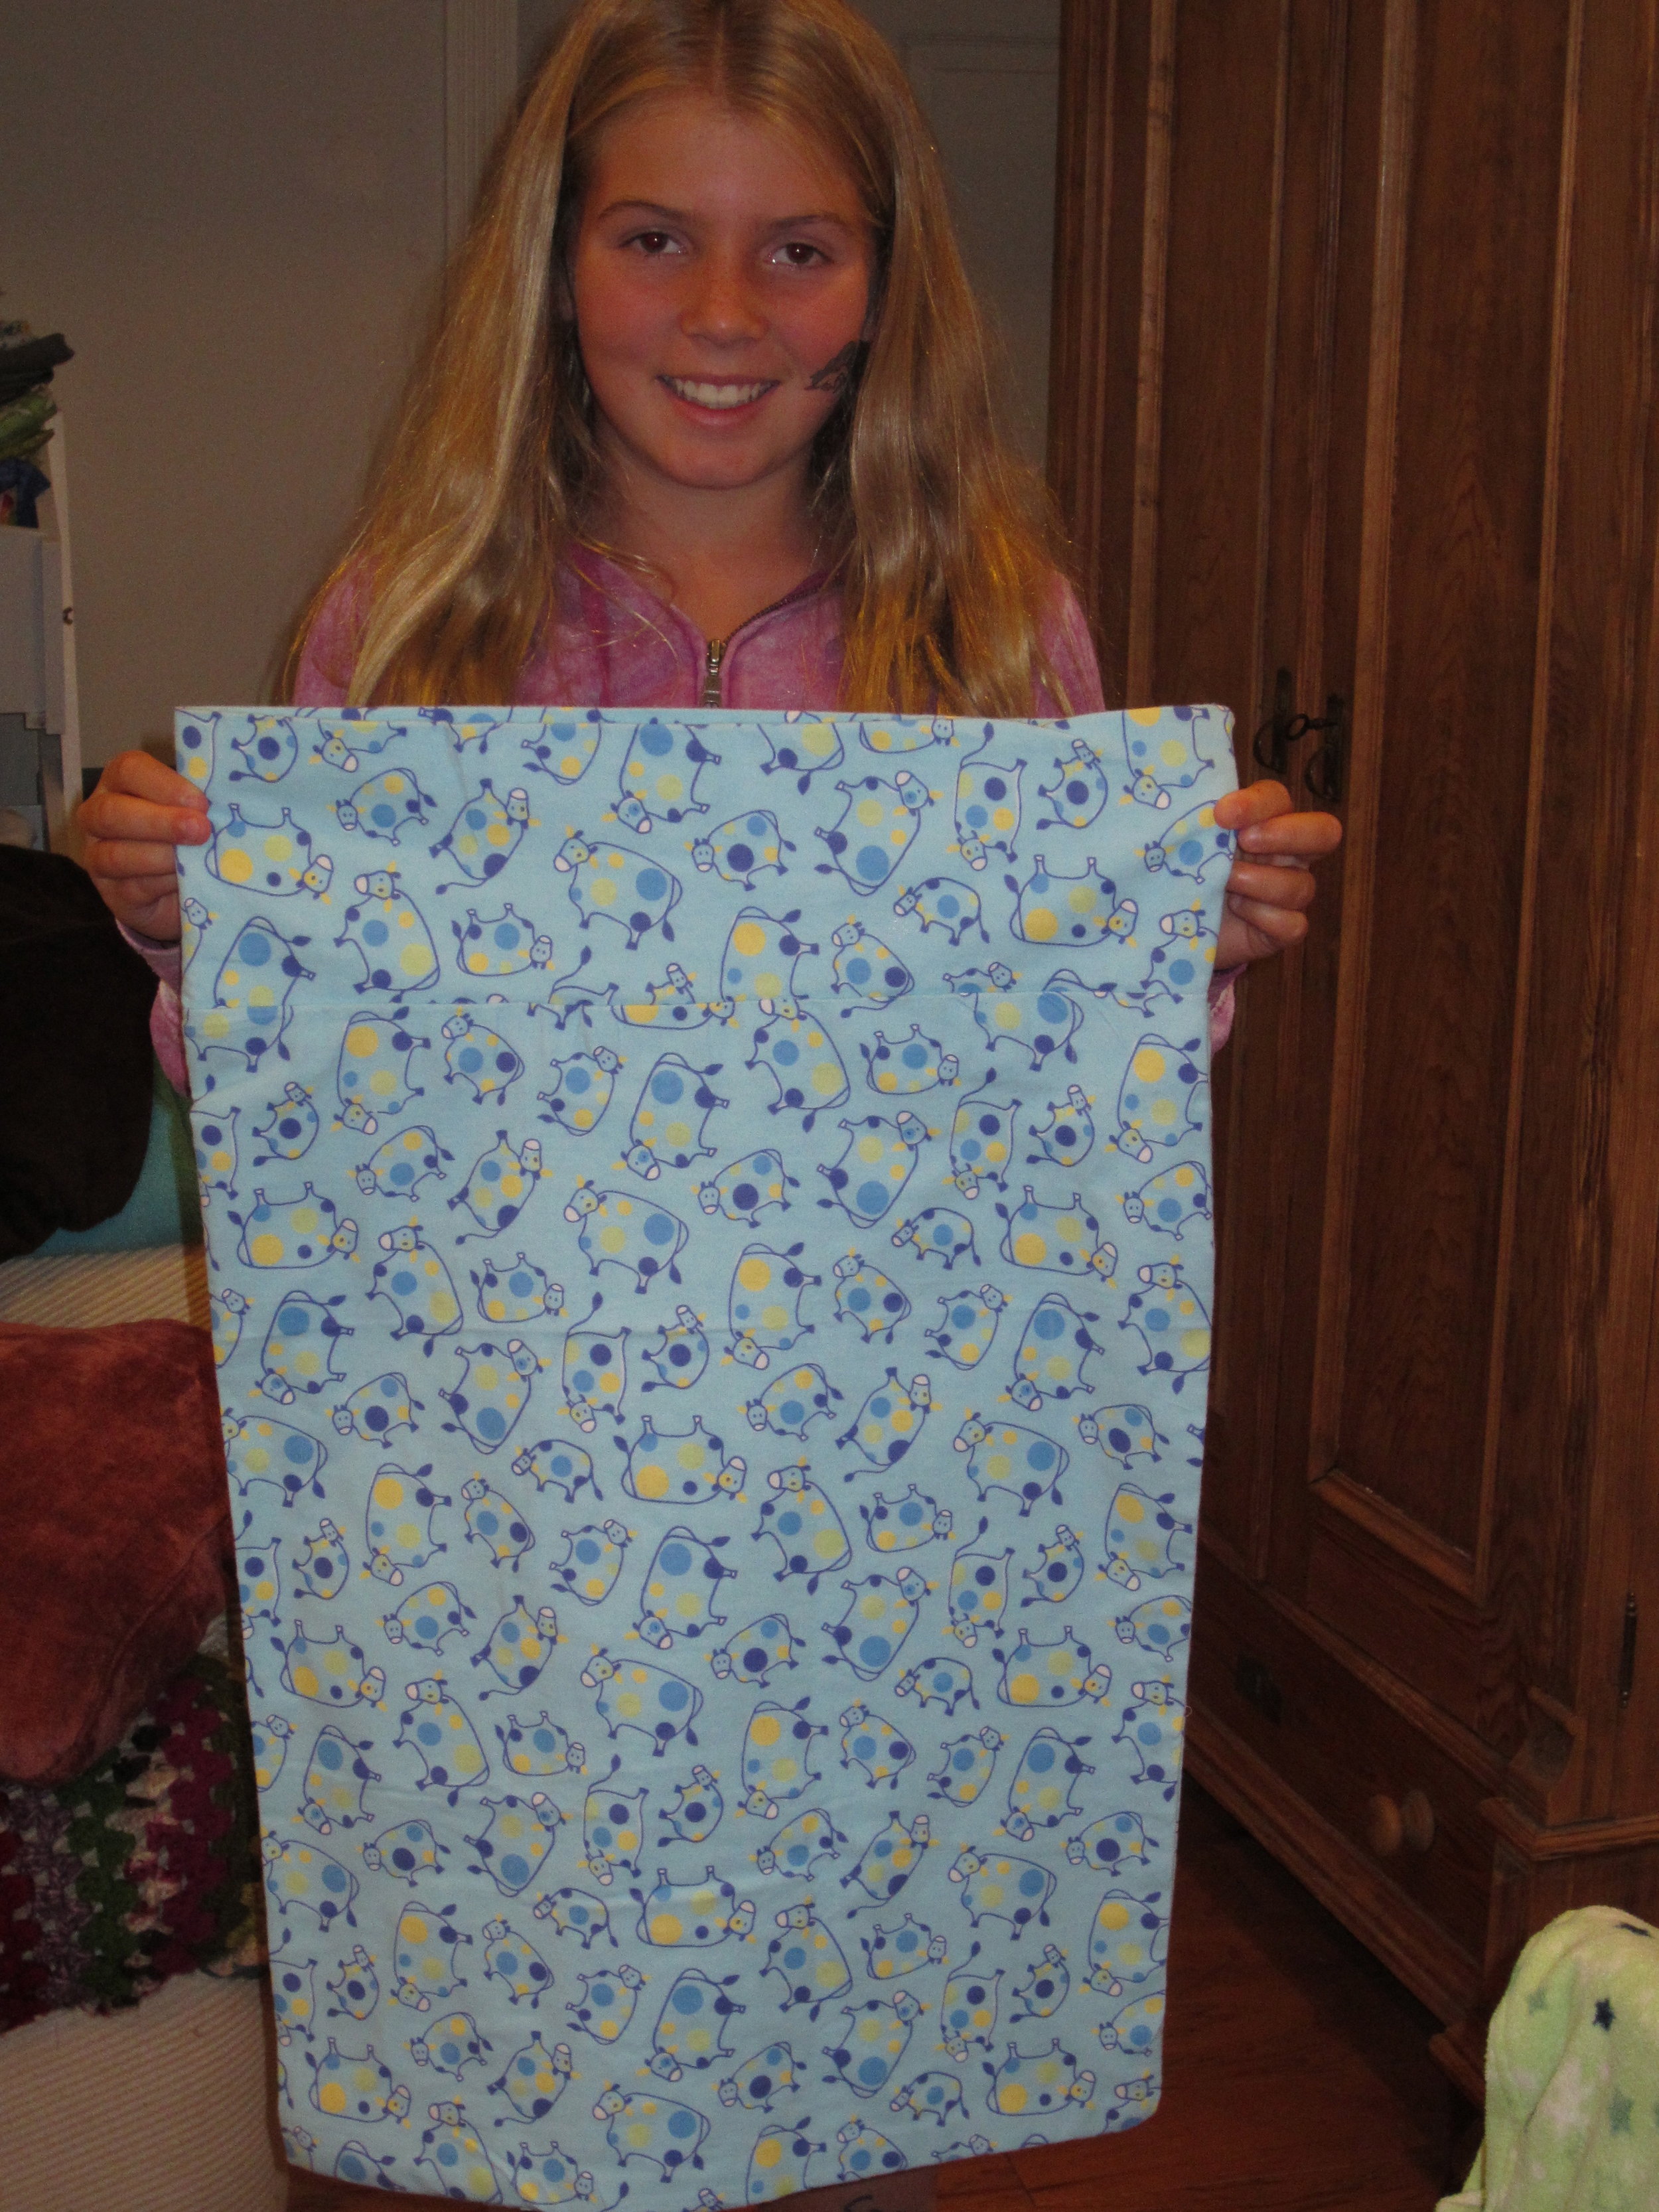
This is the third pillow case for this camper (she wanted one for each pillow on her bed) and she is such a pro it only took her about 45 minutes!

Image


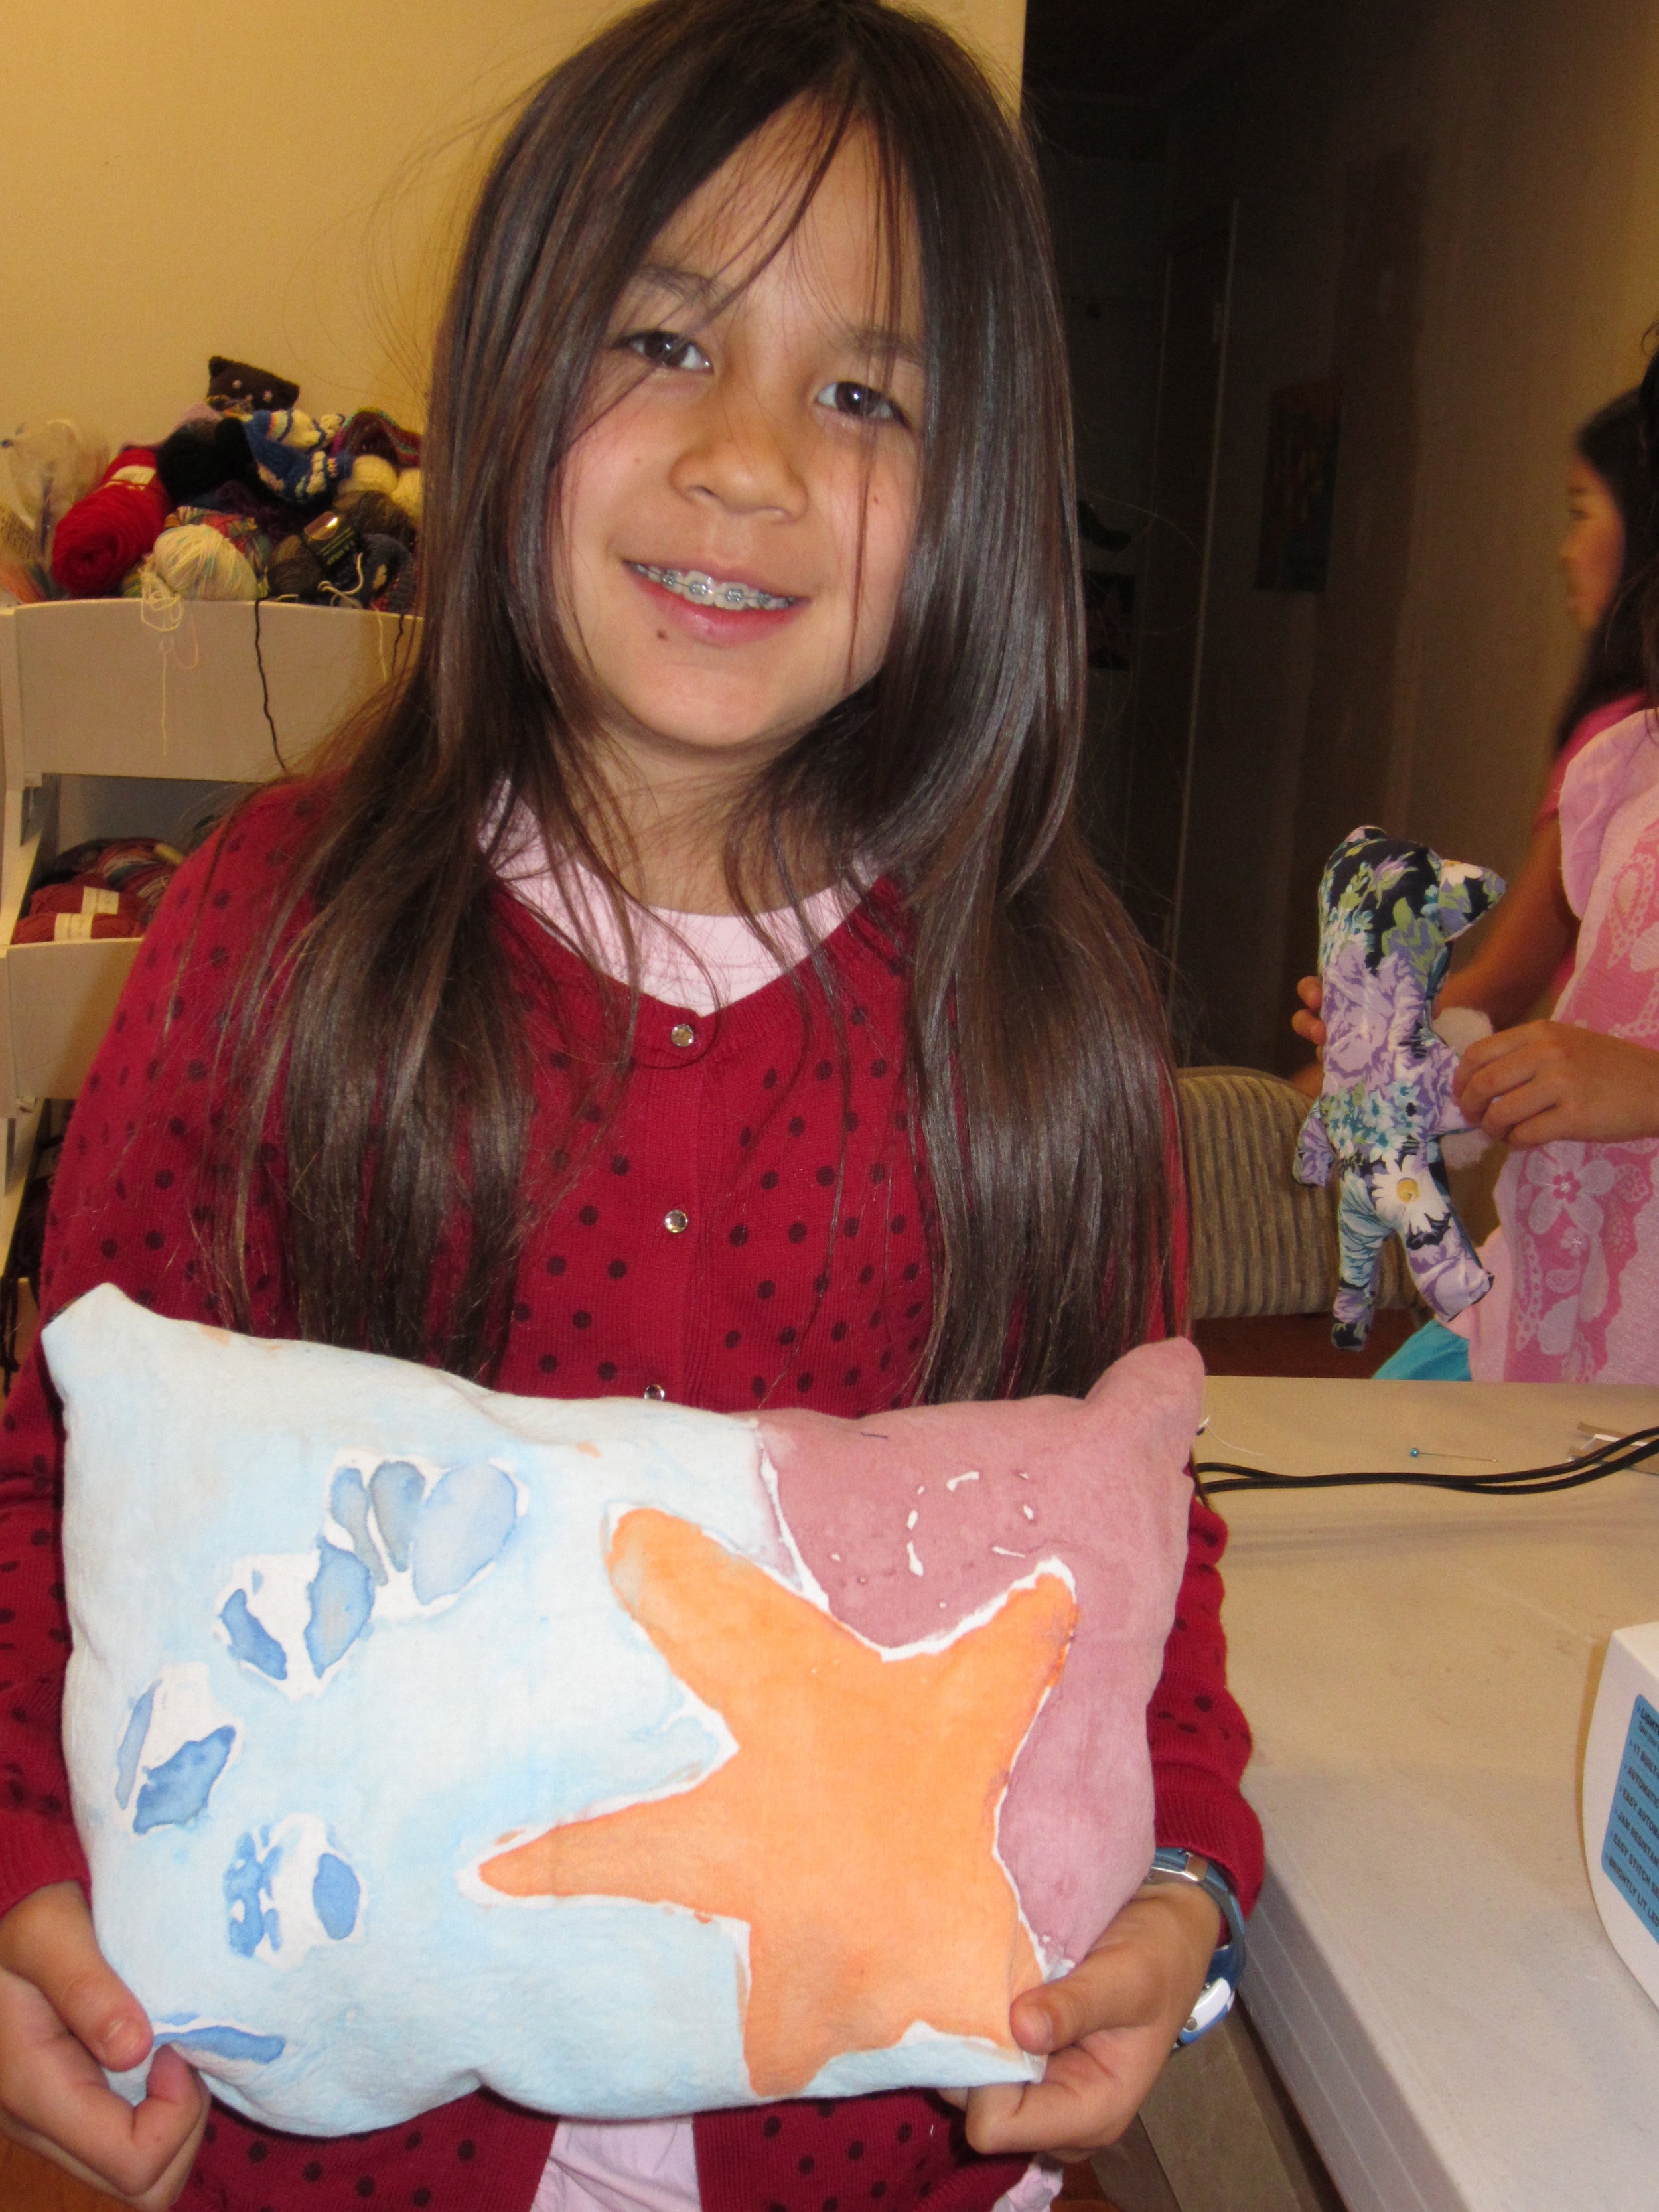
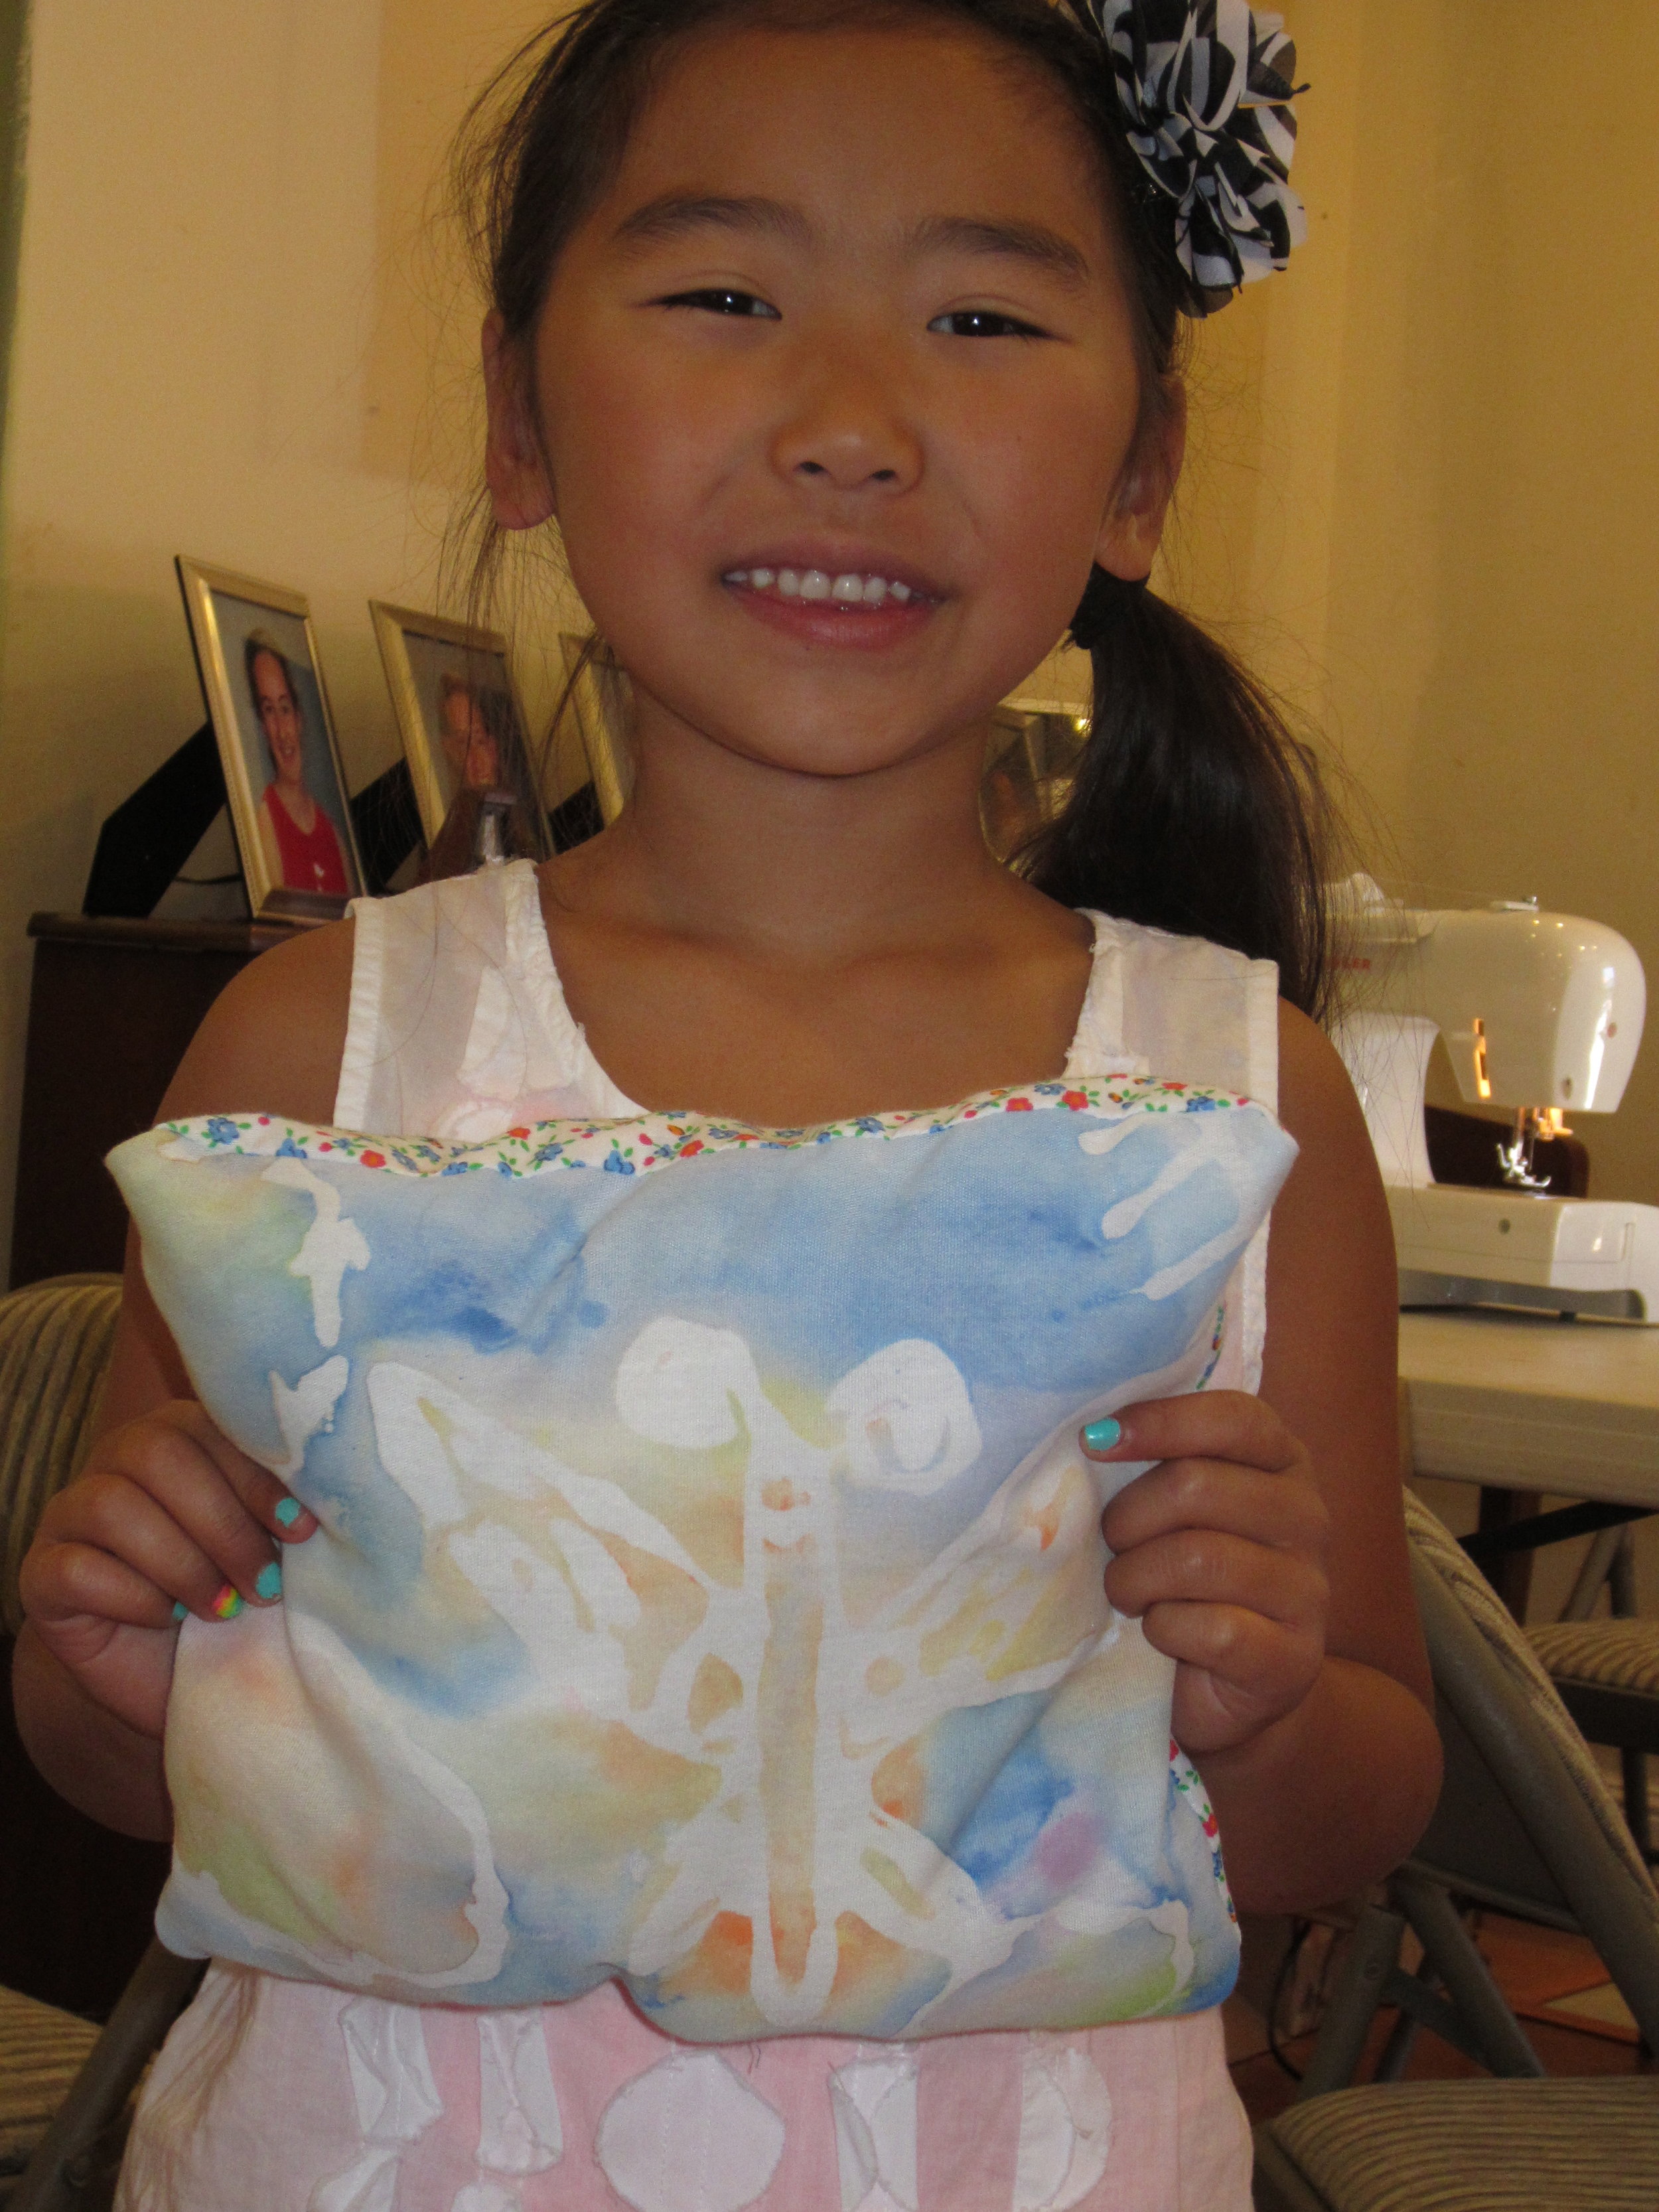
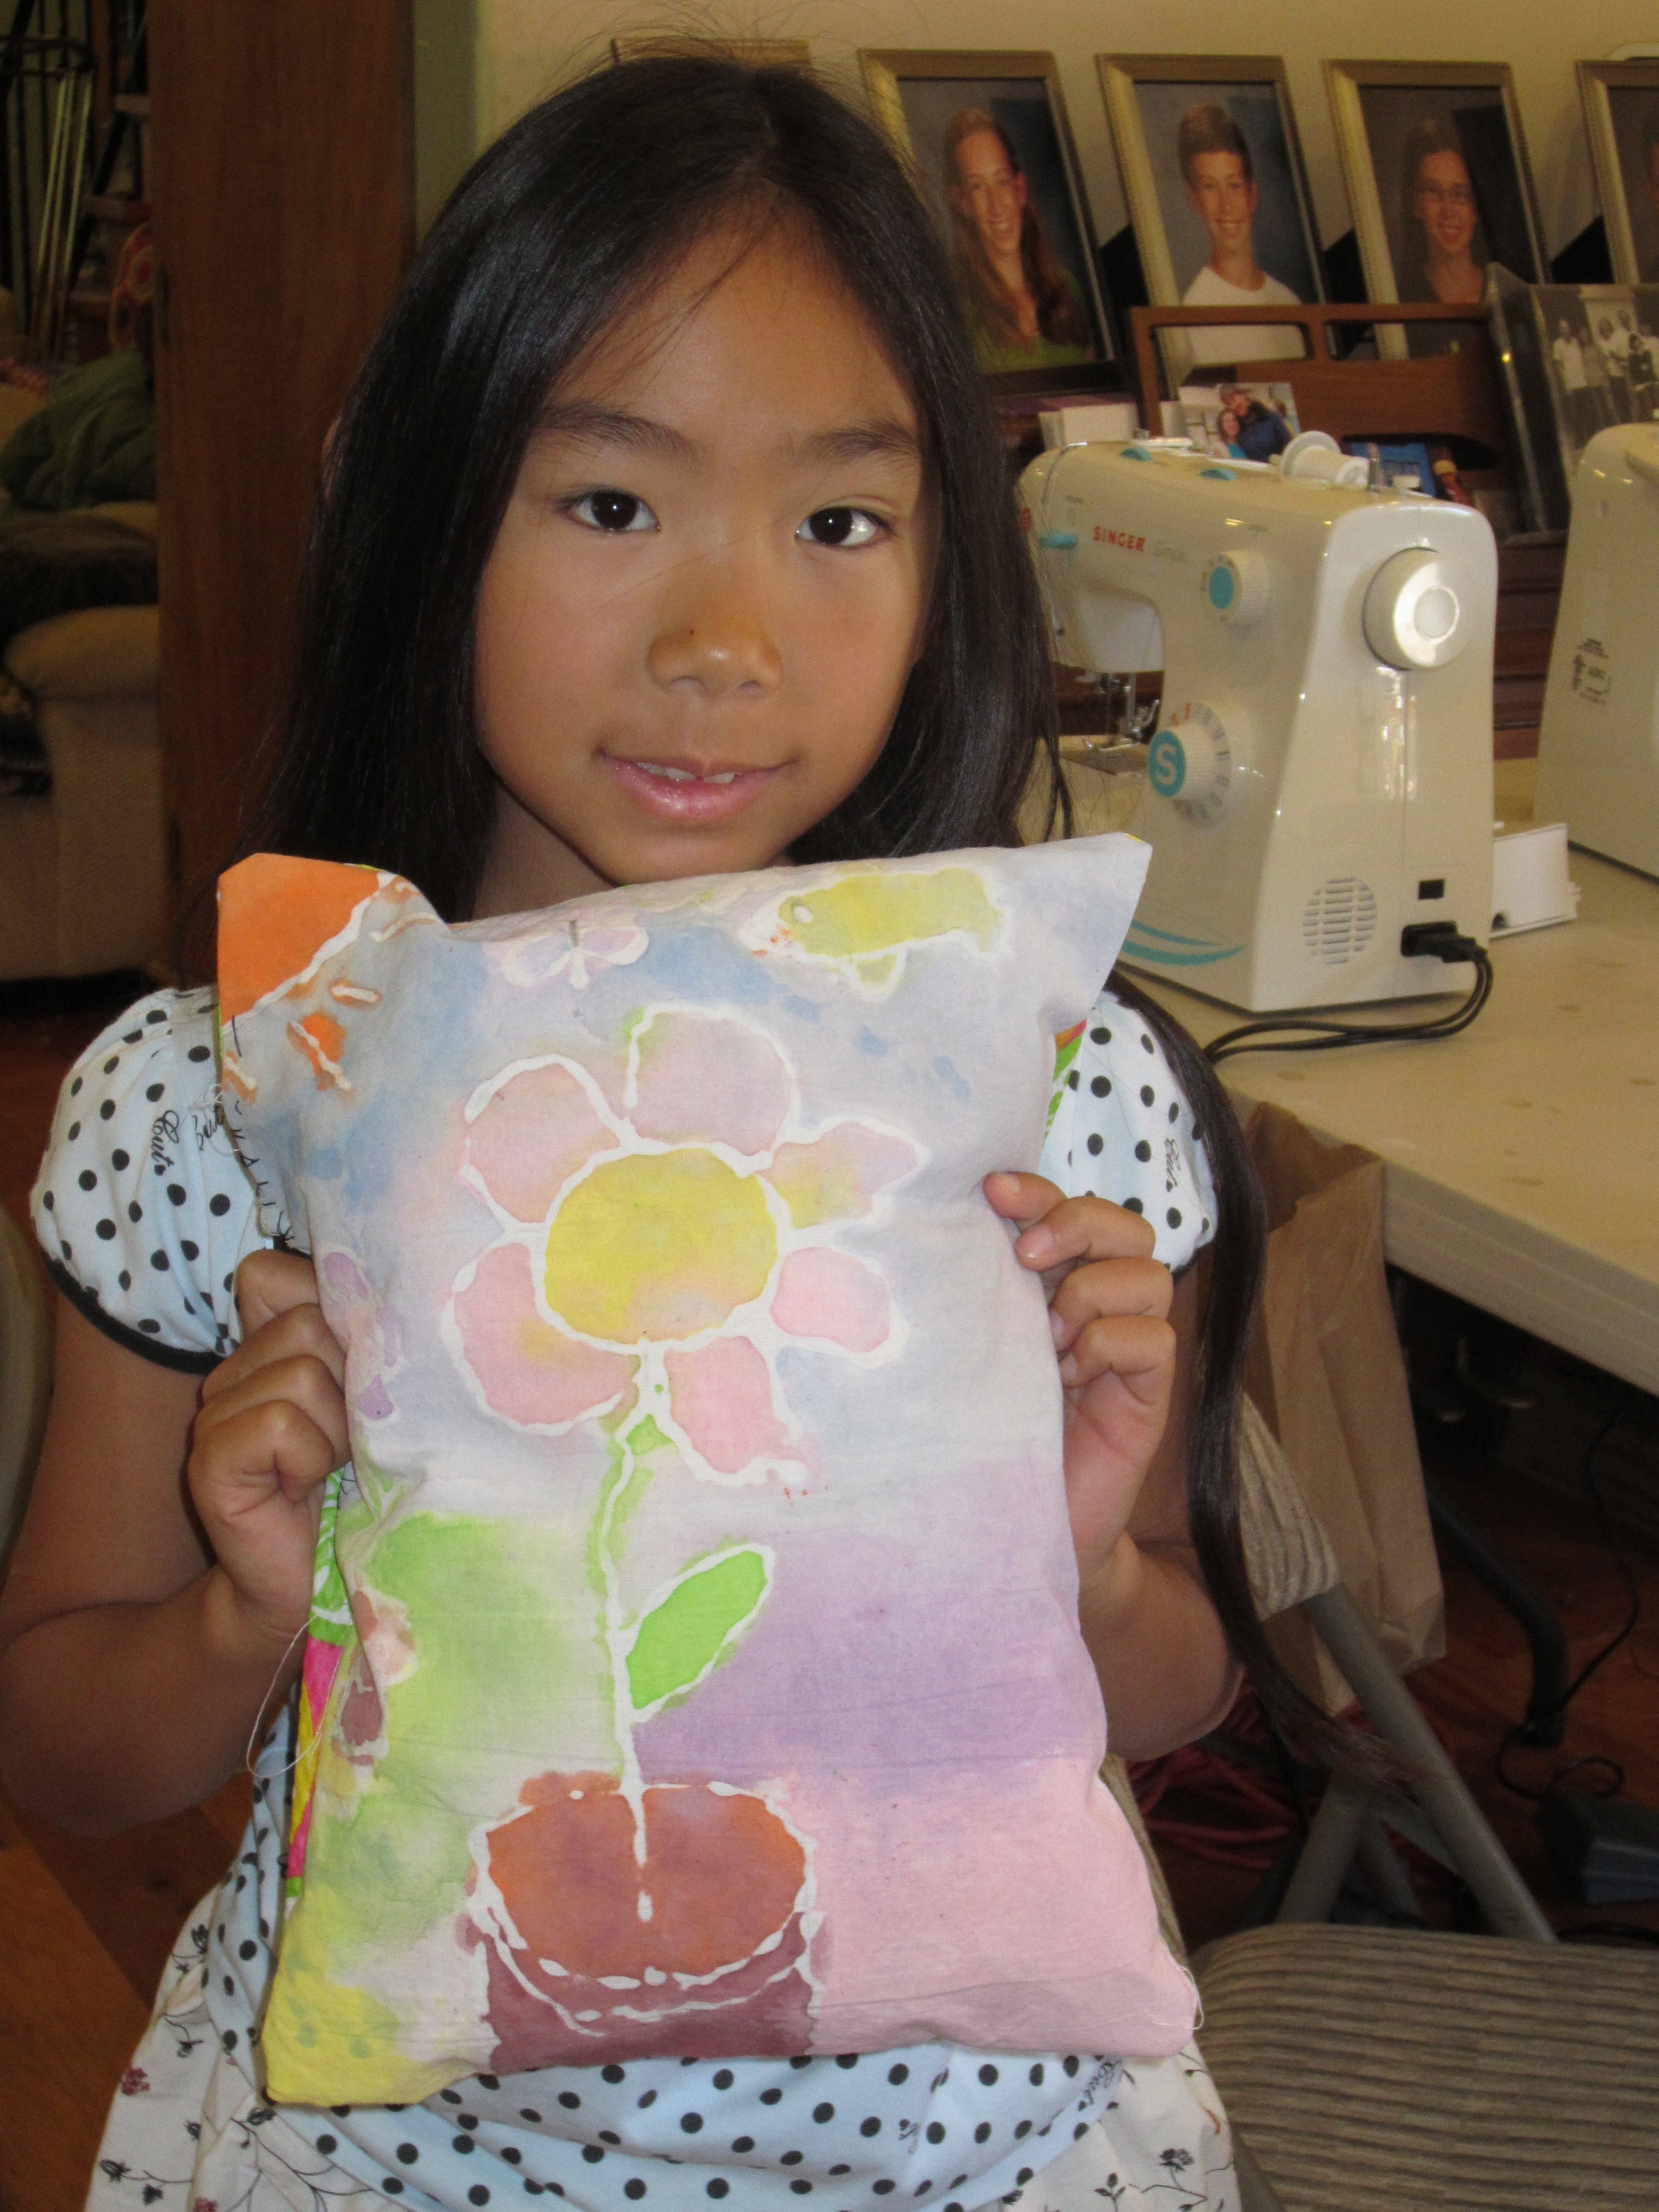
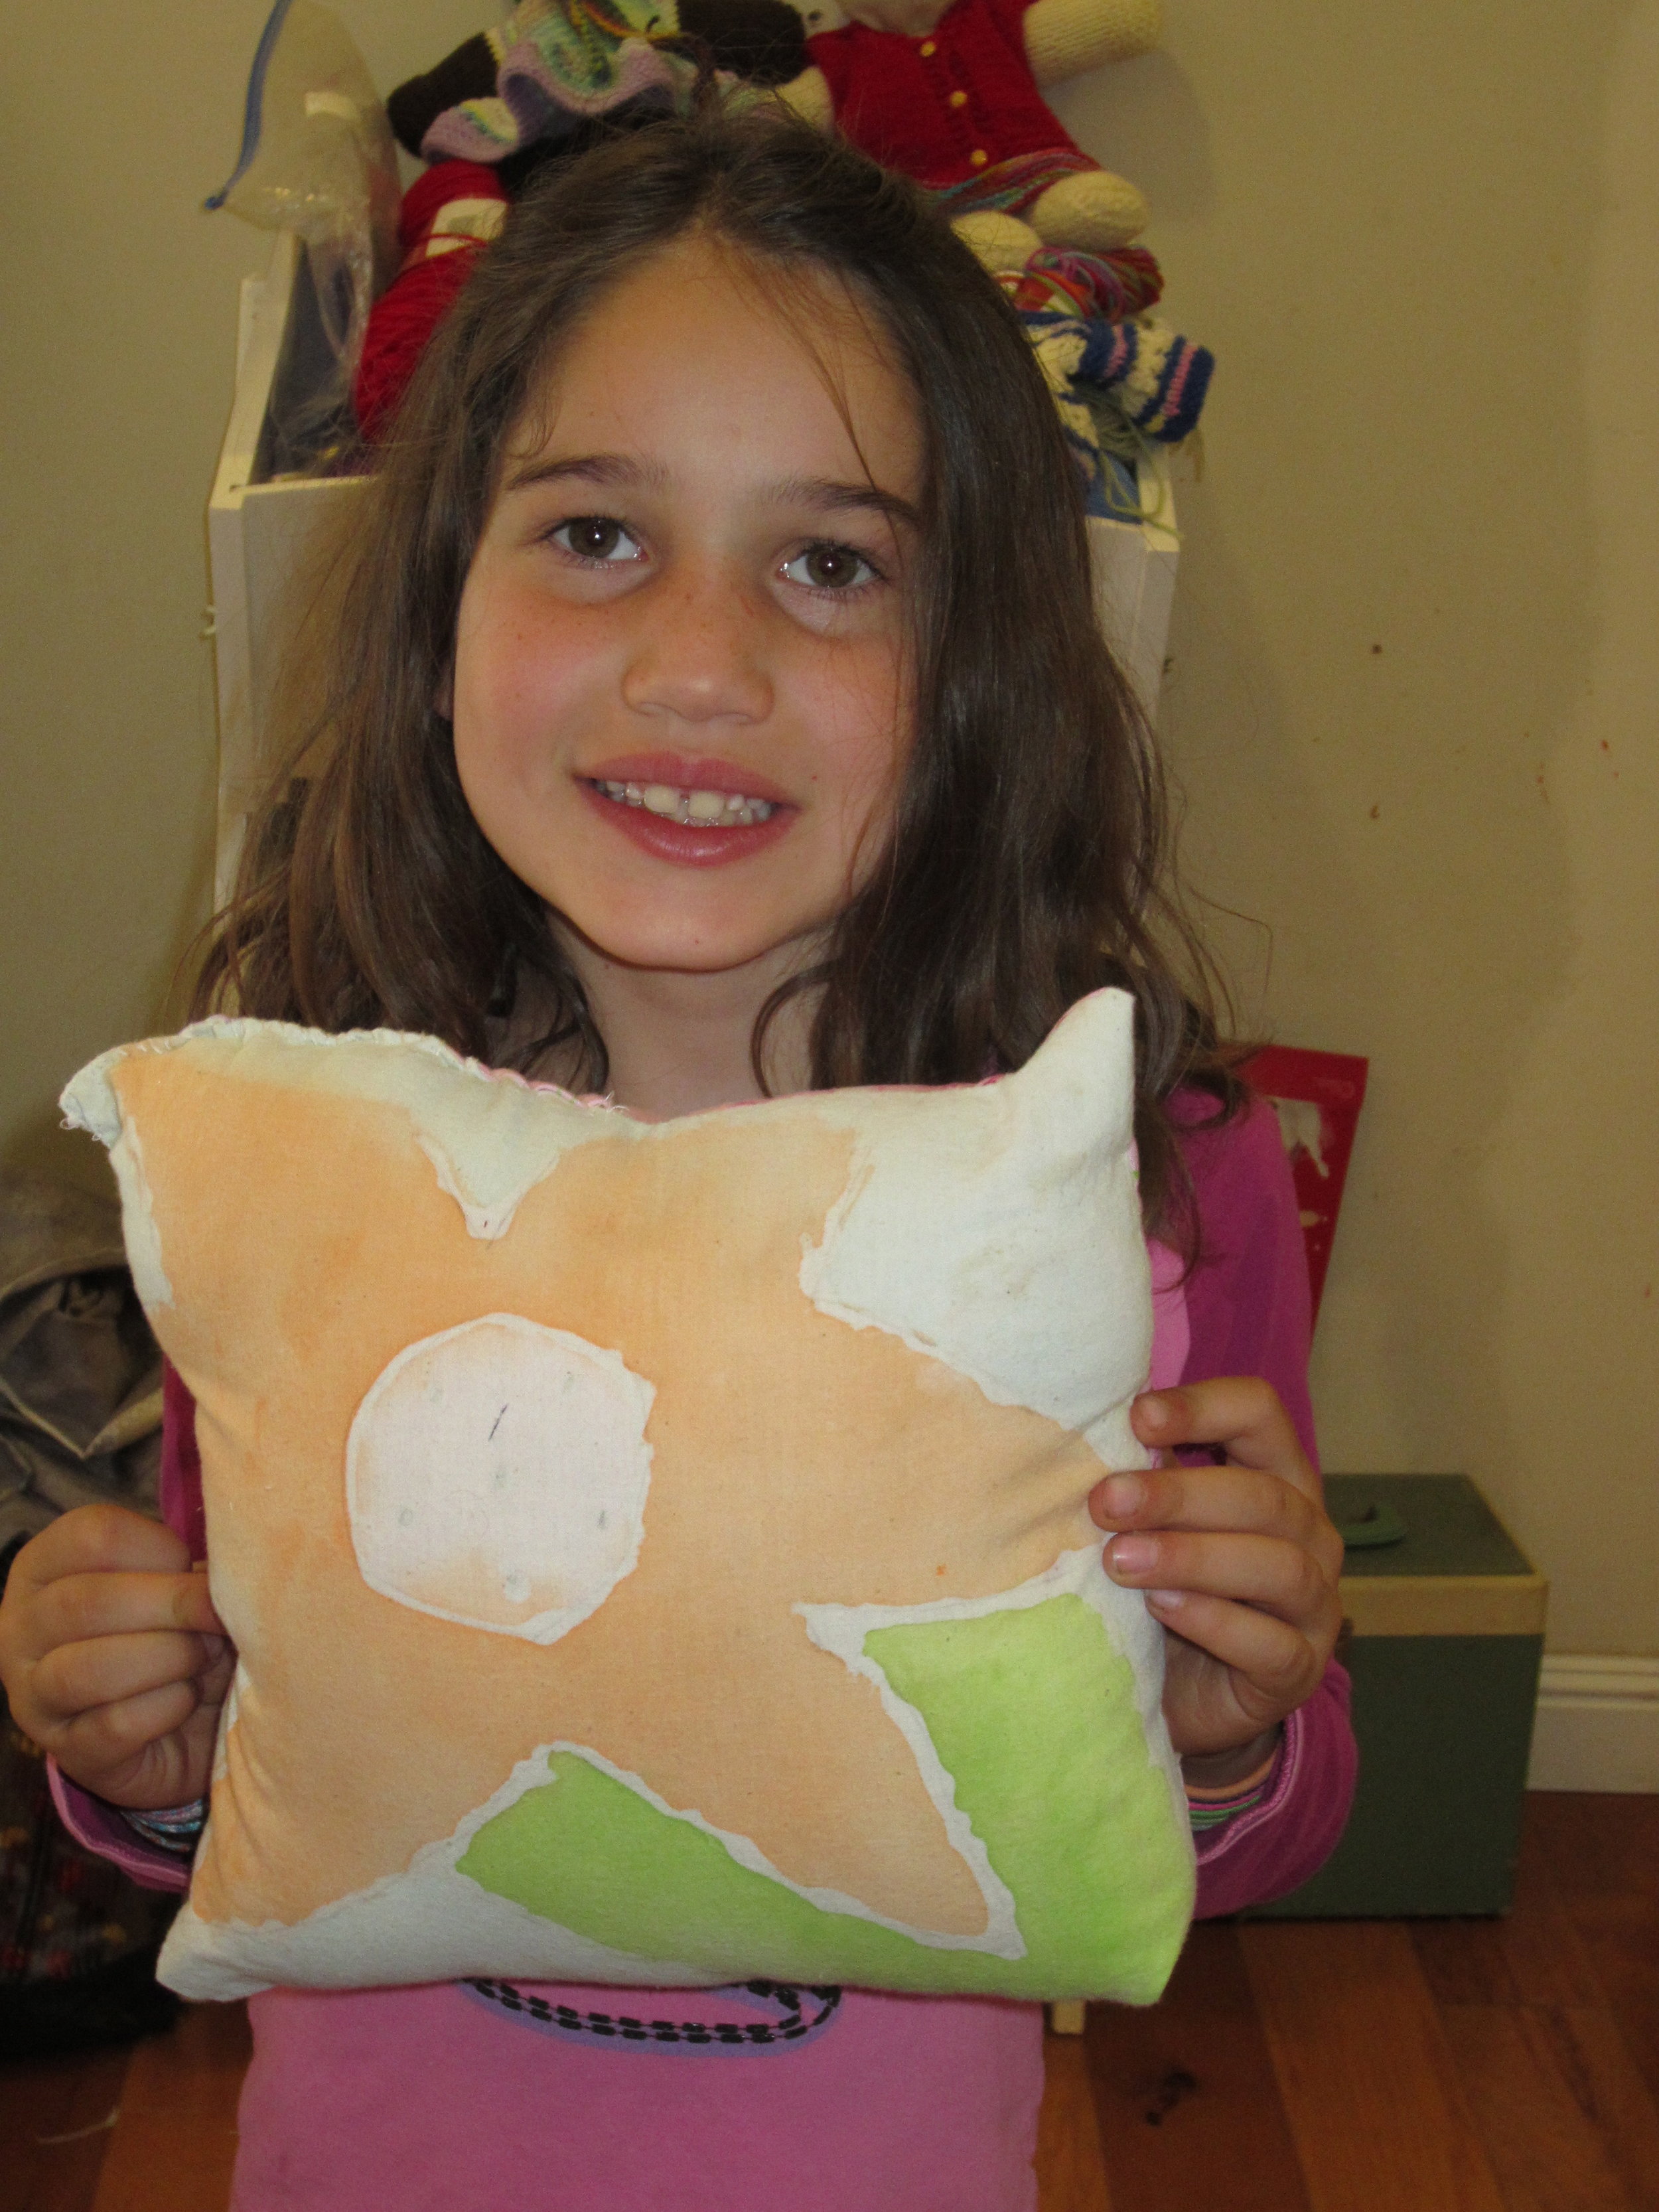
A finished batik pillow - this was such a fun multi day project.  The kids really enjoyed it.  I will have to come up with something different for next week as some of these students will be with me again.

Image


Not only did this camper finish her pillow, she also made a pillow case!  She is amazing!

Image


Just before the end of camp today, this pillow was finished.  So this camper finished a skirt and made a pillow - whew!

Image


I think she accomplished her goal - to cover her bed in pillows!  Look at that happy face, I can't wait to see what she creates next week!

Day Four of Sewing Camp

The kids are really going now.  They know how the machines work, they know how the iron works, and they know how to finish things off by hand.

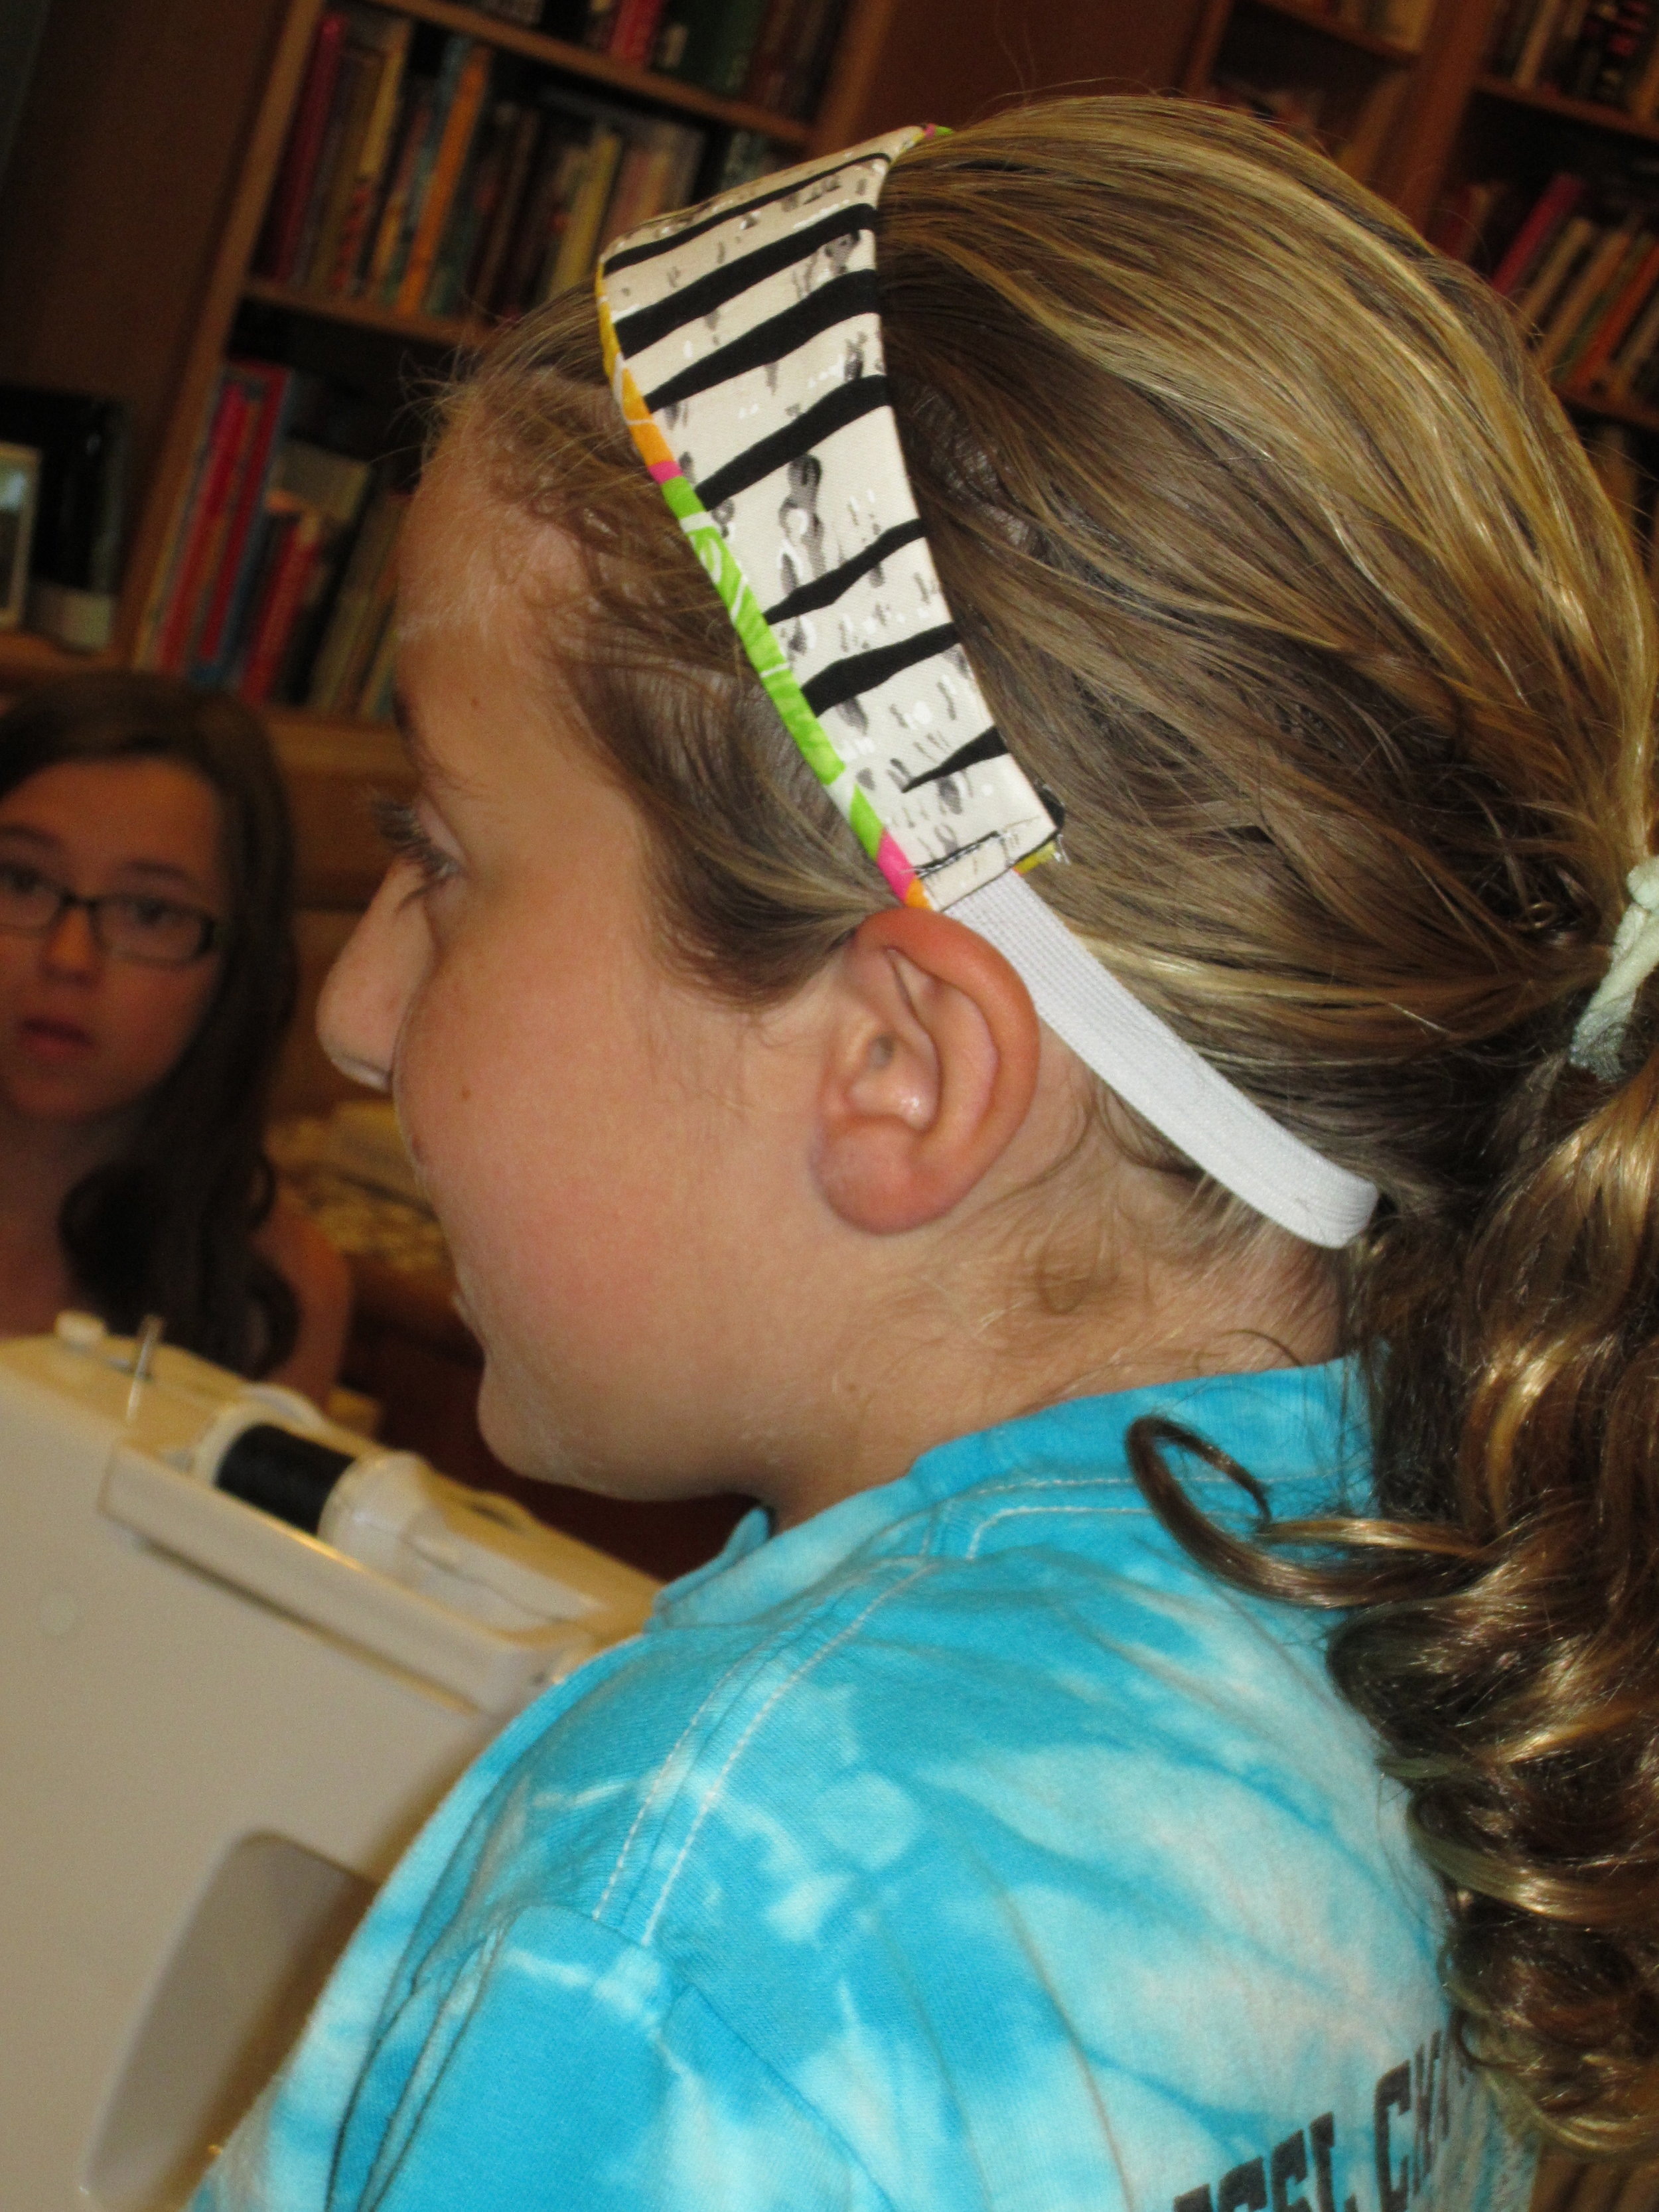
IMG_3665More headbands!  These are great projects because they are somewhat simple, but yet the kids  get to work with stabilizer, turning a fabric tube and inserting elastic.  

IMG_3666Ironing...

IMG_3667Ironing...

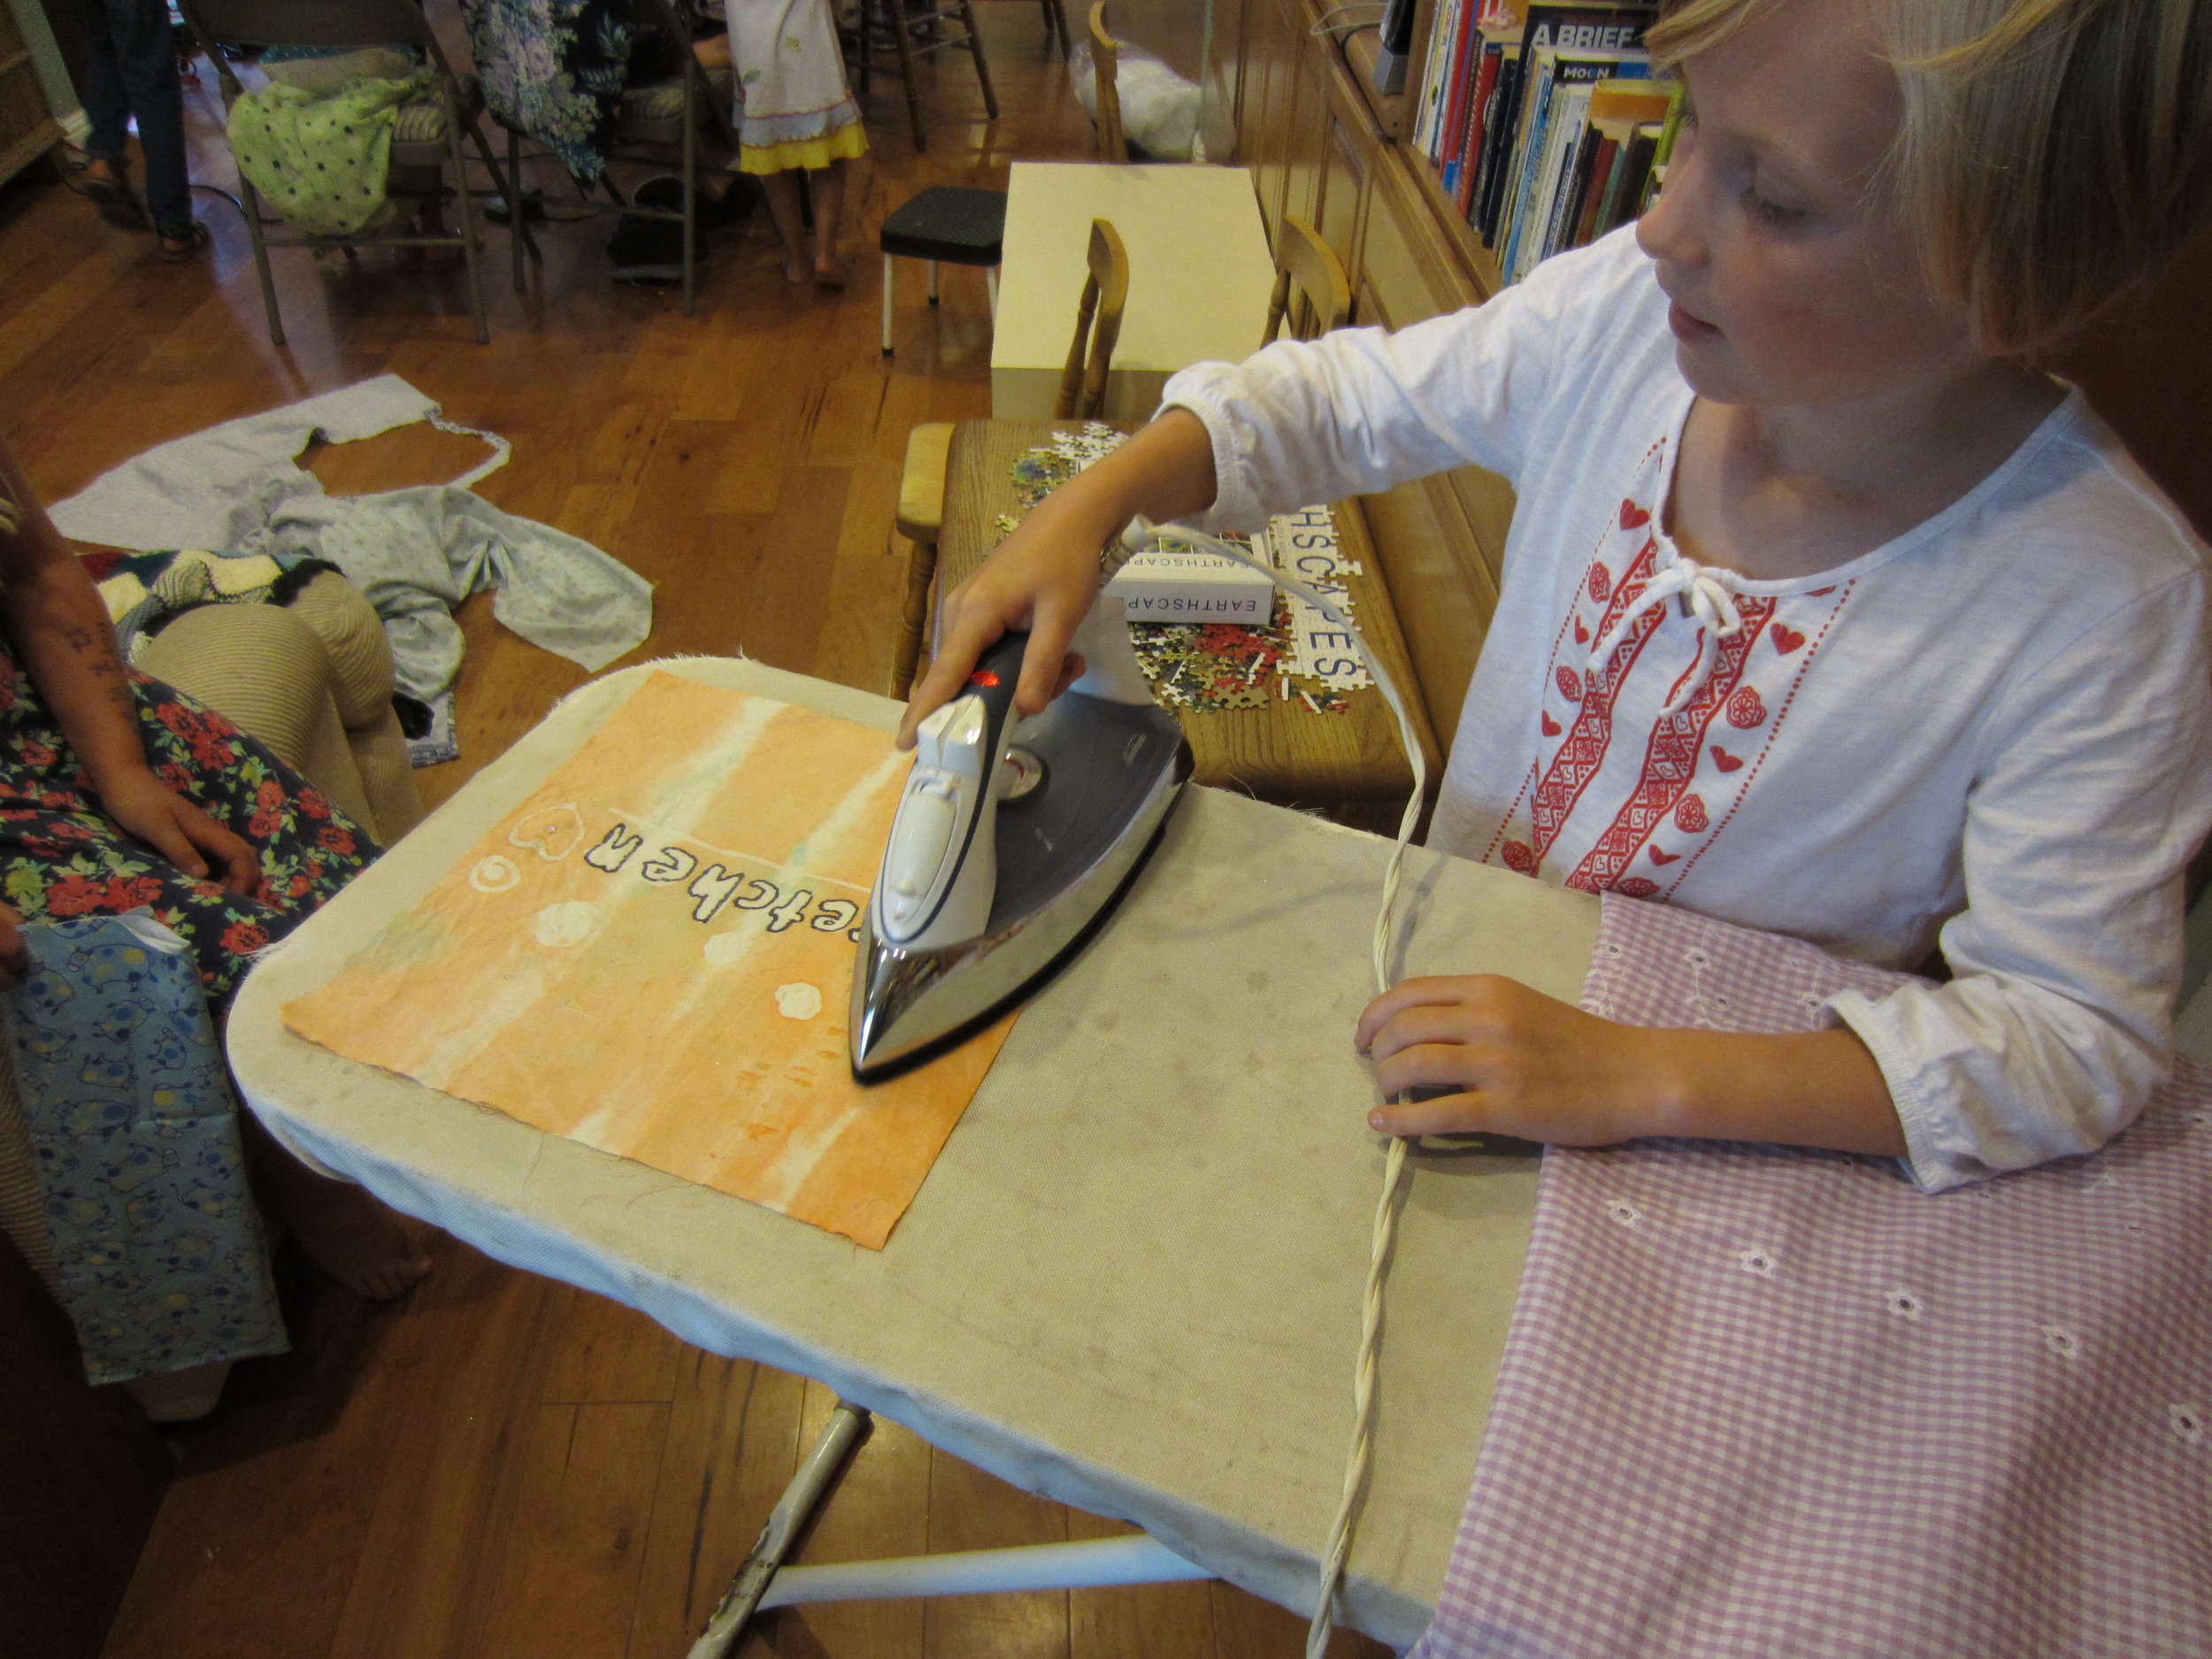
IMG_3671And more ironing!  All the kids ironed today.  This camper is almost done with her pillow case.

IMG_3668Almost done!

IMG_3669This camper has made so many different things.  Here she is making a tiered skirt.  She made great progress and now only has the waistband and hem to finish.  Piece of cake for her!

IMG_3670After each seam is sewn, ironing is needed to make everything nice and neat.

IMG_3672Finished pillow case.  I can't believe how excited they are about these pillow cases!

IMG_3673Look at all that loot!  Once these campers figured everything out, there was no stopping them.

IMG_3676A fabulous bag completely designed by this 2nd grade camper.  She came to camp this morning with an idea, created a pattern, and made her bag.  Truly an example of how your only limitation is your imagination!

IMG_3677Batik pillow!

IMG_3678More Batik pillows.  These were so fun to create!

IMG_3679Even my own kids got in on the fun.

IMG_3656

IMG_3659

IMG_3660I love the embroidery on this one!

Let's see what new things are created tomorrow!

Awesome students!

Today started bright and early with the cutting of fabric for pillow cases.ImageThe kids get to pick their own fabric and learn how to use a pattern.ImageThey get so excited when they find that "perfect" fabric for their project.ImageThese kids come and get right to work.ImageEach day we take a mid-morning break.  The kids love to have their snack and sit and chat.ImageHere we are finishing up our batik squares of fabric.  Tomorrow we will be sewing them into pillows.ImageThese two girls are putting the finishing touches on their batiks.  Their designs look great!ImageOne of our youngest students learning how to control her machine.  She did so wonderfully!ImageThese two were so excited to finally start their first machine sewn projects.  Here they have picked out their fabric for a sachet each and are learning to use a pattern, put right sides together and how to pin appropriately.ImageOf course, using an iron is a must!!  It's also a life long skill :o)IMG_3627 Working, working, working...IMG_3628 Everyone was very busy creating.IMG_3629 The student in the foreground finished a reversible headband and is shown here working on cutting out fabric for a pillow case.  The student in the background finished up her sachet and is now working on a reversible headband.IMG_3630She finished her pillow case!!IMG_3631 IMG_3632Cutting stabilizer for a headband.IMG_3633Another finished pillowcase!  Look at that happy face :o)IMG_3635Working and chatting - the best way to create.IMG_3636Putting the finishing touches on her sachet.IMG_3641Look at that proud face!  She finished her headband!IMG_3642Another finished sachet.IMG_3643This student finished her sachet and started a headband.IMG_3644She finished her sachet and is bringing it home to hang in her room.IMG_3645She is so happy!!  She sewed this on the machine all by herself, closed the opening used to stuff it and then sewed on the button.  The only assistance needed was help to tie one knot.  Impressive!IMG_3646Another finished headband.IMG_3647A bag created from imagination.IMG_3648Another free form bag!IMG_3649Love that creativity!As you can see, all these students are so amazing!!  Only a few days sewing and look what they can create - such fast learners with such great imaginations :o)  I can't wait to see what tomorrow will hold.

Today was great!

Today was even better than yesterday, if you can believe that!  Most of the students finished their pincushions and started sewing on the machines.

Image


It was so fun to see the fabrics and embellishments that were chosen.


Image


I found it interesting that chickens were the most popular, followed closely by apples.  I had expected the bear to be the most popular.  


Image

This chicken was made by an incoming 2nd grader. 

Image


One student couldn't make it yesterday, but worked very hard today to make her needle book (pictured above, isn't is so cute?!), her pincushion and by the end of camp today, she was ready to make a lavender sachet on the sewing machine.

Image


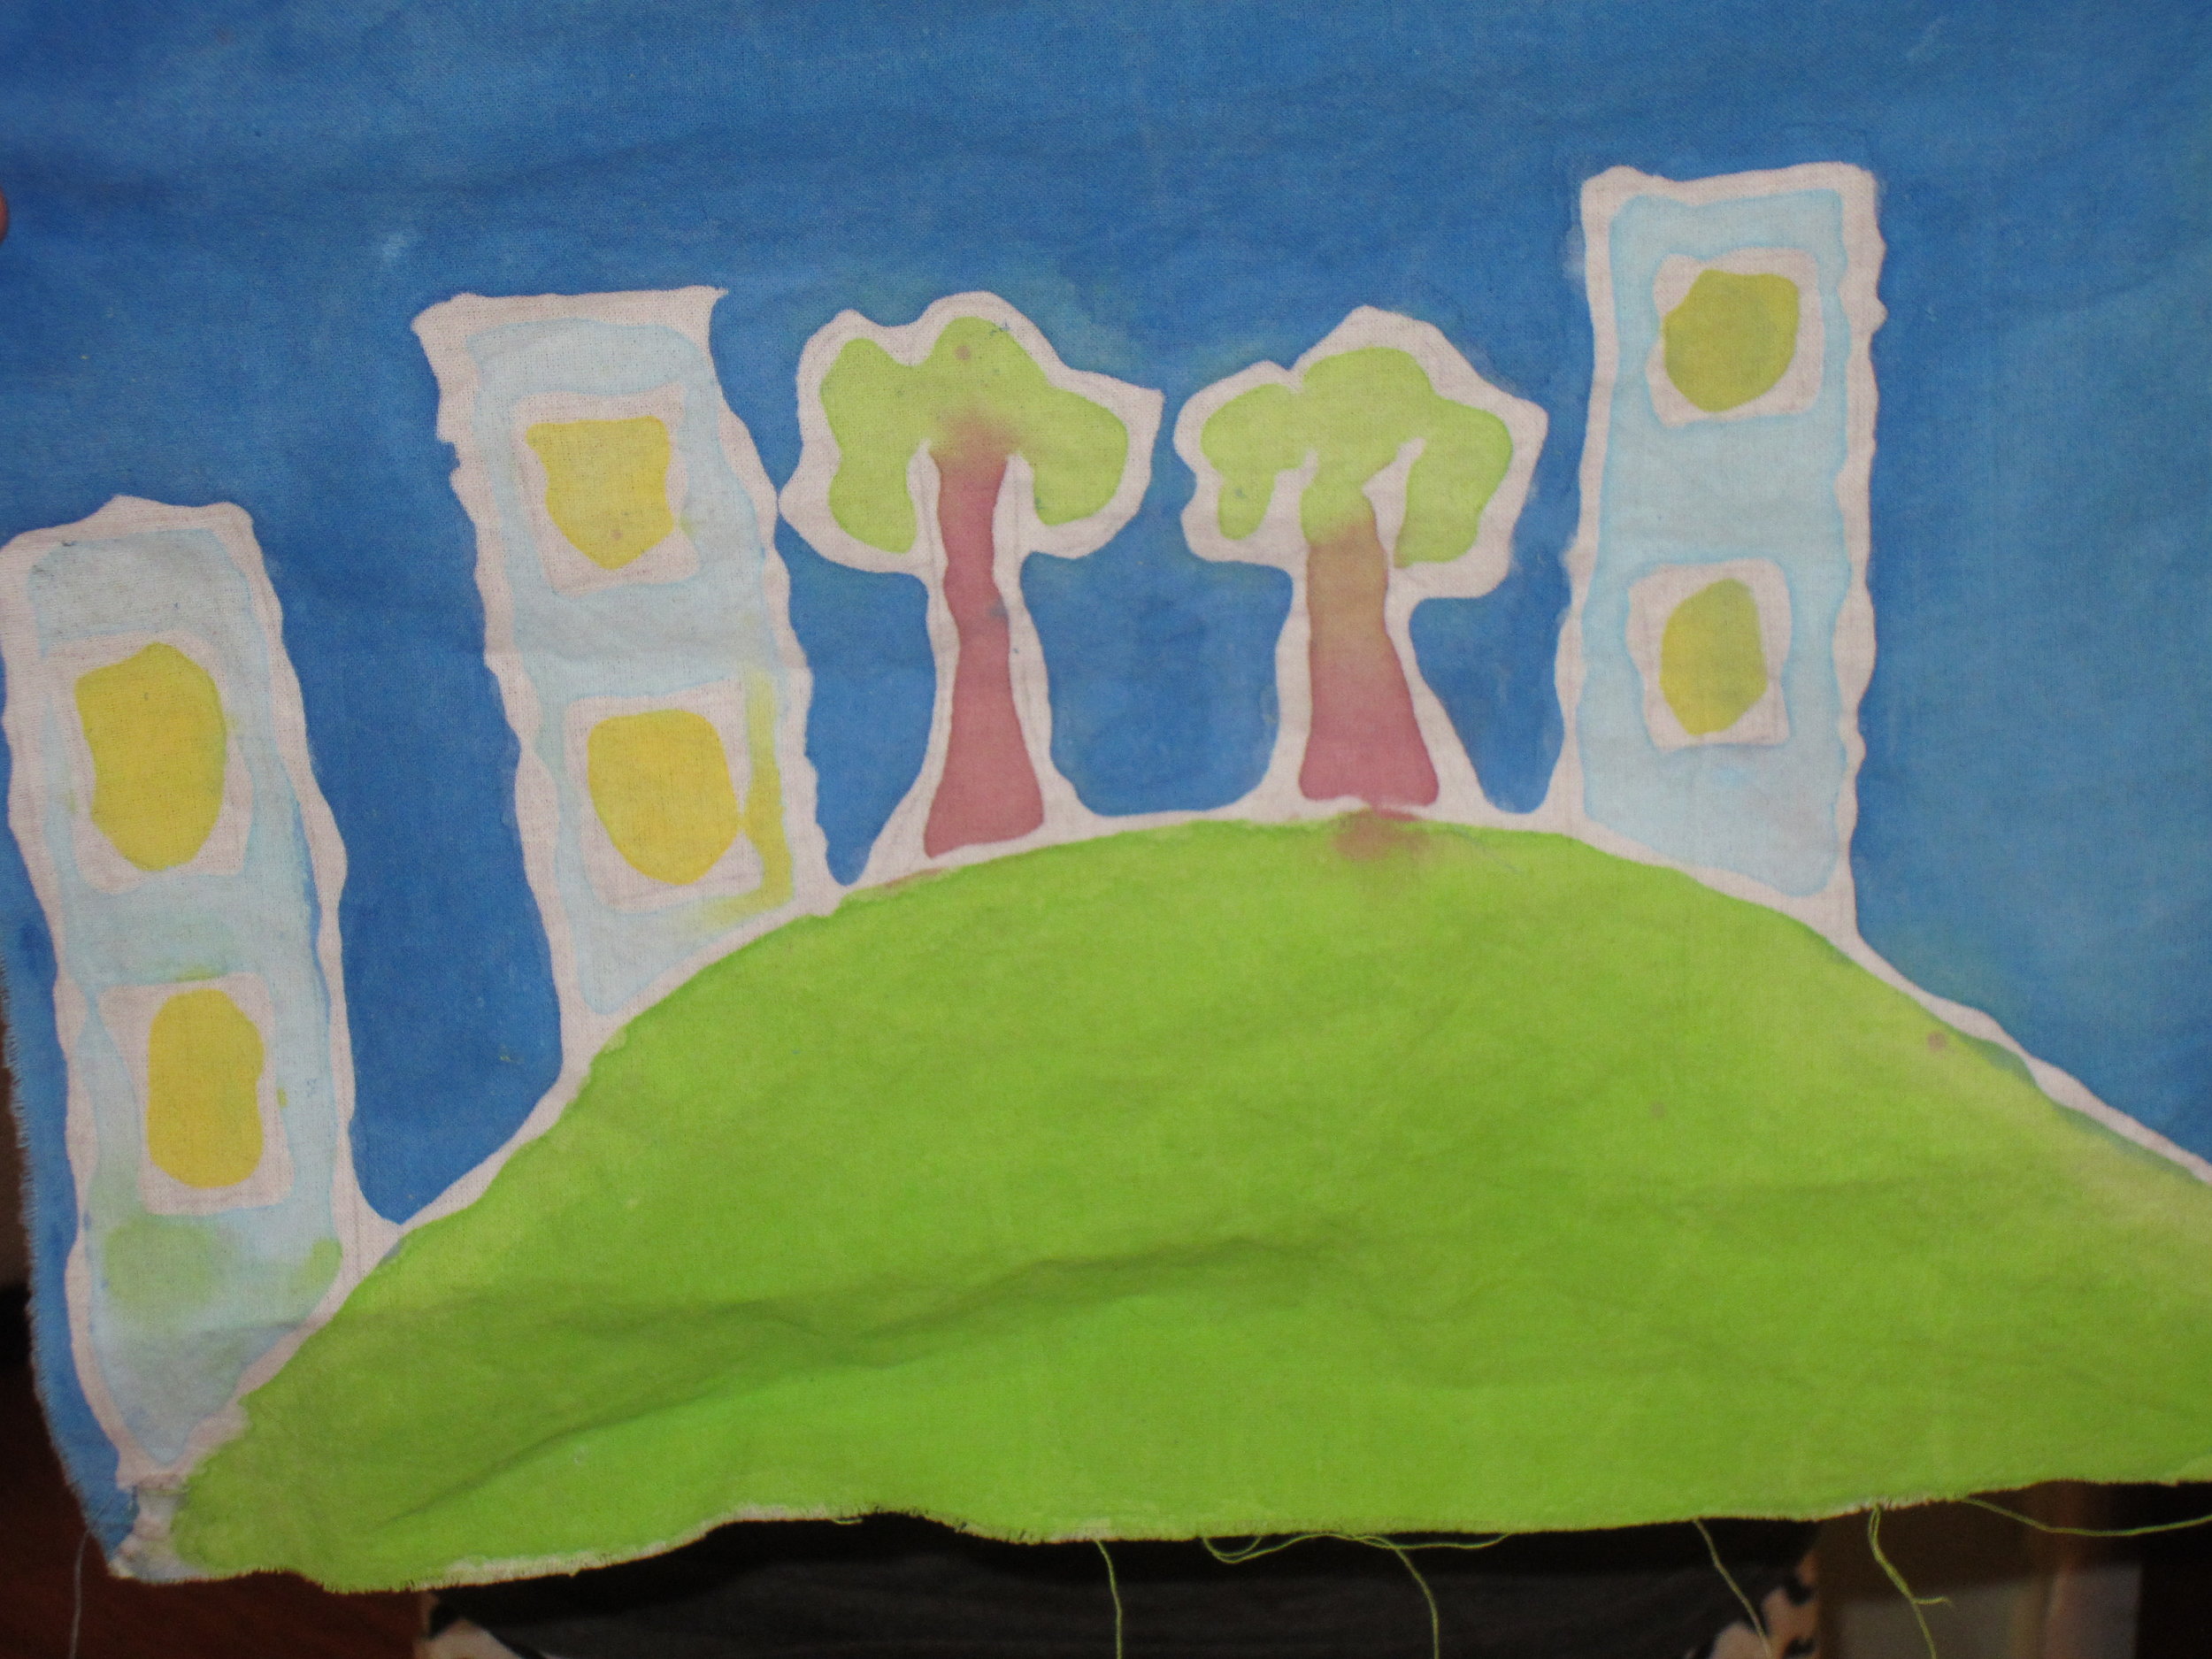
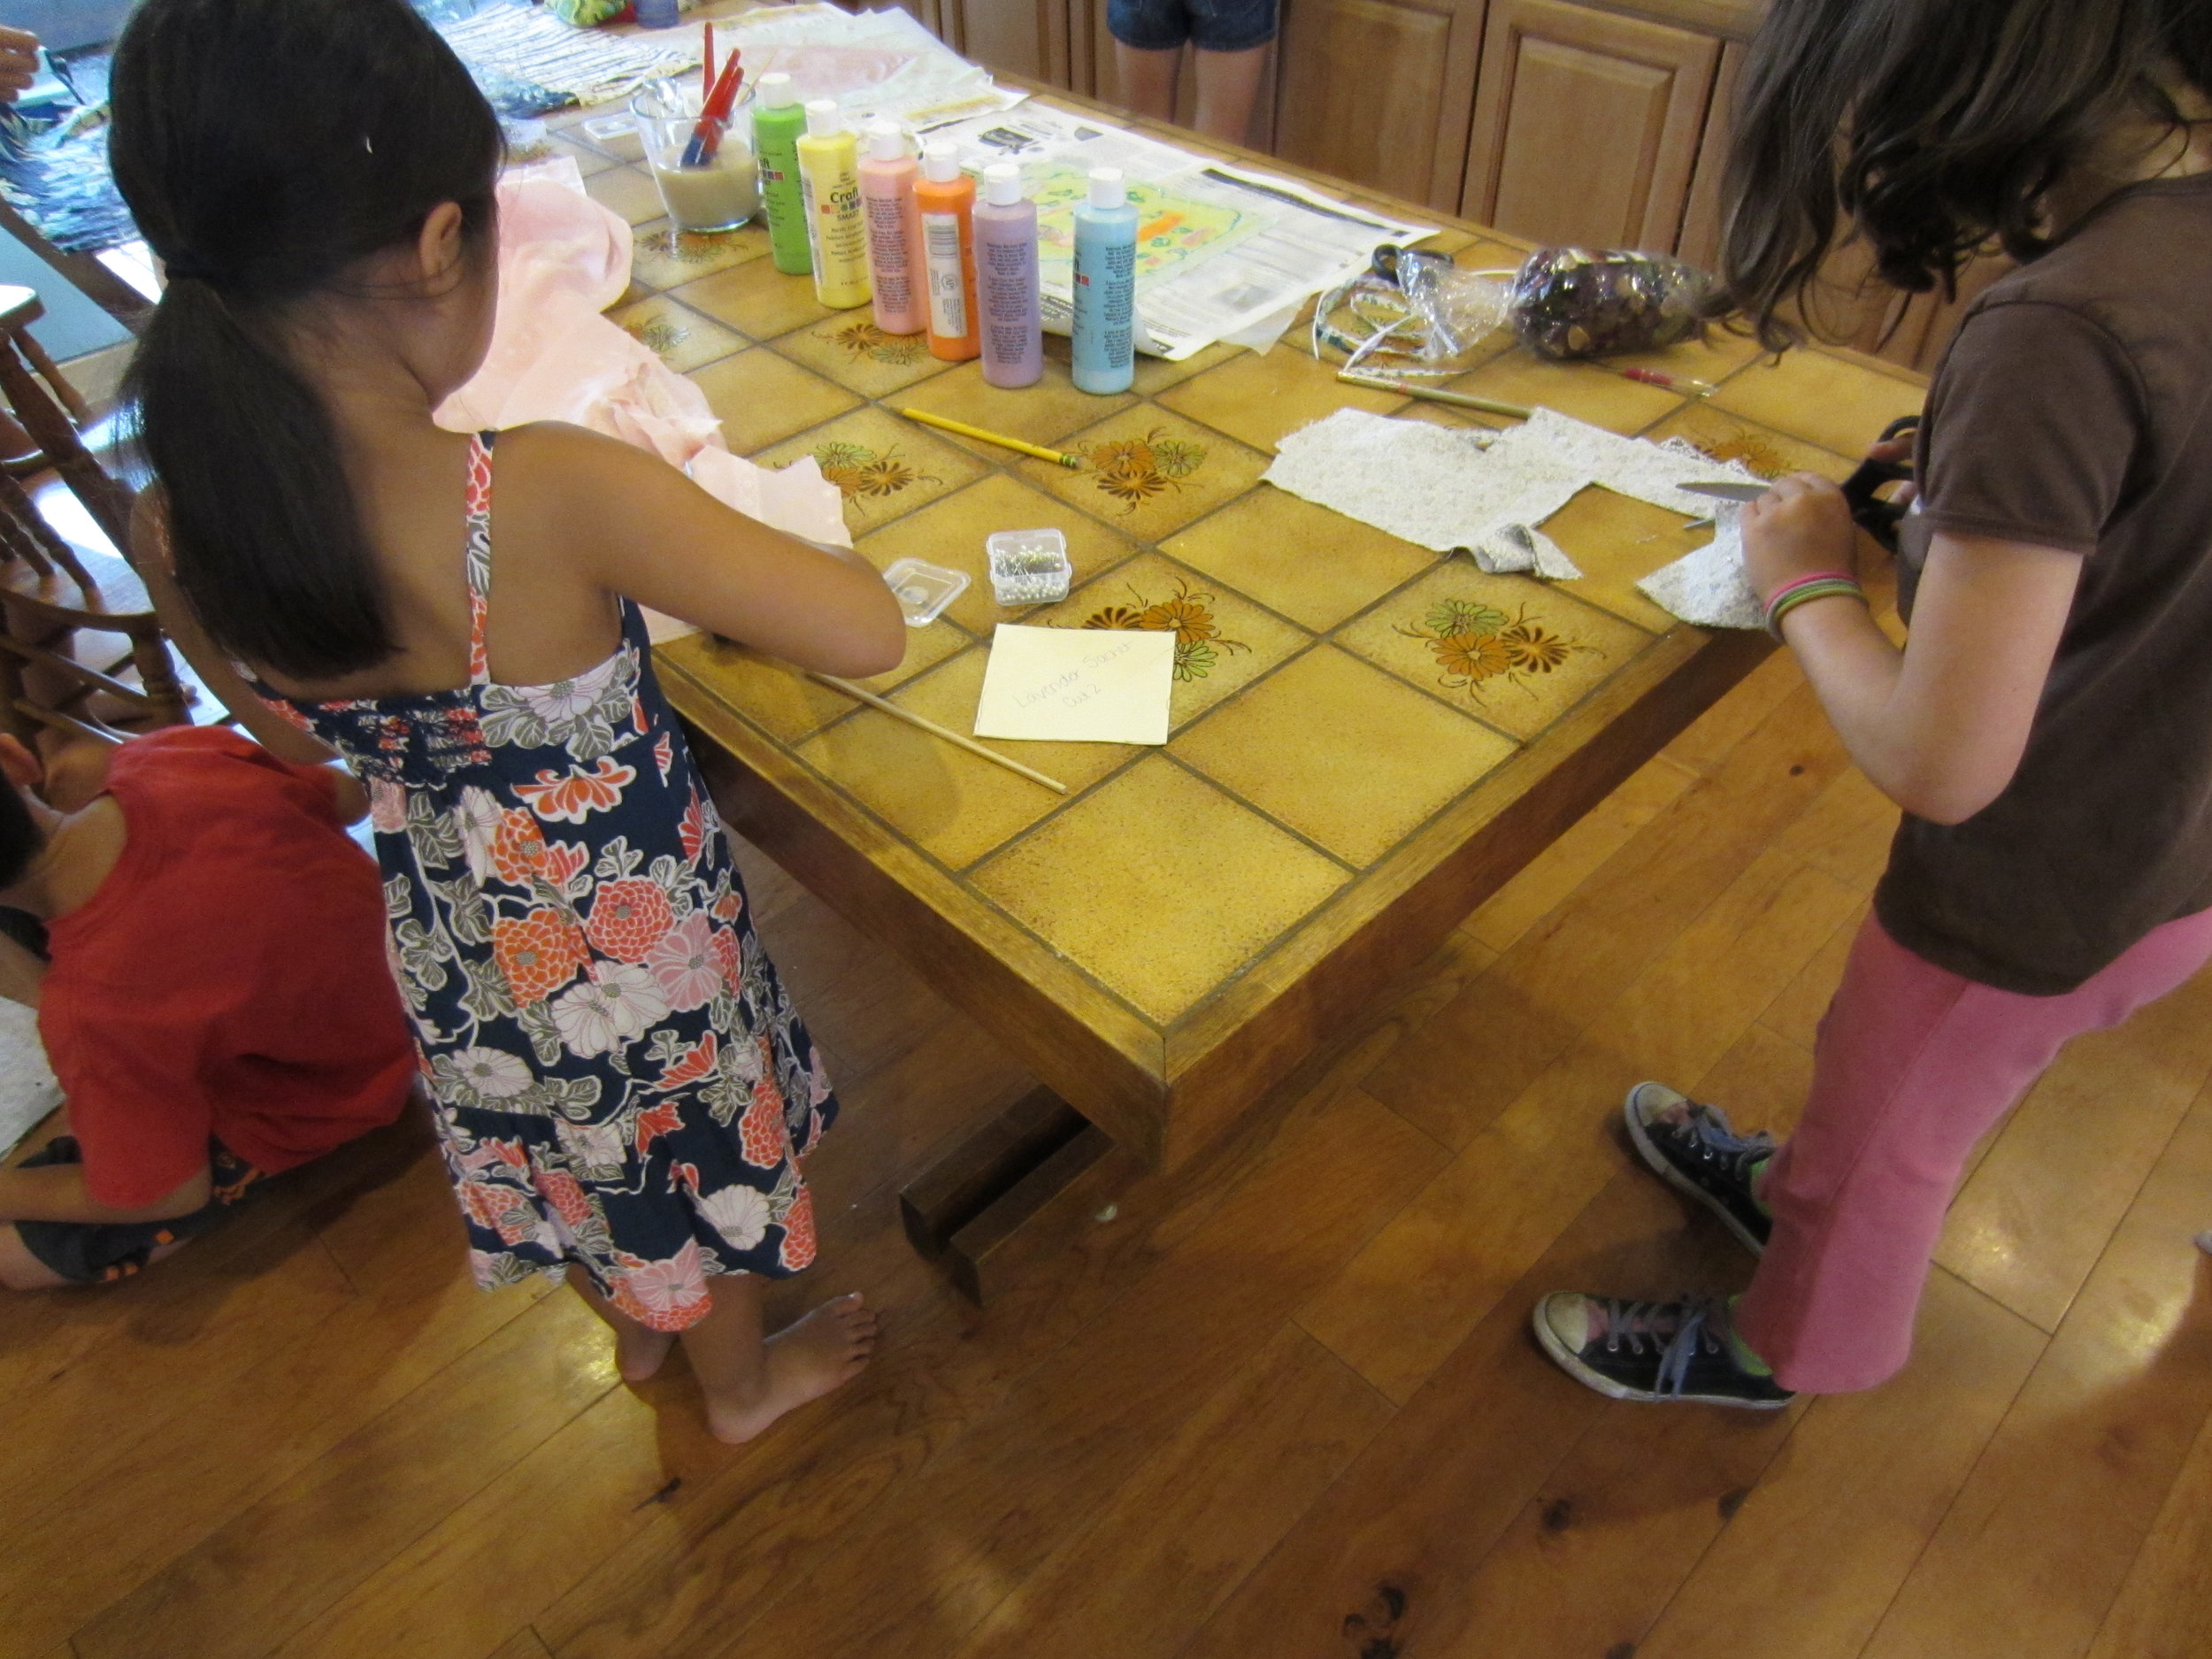
Then we worked on our batik squares.  They used paint with water mixed in to create a wash to color in their designs.  Again, it was so interesting to see what every student decided to do.

Image


Image


Image


One student decided to do some splatter paint on hers.

Image


And others followed suit - this gave such a cute added element to their fabric squares.

Image


I put all the squares outside to dry more quickly and here they all are - such a creative group of kids!!

Image


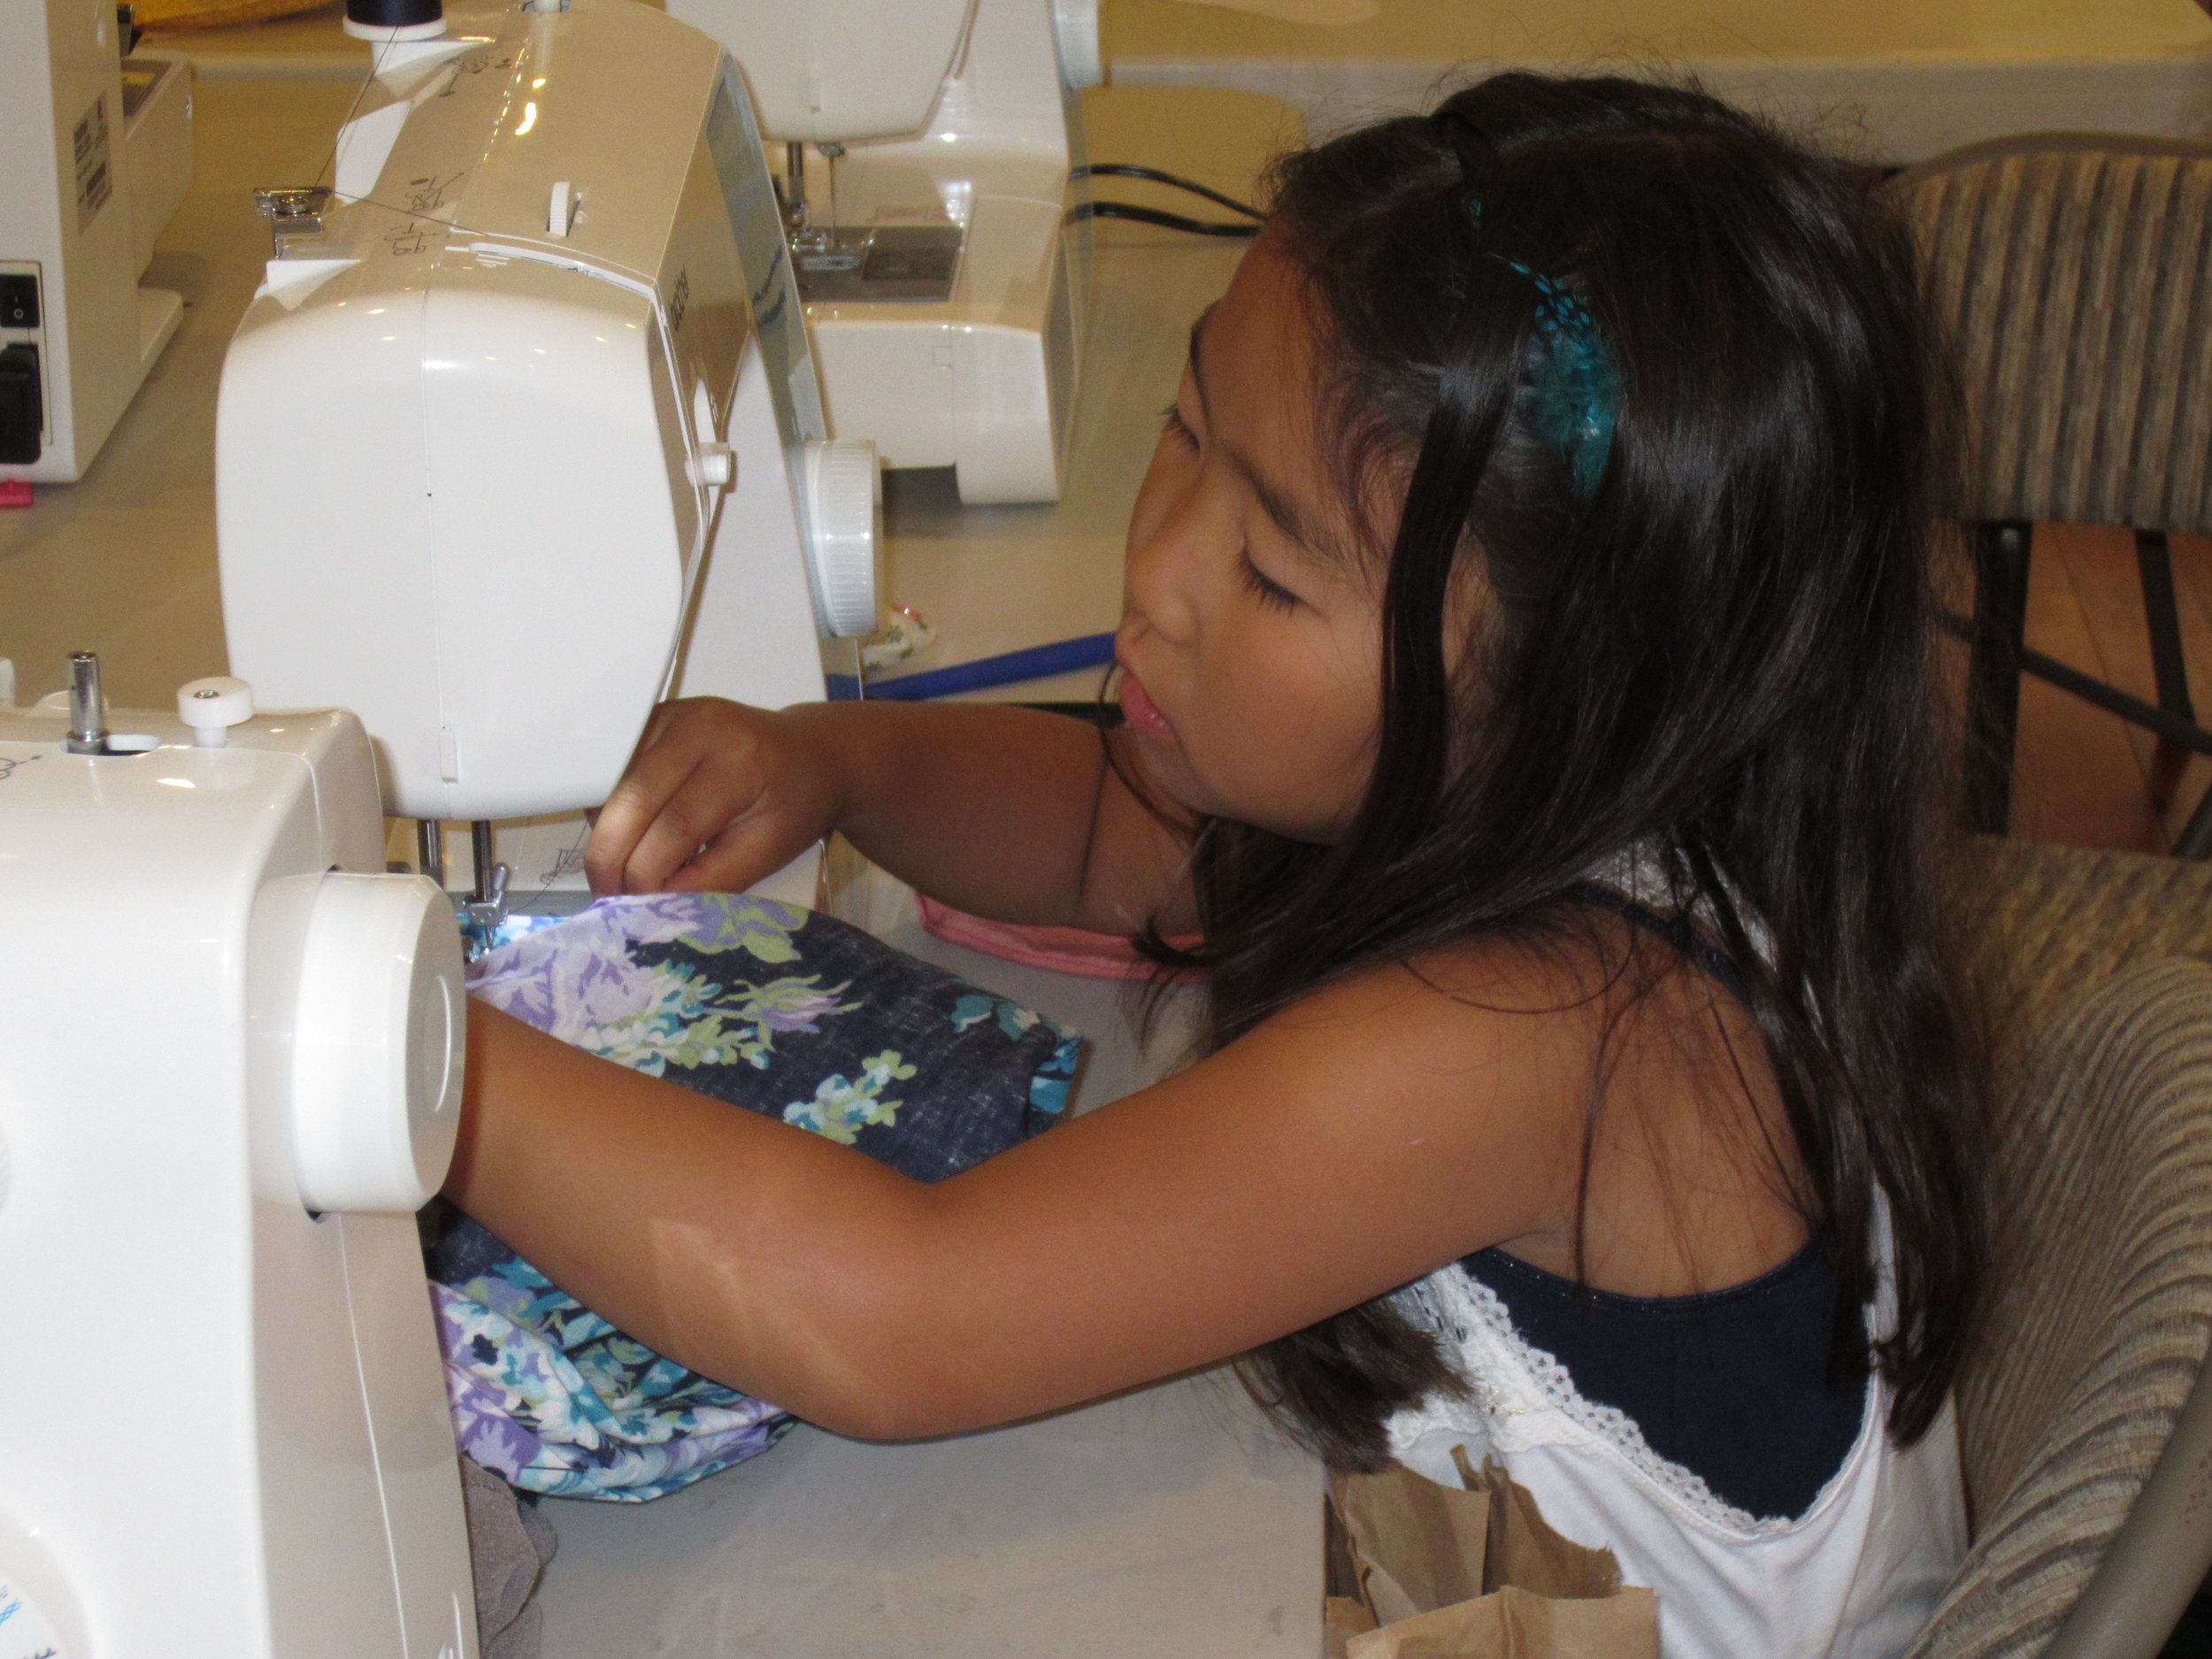
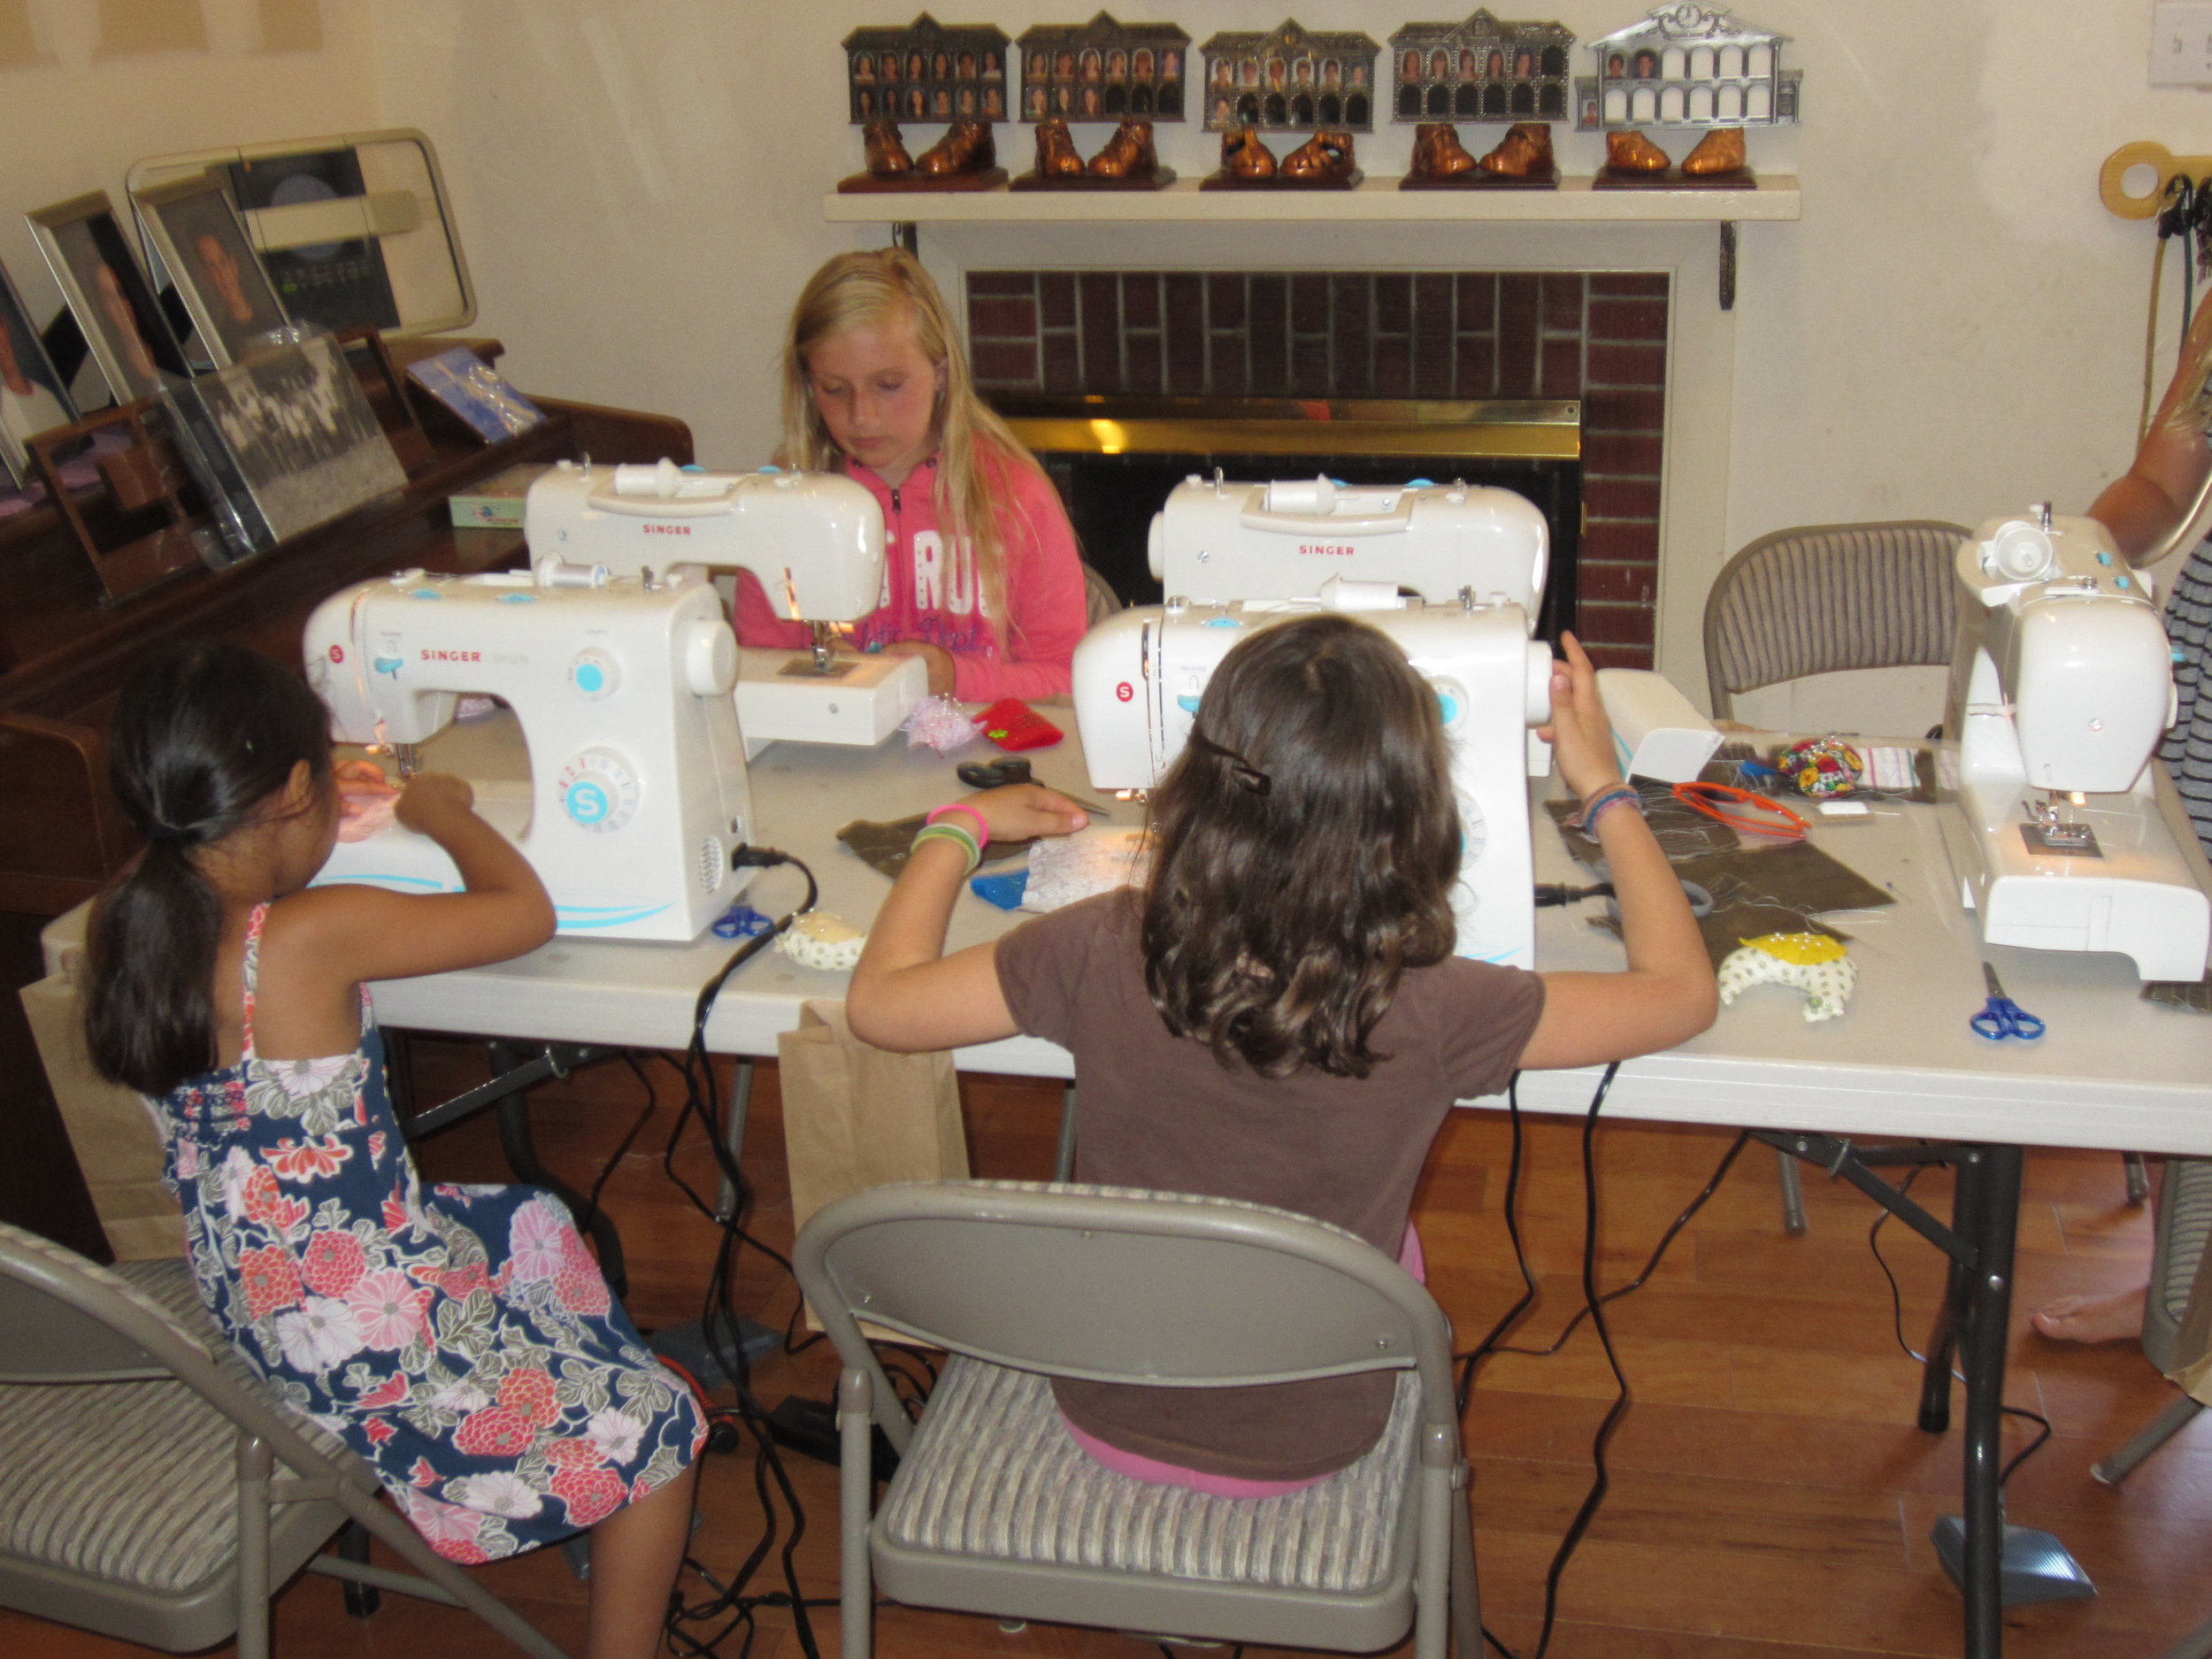
Then onto the most exciting part of camp so far for these kids - using the machines!  They couldn't wait!

Image


First, I had them practice on precut squares of fabric to get used to the machines and figure out how to control both the speed of the machine and the direction of the fabrics.  In no time at all, they had mastered this part.

Image


Almost all the students worked on the machines today - tomorrow the last two will be up and running.  I know they are chomping at the bit to get started.

Image


Tracing the pattern for a lavender sachet.

Image


Here are some of the finished sachets.  We didn't use lavender, we used rose and berry scented potpourri and they smell so nice!

Image


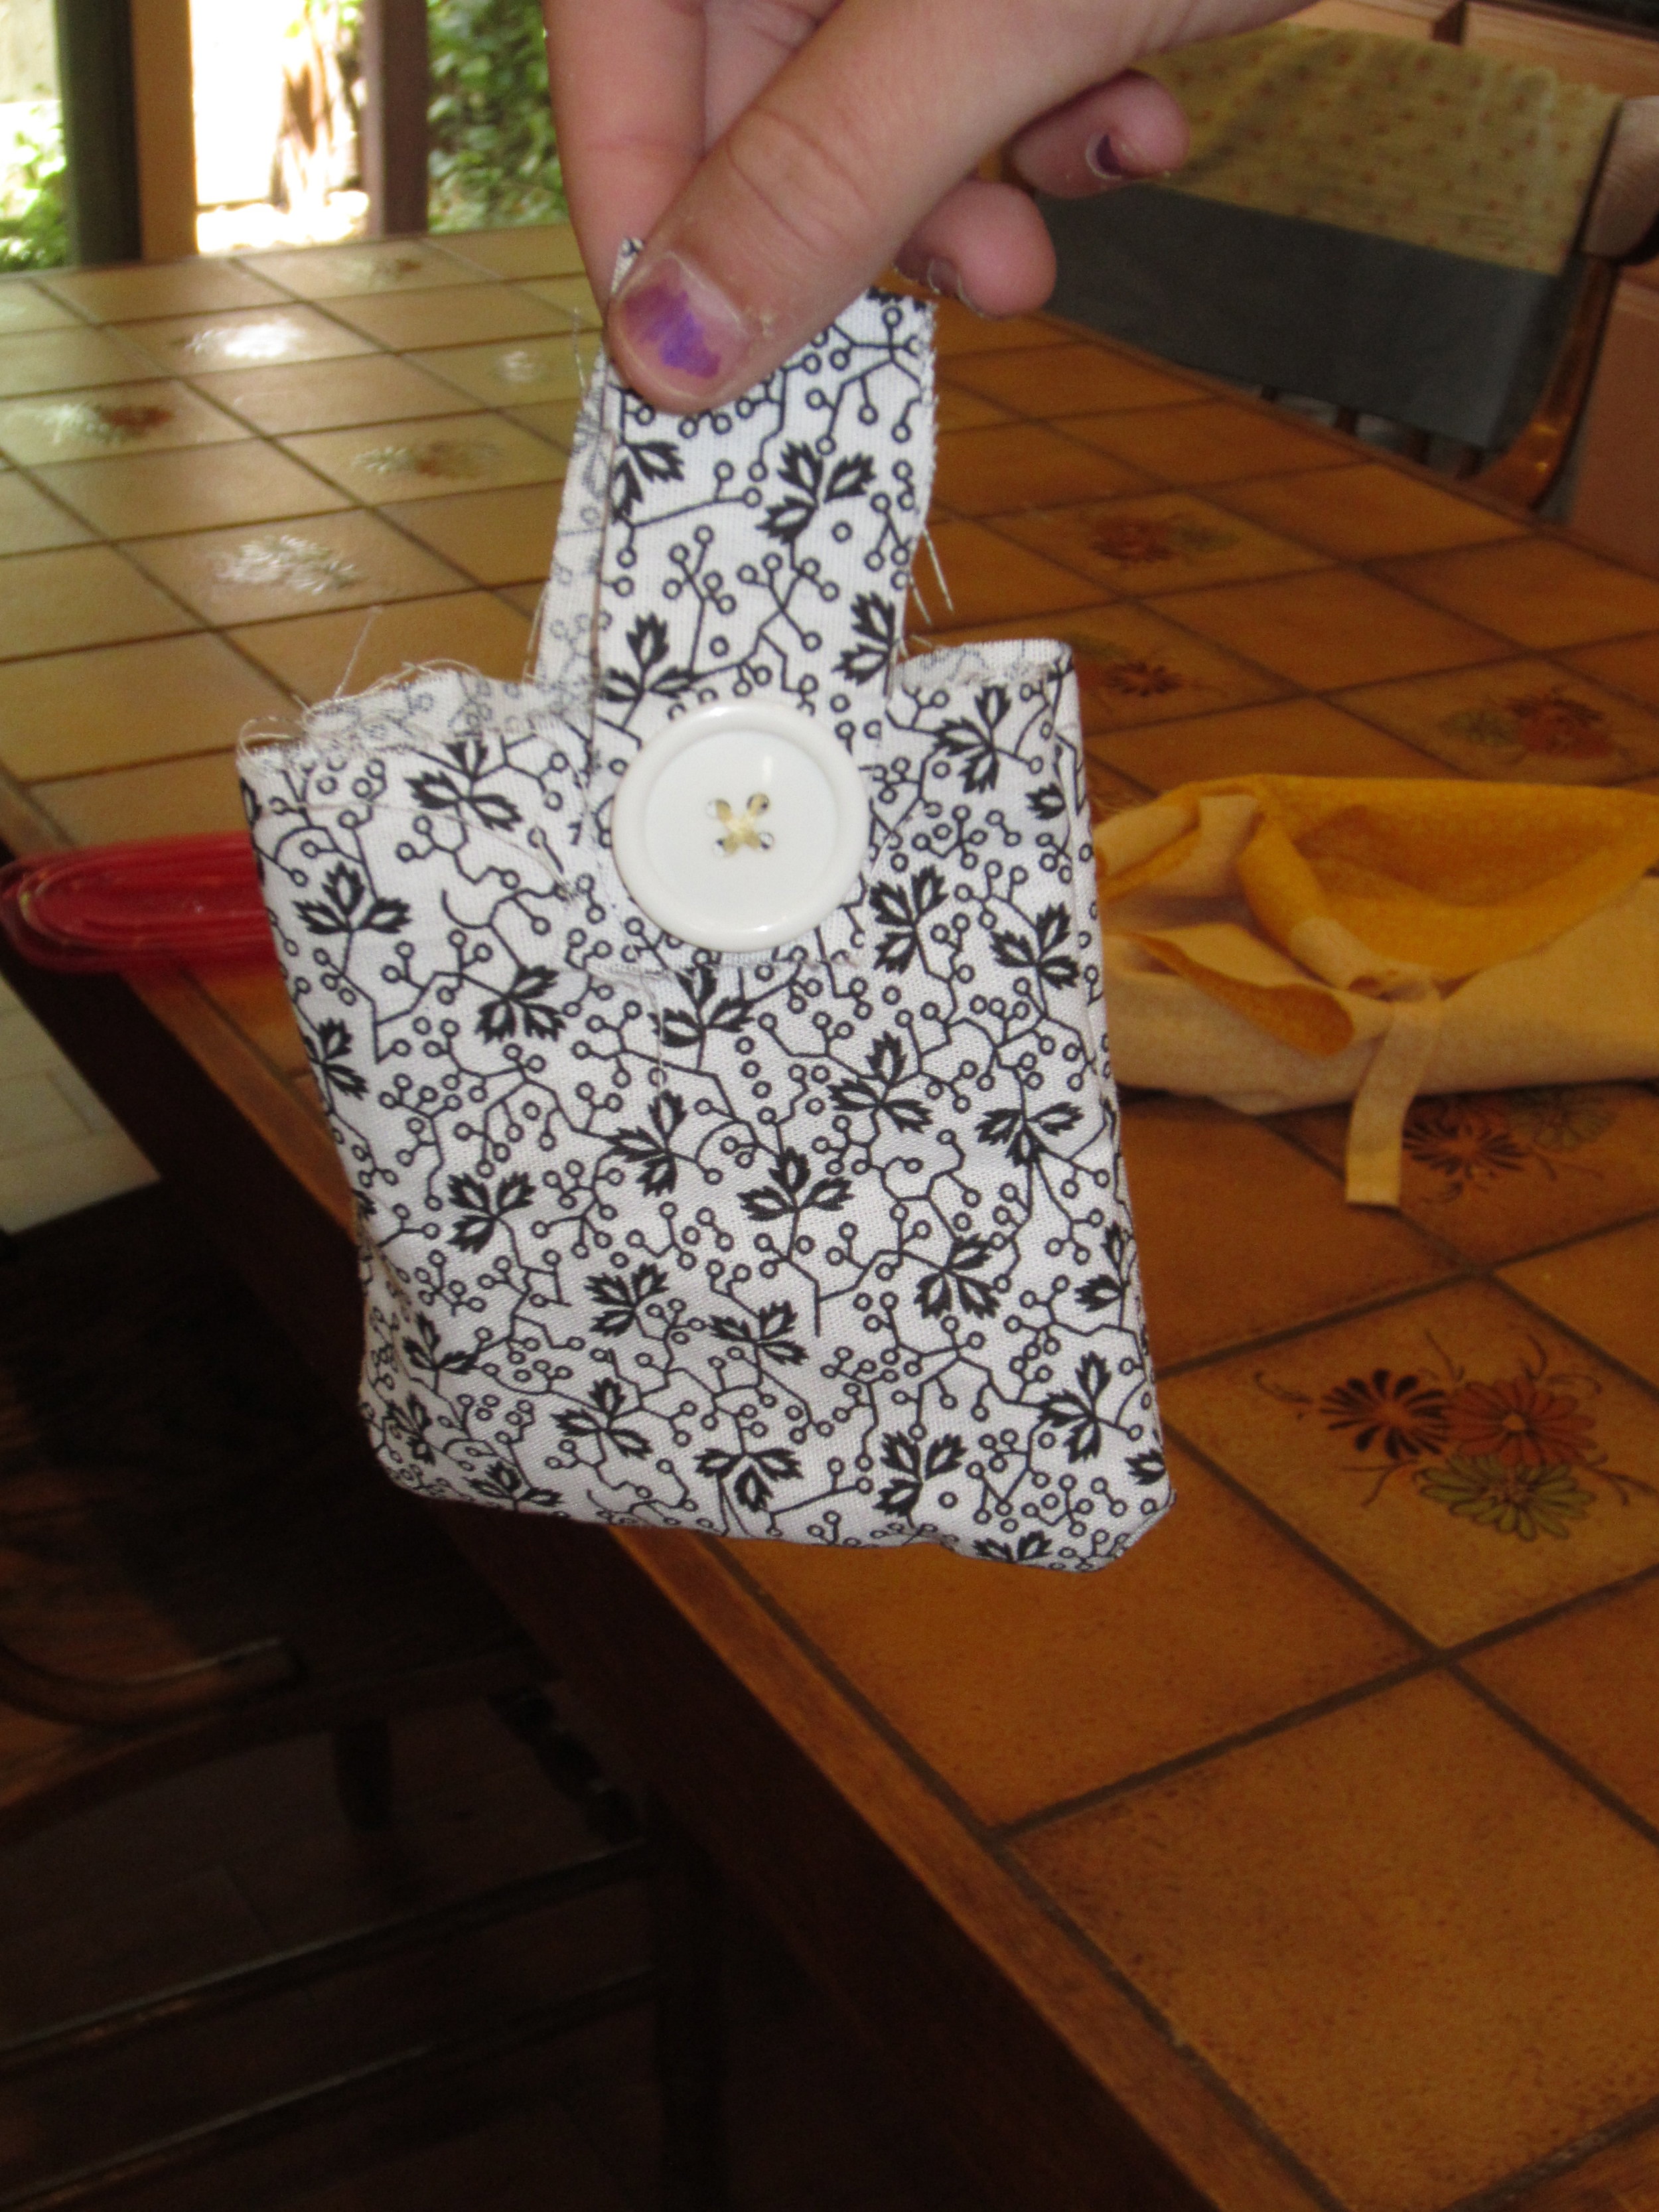
Each sachet combined machine sewing with hand sewing.  The students had to keep a straight line sewing up the seams on this sachet as well as know how to turn corners.  After the sachet was sewn with a small opening left to turn and stuff, they needed to use their new found hand sewing skills to close the sachet and add a button for embellishment.  While this looks like a simple project, many different skills are needed.

Image


This is a reversible headband that one of my students started.  She will definitely be able to finish this tomorrow and then will start something else.


These kids are totally amazing!!  I am so impressed by what they are able to do after just two days!!  See you all tomorrow!
Fabulous First Day of Sewing Camp

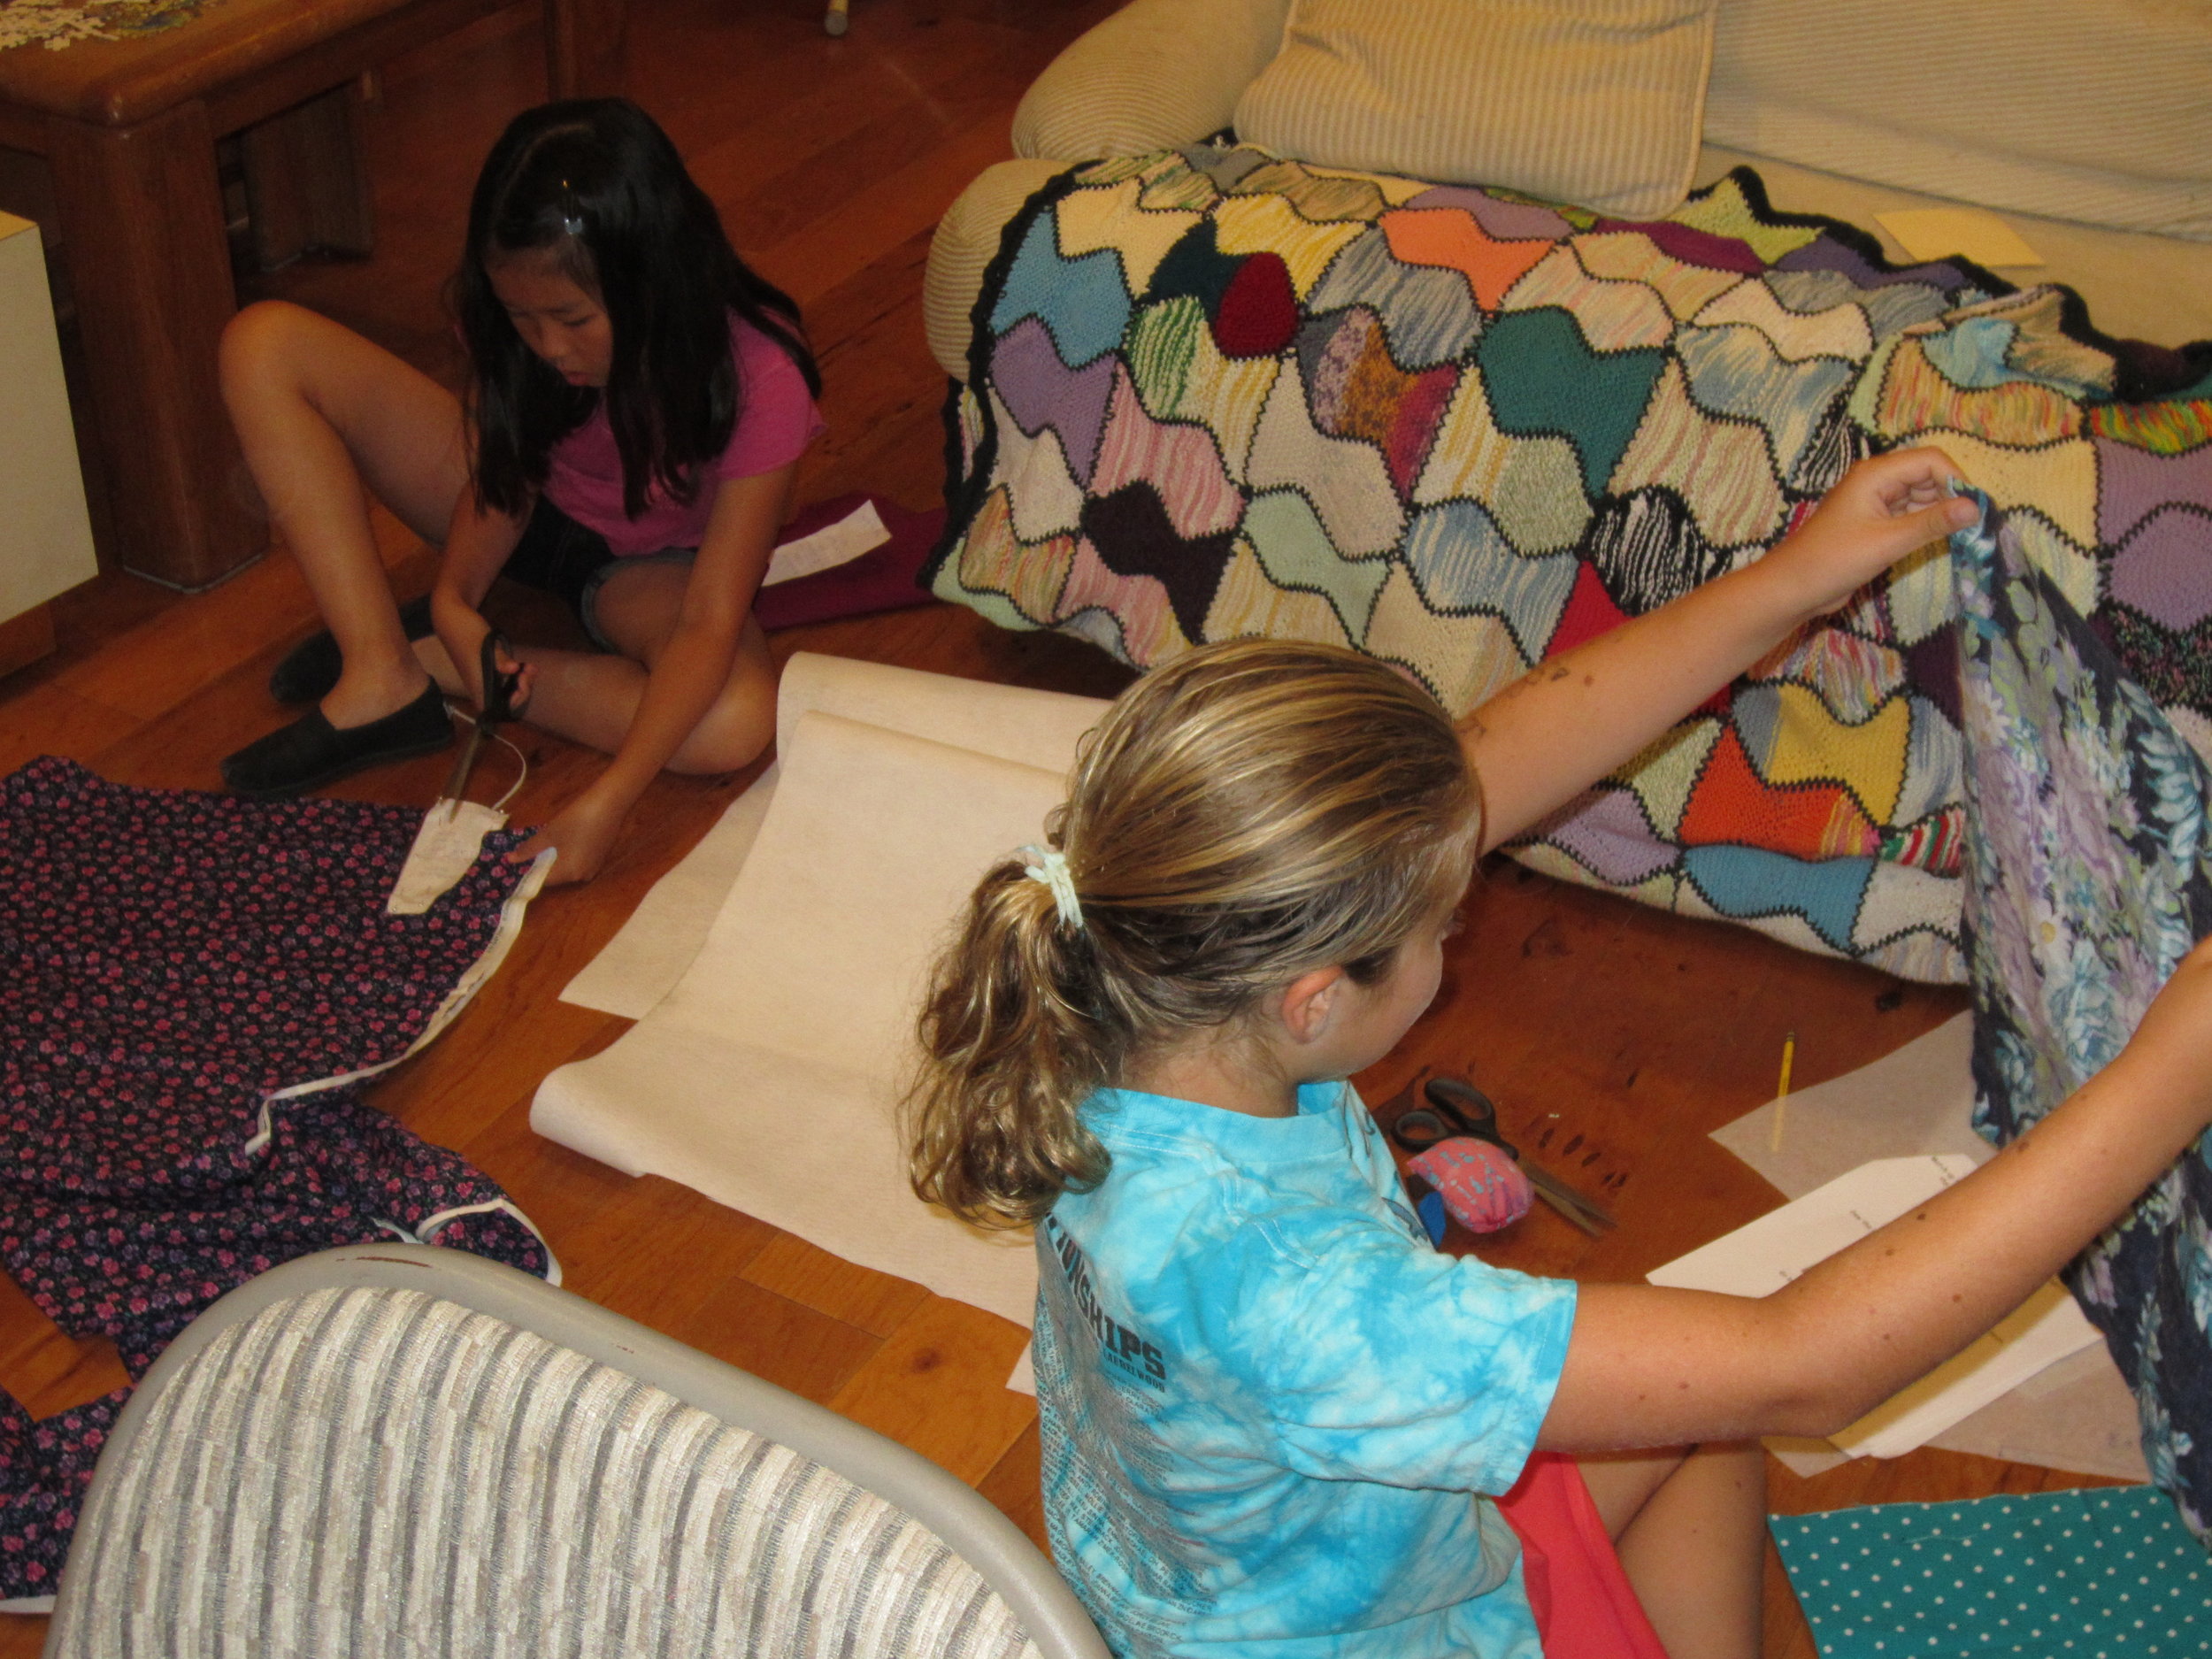
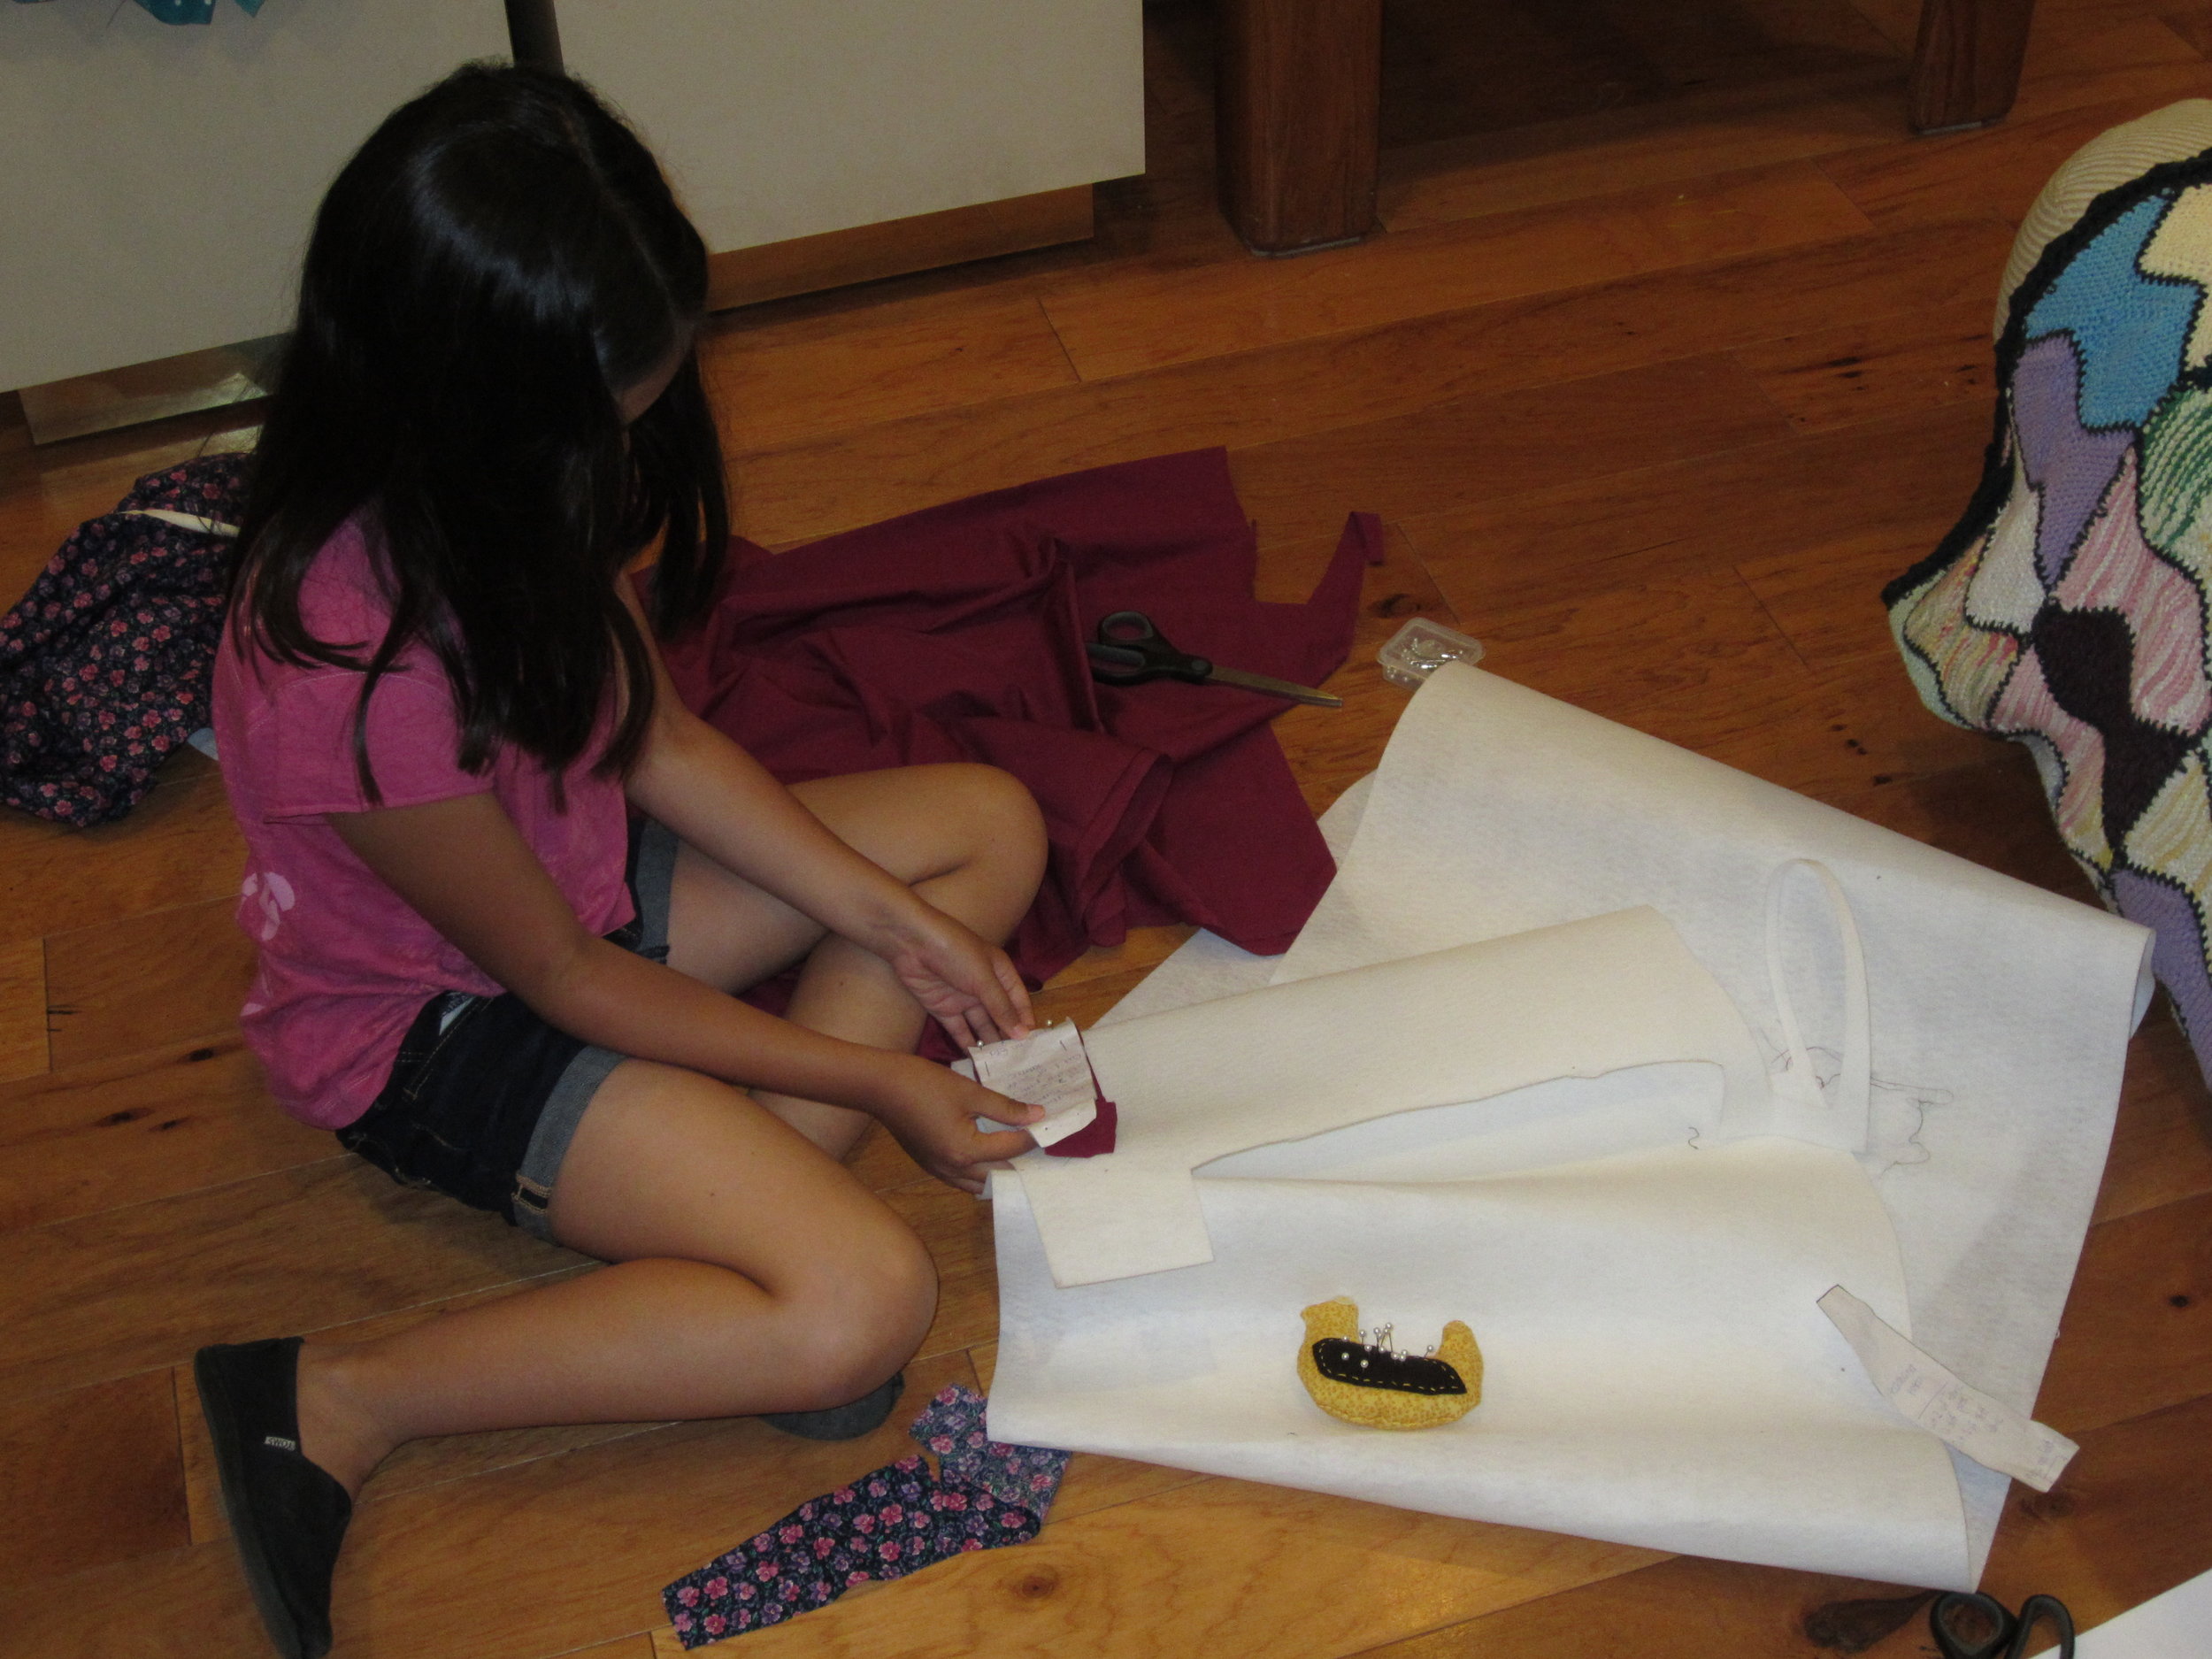
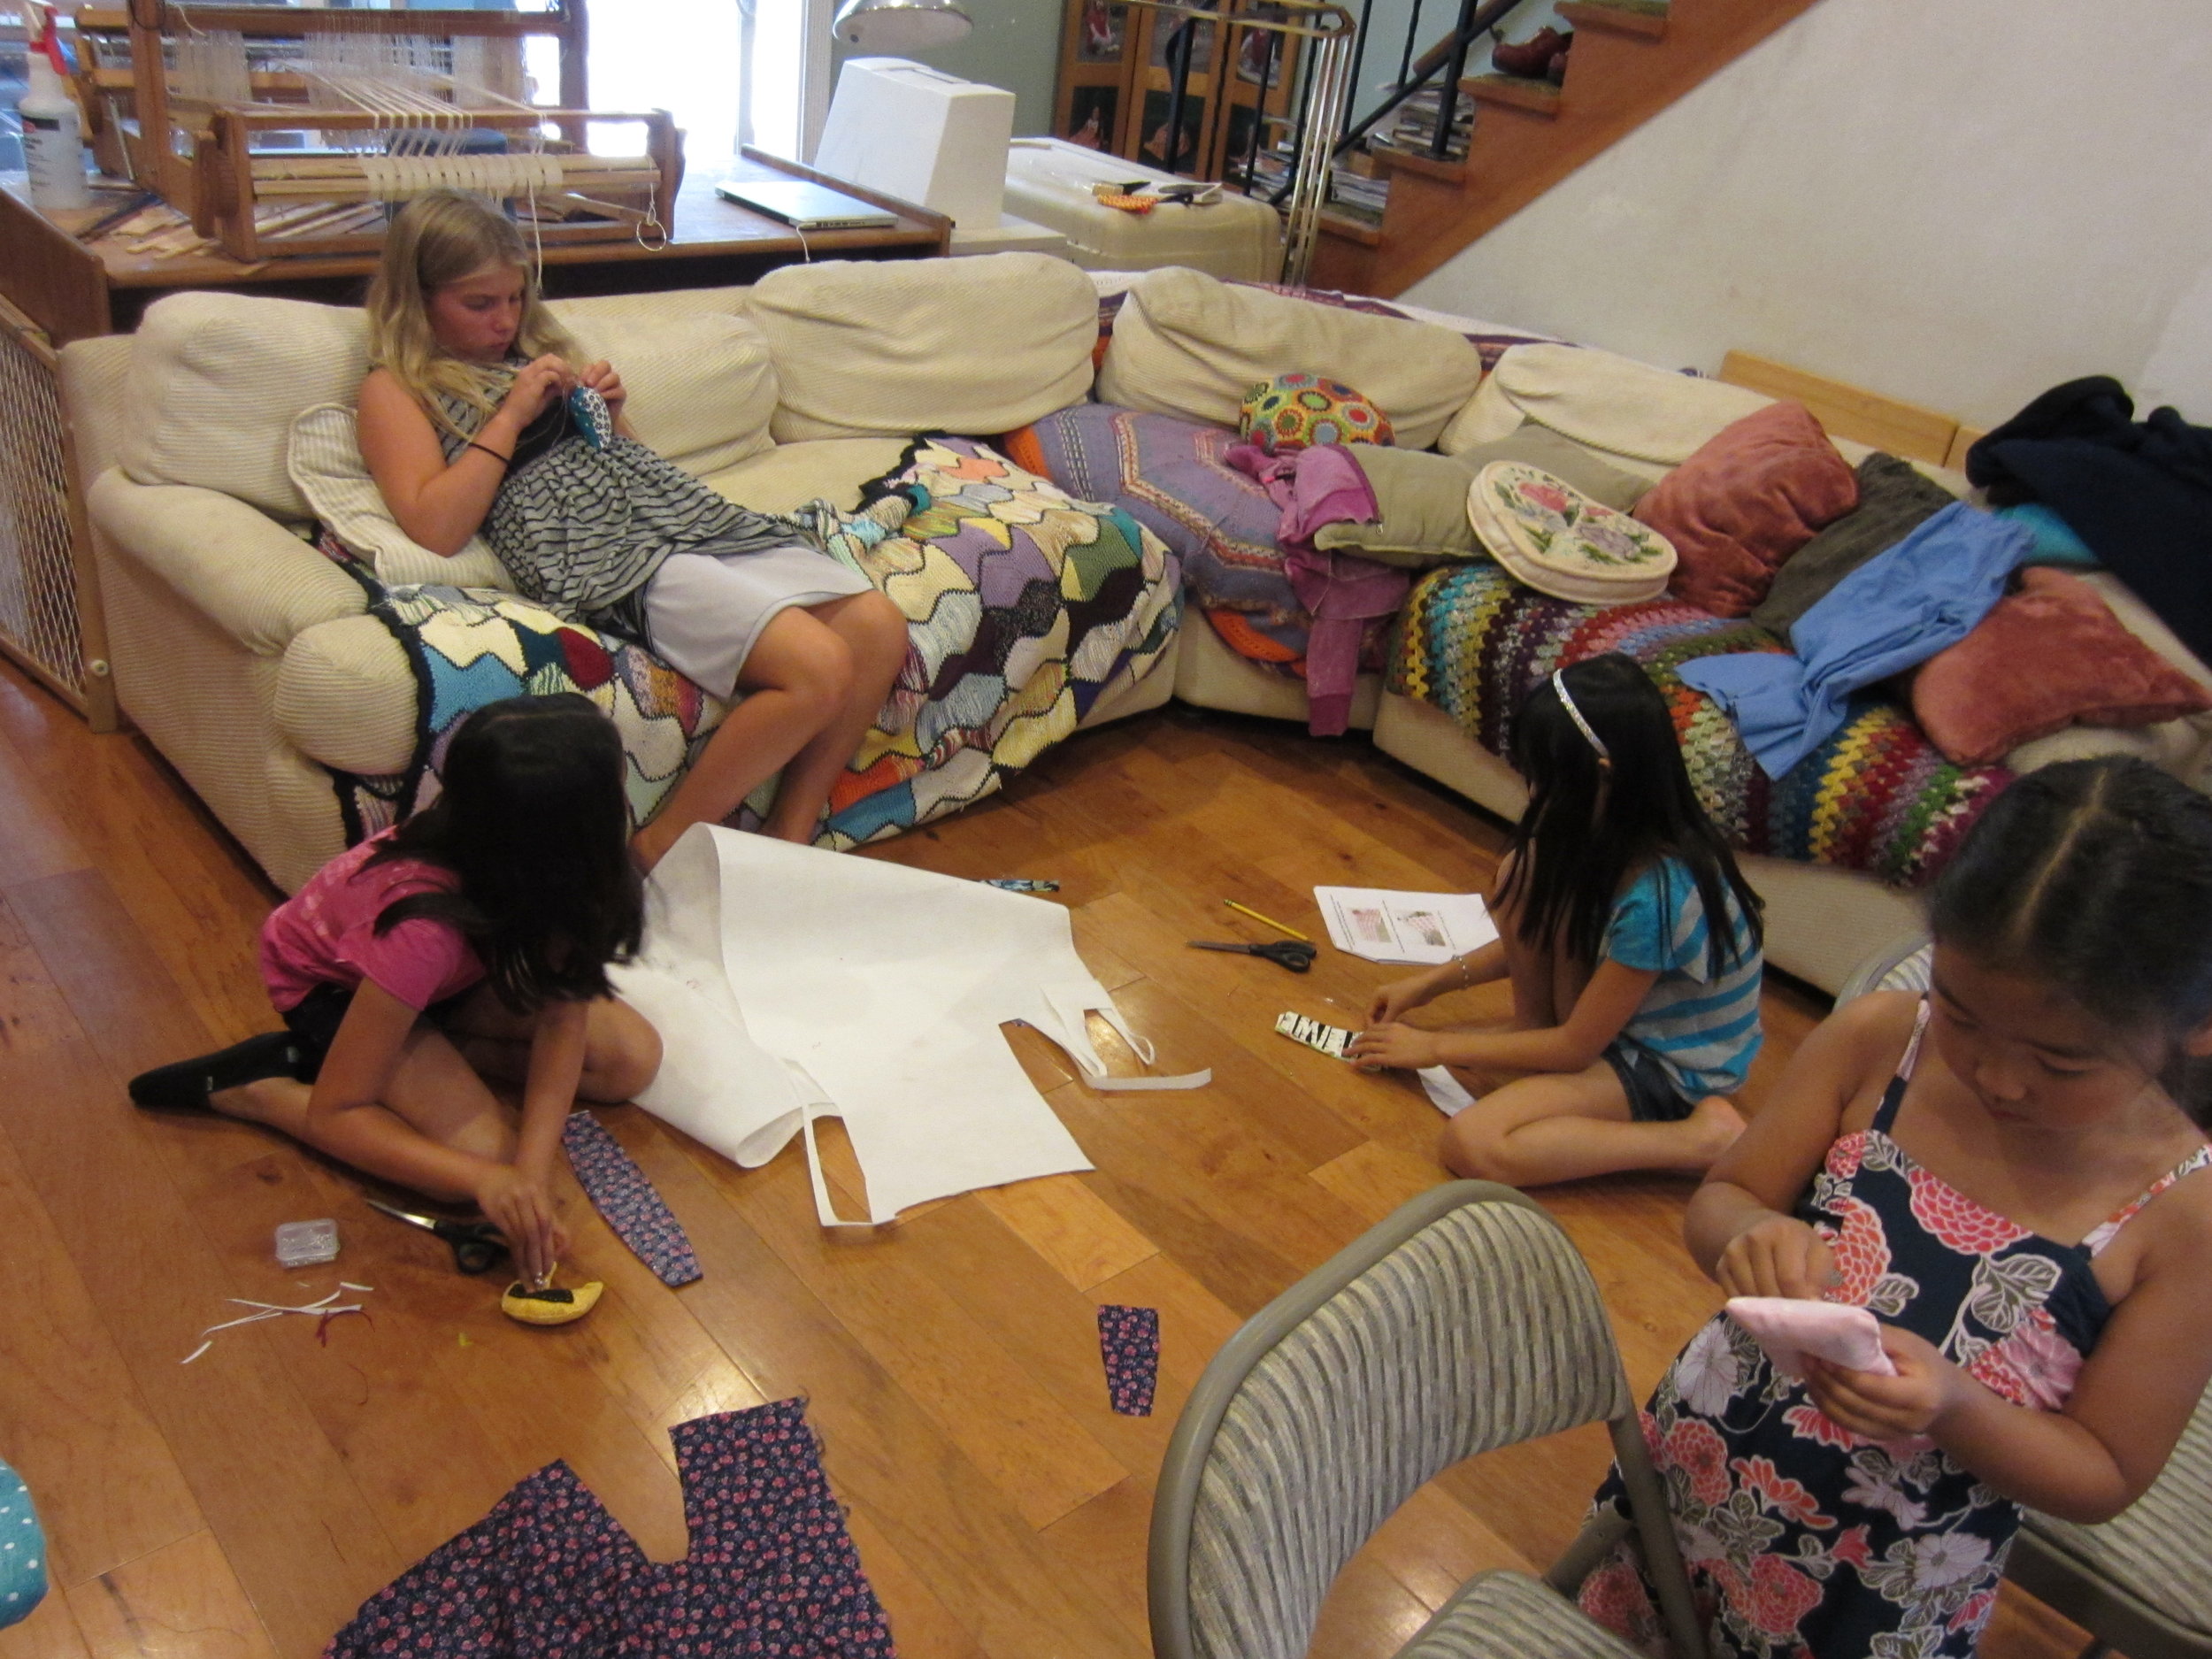
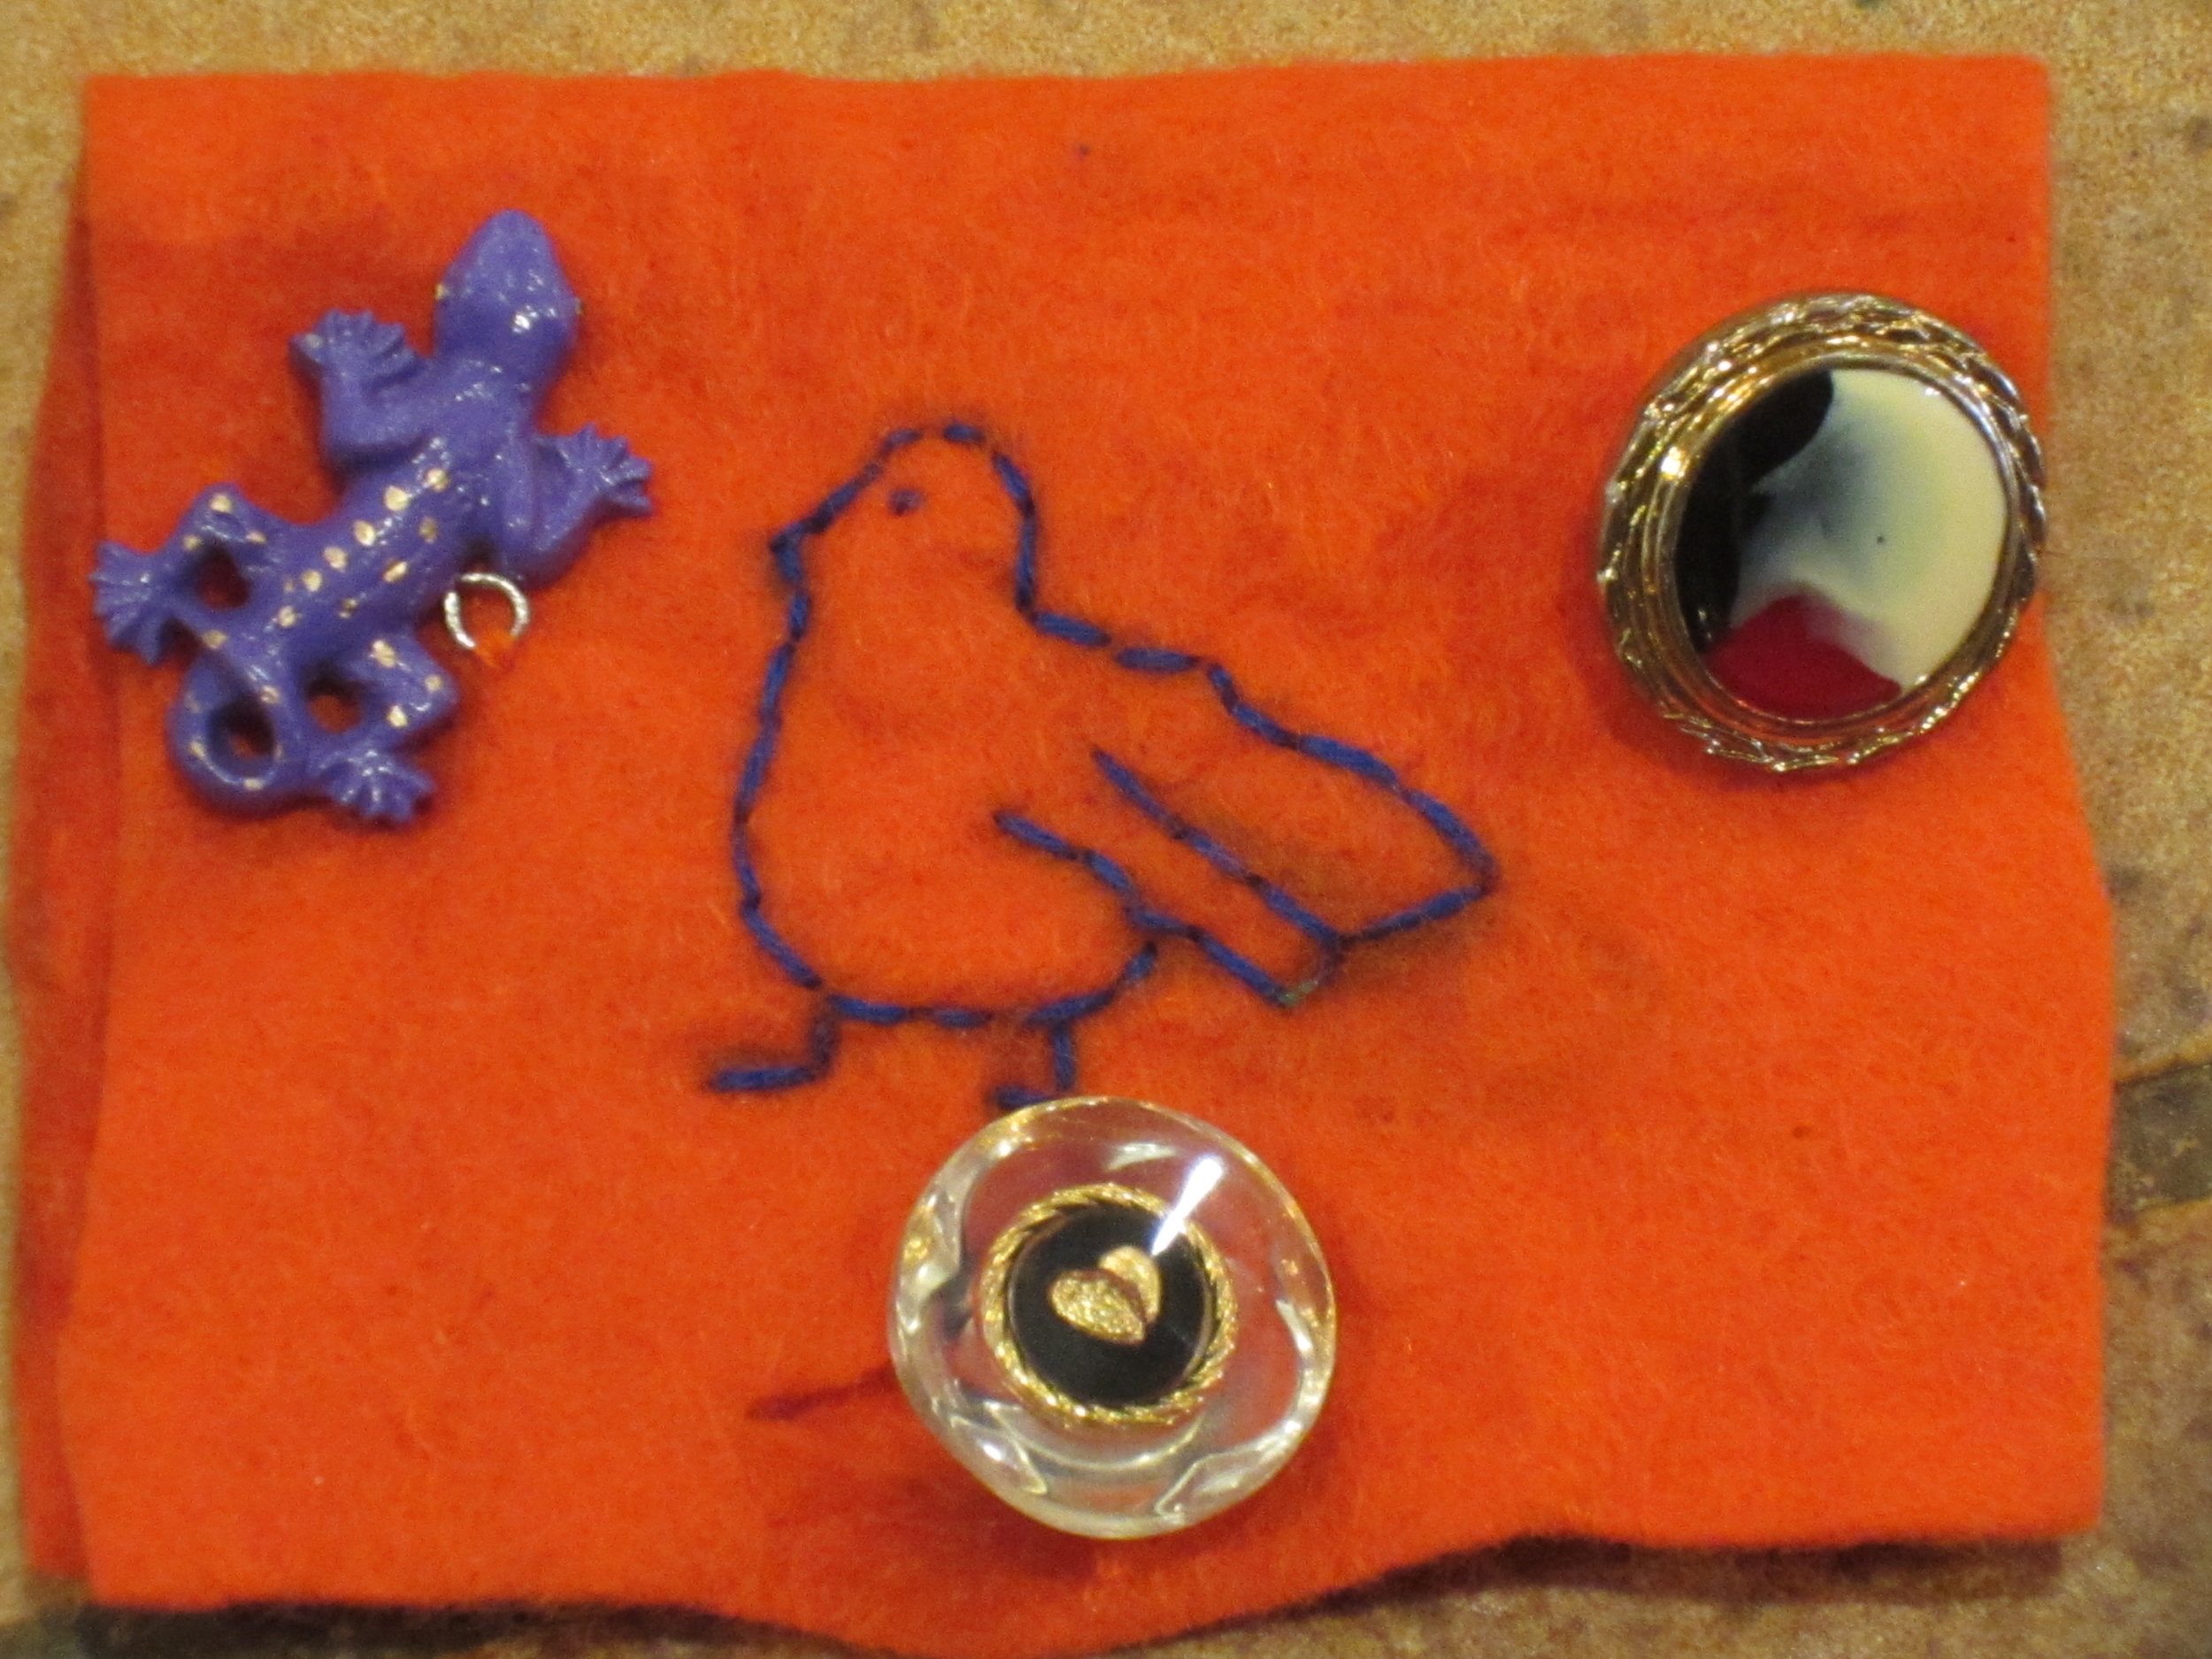
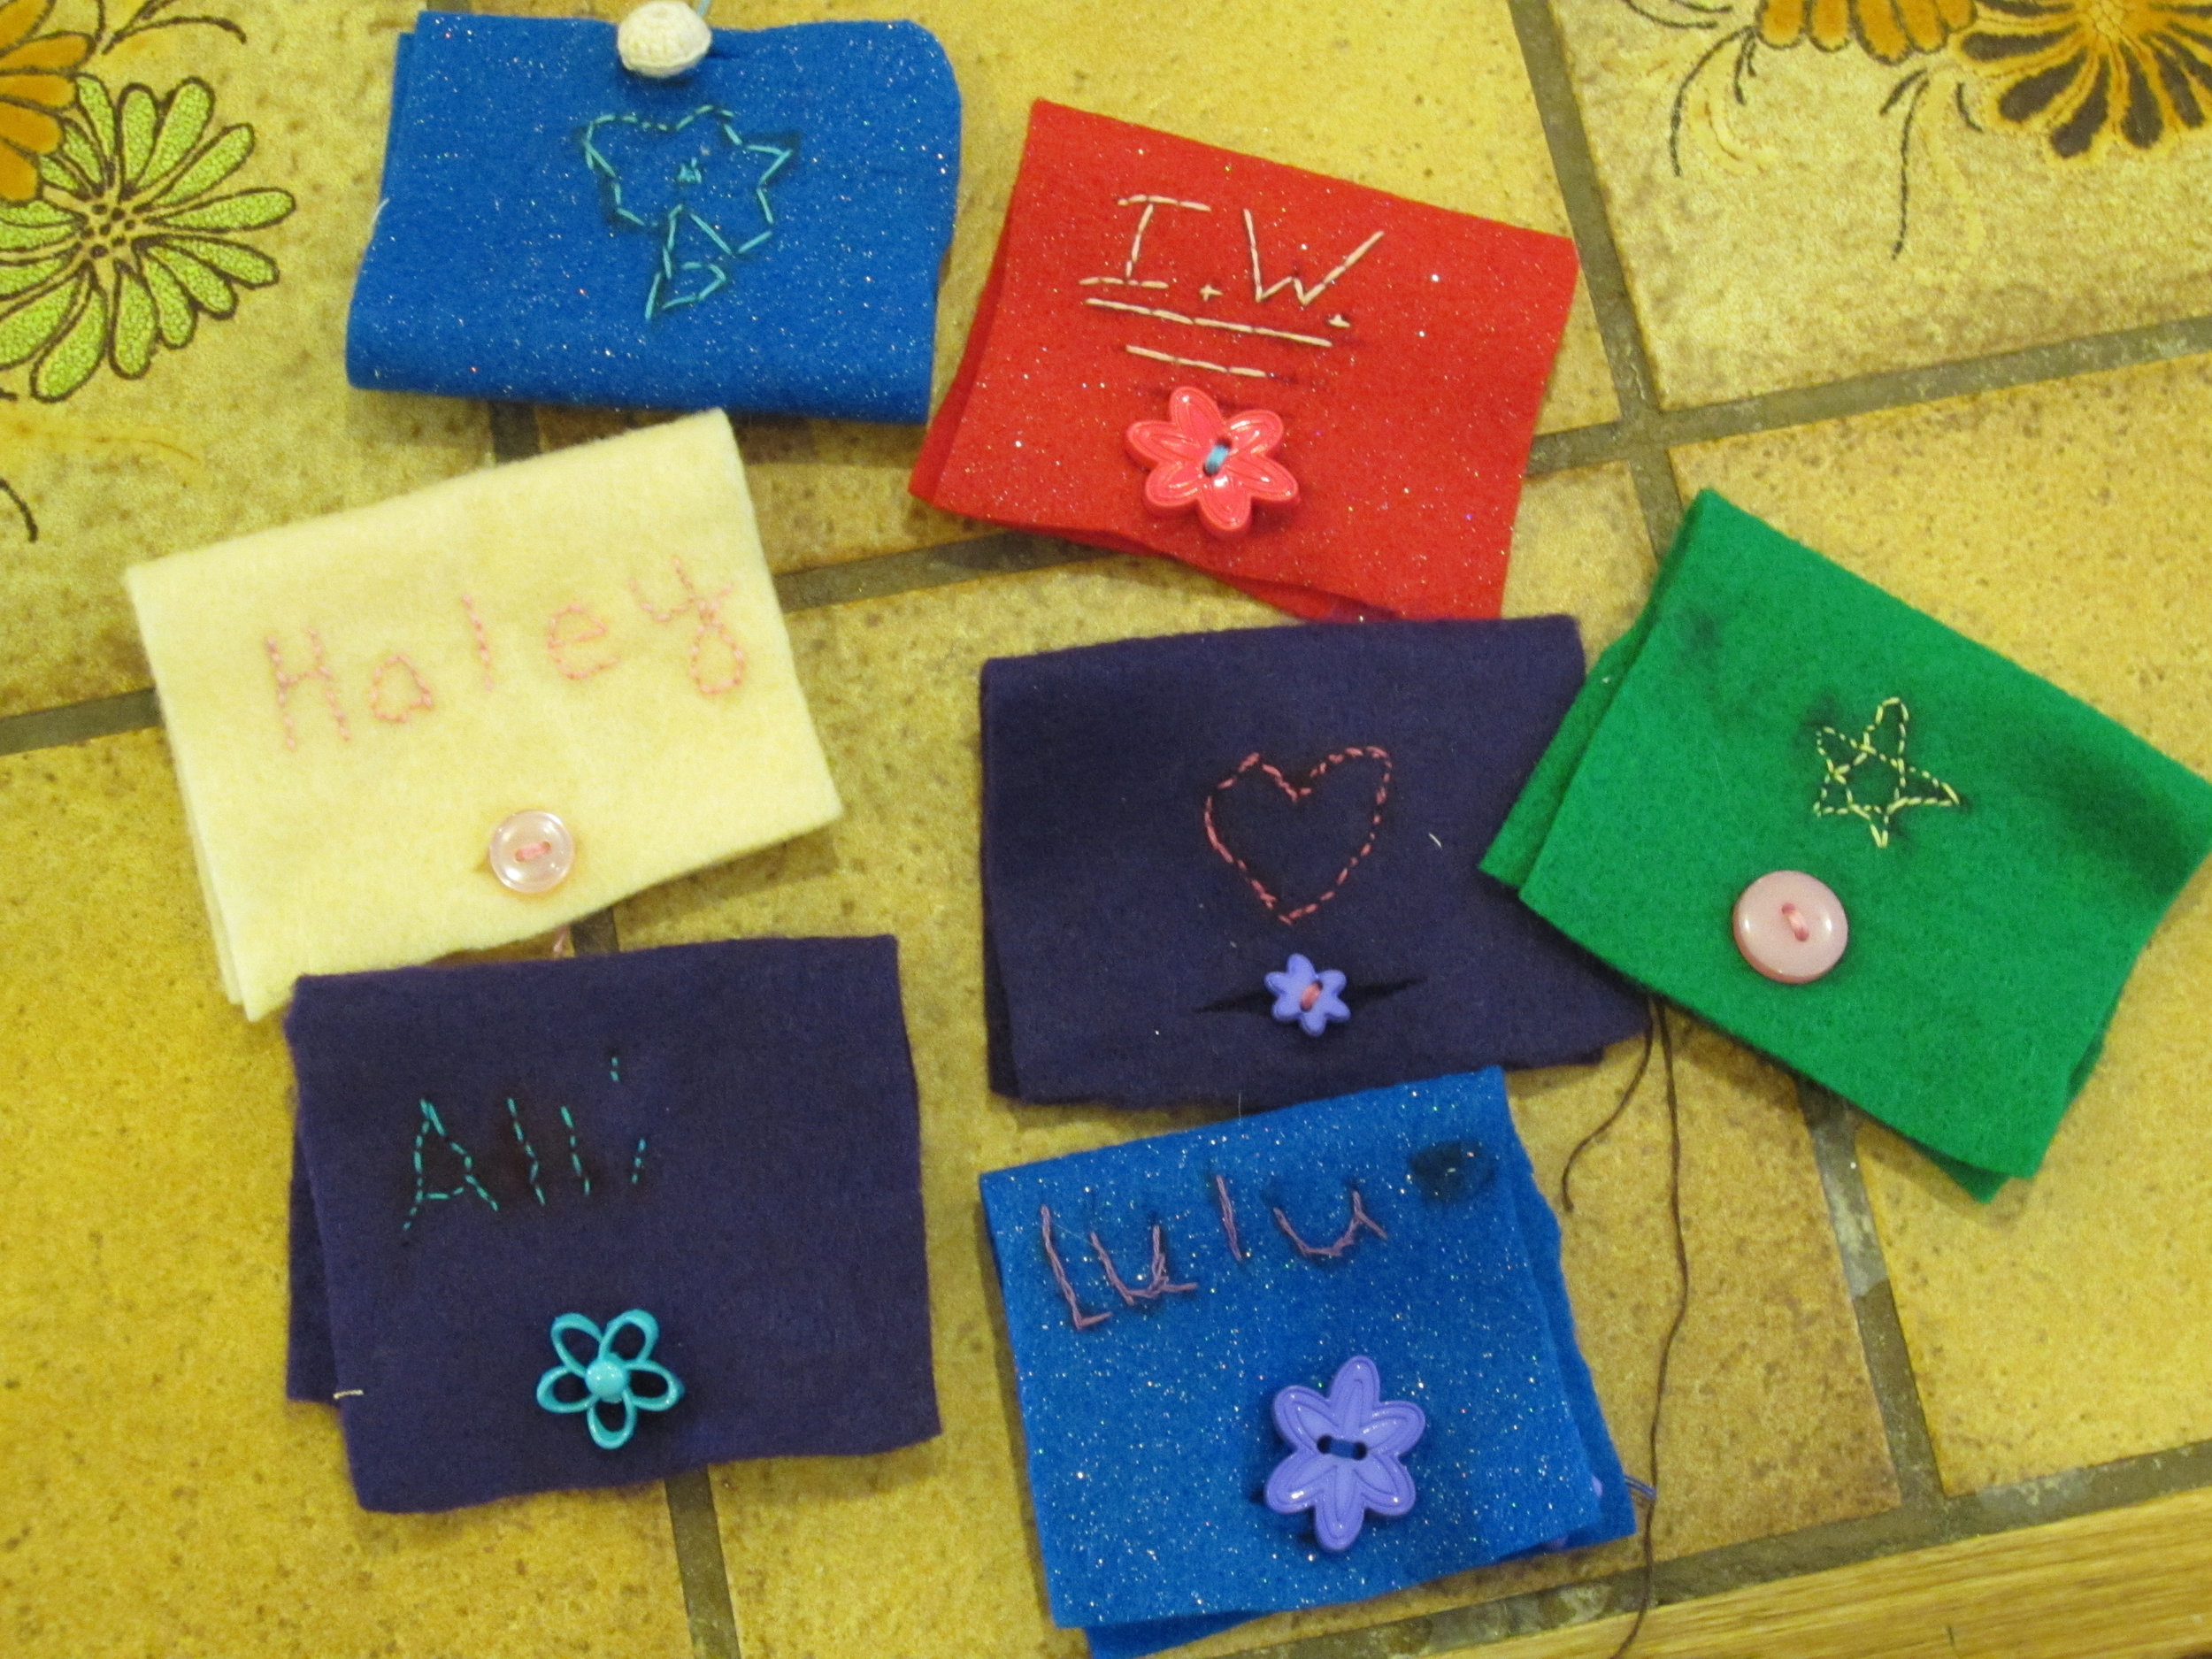
WHEW!!  What a morning we had!  It was truly fabulous.   The students were incredibly enthusiastic and excited to learn.IMG_3564First, we learned how to trace and cut a pattern to make a Needle Book.  Gotta have a place for those needles!!  Then, the students drew designs on the front of their needle books to personalize them.

IMG_3565
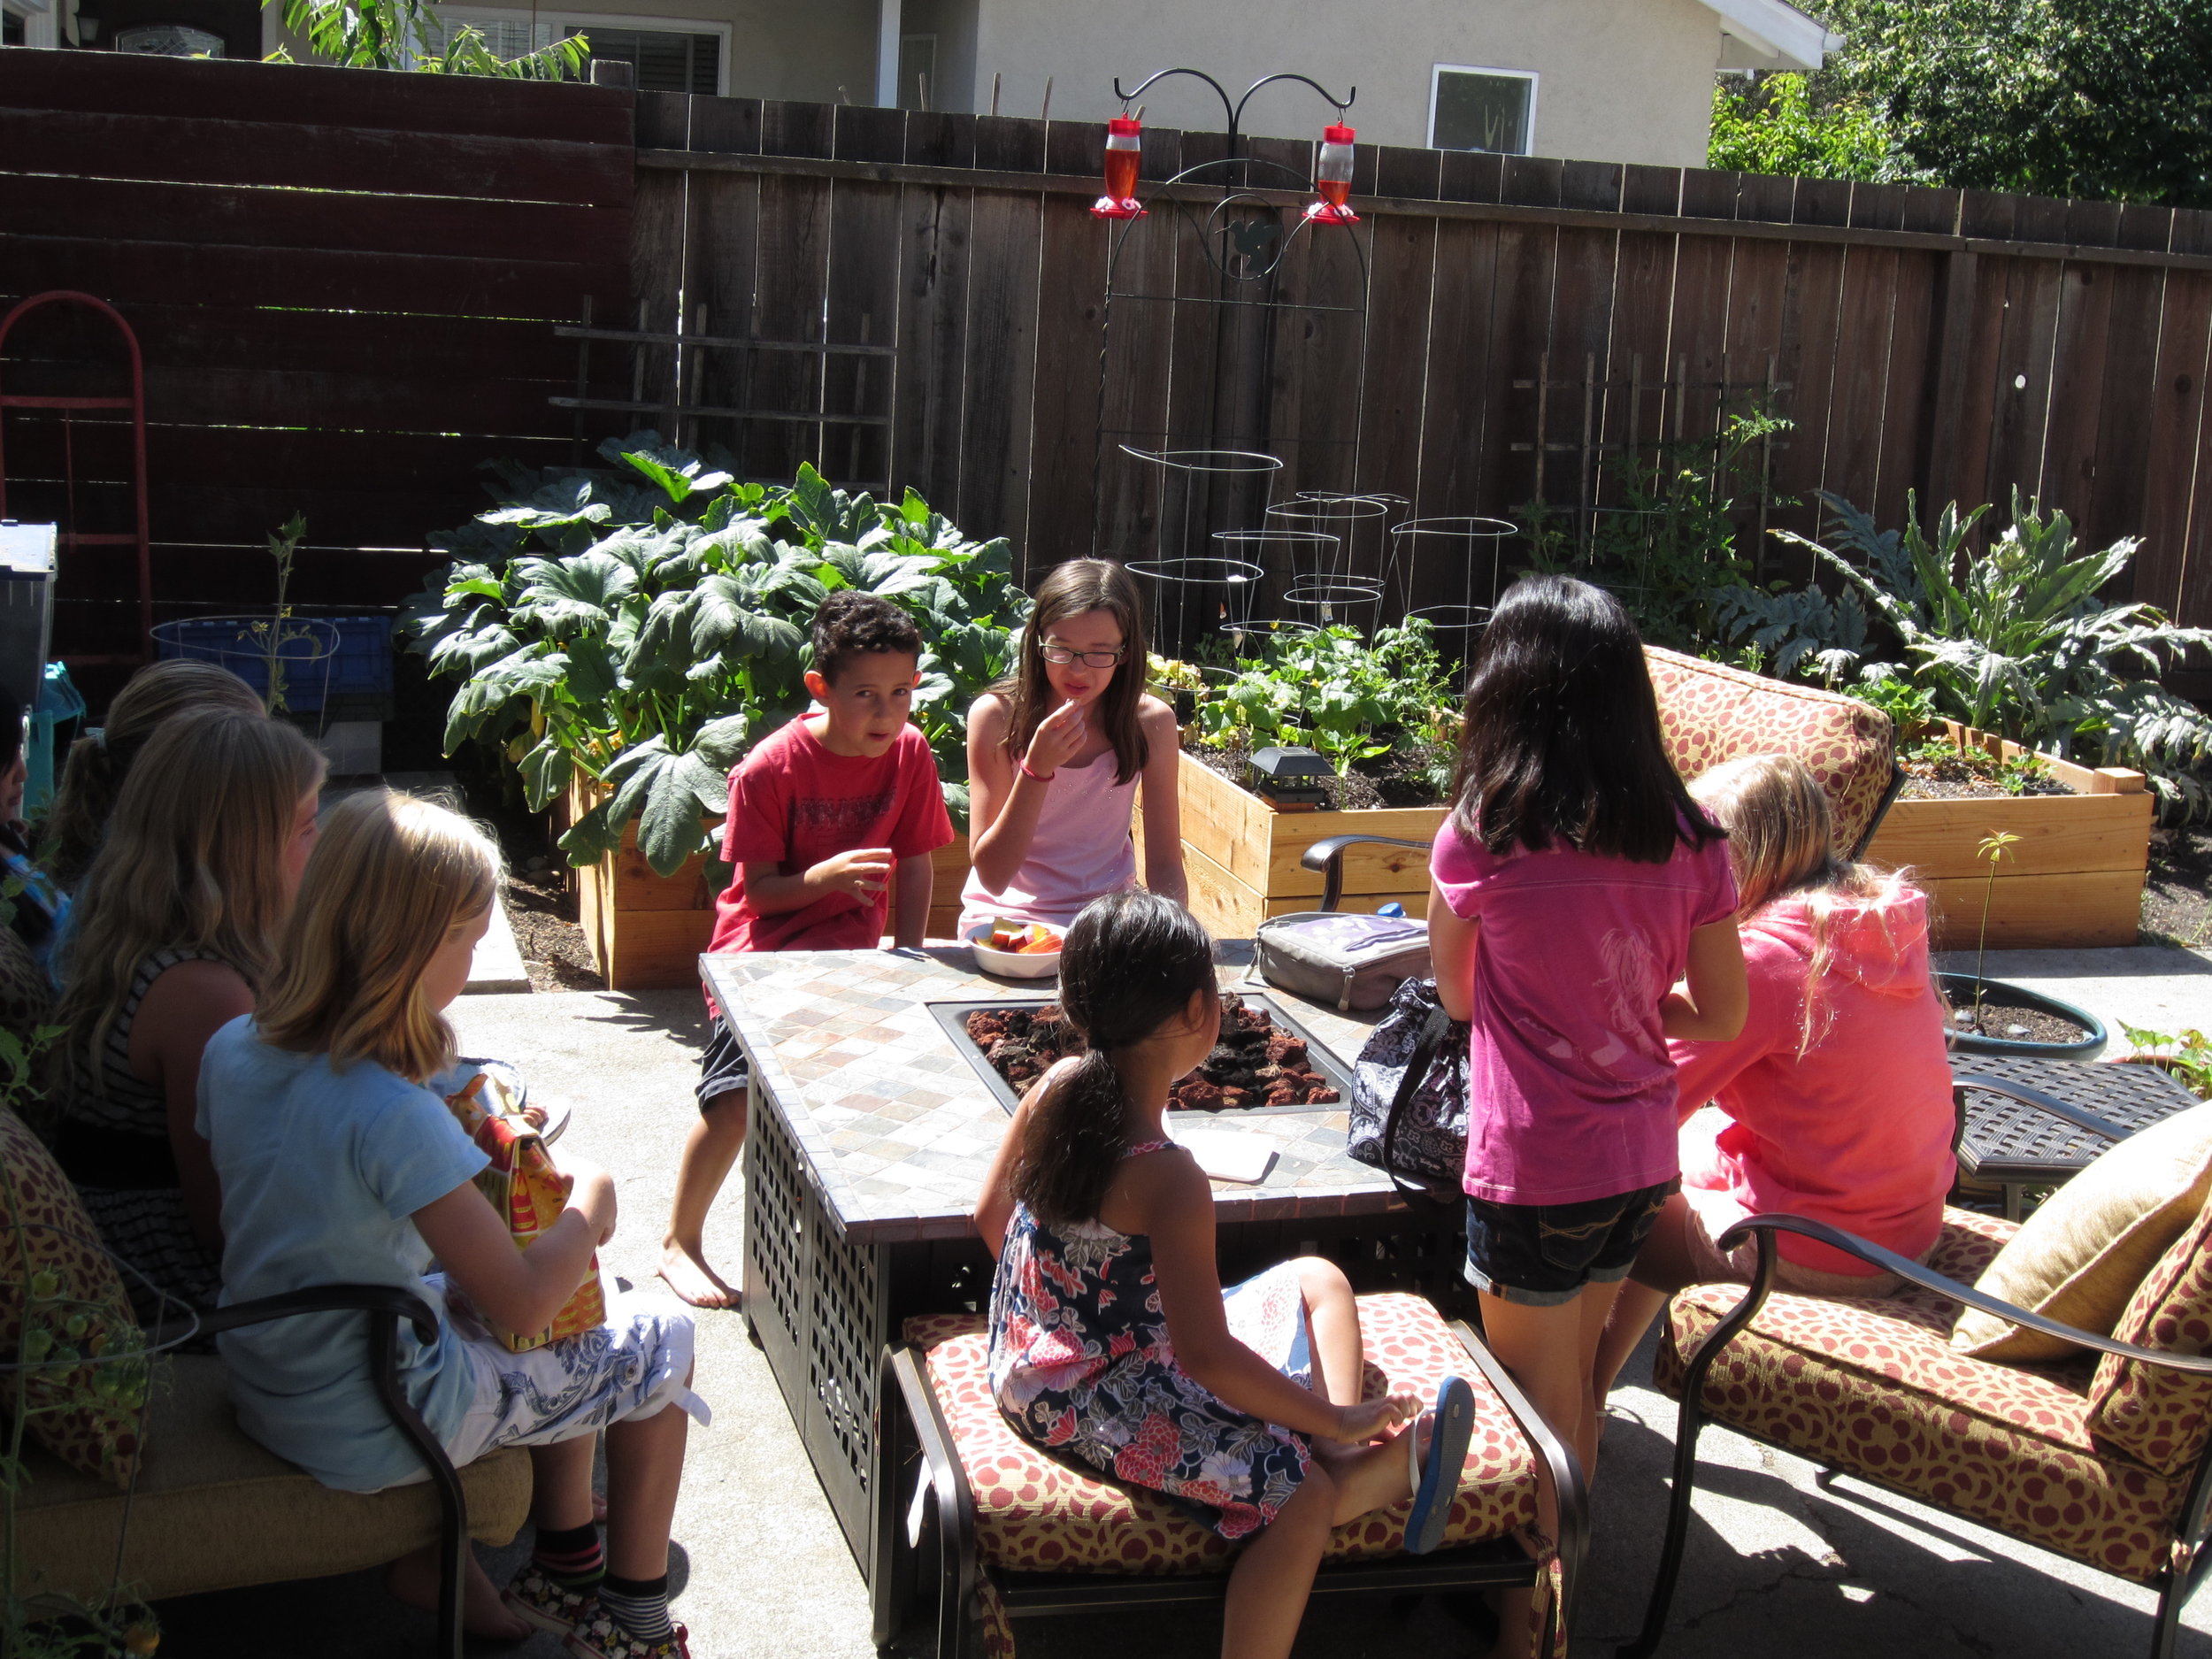
That's when the    real fun began.  The students took thread and needle and made those designs really "pop".  Don't you just love how they are all gathered around out on the front patio sewing?!
IMG_3566
Incoming 2nd grader sewing her design onto her needle book.
IMG_3567
I love when the kids gather together to sew and chat.  They were also helping each other whenever they could.
IMG_3568
Incoming 3rd grader working on his needle book.  Look at that concentration!!
IMG_3569
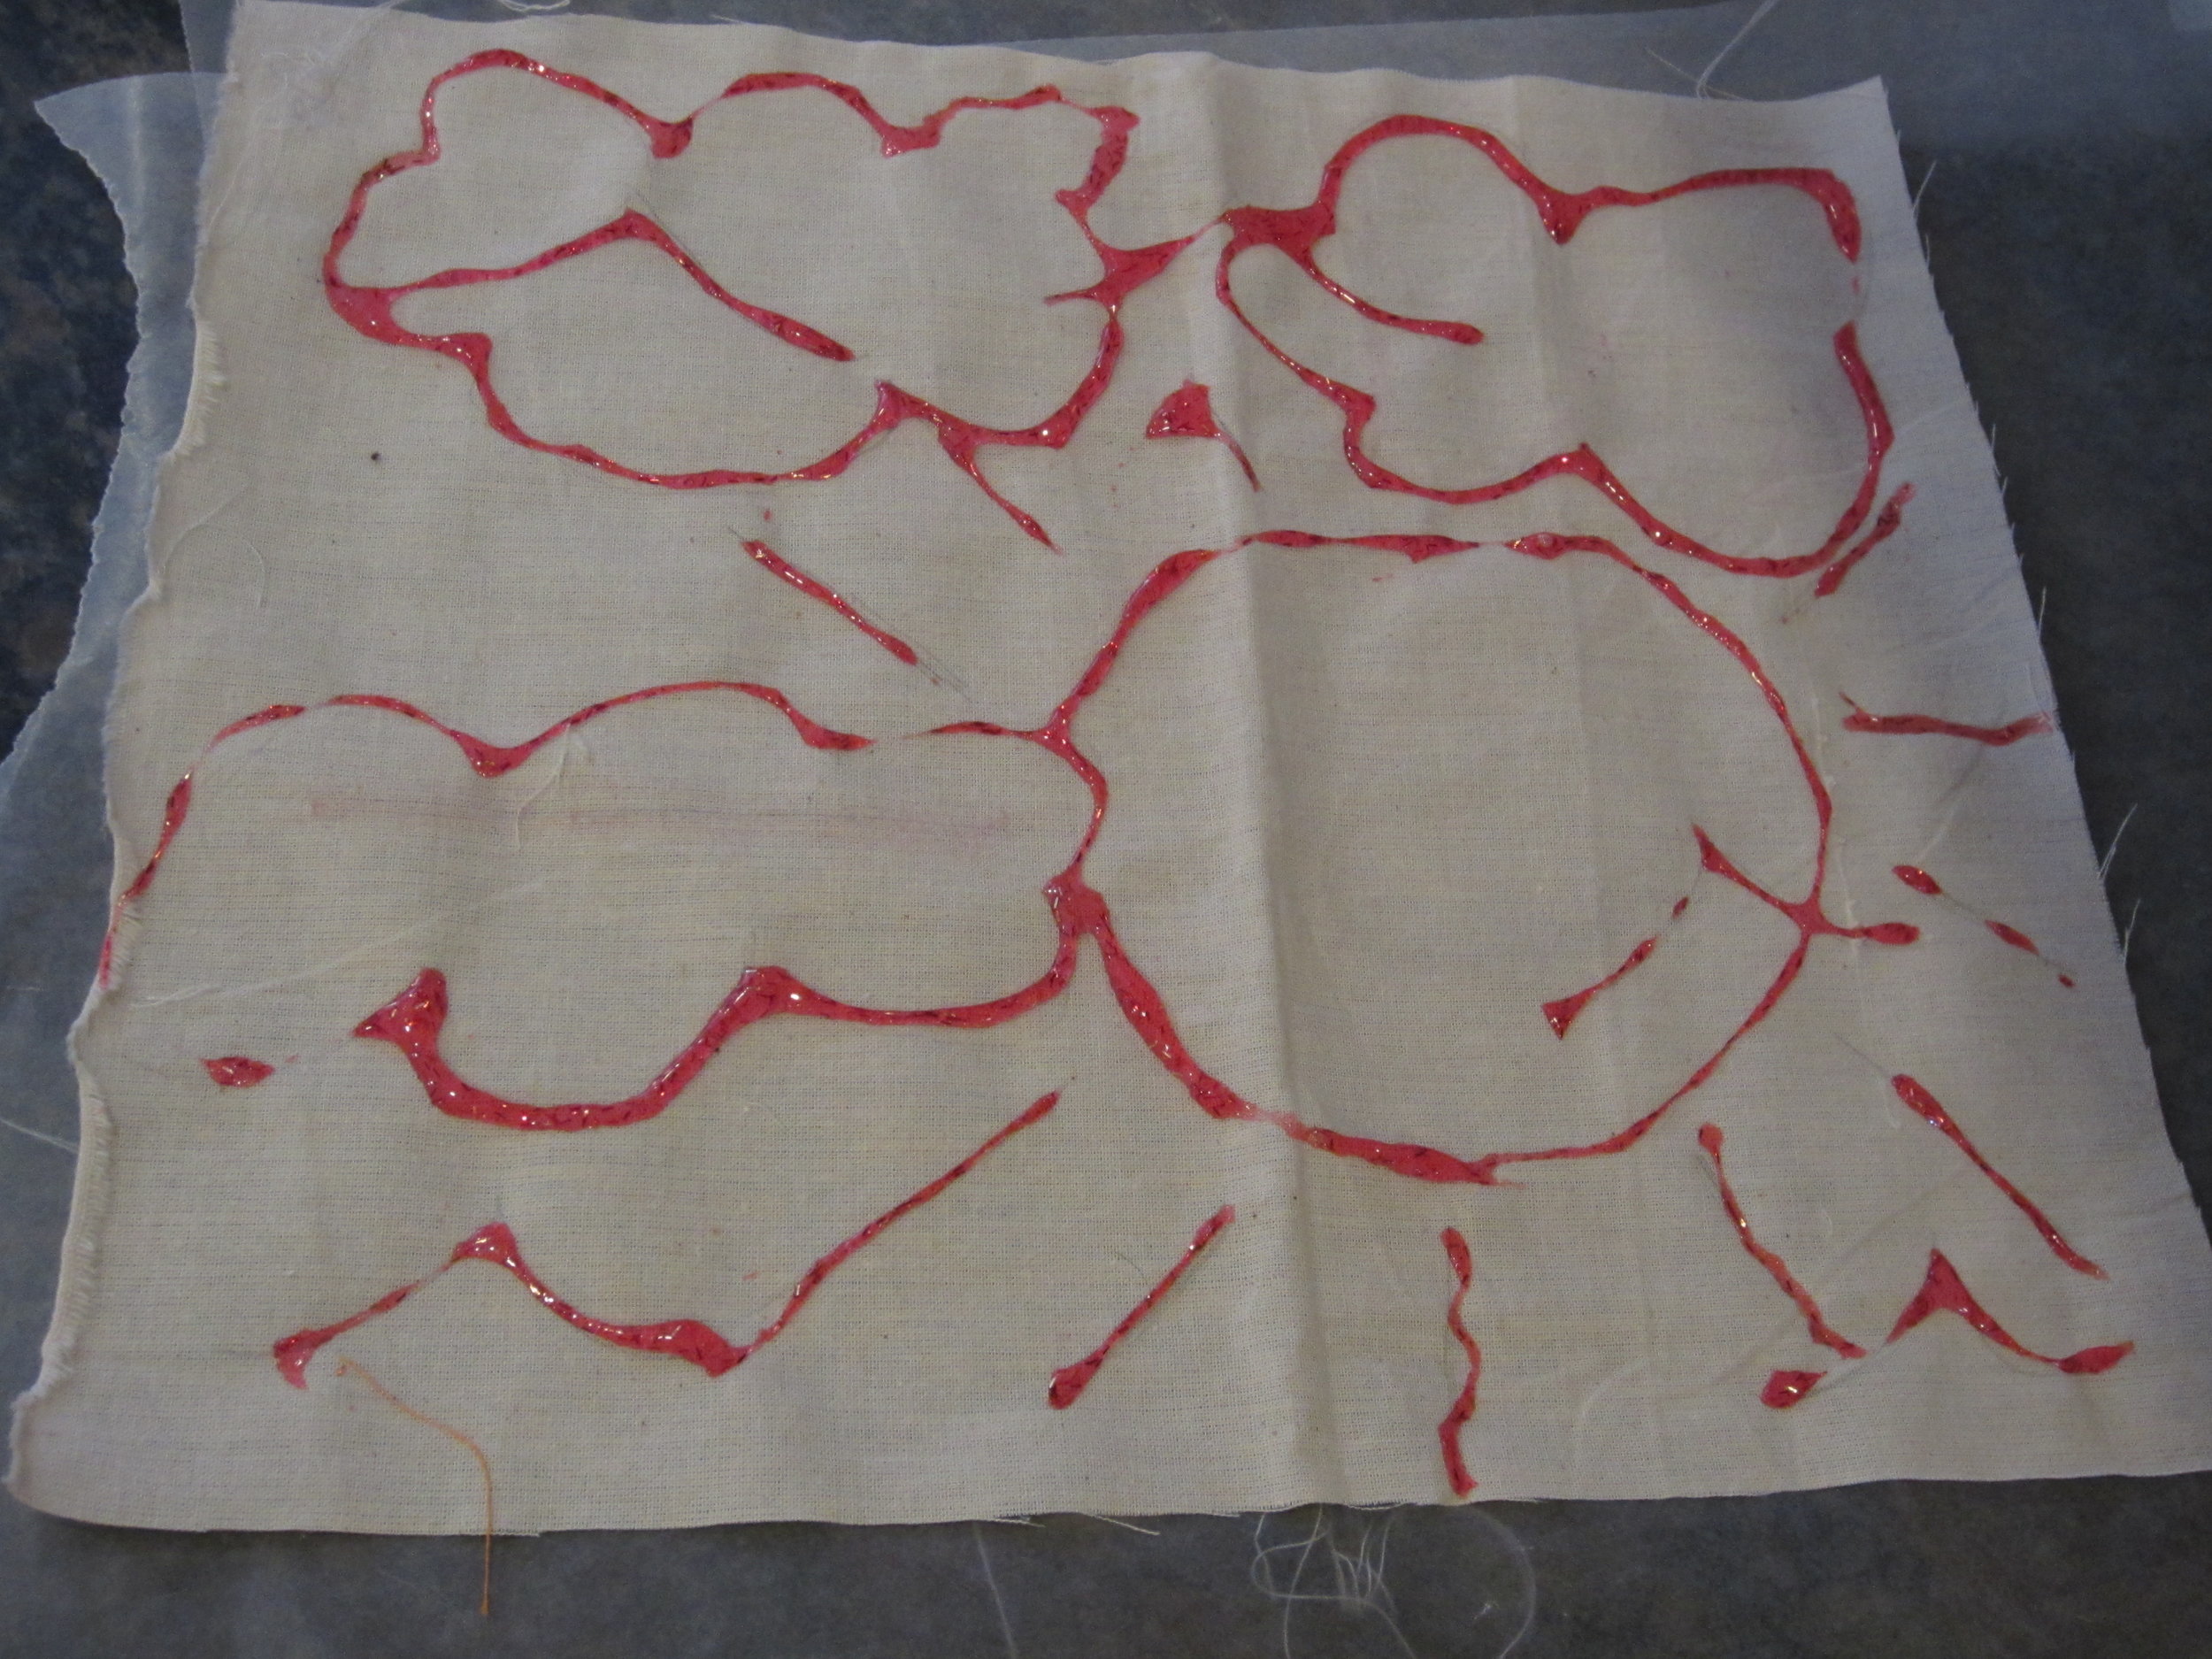
It wasn't all sewing today - we started on some glue batik fabric squares that will eventually (by the end of this week) be turned into pillows.
IMG_3570
After the design of their choice was drawn onto the fabric square, they used a thick glue to cover all the outlines.  Stay tuned for the update on their next step tomorrow ;o)
IMG_3579
All the designs were so lovely and unique!
IMG_3572
Each needle book was also unique...
IMG_3573
This guy is a lego fanatic -  he wanted to and probably will at a later date, add the other 6 lego buttons that he found in the button box to this needle book.
IMG_3575
Love the button choice for this one!
IMG_3576
Everyone finished their needle book!!
IMG_3577
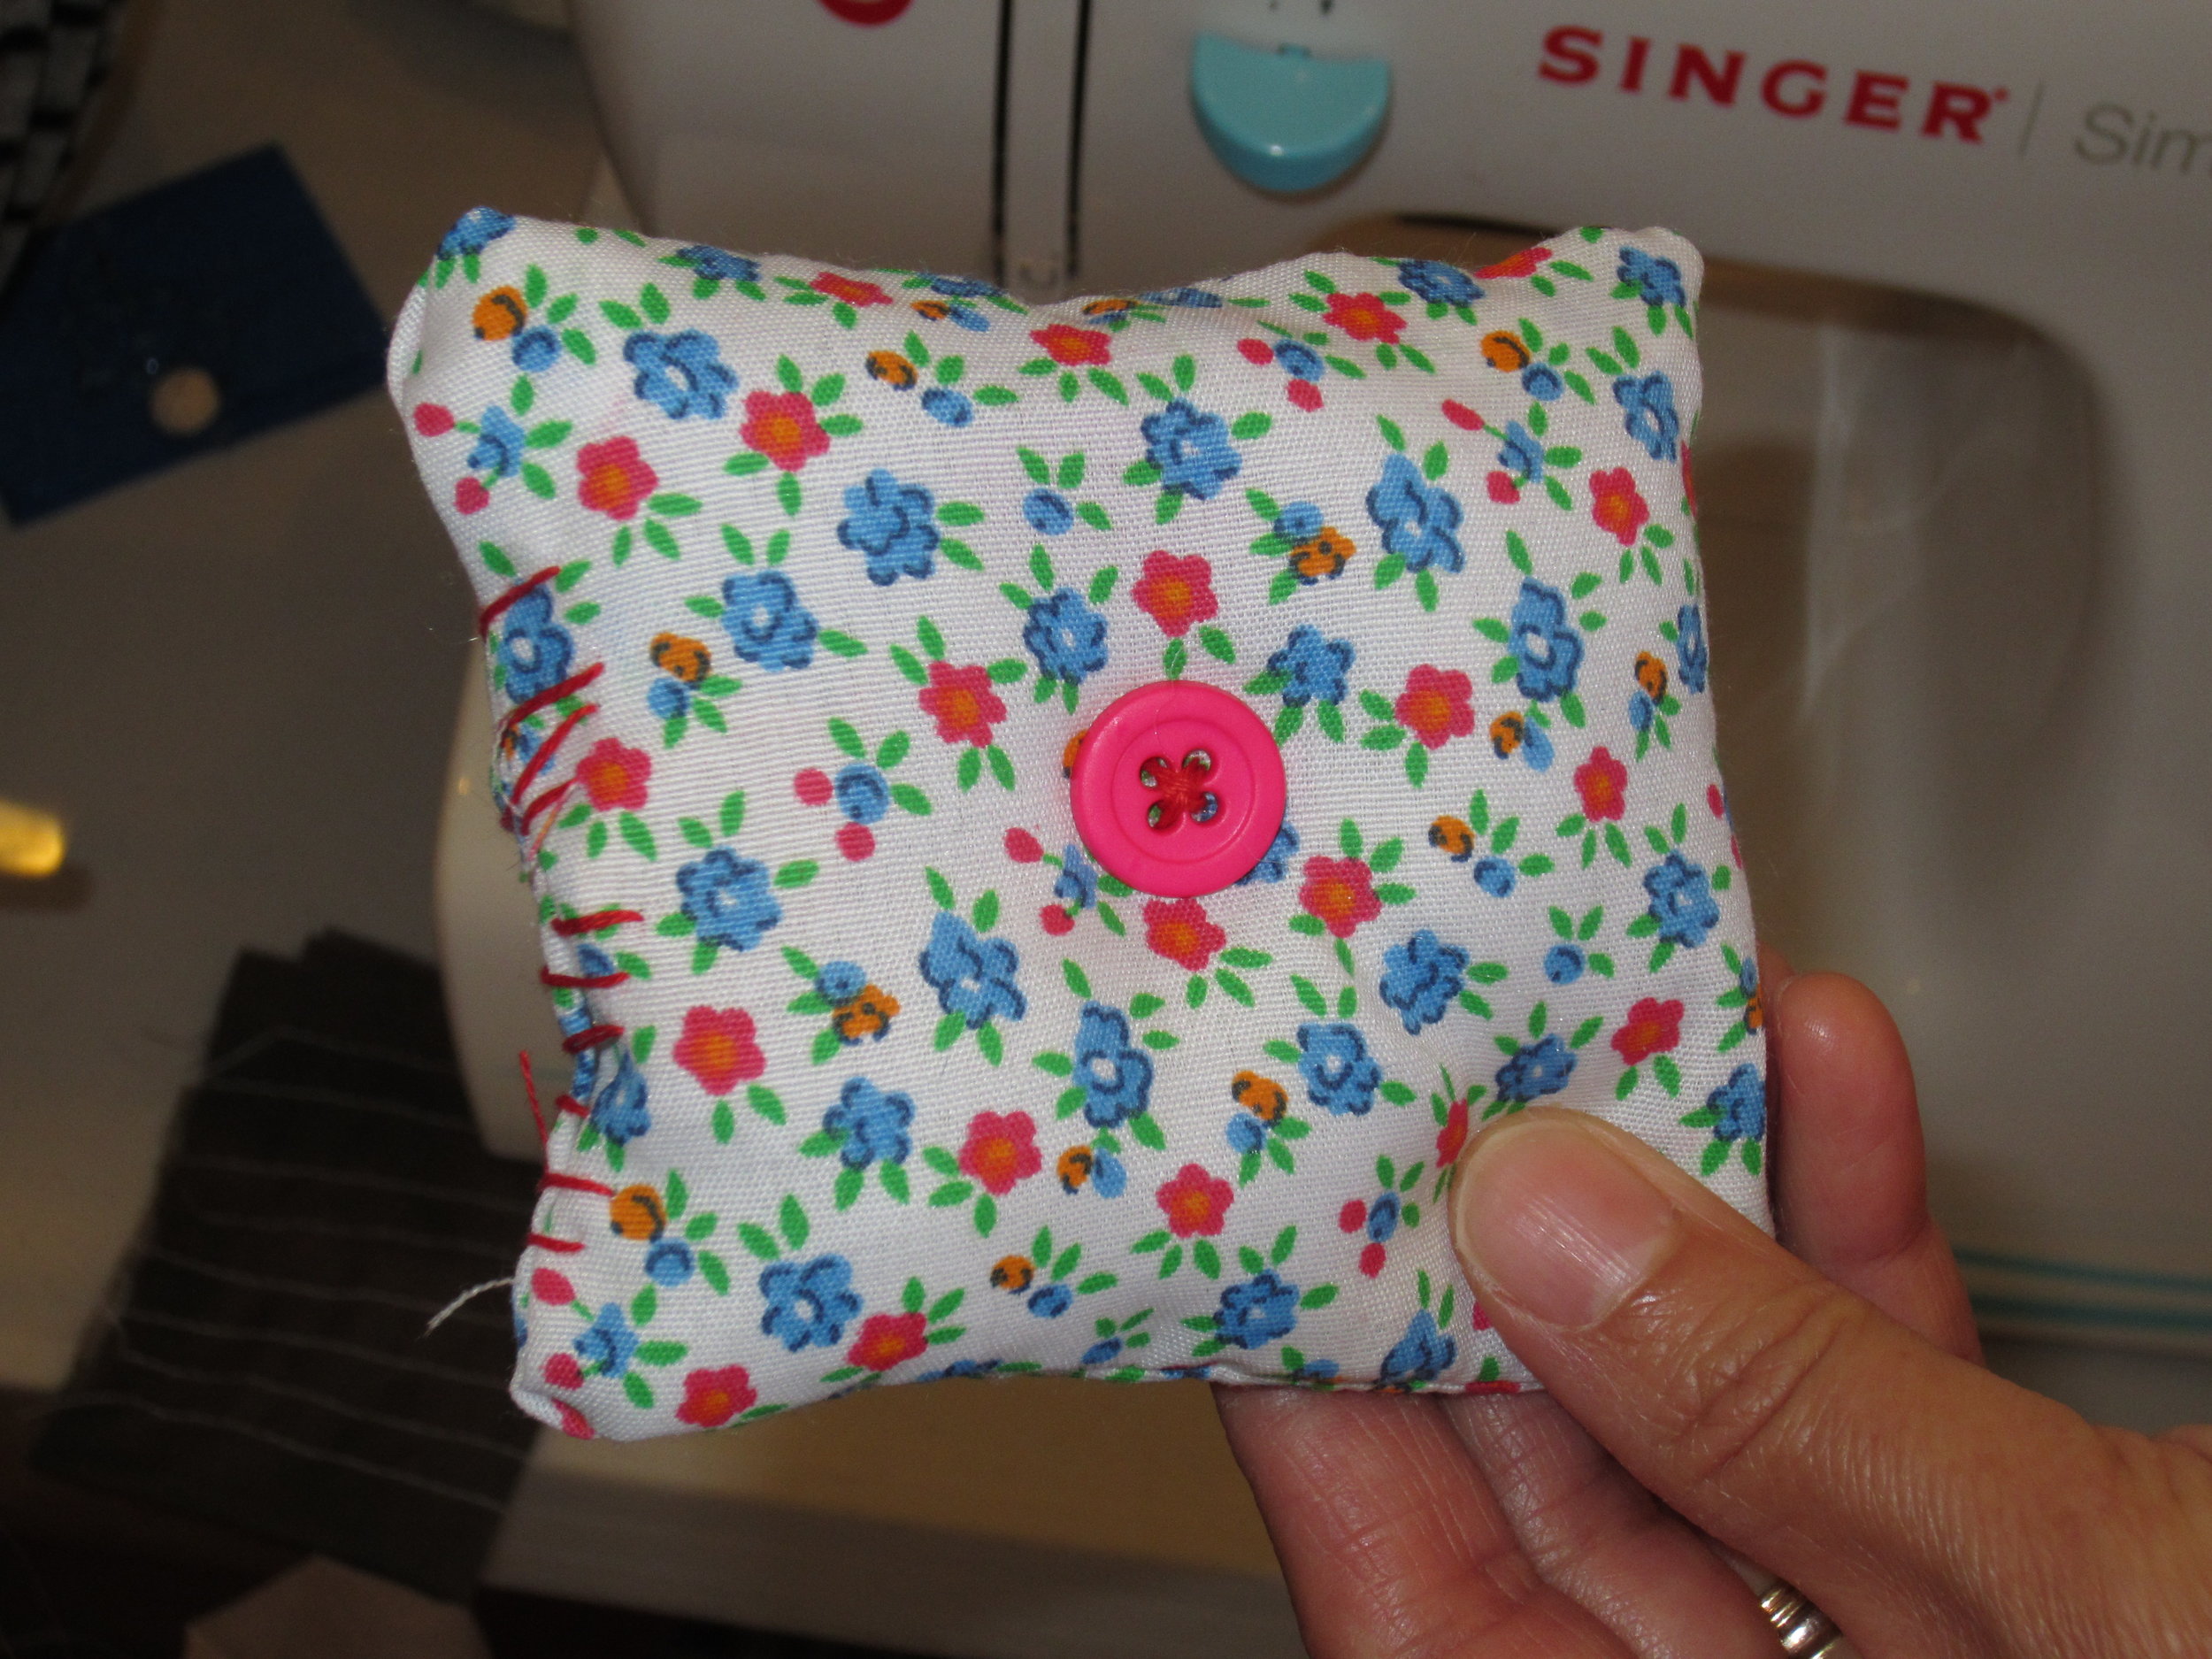
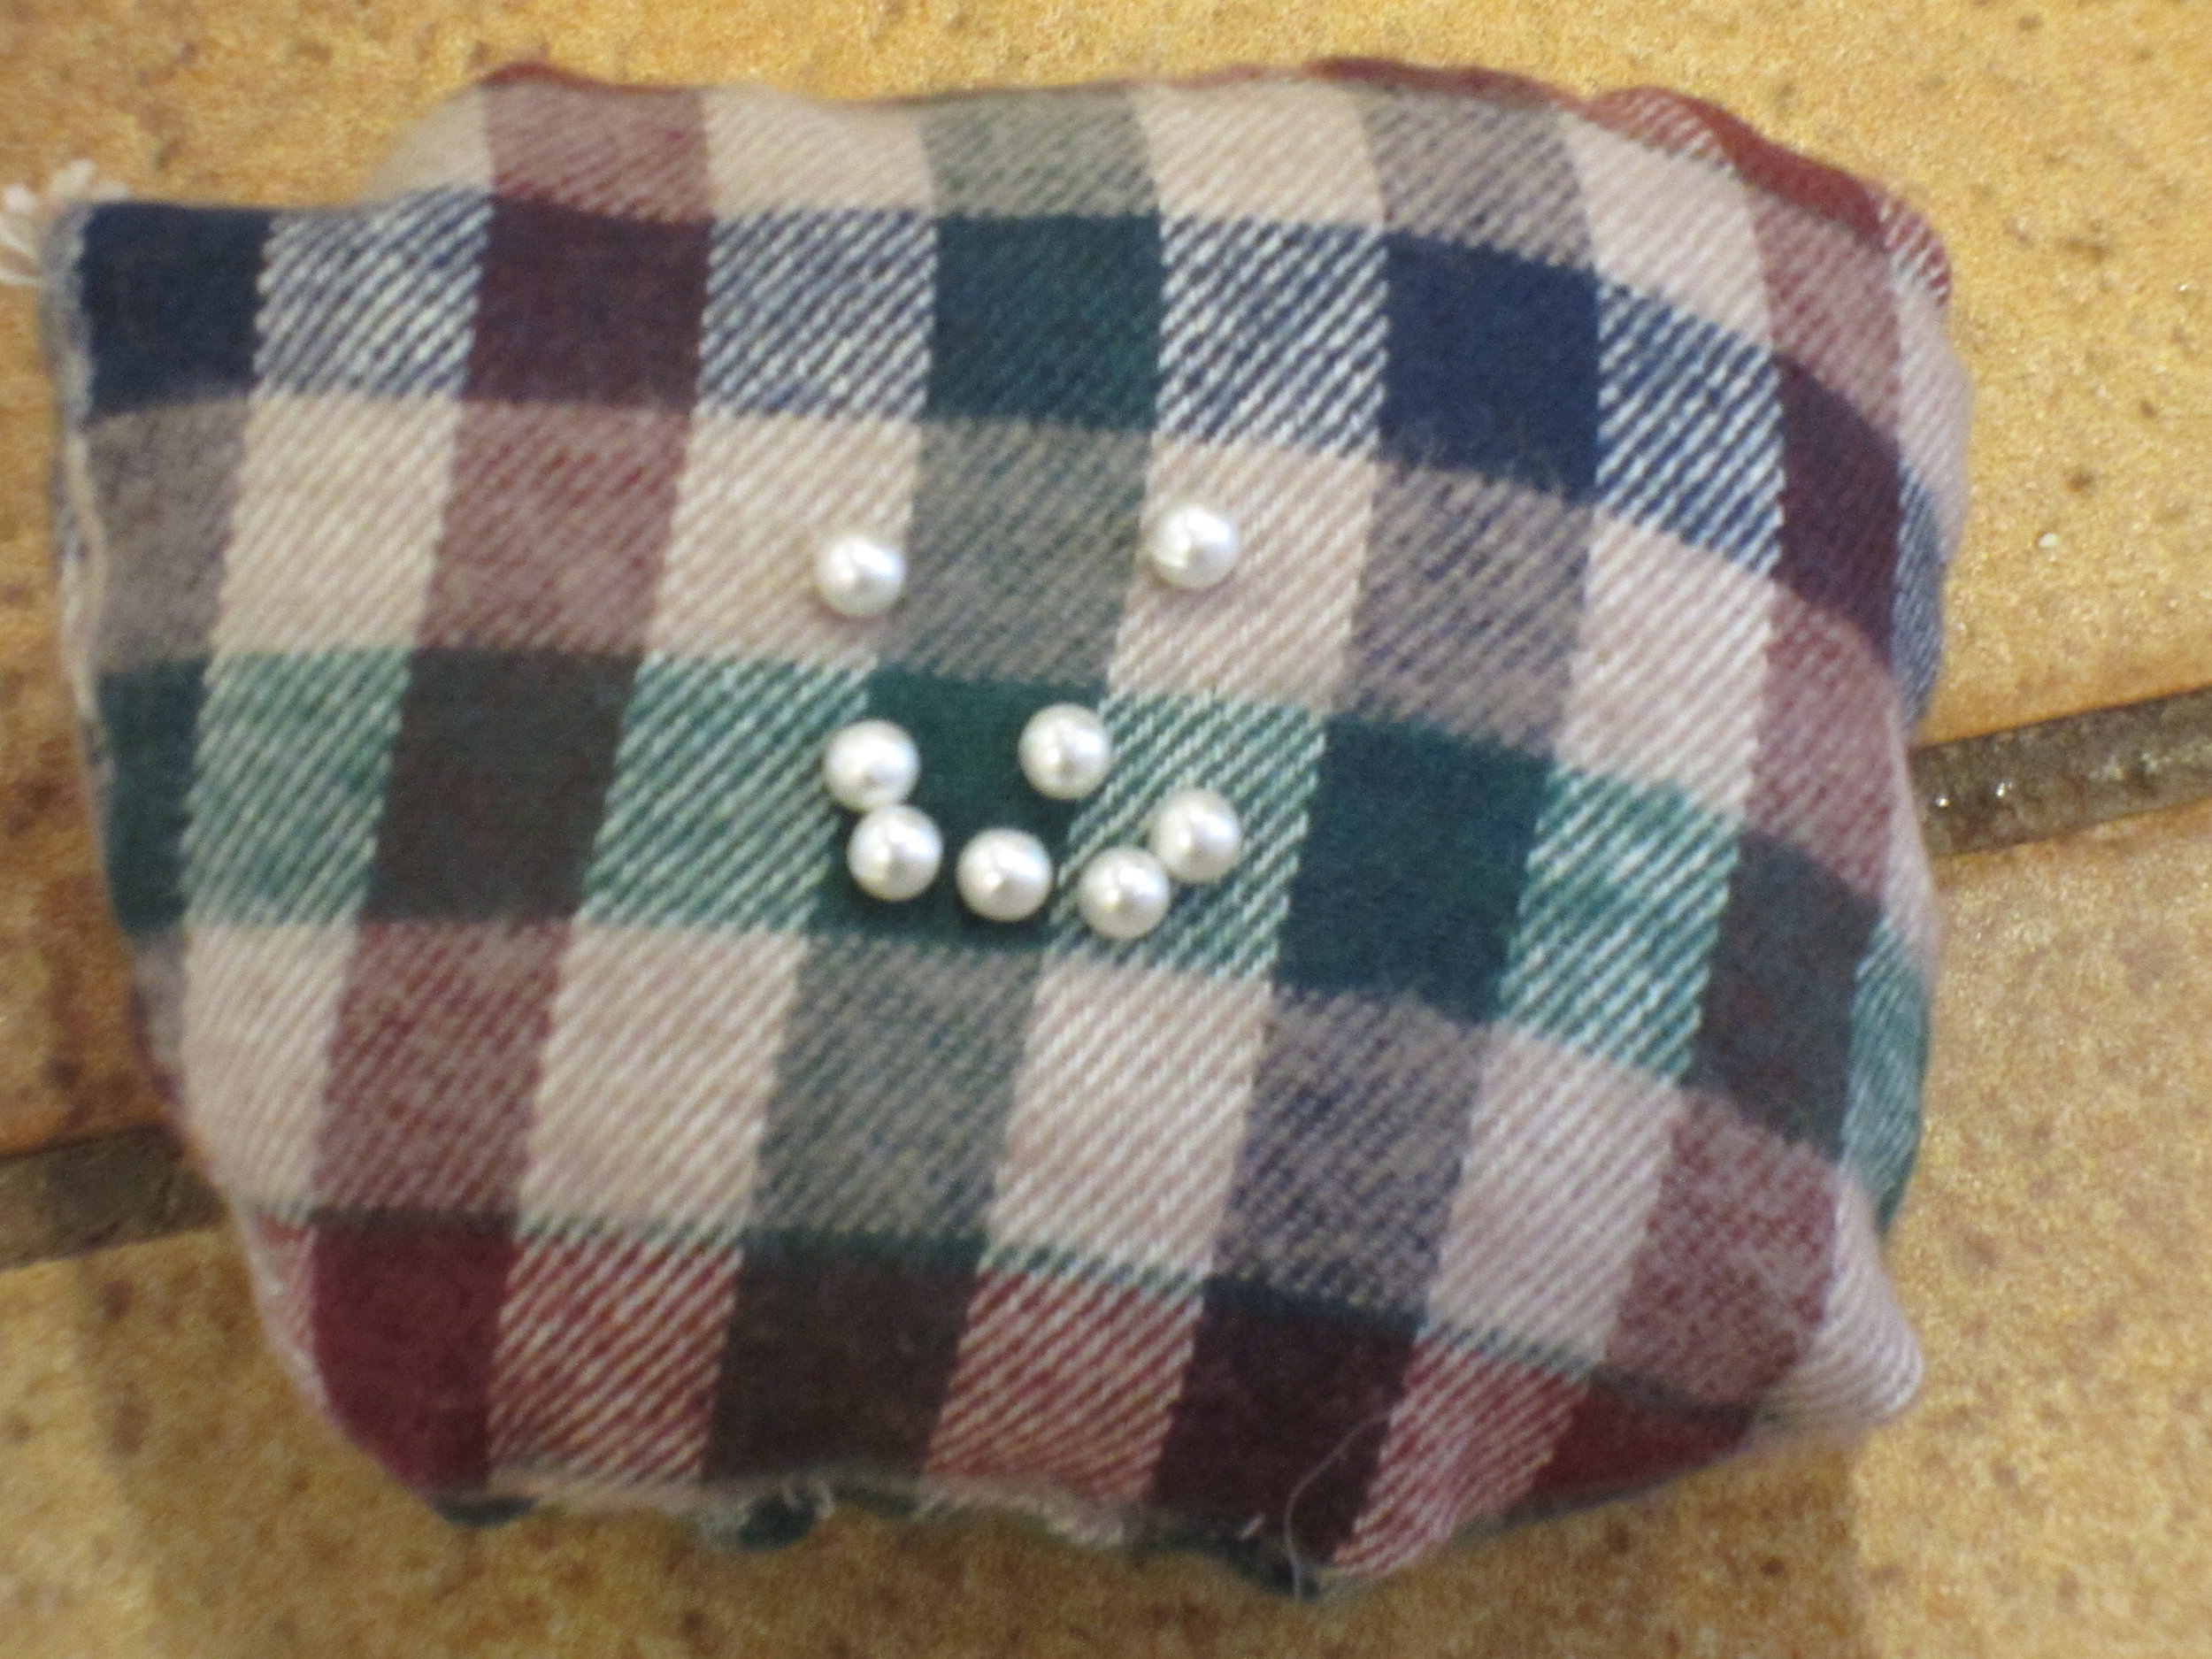
Next up - pincushions!!  Every seamstress needs a pincushion and the cuter, the better!  These seemingly simple projects help the students become proficient in threading their needles, tying knots (they all learned quilter's knots), and keeping consistent tension and stitch length.  All these skills are so very important to polished finished projects.  We also briefly touched on what a seam ripper is and that truly great sewers are very good friends with their seam rippers :o)
IMG_3574
The first finished pin cushion.  This student did not want to use any of the patterns that were provided and instead drew his own shape and proceeded to sew it together.
IMG_3580
And last, but definitely not least, Zombie Bear!!  This pincushion was made by an incoming 6th grader with a serious sense of humor!  She decided NOT to sew up the head nice and neat and then promptly decided to let a little of the stuffing come out as hair (or brains, depending on who you ask in this household!).  She loves it and I love how creative she is!
Ready for Sewing Camp!!!

I can't wait until tomorrow!  Tomorrow is the first day of Sewing Camp!  I have all the sewing machines at the ready...

Image

They all have been completely threaded and tested and should be good to go for my enthusiastic students. 
Image

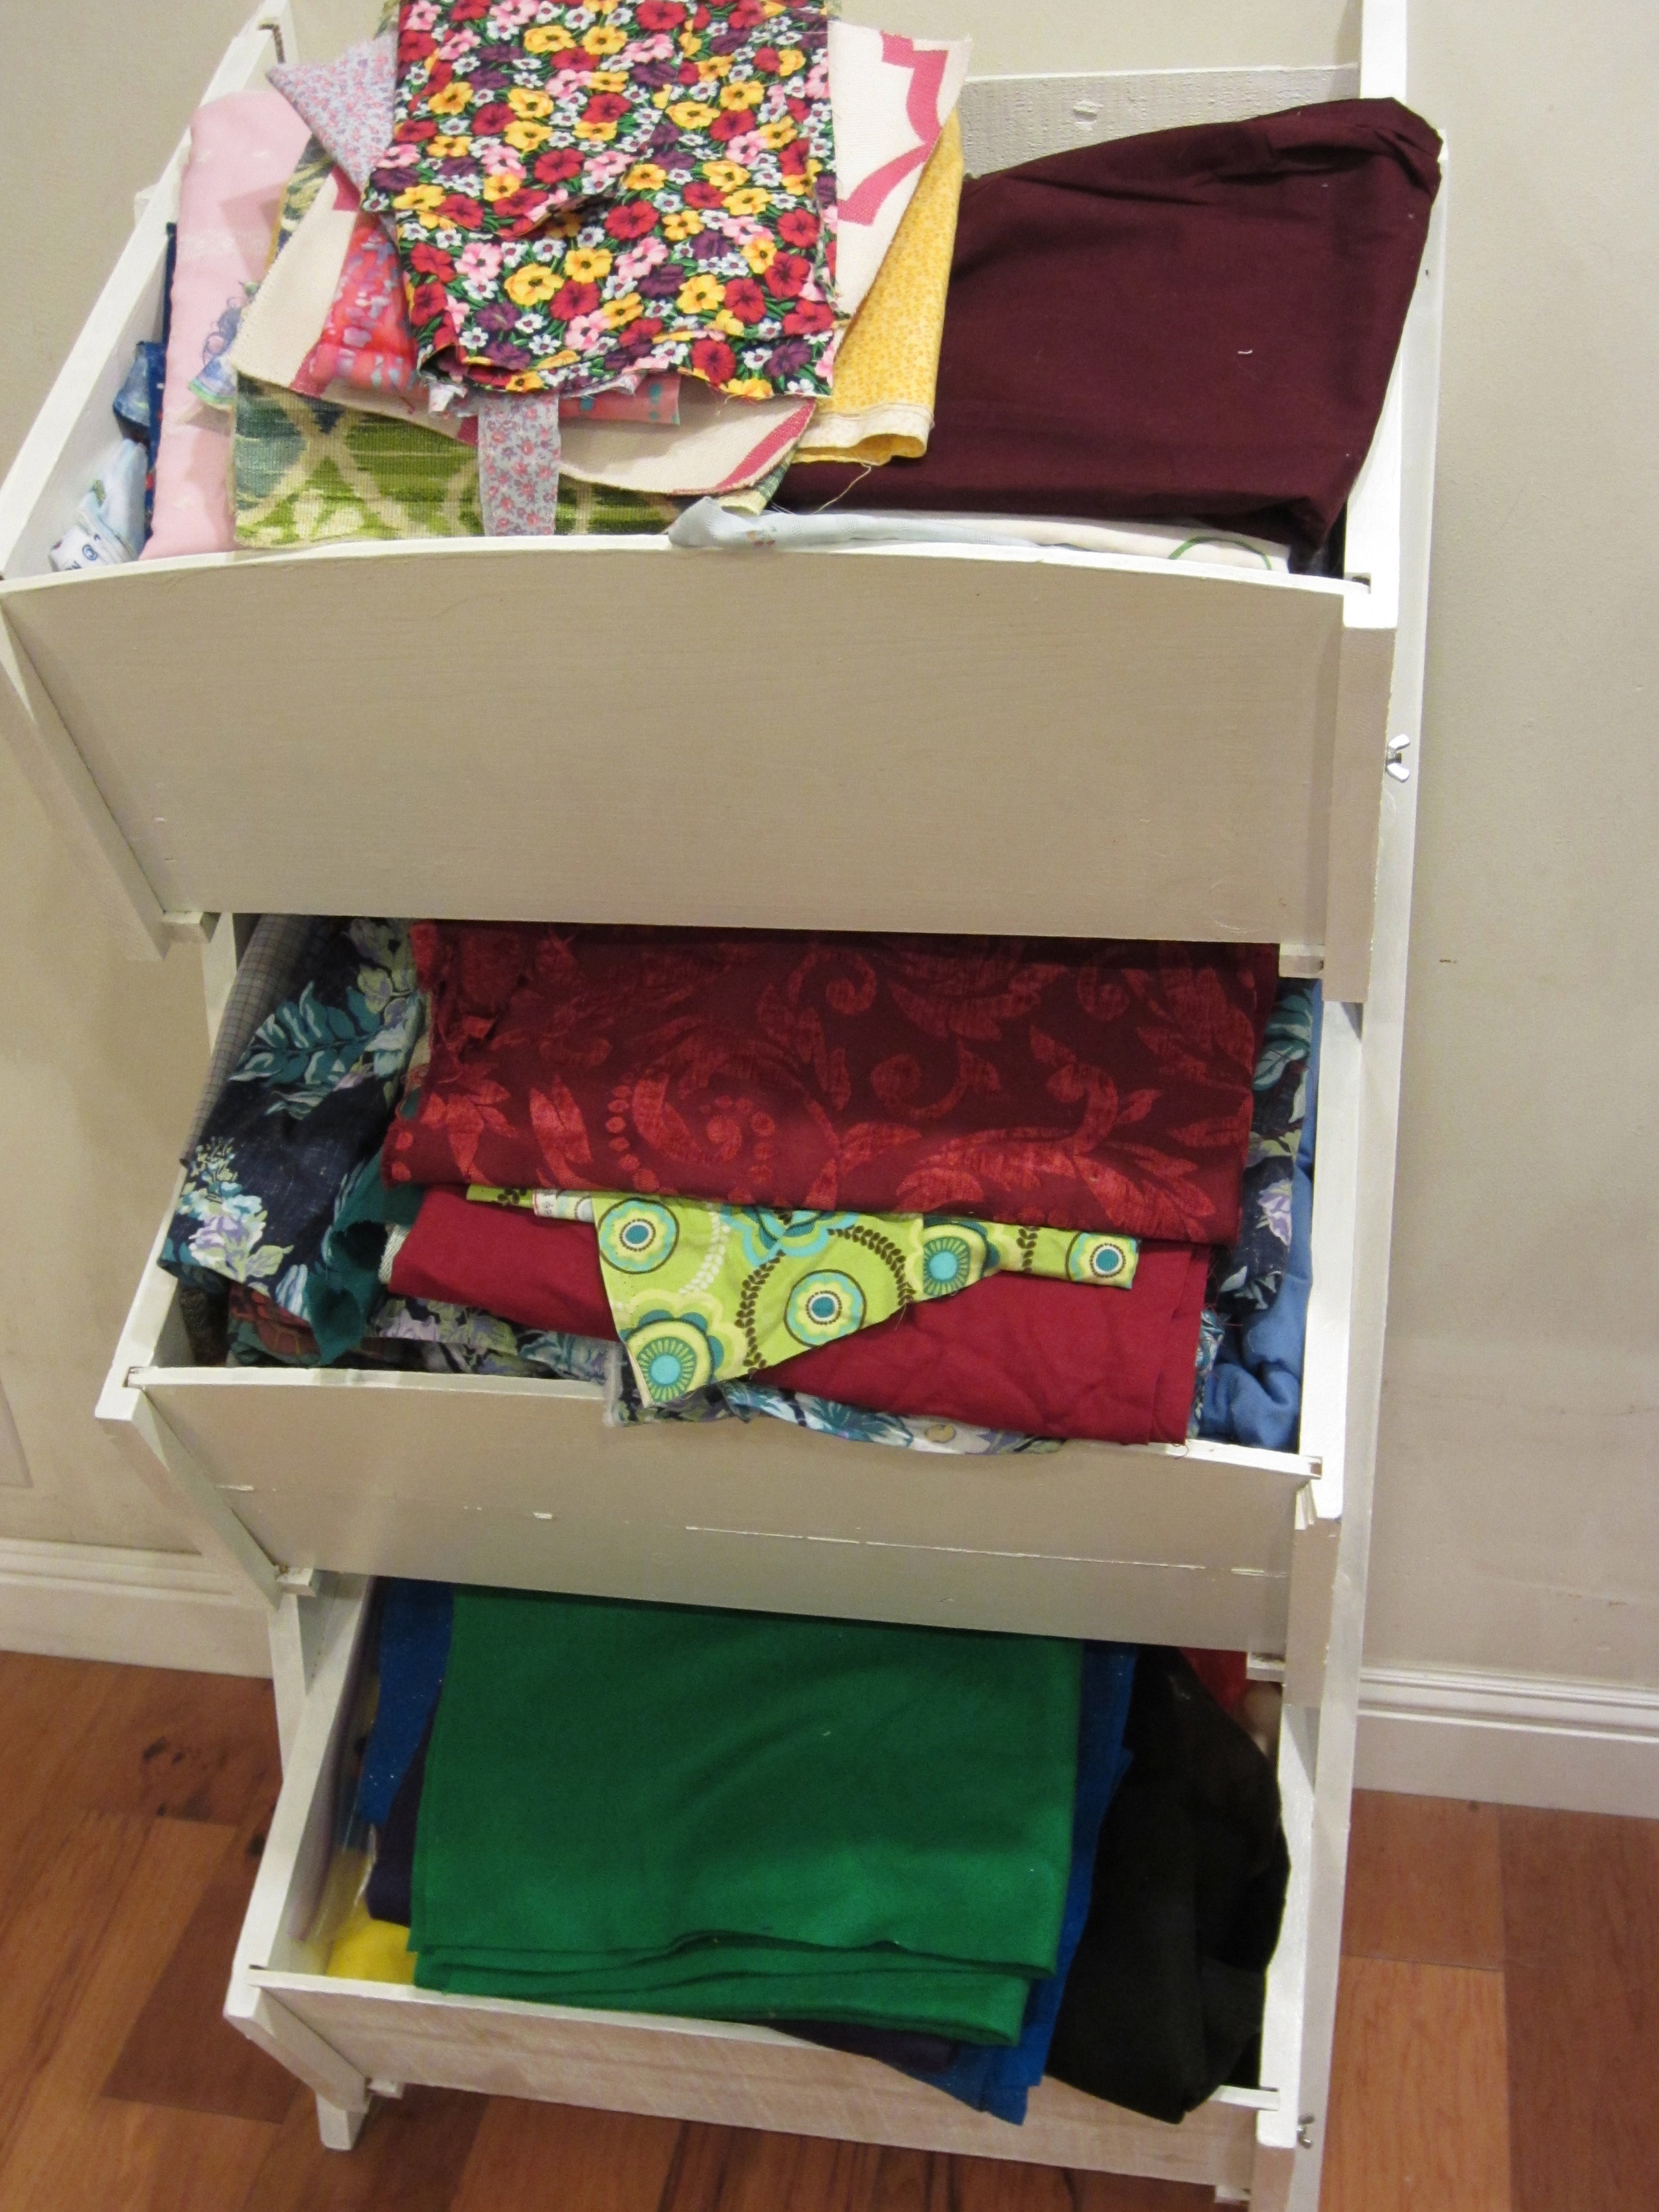
Lots and lots of fabulous fabrics to create with!  I love how these display bins allow the students to see and choose whatever suits their fancy!

Image

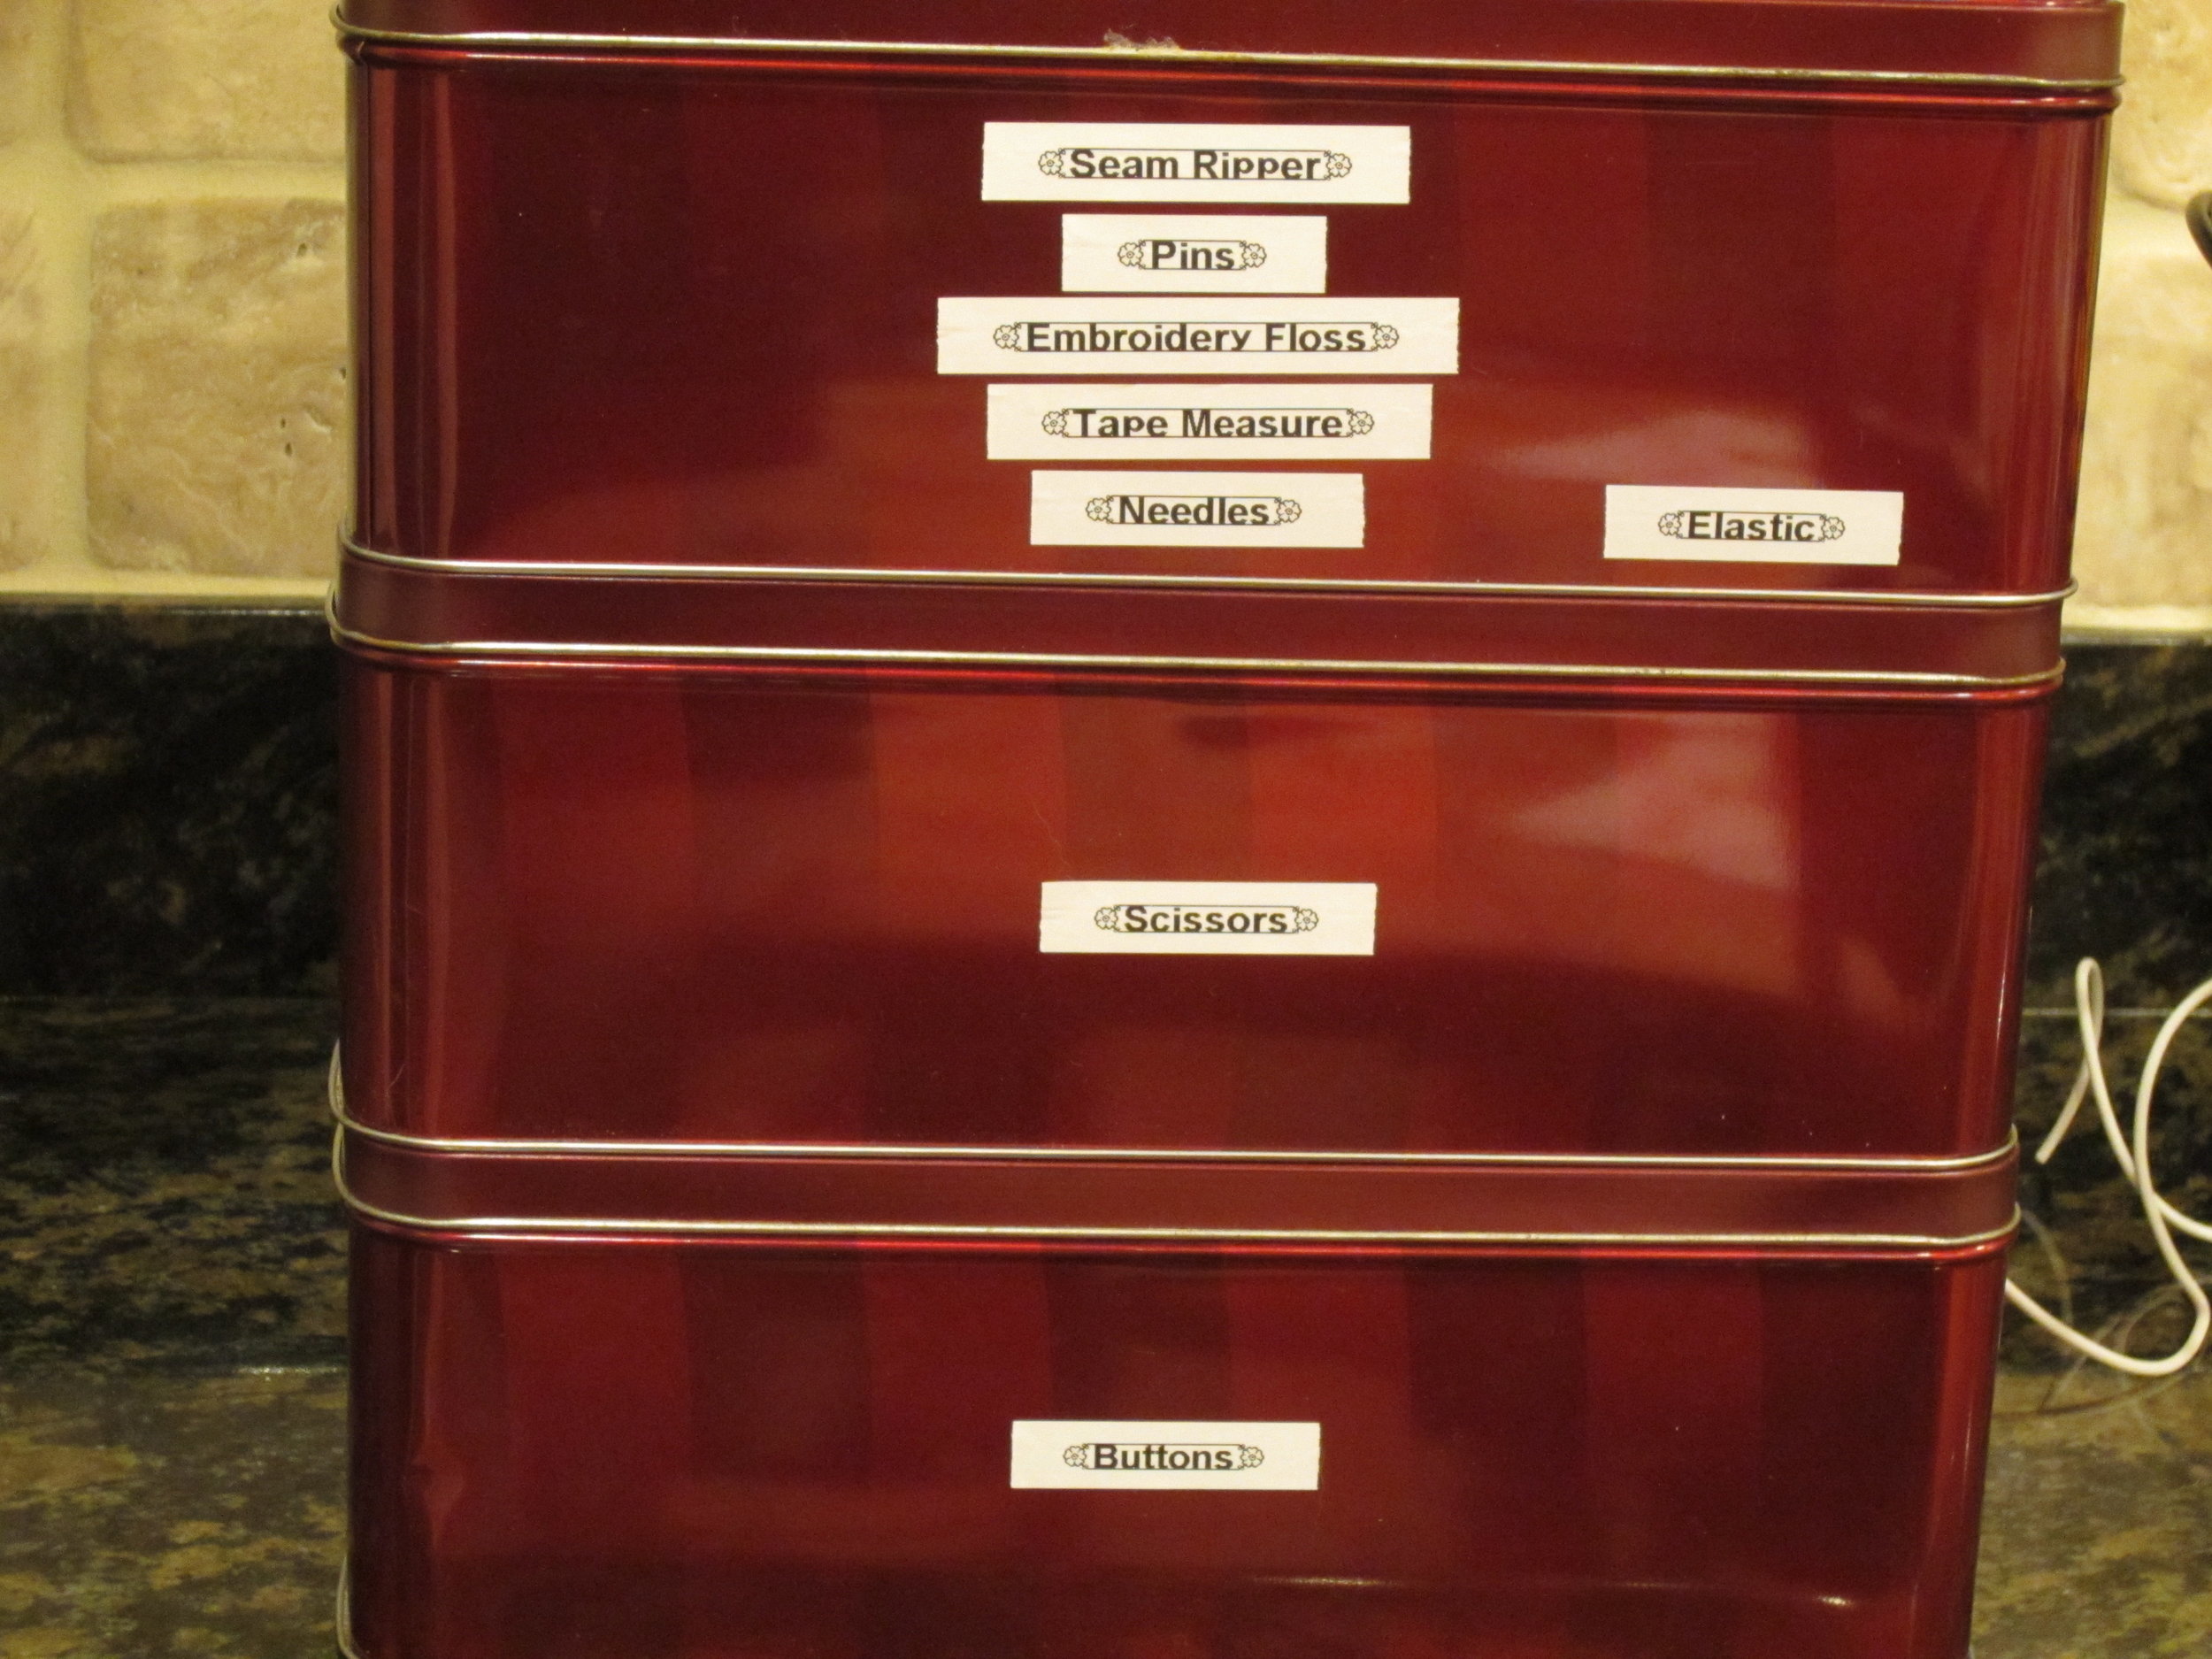
And last but definitely not least, tins full of buttons, thread, and other useful tools that will be needed.  All easy to find and get at.  More later....after class tomorrow...


Working, working, working...

Things are moving right along here at Let's Go Crafting's studio!  Right now, in between writing knitting patterns, I am working on getting samples together for our sewing camps and will be sharing those soon.

Image


I am so blessed with good friends and family who support me at every turn.  Above is a beautiful tin that used to hold cookies.  Friends of mine were talking about what to do with these tins and were thinking about recycling them.  I told them that I had the perfect way to use them and magically the tins showed up on my front porch the very next day!!  Delivery and everything!
Image

These tins are perfect for holding beautiful buttons!!  Now my students can easily see and pick out whatever button they wish to make their project just right for them.  I have two more of these lovely tins...hmm...what treasures can I put into them?


Free Teddy Bear Vest Pattern!

I'm so excited to release my first pattern to the public!  It's actually not the first pattern I have written, there have been several for my students and I may decide to post those as well, but this is one I am proud of.

Stuffed Bear Vest

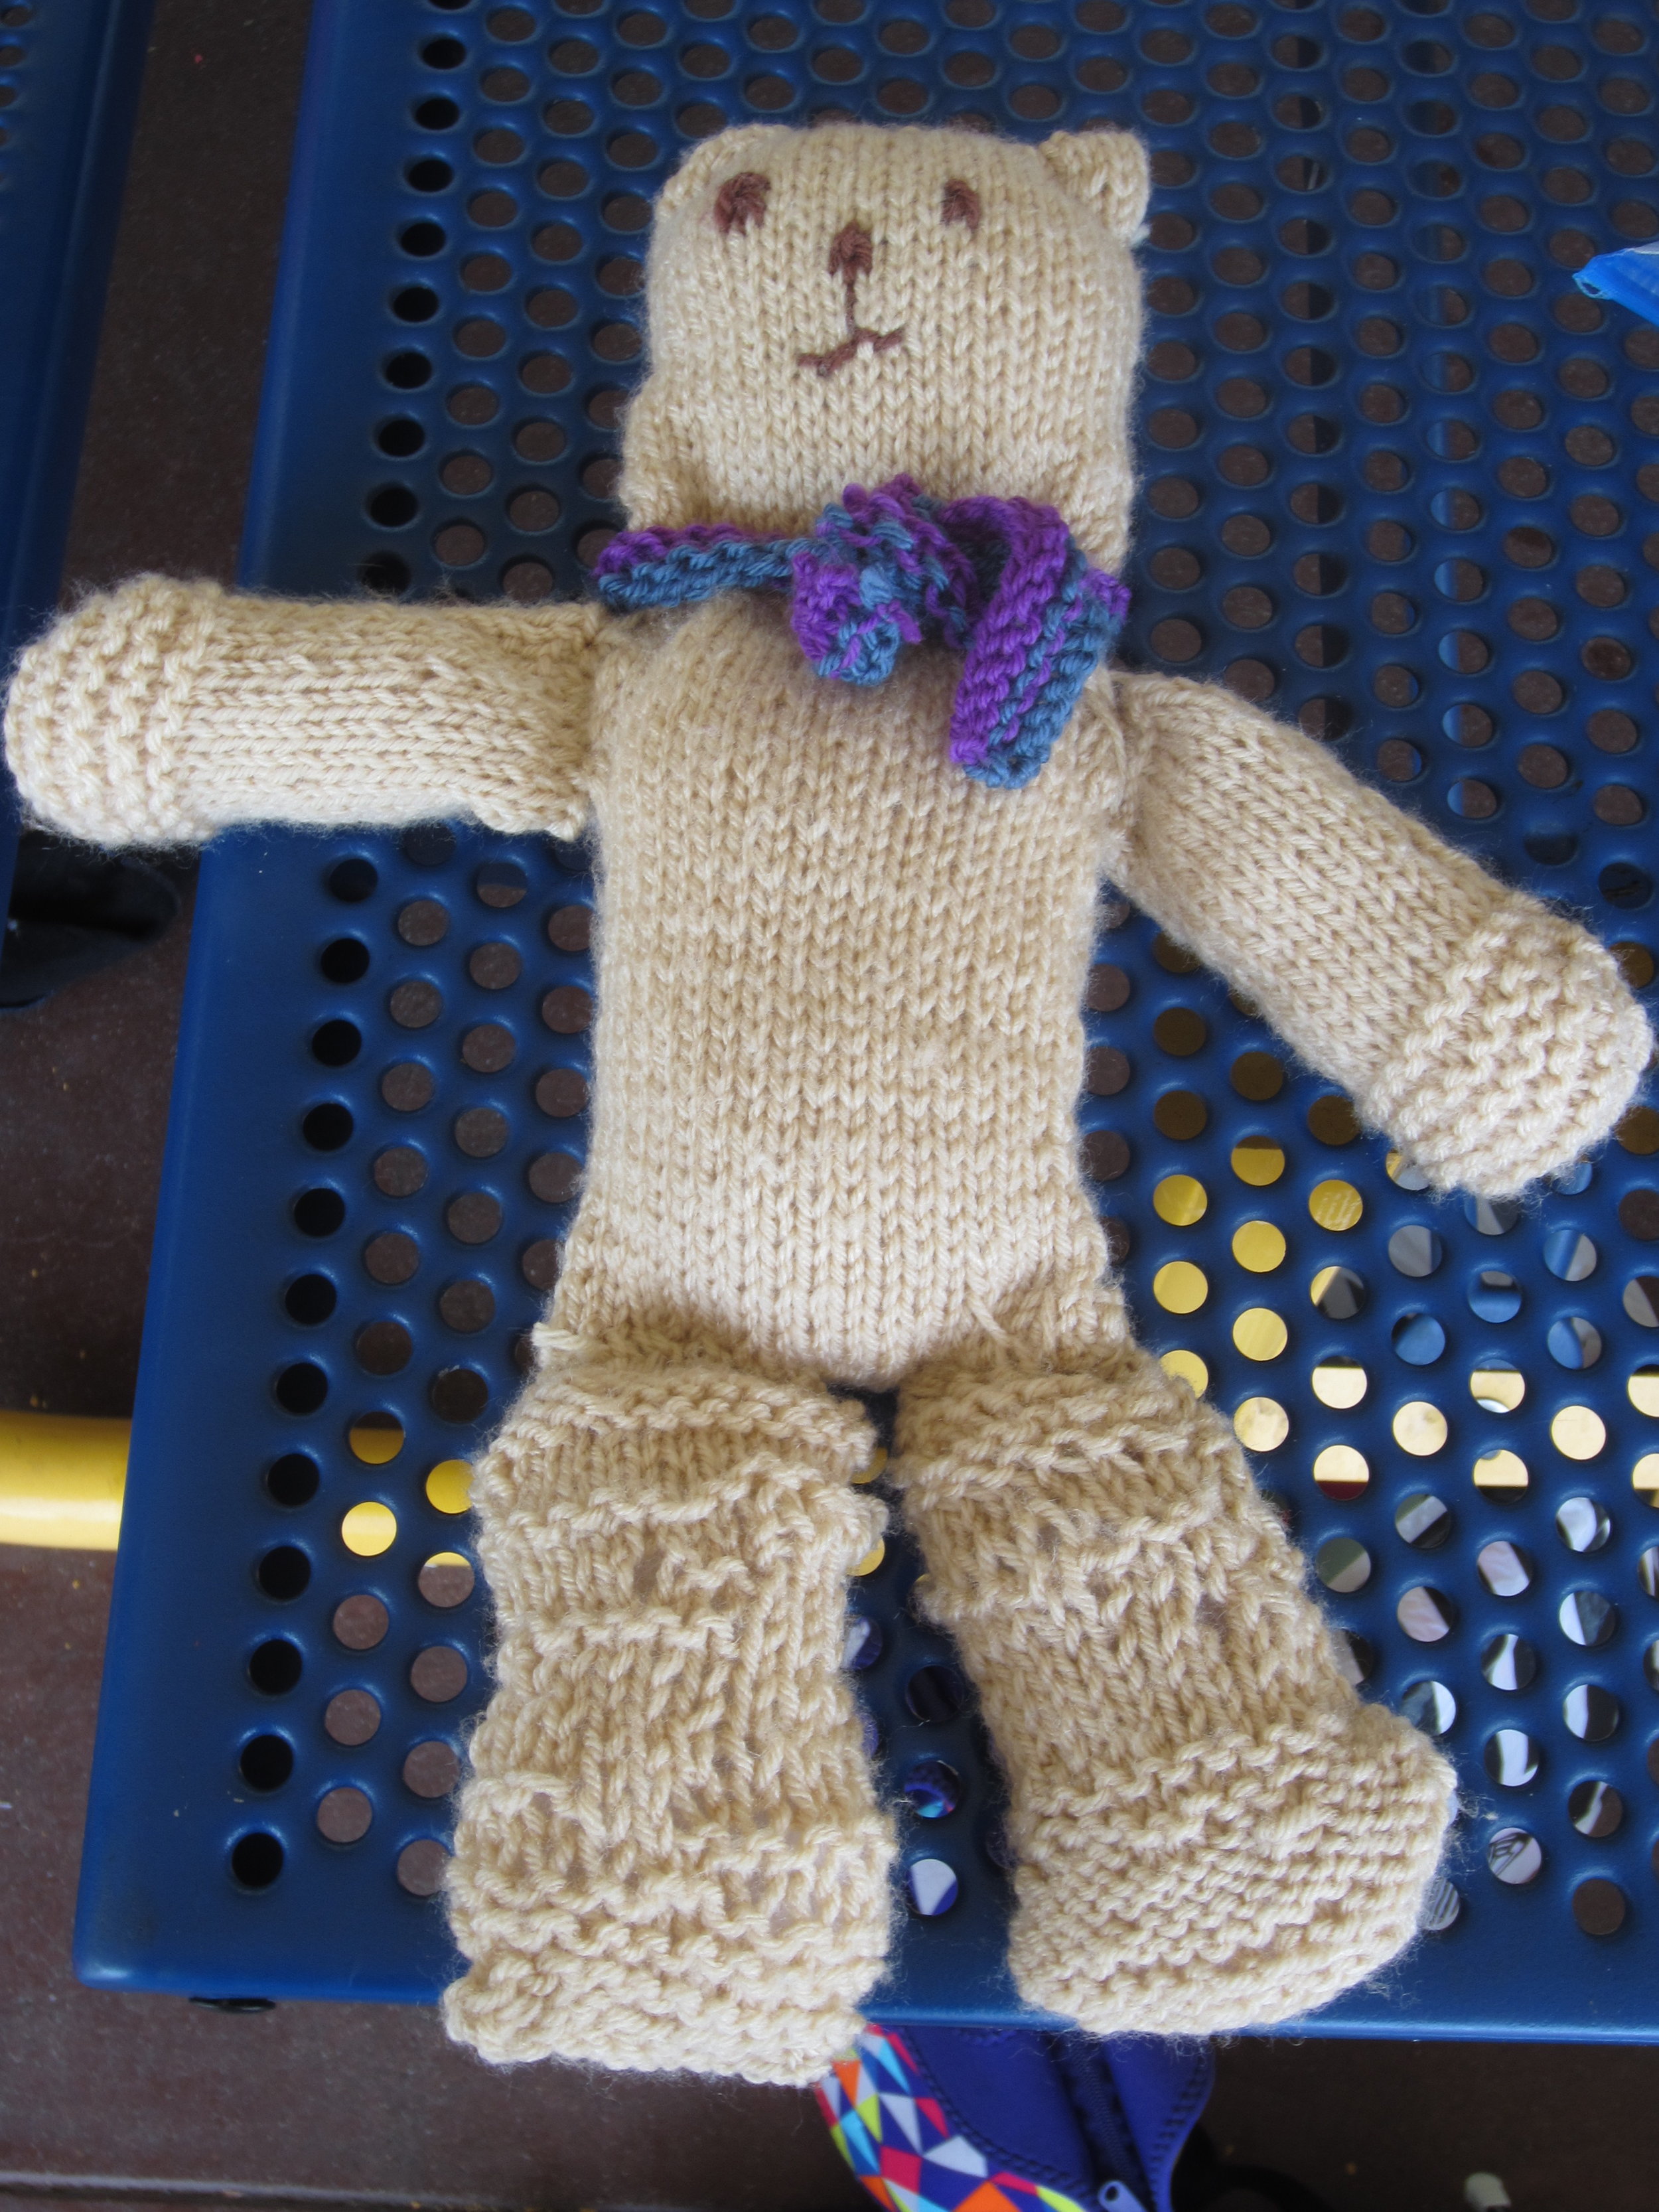
IMG_3295A student from yesterday's class finished her bear and wanted to start a "shirt" for her bear.  So... instead of making this vest, she will make two backs and then I will come up with something for the short sleeves!IMG_3302 This is her completed bear - isn't it fabulous?!!  This student is in the third grade - she knit it by herself and then put the whole thing together with very minimal help - The scarf was her own creation and she did it all on her own in between classes with no help at all - can you tell I am so proud of her?? 

Lovely working conditions!

At the request of a couple of my knitting students, I have come up with a couple of patterns for the stuffed bear that they have been knitting.  Today, I am writing the pattern for a vest and this is what my office looks like:

Image


The weather is so beautiful and warm I just couldn't resist sitting out on the patio!

Image


And this is my view!  These are the raised bed gardens that my husband built me.  What you can't see is that there are a total of FOUR of them!!  They are all filled with compost and vegetables - I can't wait until we can start harvesting.  The strawberries fill one entire bed and the kids are just eating them as they come ripe!  Being out here is just sooo relaxing and feeds my creative spirit!  Come back tomorrow for the free pattern for the bear vest.

Crochet Camp Projects!

While I have been quiet on the blogging front, I have been far from quiet on the crafting front!!  I have some new exciting projects to share with you!  I simply can't wait for crochet camp!  Here are a few of the projects we will be working on:

Image


Shoelaces!!  Who doesn't like a spiffy new pair of shoelaces!  They can be made in any color and teach the very most basic crochet stitch, the chain stitch.  This is the foundation of all other crochet stitches.

Image


My 17 year old loves these and now has two pair!

Image

Next up can be a hair scrunchie.  This is such a fun project that combines the chain stitch from the last project with the single crochet.  A quick project that helps solidify their new skills along with helping the student to master their tension.
Image


Another beginner project will be this easy beaded bracelet.  This incorporates the chain stitch and introduces a new stitch - the half double crochet.  These fun, quick projects are perfect for teaching!!  They help teach new skills without becoming boring or too repetitive.

Image


A beaded headband.  This one is basically the same as the bracelet only a bit longer.  It will just depend on what is interesting and exciting to the student.

Image

Now, more complicated projects can be tackled.  This hat uses the same half double crochet stitch, but it takes just a bit longer.  The top of the hat is gathered and the hat is sewn together.  A pompom is then added at the end.

Image

The same hat can stretch to fit many different sizes of heads!!

Image


Half Double Crochet Shoulder Bag.  These are so fun to make!  Useful too!

Image


Kids love keychains to hang off their backpacks and give as gifts!

Image


A longer keychain.  These can be made in any length desired!!

Image


This fun and pretty scarf introduces yet another stitch - the double crochet.  This one takes just a bit longer, but the time spent is well worth it!!  Fringe can also be added to both ends for a nice touch.

Image


This ripple blanket project introduces decreases and increases.  It is one of the most popular crochet patterns (besides the granny square) you will find.  Once the student falls into the rhythm and is ready for a greater challenge, this would be a perfect project for them.

Image


This is an example of Amigurumi crochet.  Once the student has learned the basic crochet stitches, there is really nothing they cannot do.  A little lesson in pattern reading and their imaginations are the only limit they have!!

Simple bag project

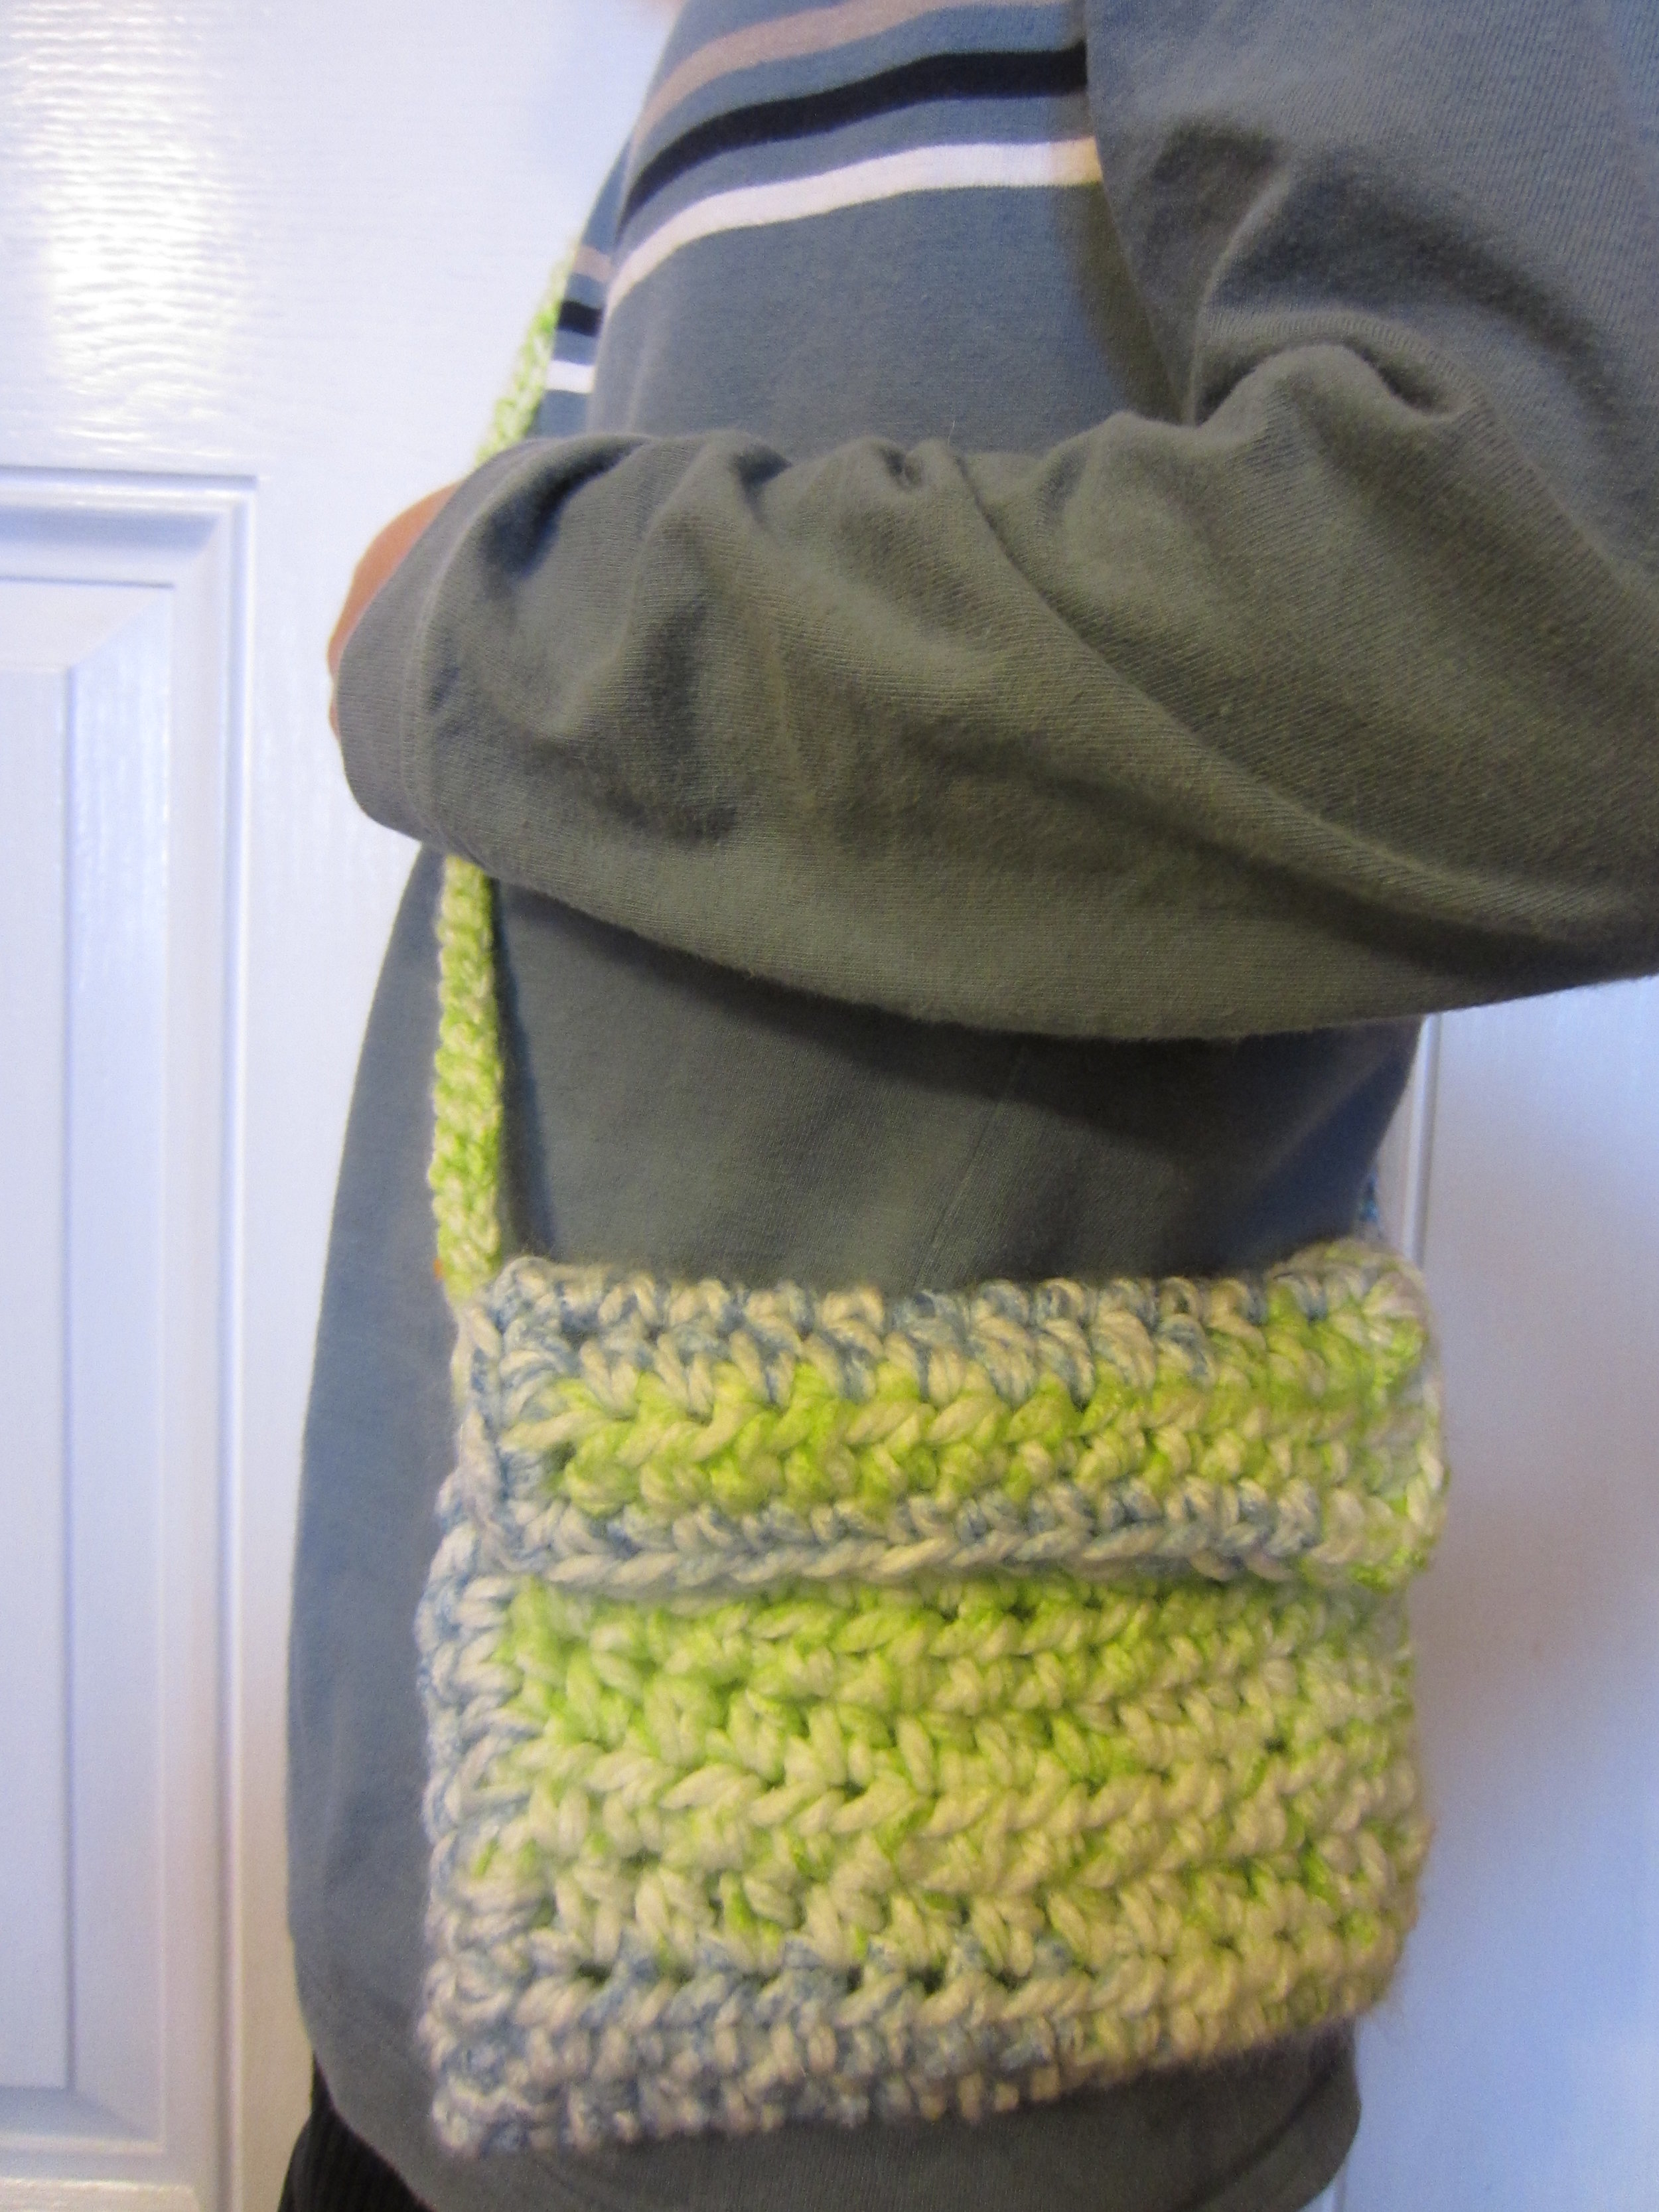
I am so excited about these beginner crochet projects for my students!!  I think they add the perfect combination of cuteness and learning to keep them excited and interested.  The next project they can choose from is a Half Double Crochet bag.Image

This bag reinforces what they have already learned and works up so quickly!Image

My 8 year old son modeling the bag.  He wants to learn how to make one of his own!

Beaded Bracelet and Headband

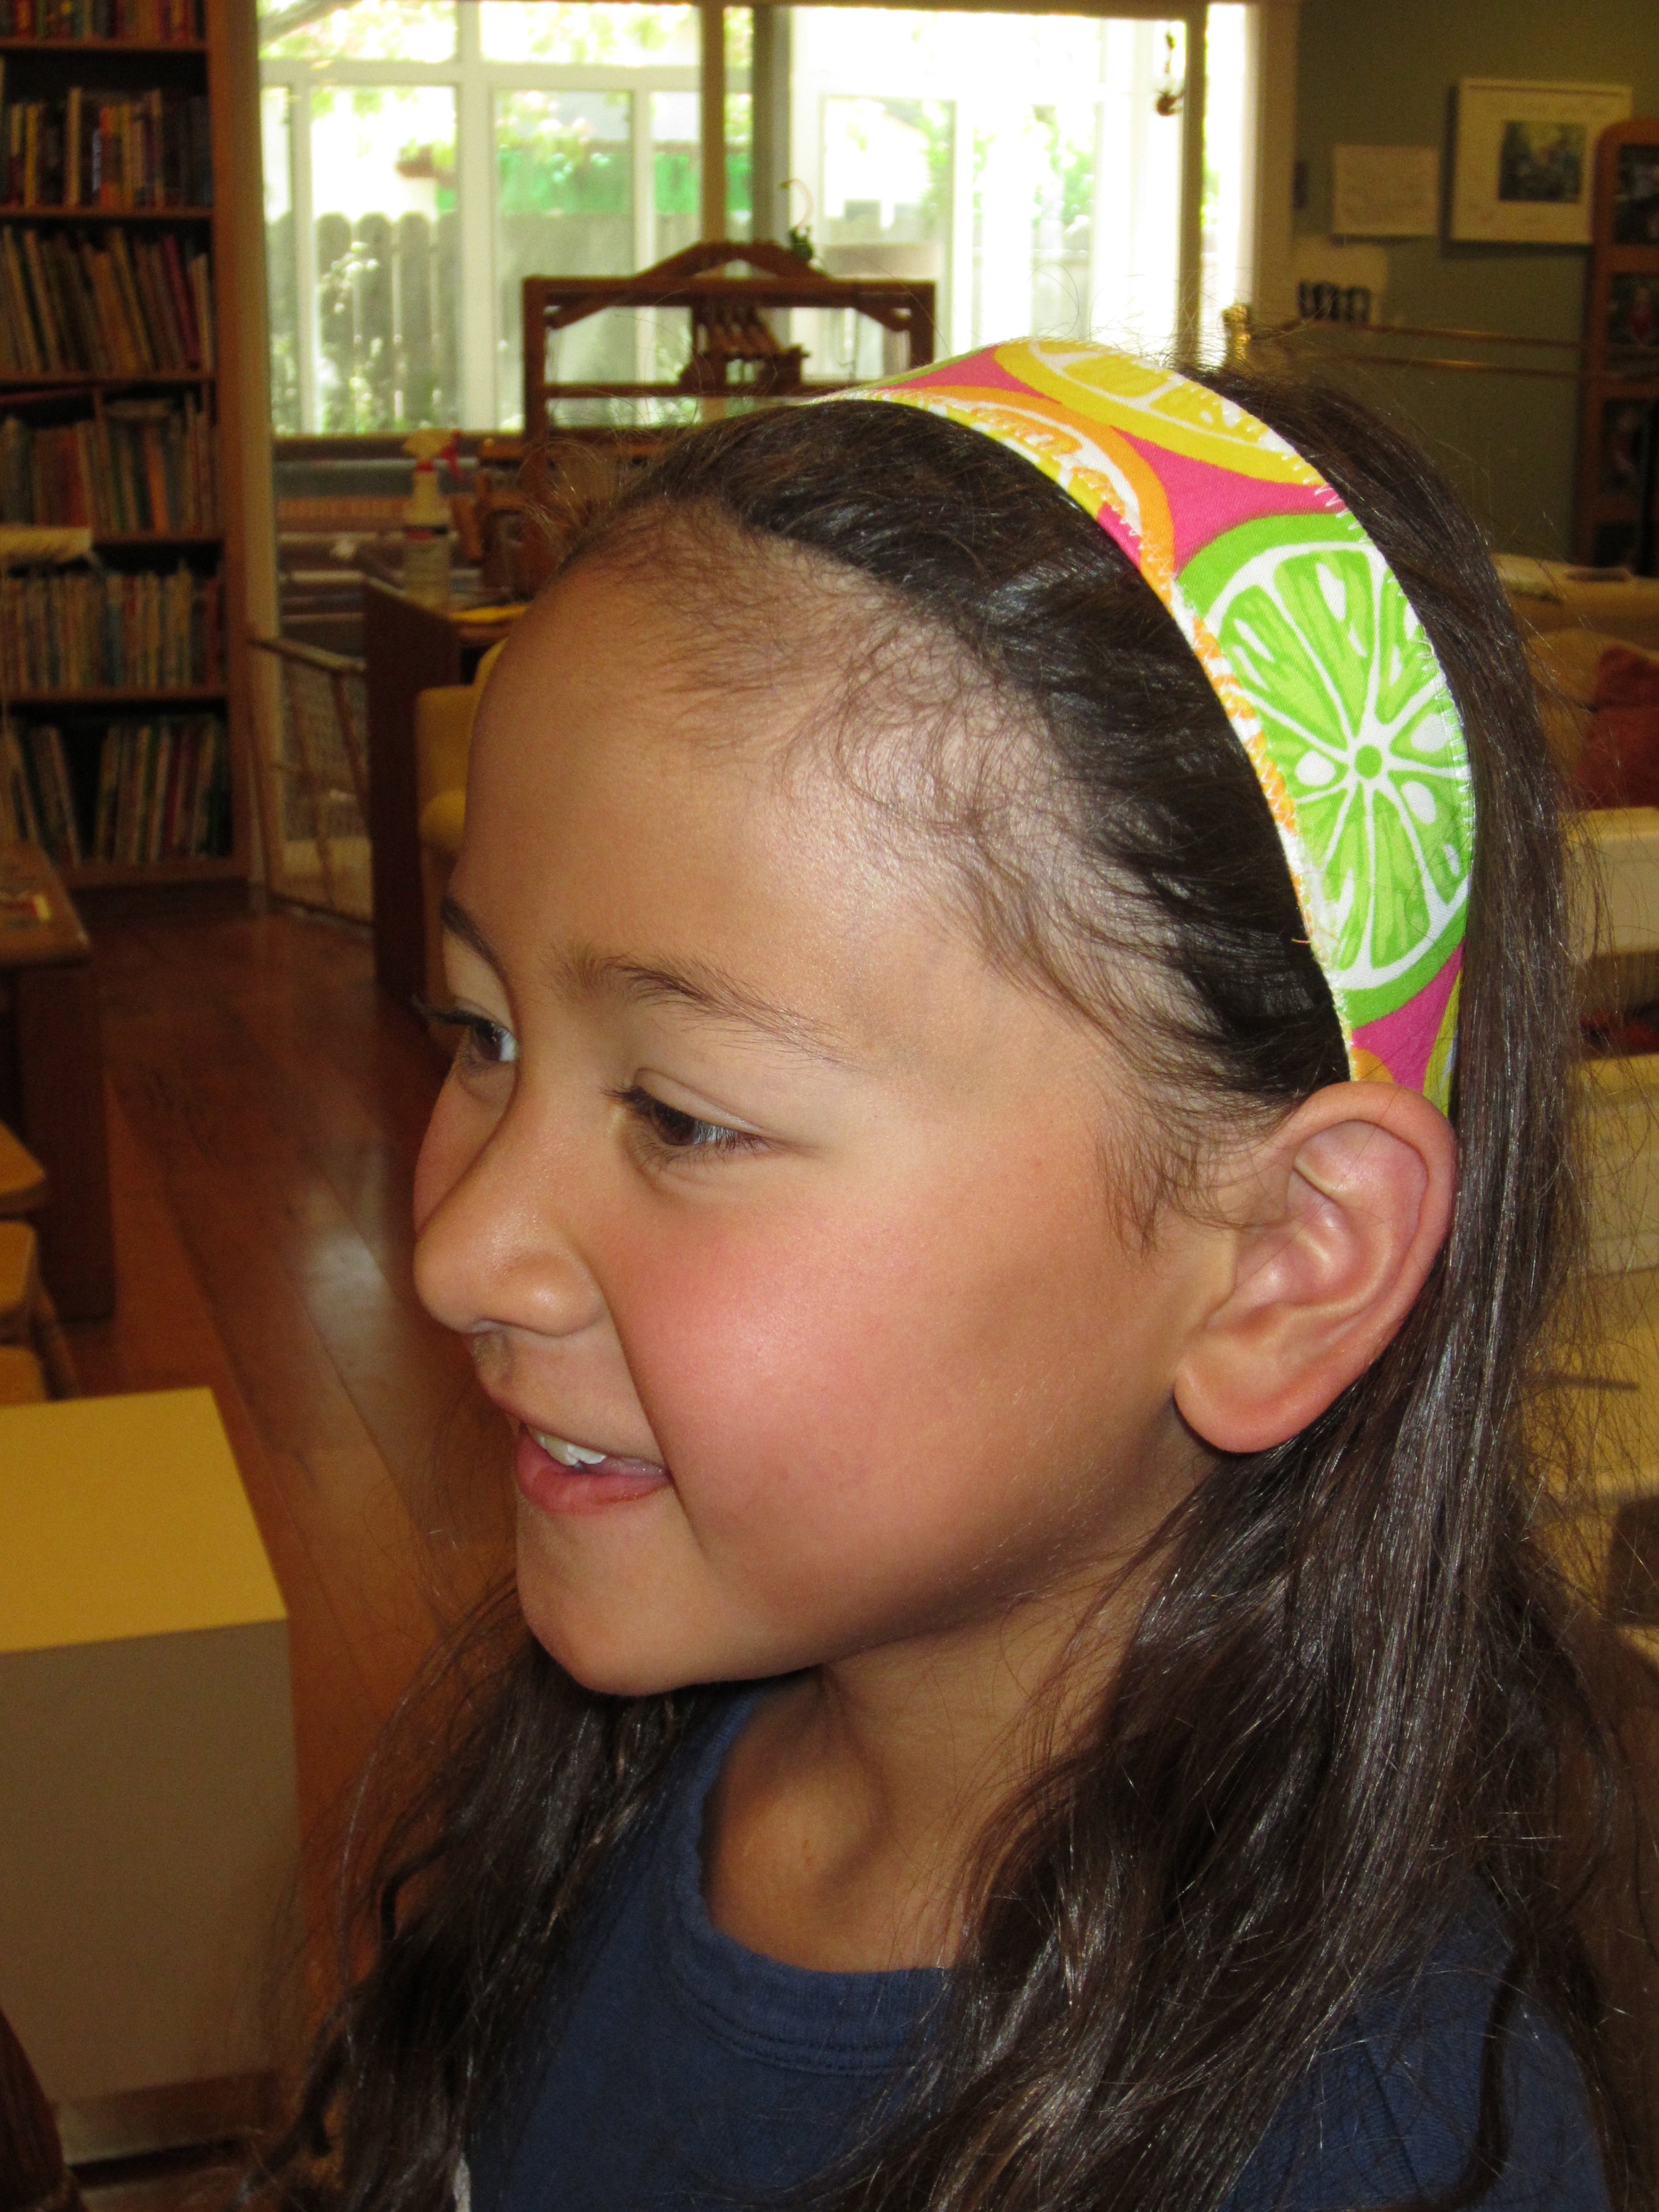
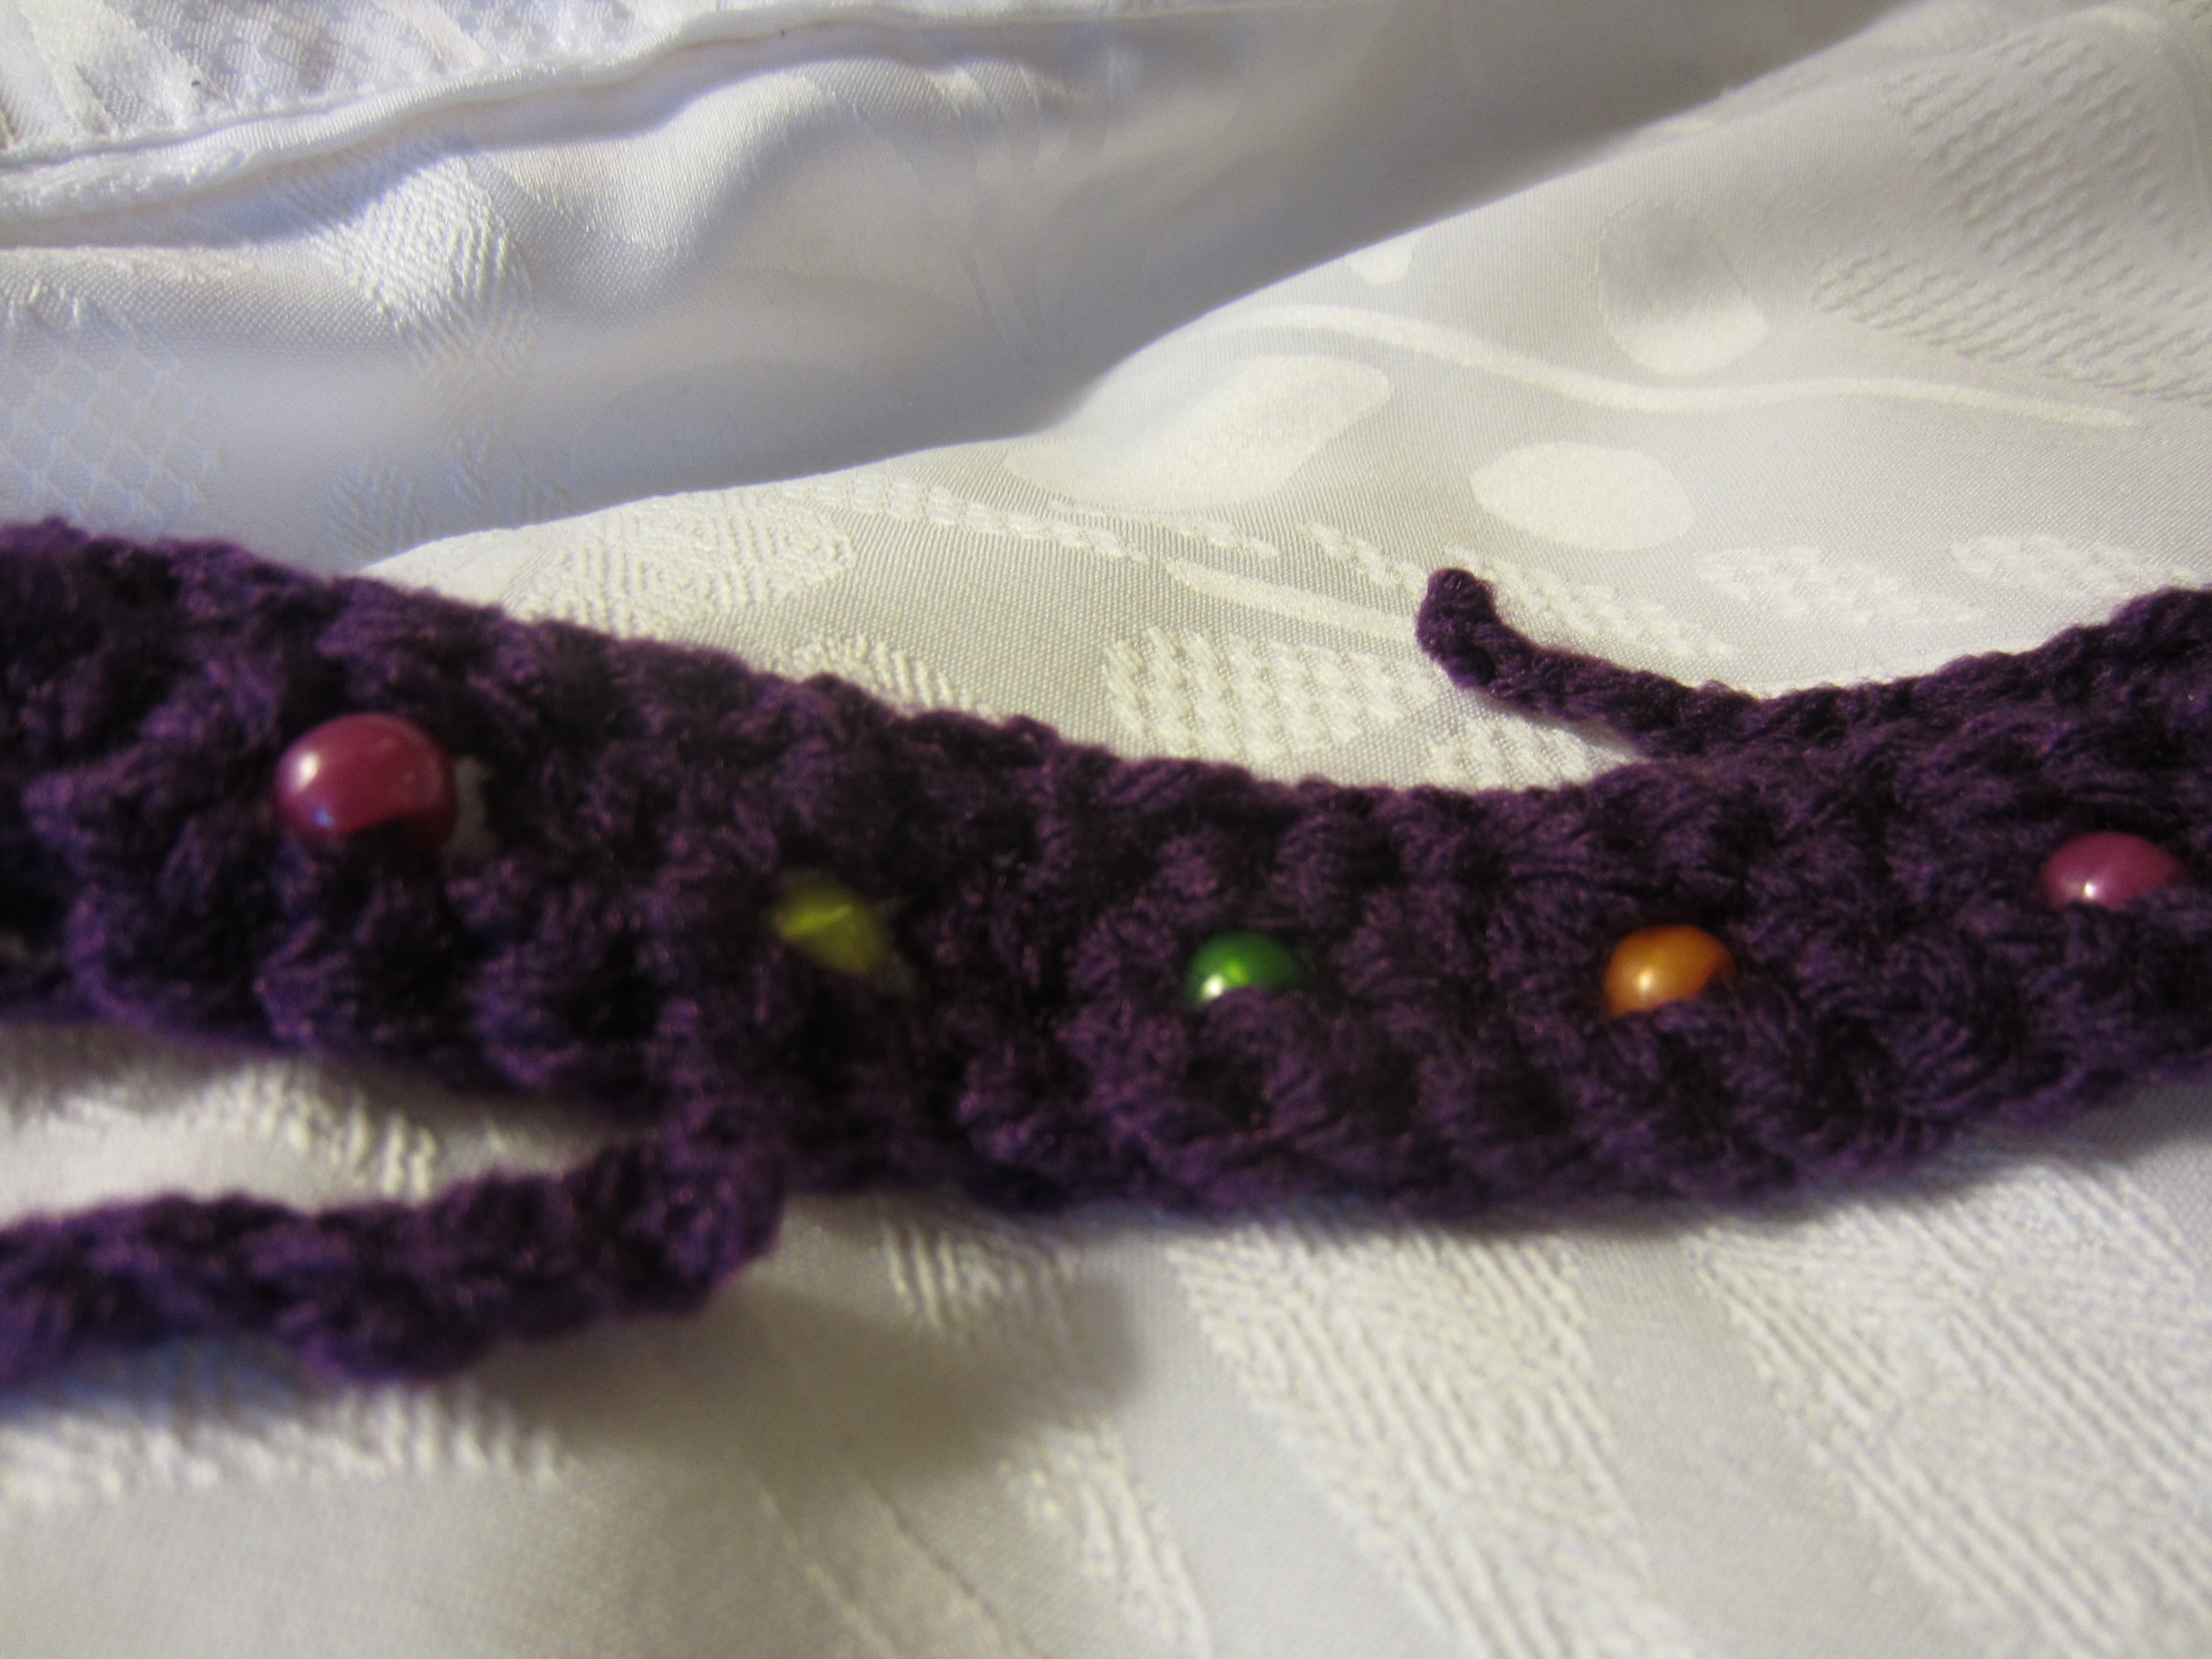
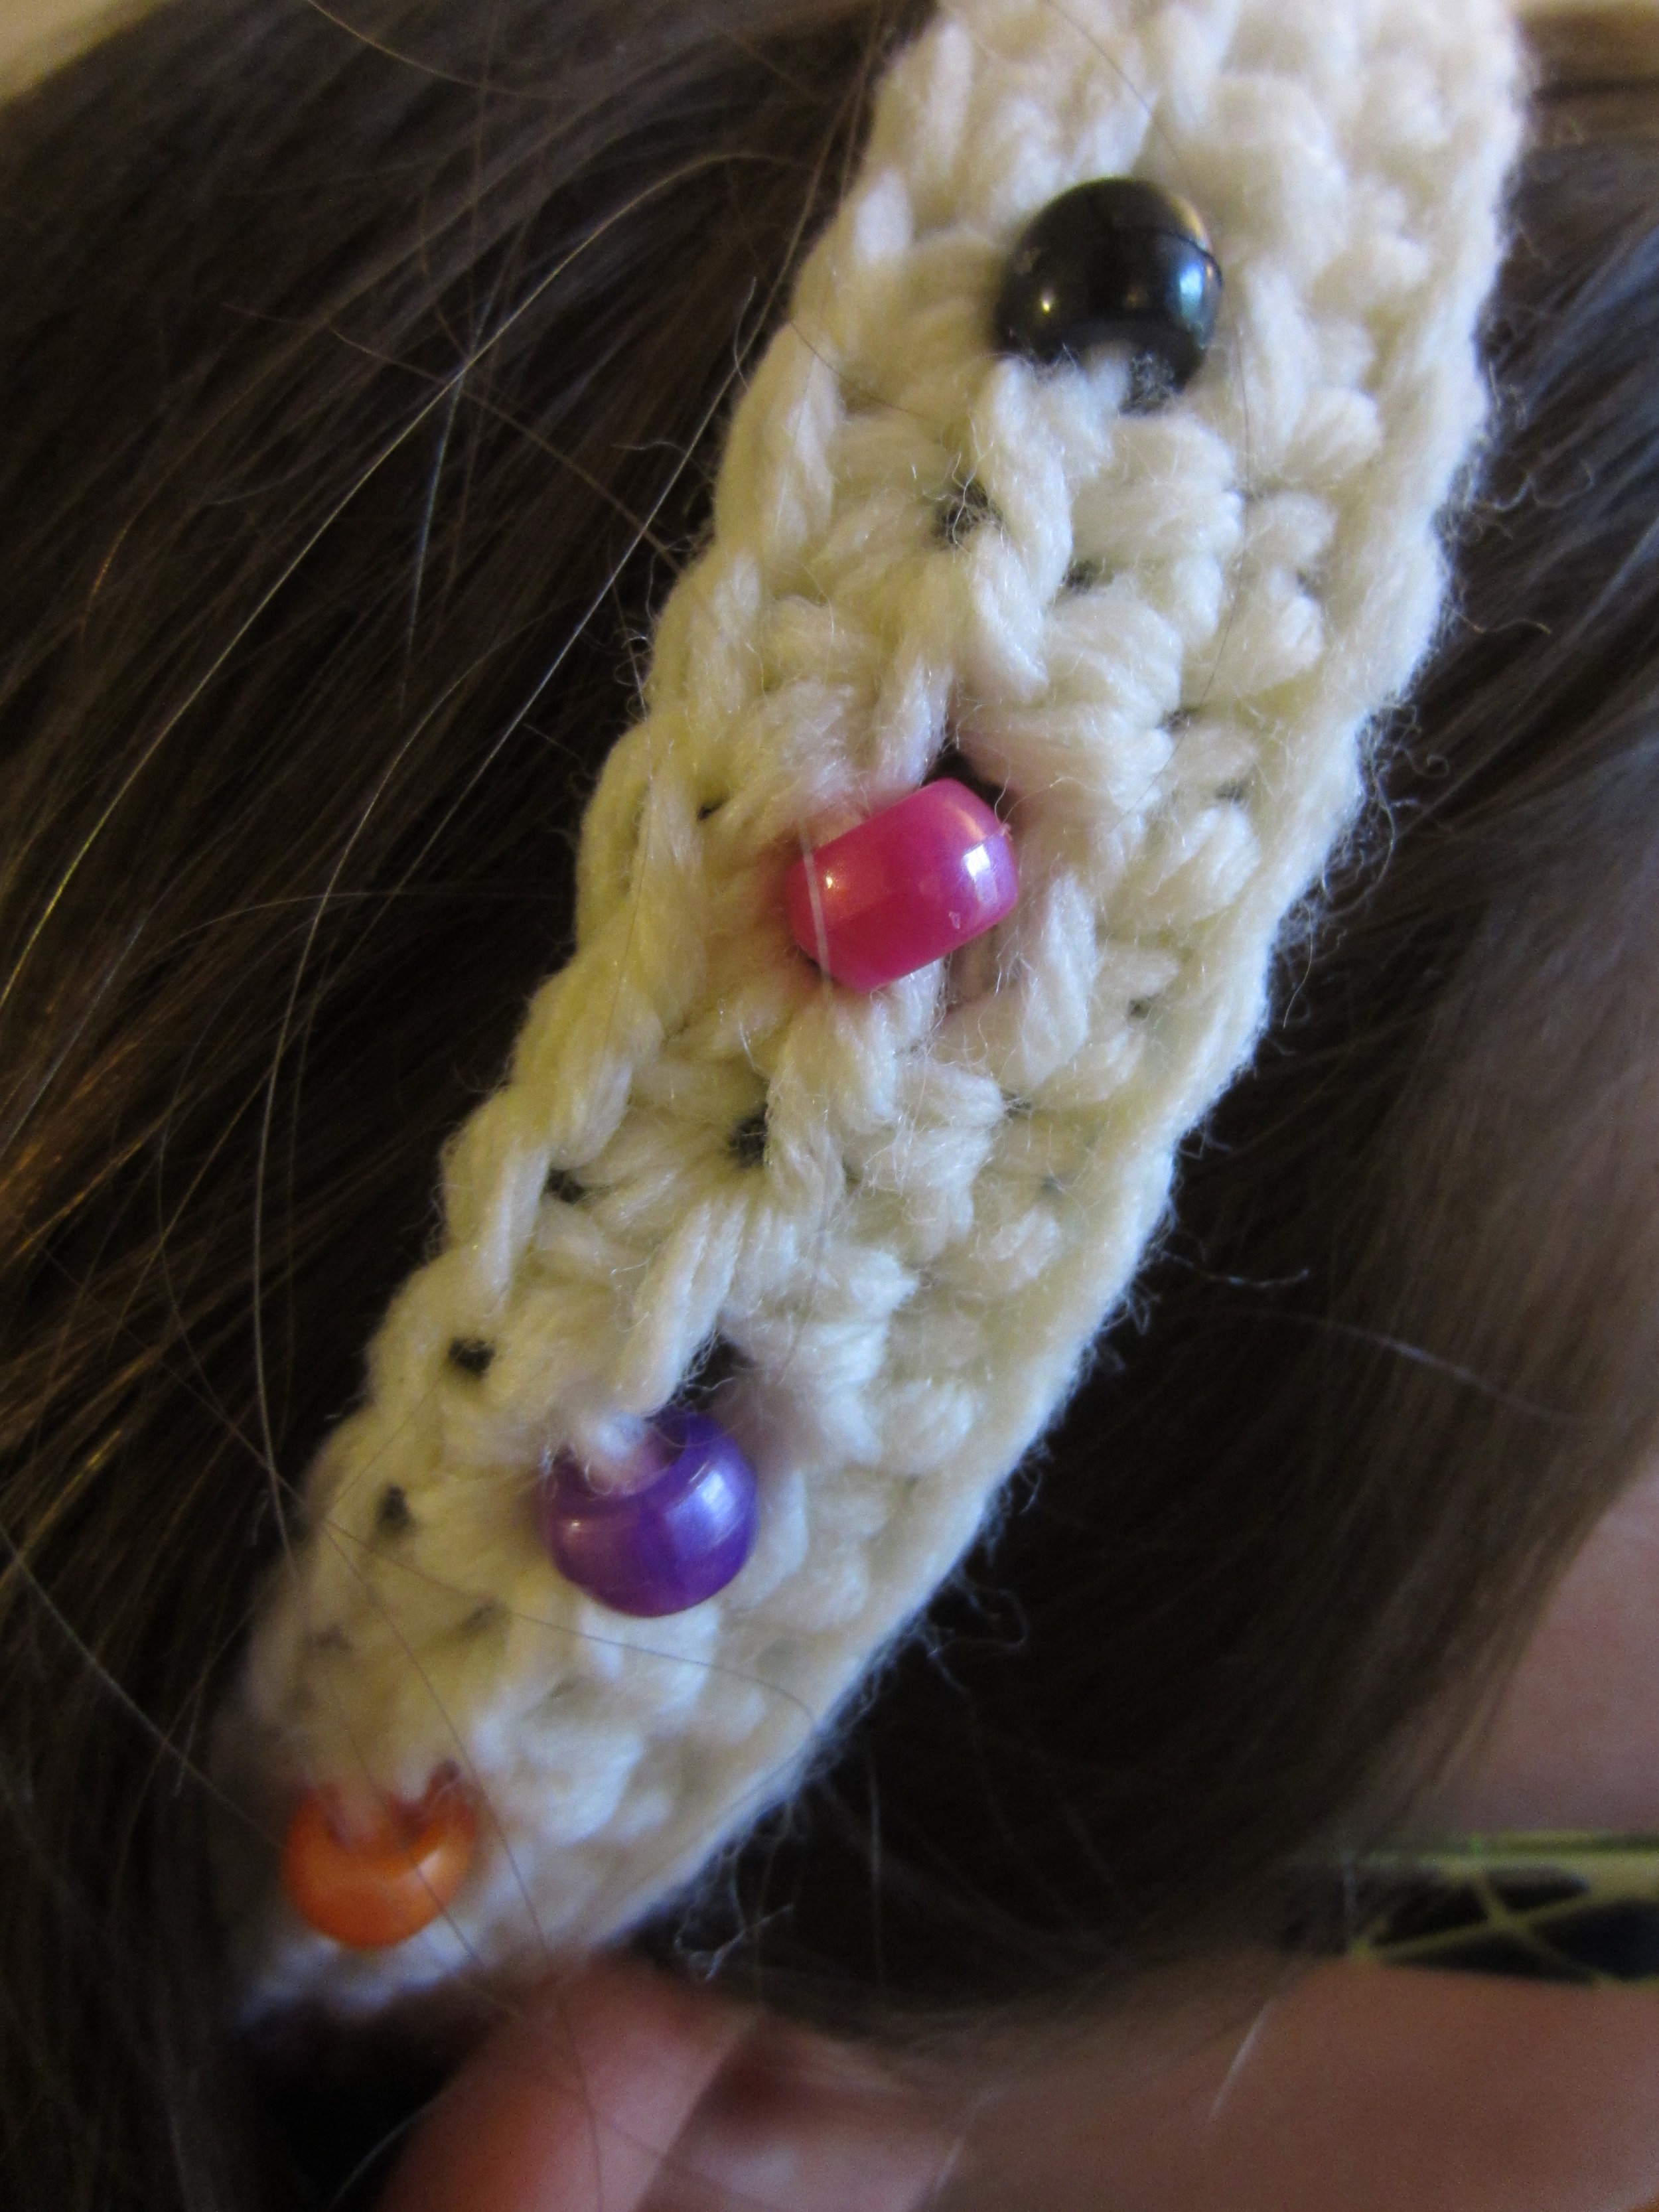
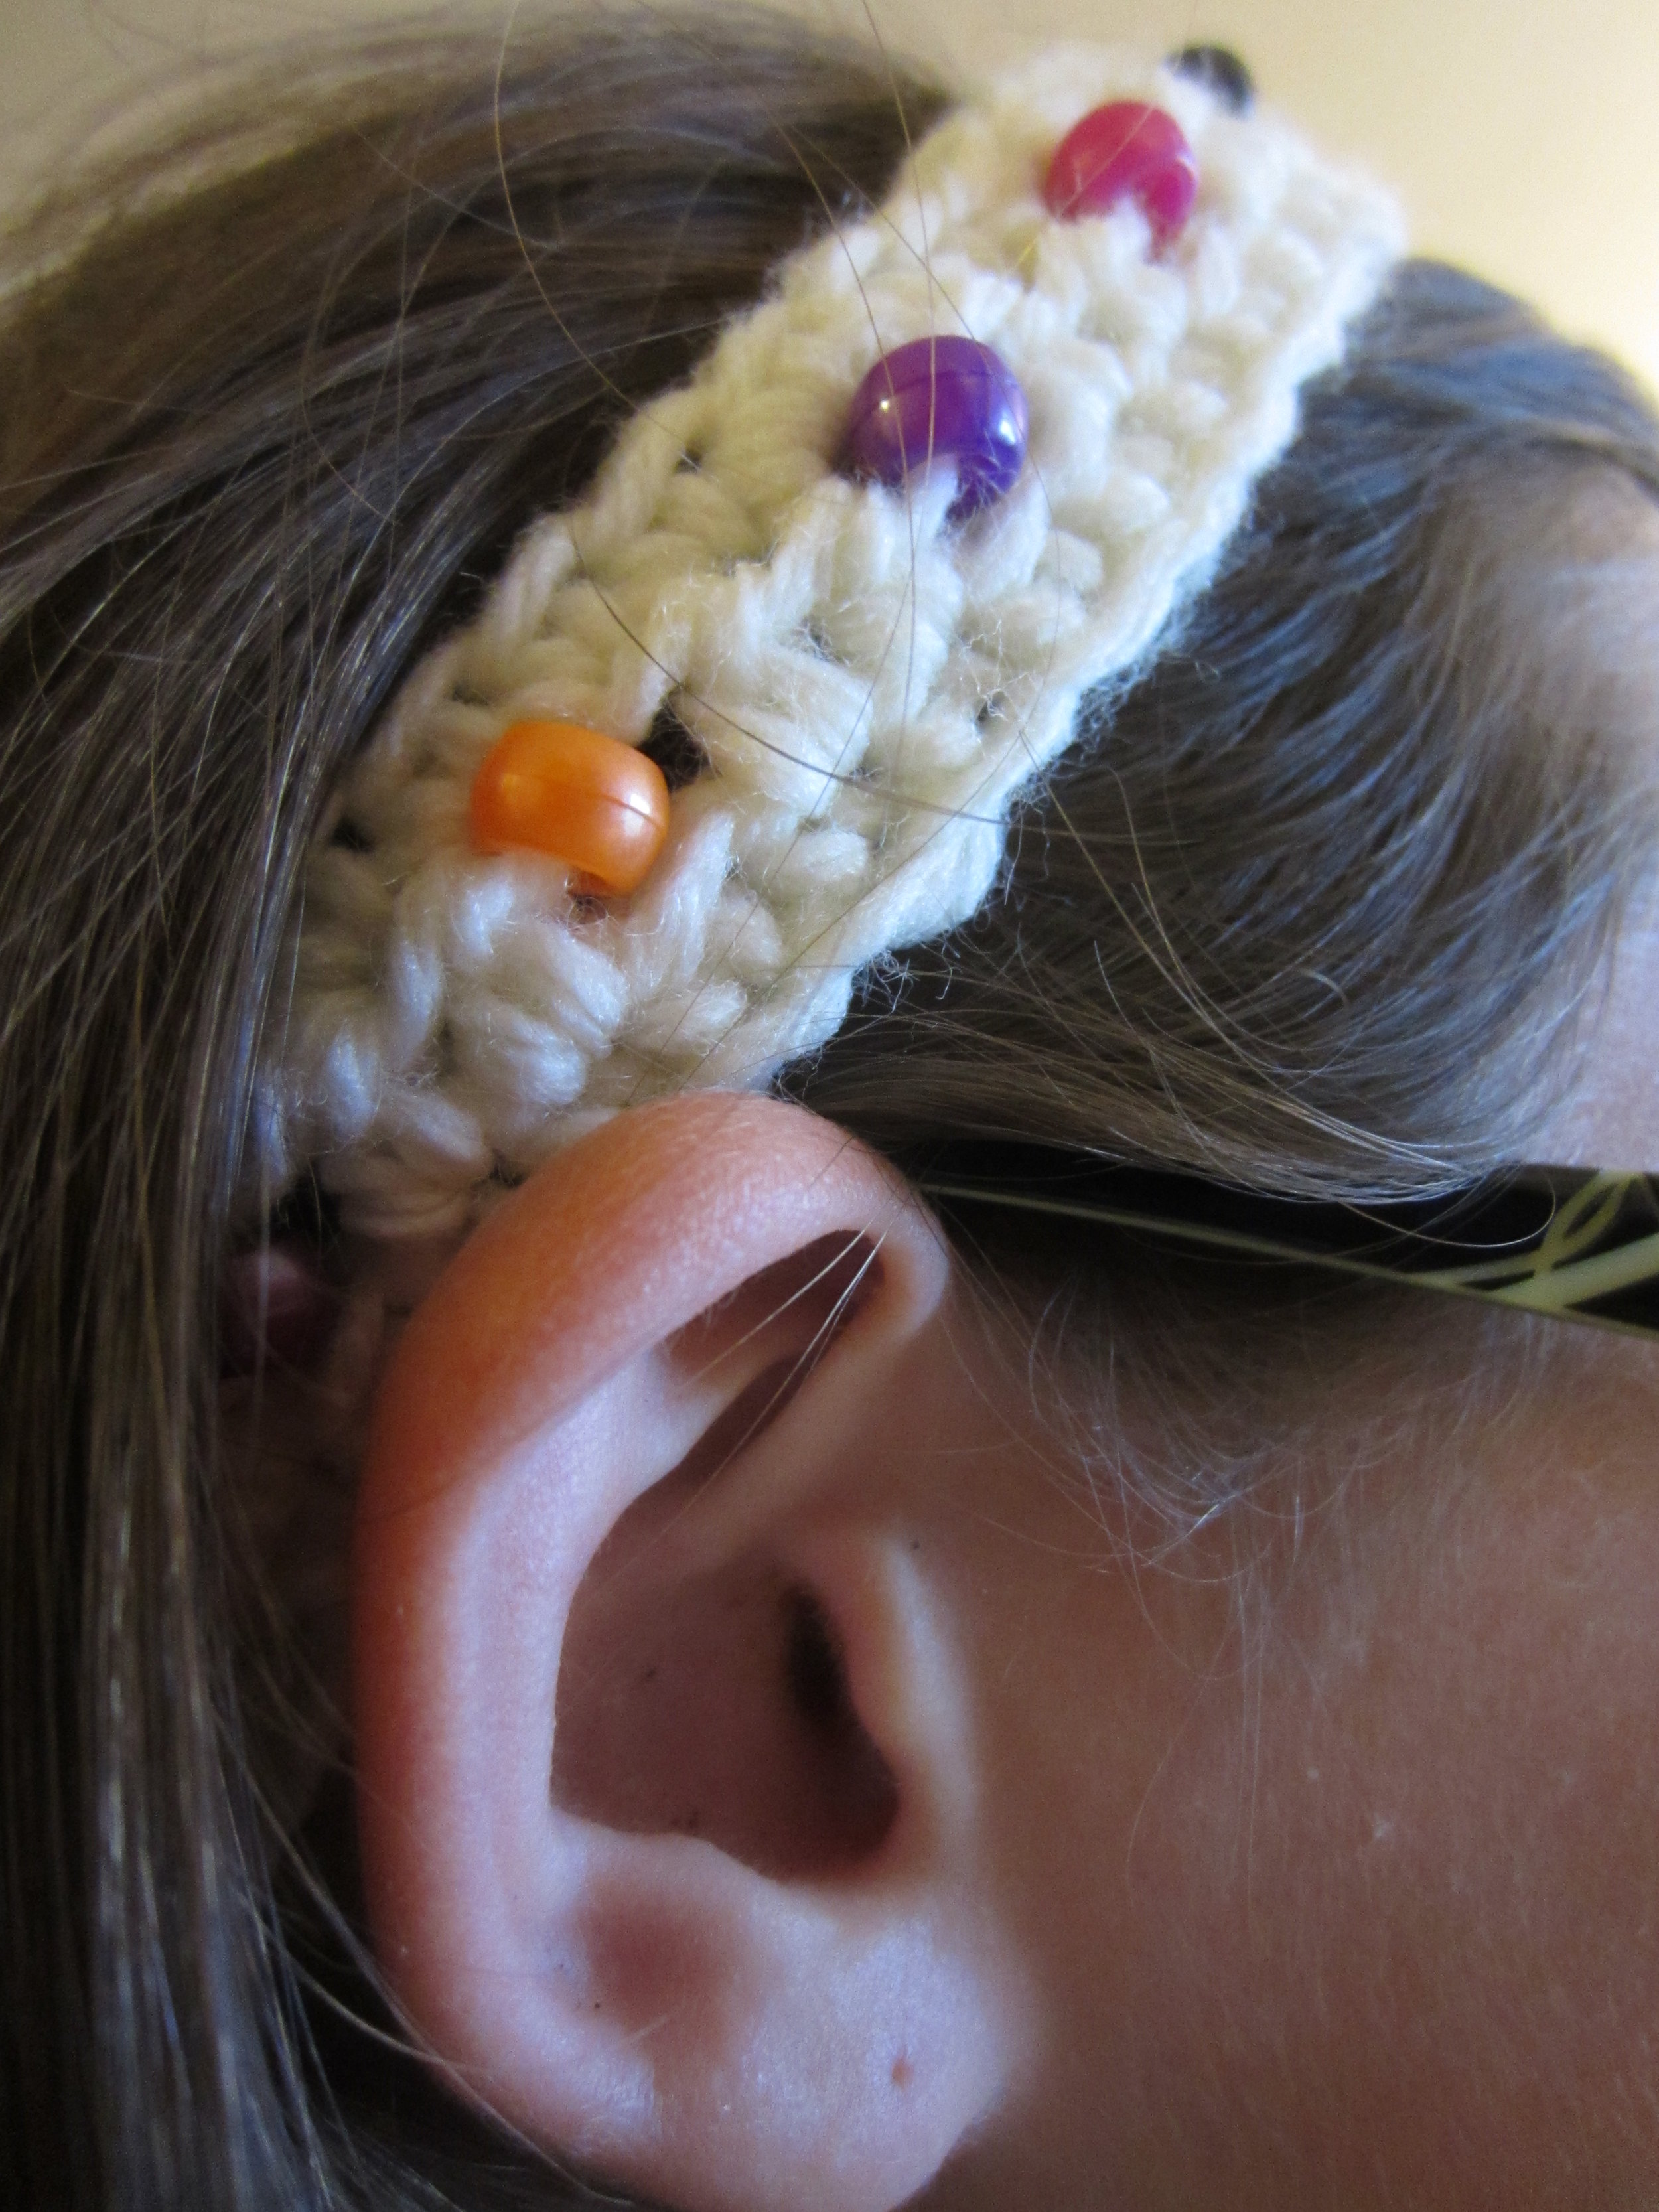
This next project is super simple to make, teaches one new crochet stitch, and gives practice to those stitches already learned.ImageThe beaded bracelet utilized the chain stitch and then moves right into the Half Double Crochet stitch.  The beads are first threaded onto the yarn and moved into place as the work proceeds.ImageIt is quite a quick project to make, yet produces a very cute effect!  I know students will love this one!ImageThis is the same stitch and same beads, but different yarn.  The bead colors "pop" so much more in this one! ImageThis headband has ties at each end and can be adjusted to fit any head.  Once they are tied and the headband is in place, the ties are not visible.ImageIsn't this just the cutest thing?!  And to think, a student new to crochet will be able to whip this up in no time flat!!Materials:Pony Beads, Yarn, Crochet hook to match yarn selectionIntructions:*Thread 20 beads for headband and 7 for bracelet.*Measure wrist or head, then chain to match that measurement minus 1/4".  For example, my daughter's head measured 15 inches so I made enough chains to measure 14 3/4".  If your measurements are more or less, add more or less beads.*Turn work, sc (single crochet) into the second chain and in every chain stitch after that to the end of the row.*Turn work, chain 2 (this is your first hdc), hdc in next stitch, **slip bead up to the crochet hook, chain one, skip the next stitch, hdc into the next two stitches and repeat from ** to end.*Turn work, chain 1 then single crochet in every stitch across the row.  Do not cut yarn.*Turn bracelet or headband so that the short end is facing up and pickup 4 stitches evenly across this section.  Yarn over and pull through all 4 stitches so that you now only have one stitch on the hook.  Chain 20 for bracelet and 35 for headband.  Fasten off.*Turn the other end of the bracelet or headband up to the top with the right side facing you.  Pick up 4 stitches evenly across this end and repeat instructions for first end.*You are now ready to wear your creations!!  Or let your kids try them on for photos and try to get them back - good luck!!